The buttons
So, I needed some parts to make the buttons. The best way for me to get inspiration
usually is just to browse some shops, either online or in real life, to see if there
are any things I can (ab)use to get what I want. I only needed to visit two this time:
the local DIY-shop and the Ikea nearby. I bought the following stuff:
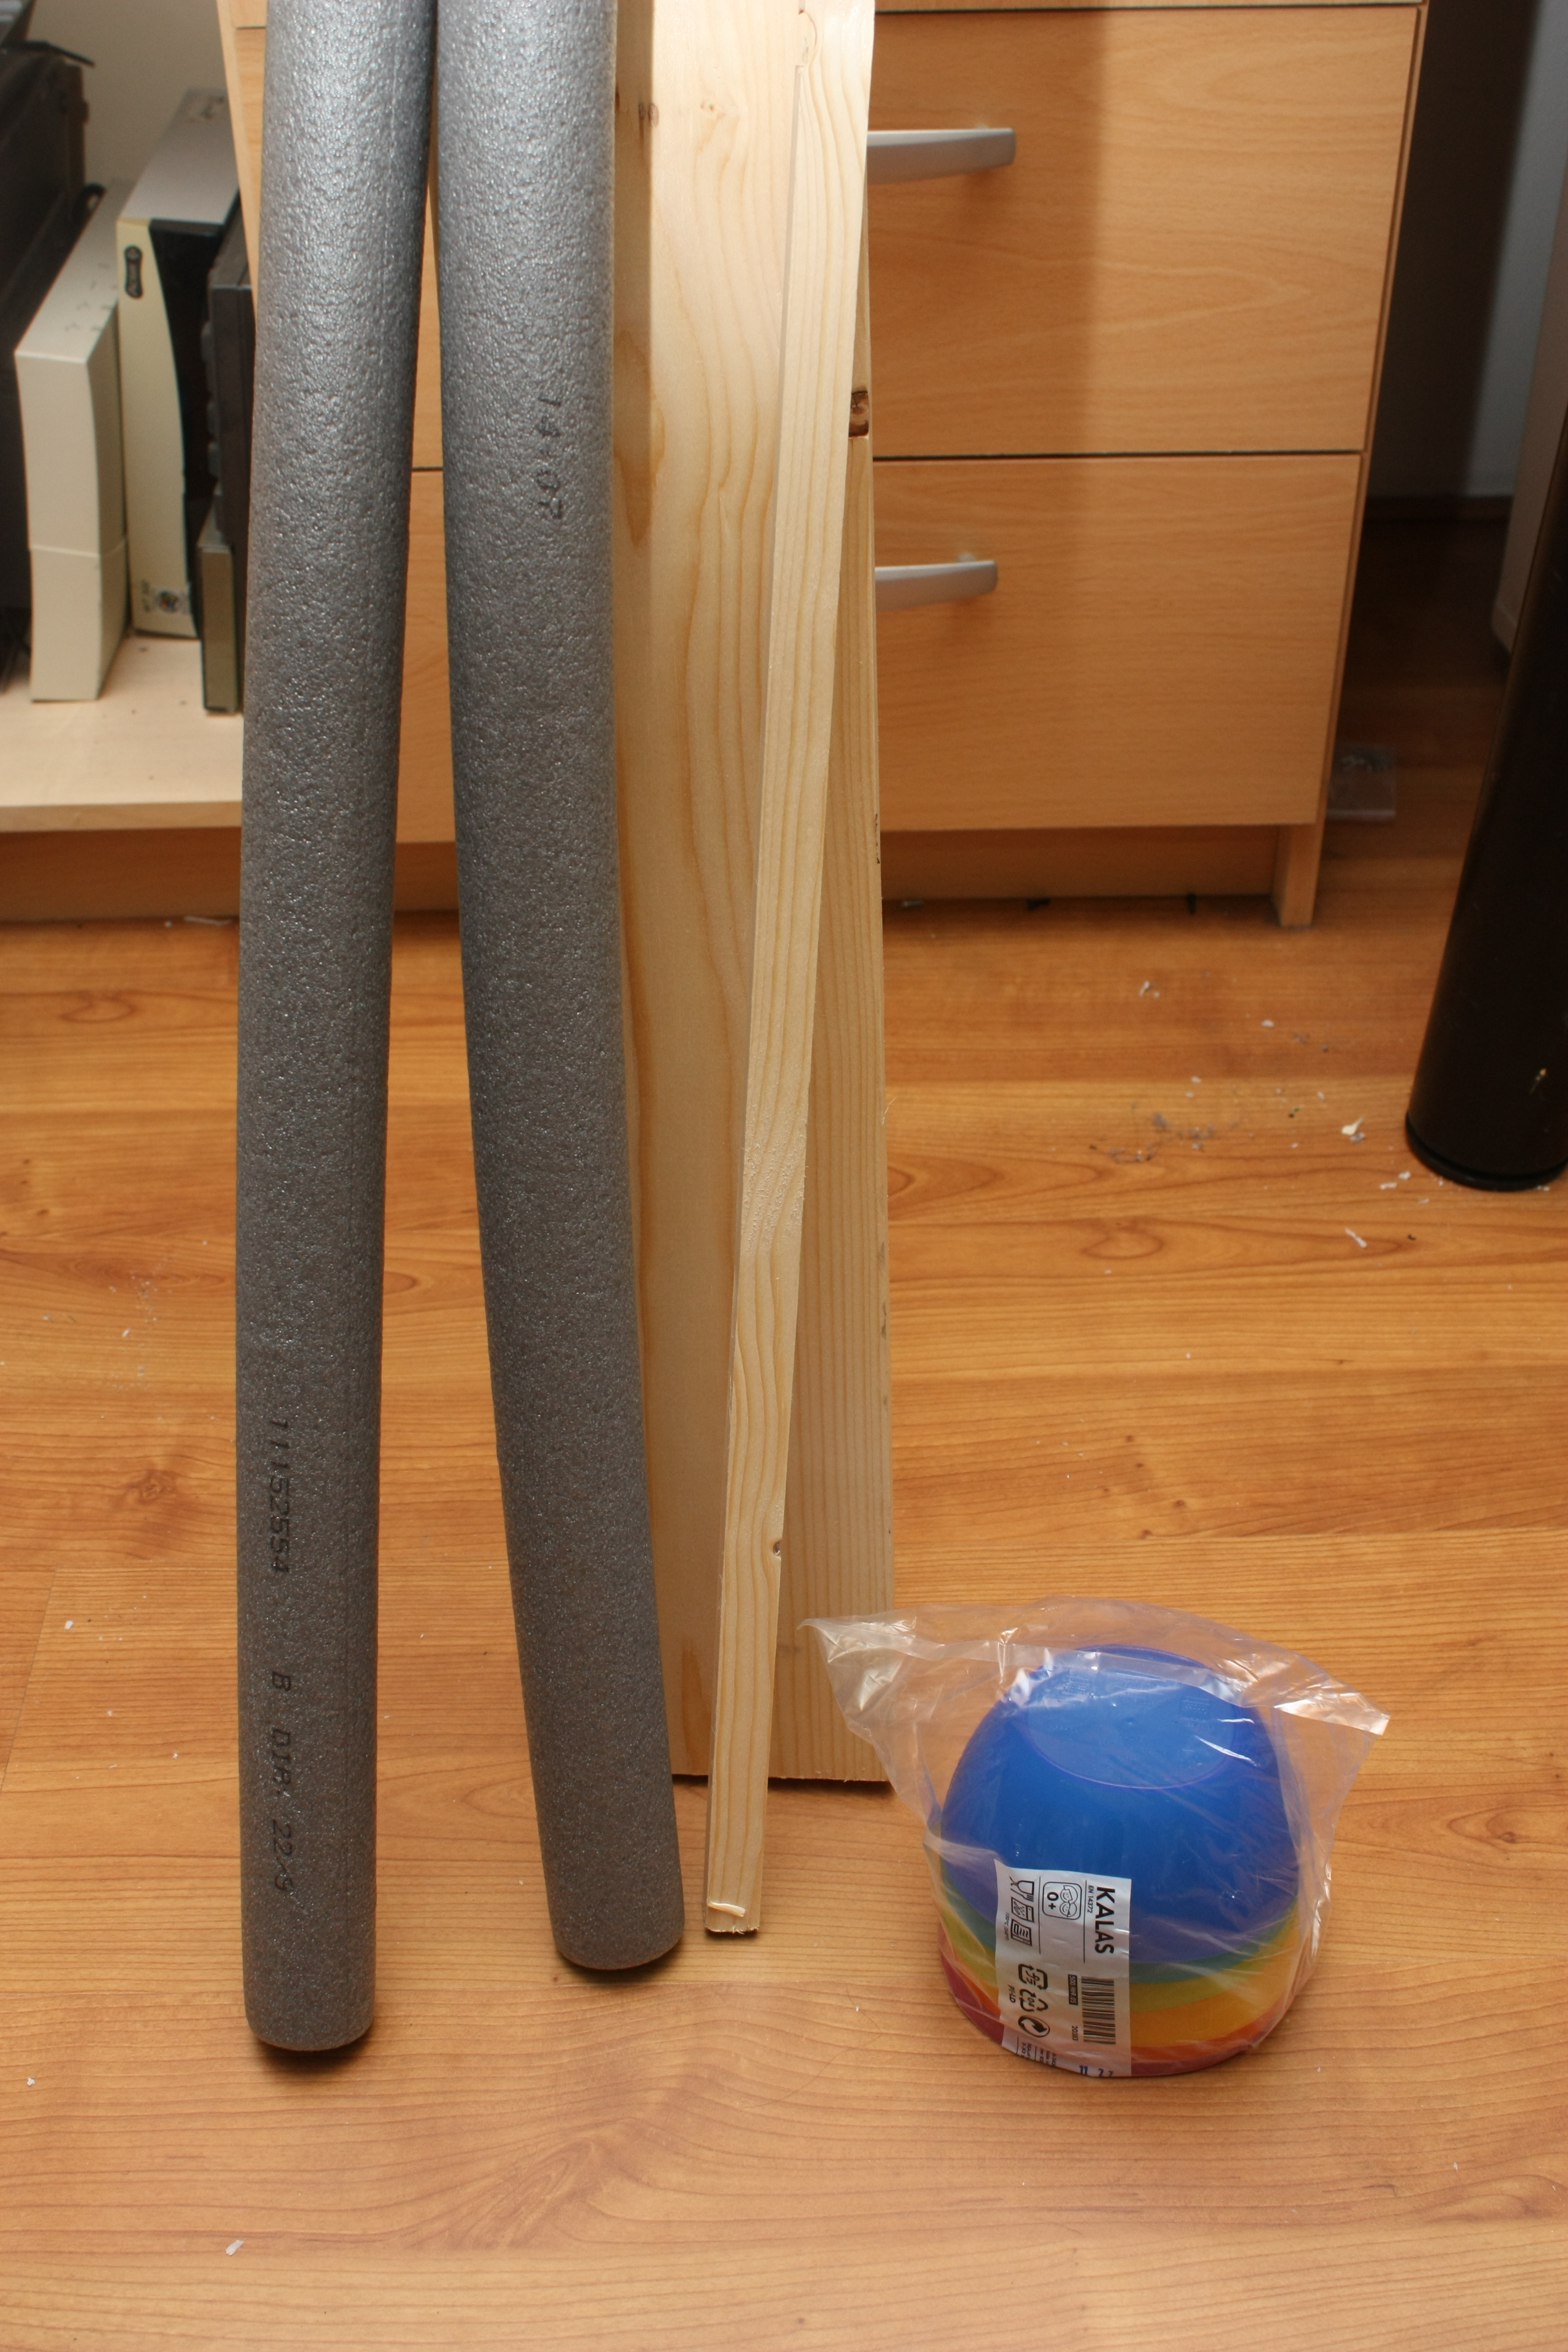
This is a plank of wood, about a centimeter and a half thick and 12cm wide, a piece of wood
of about 18x18mm and a meter and a half long, two pieces of heating pipe isolation foam
and a bunch of Ikea Kalas plastic bowls. Total cost is about twenty Euros.
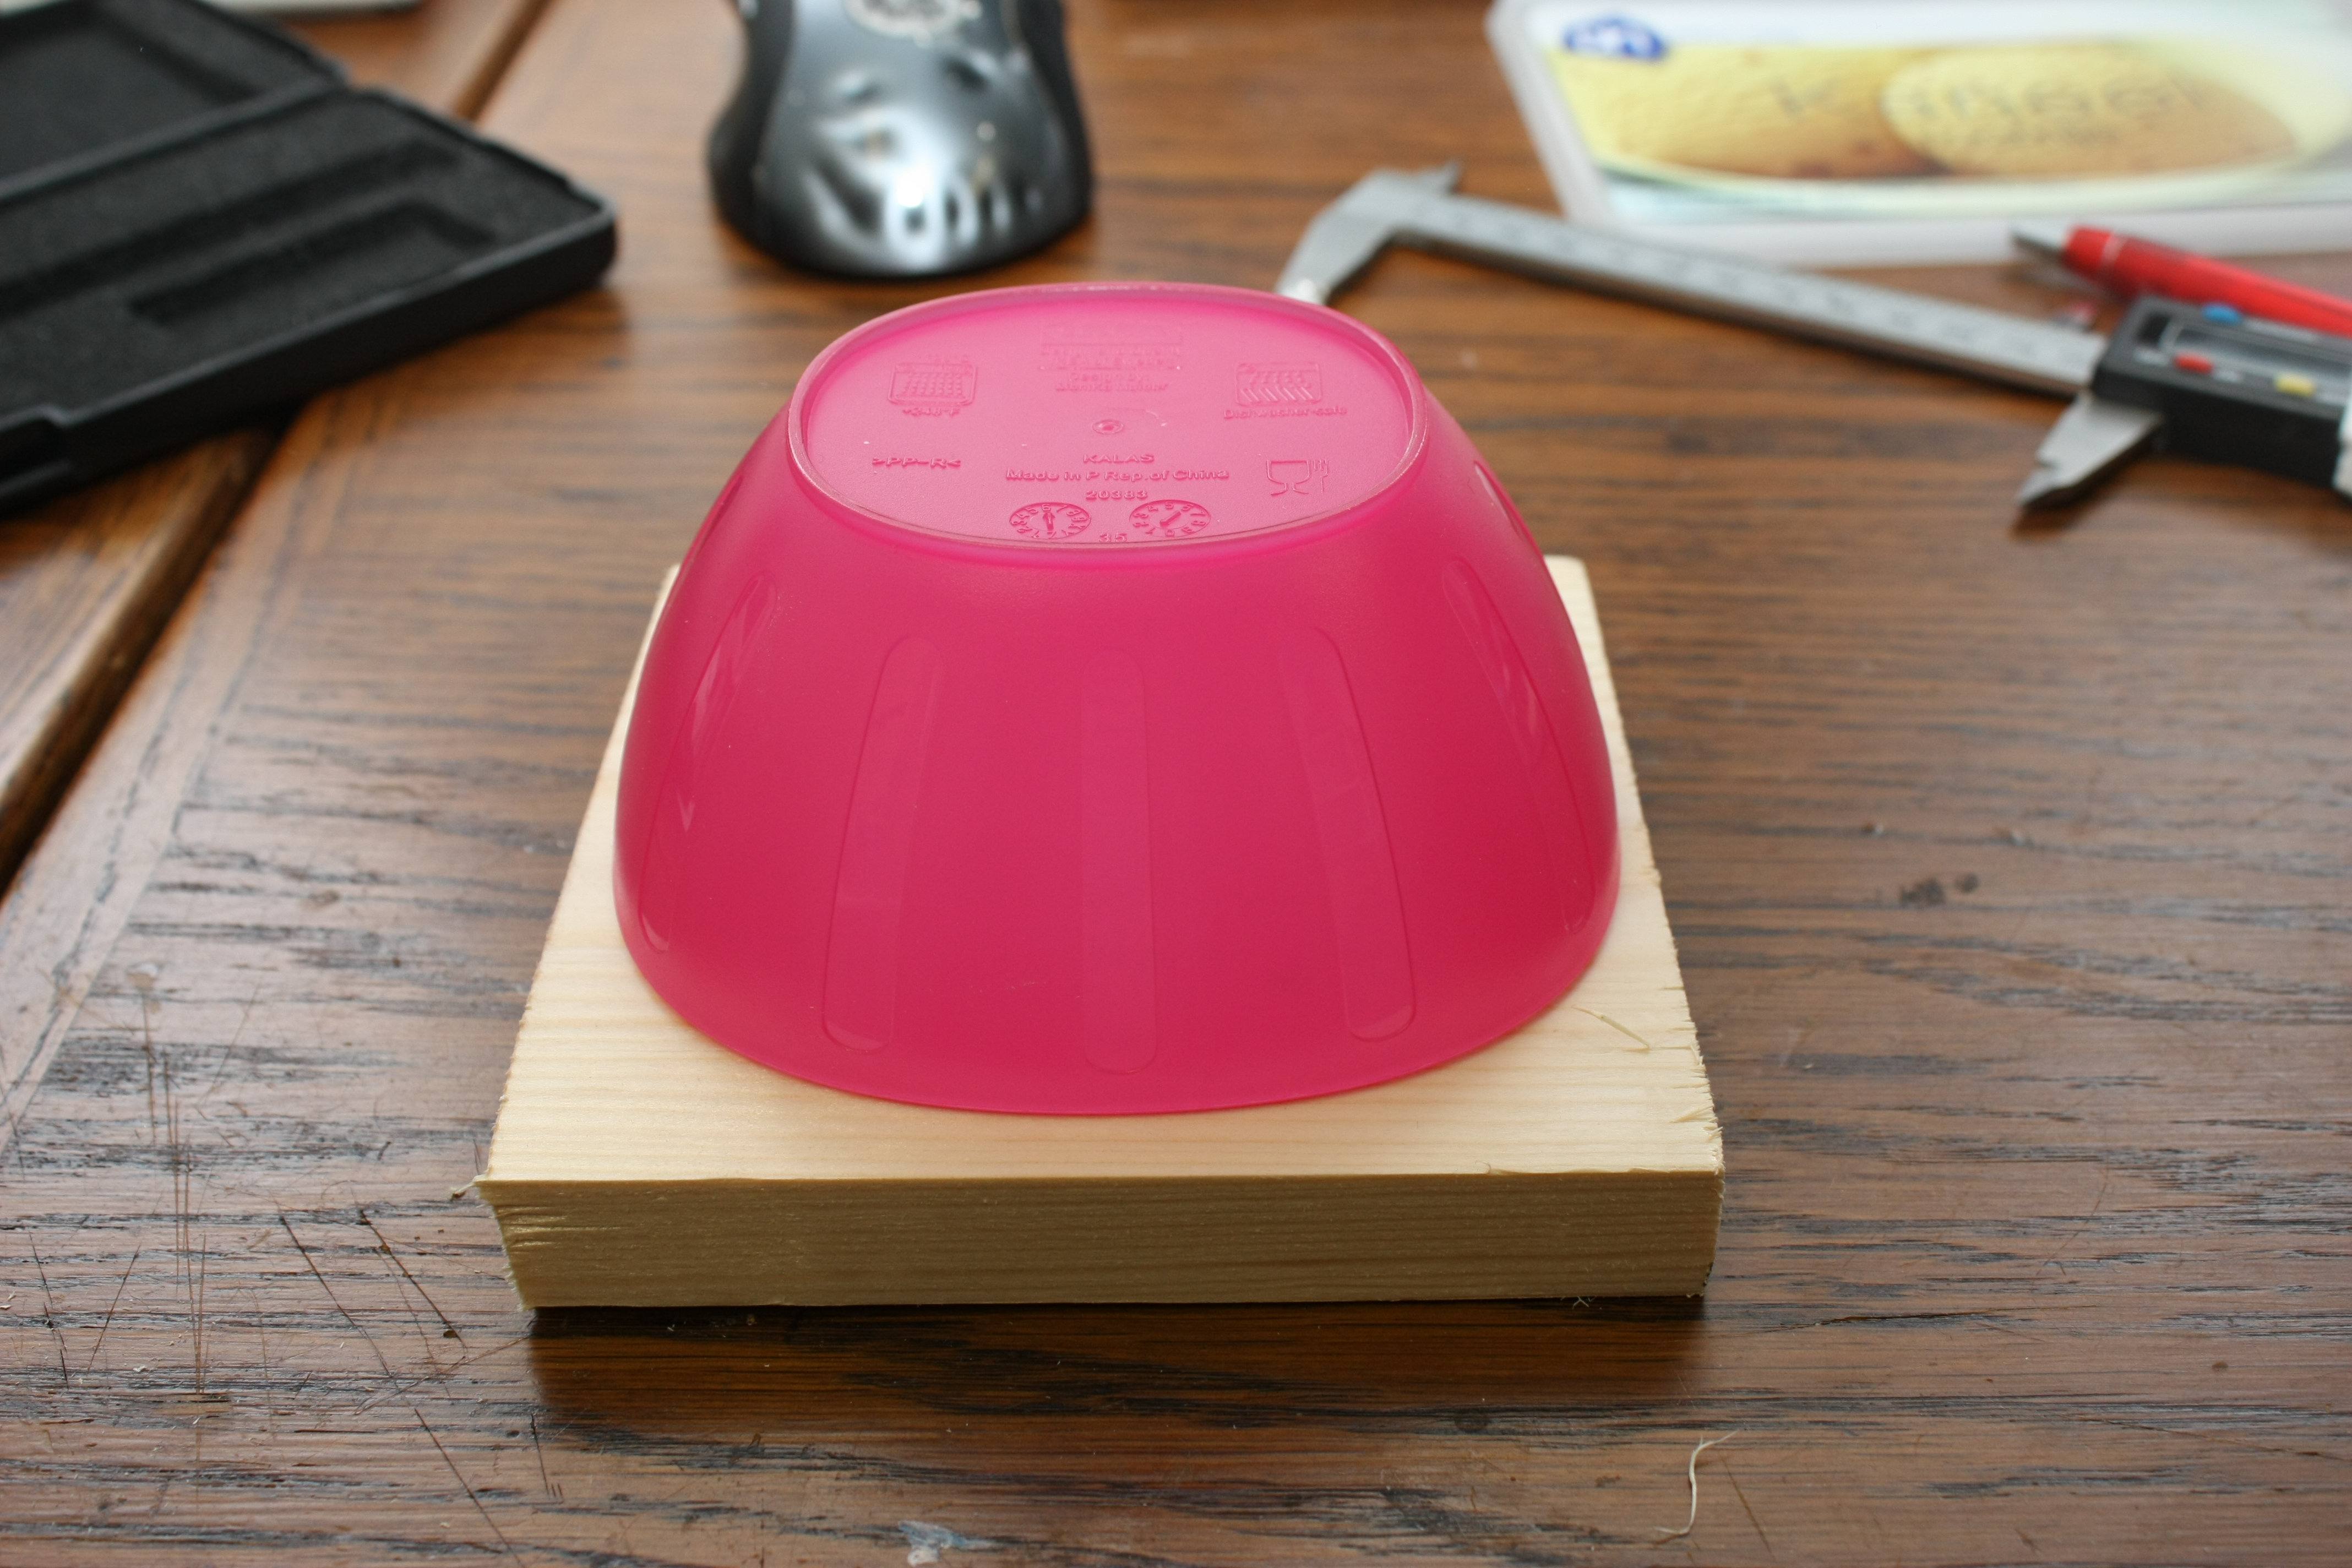
And this is how the buttons should look: it's basically an inverted bowl over a base
made from wood. Give it a whack and the logic will detect you did and light up some leds
under the bowl, and maybe send a signal to something that can play a sound. It may not
be a nice polished mushroomoid as in the game shows, but for the cost, it looks just
fine.
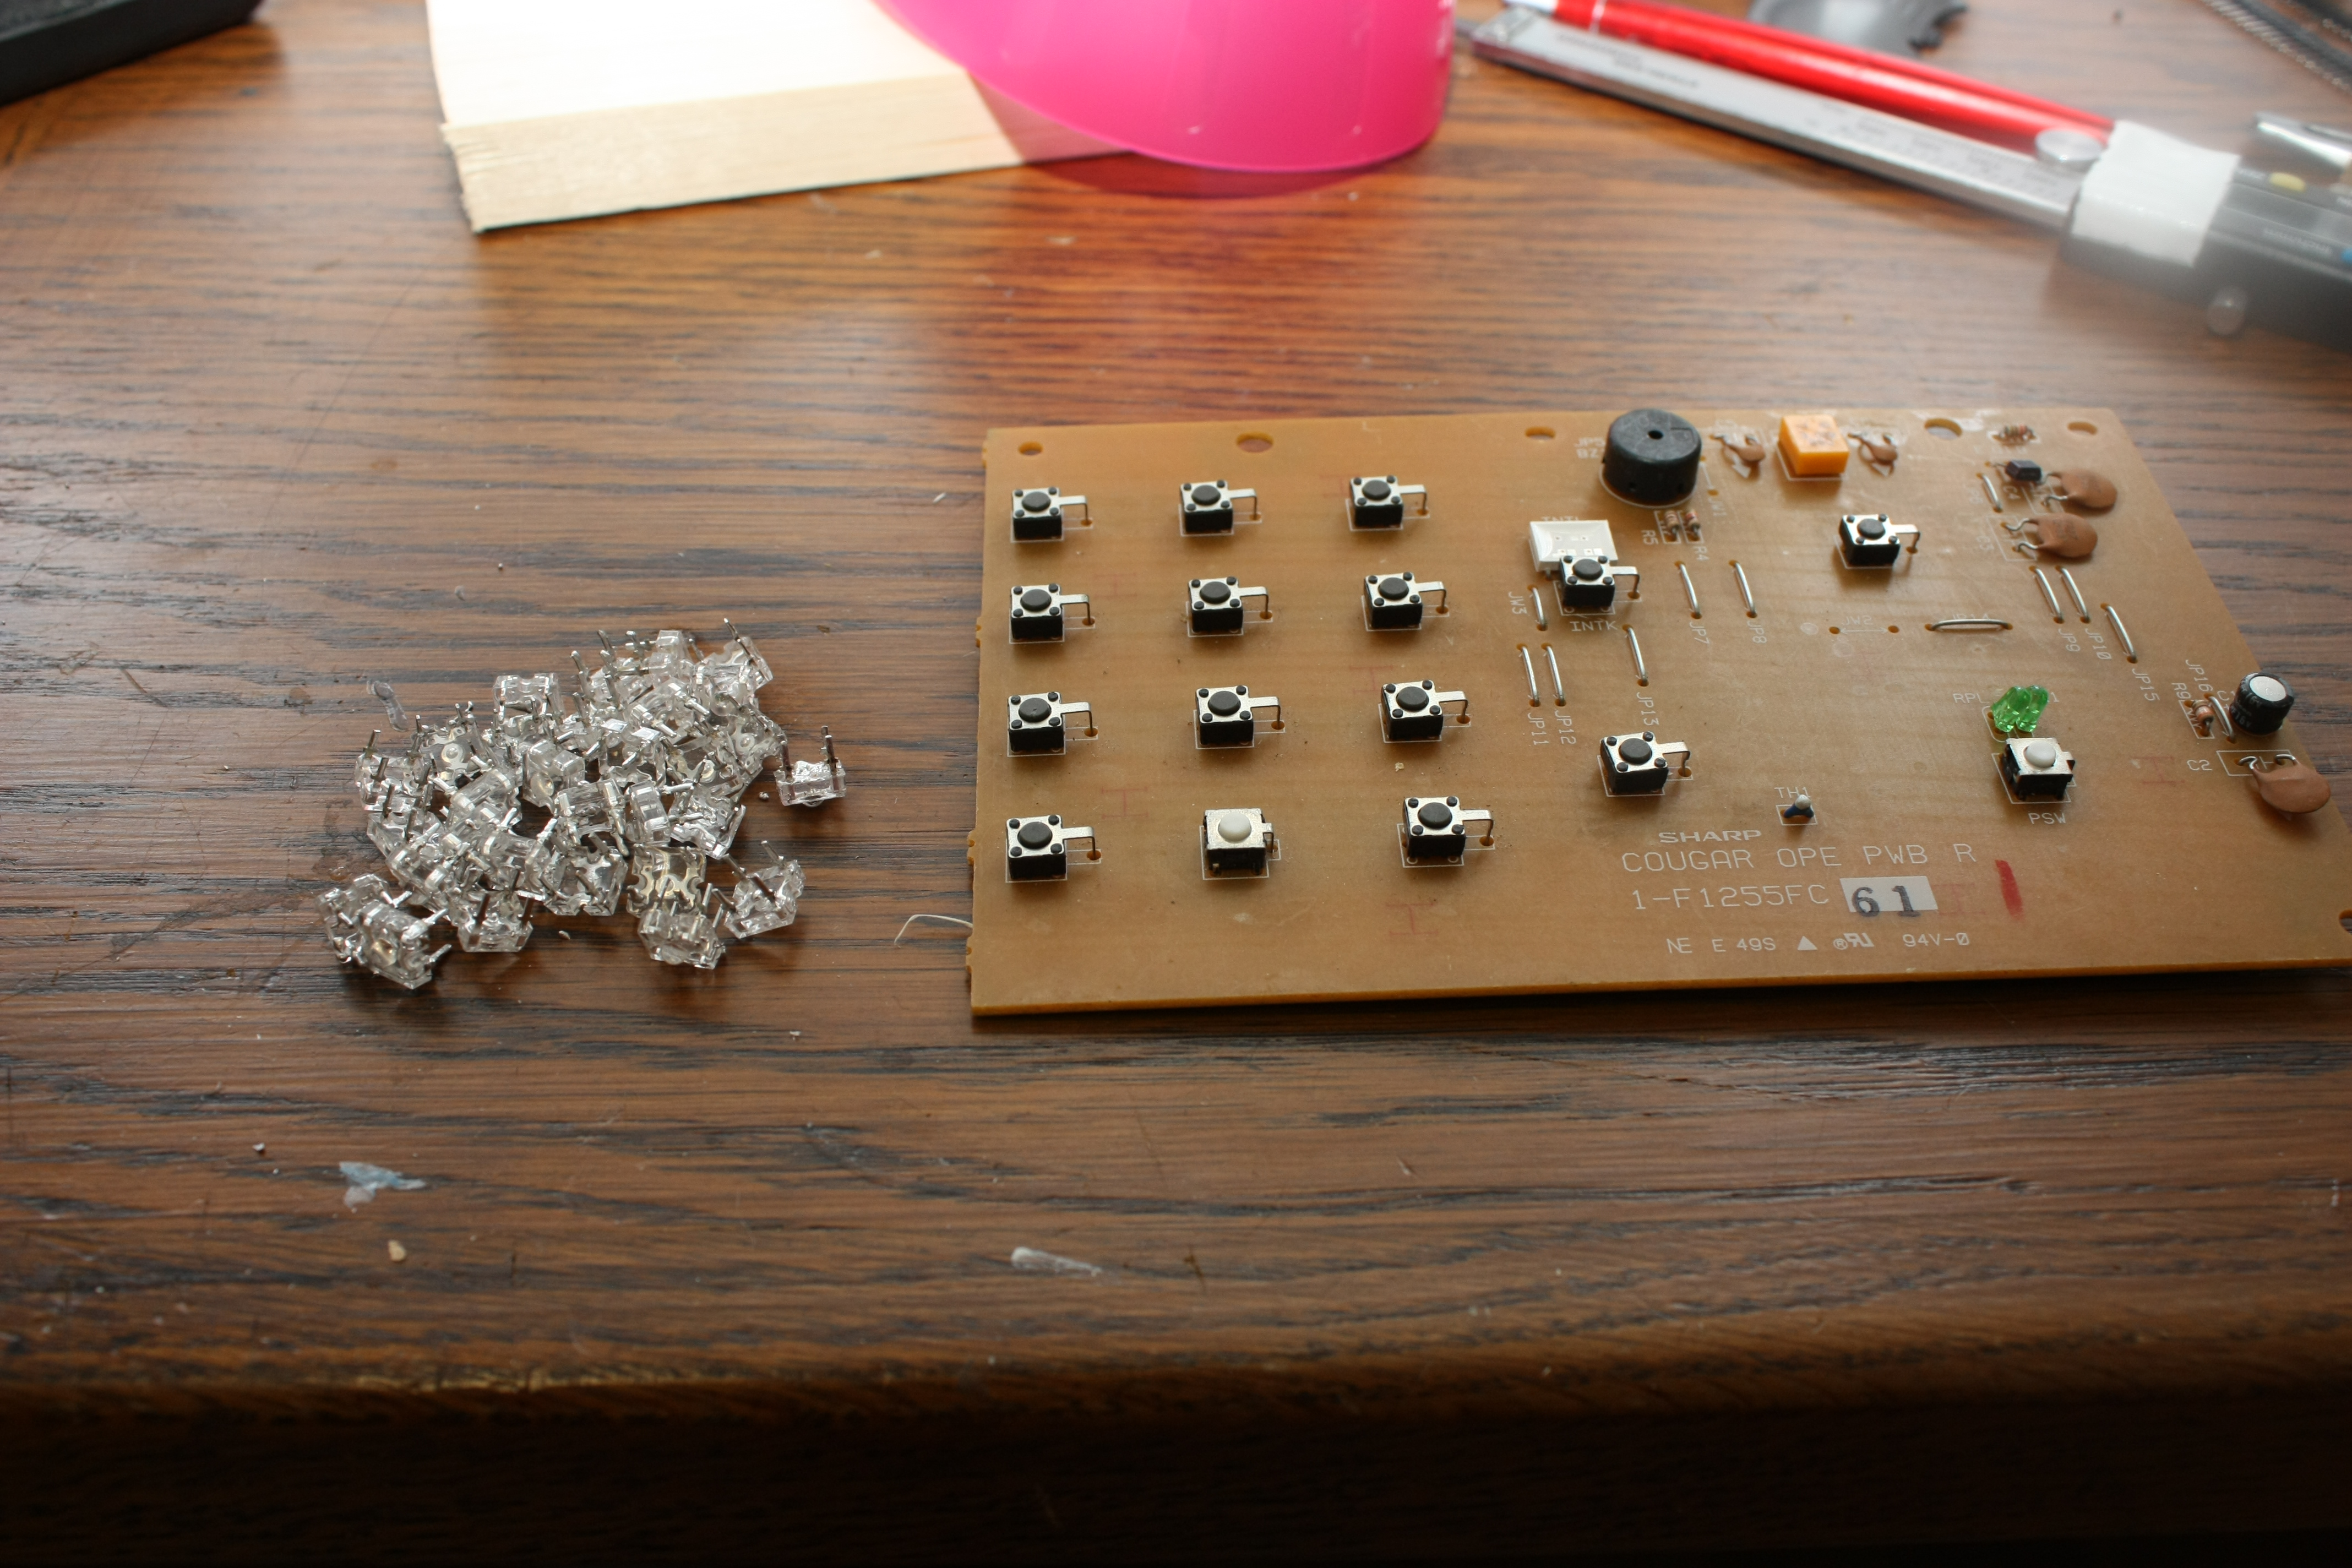 For the whacking of the button and the lighting of the LEDs, we do need actual buttons
and LEDs. I desoldered a few off some old PCBs I had. Most types of small buttons should
work just fine, most LEDs probably will too.
For the whacking of the button and the lighting of the LEDs, we do need actual buttons
and LEDs. I desoldered a few off some old PCBs I had. Most types of small buttons should
work just fine, most LEDs probably will too.
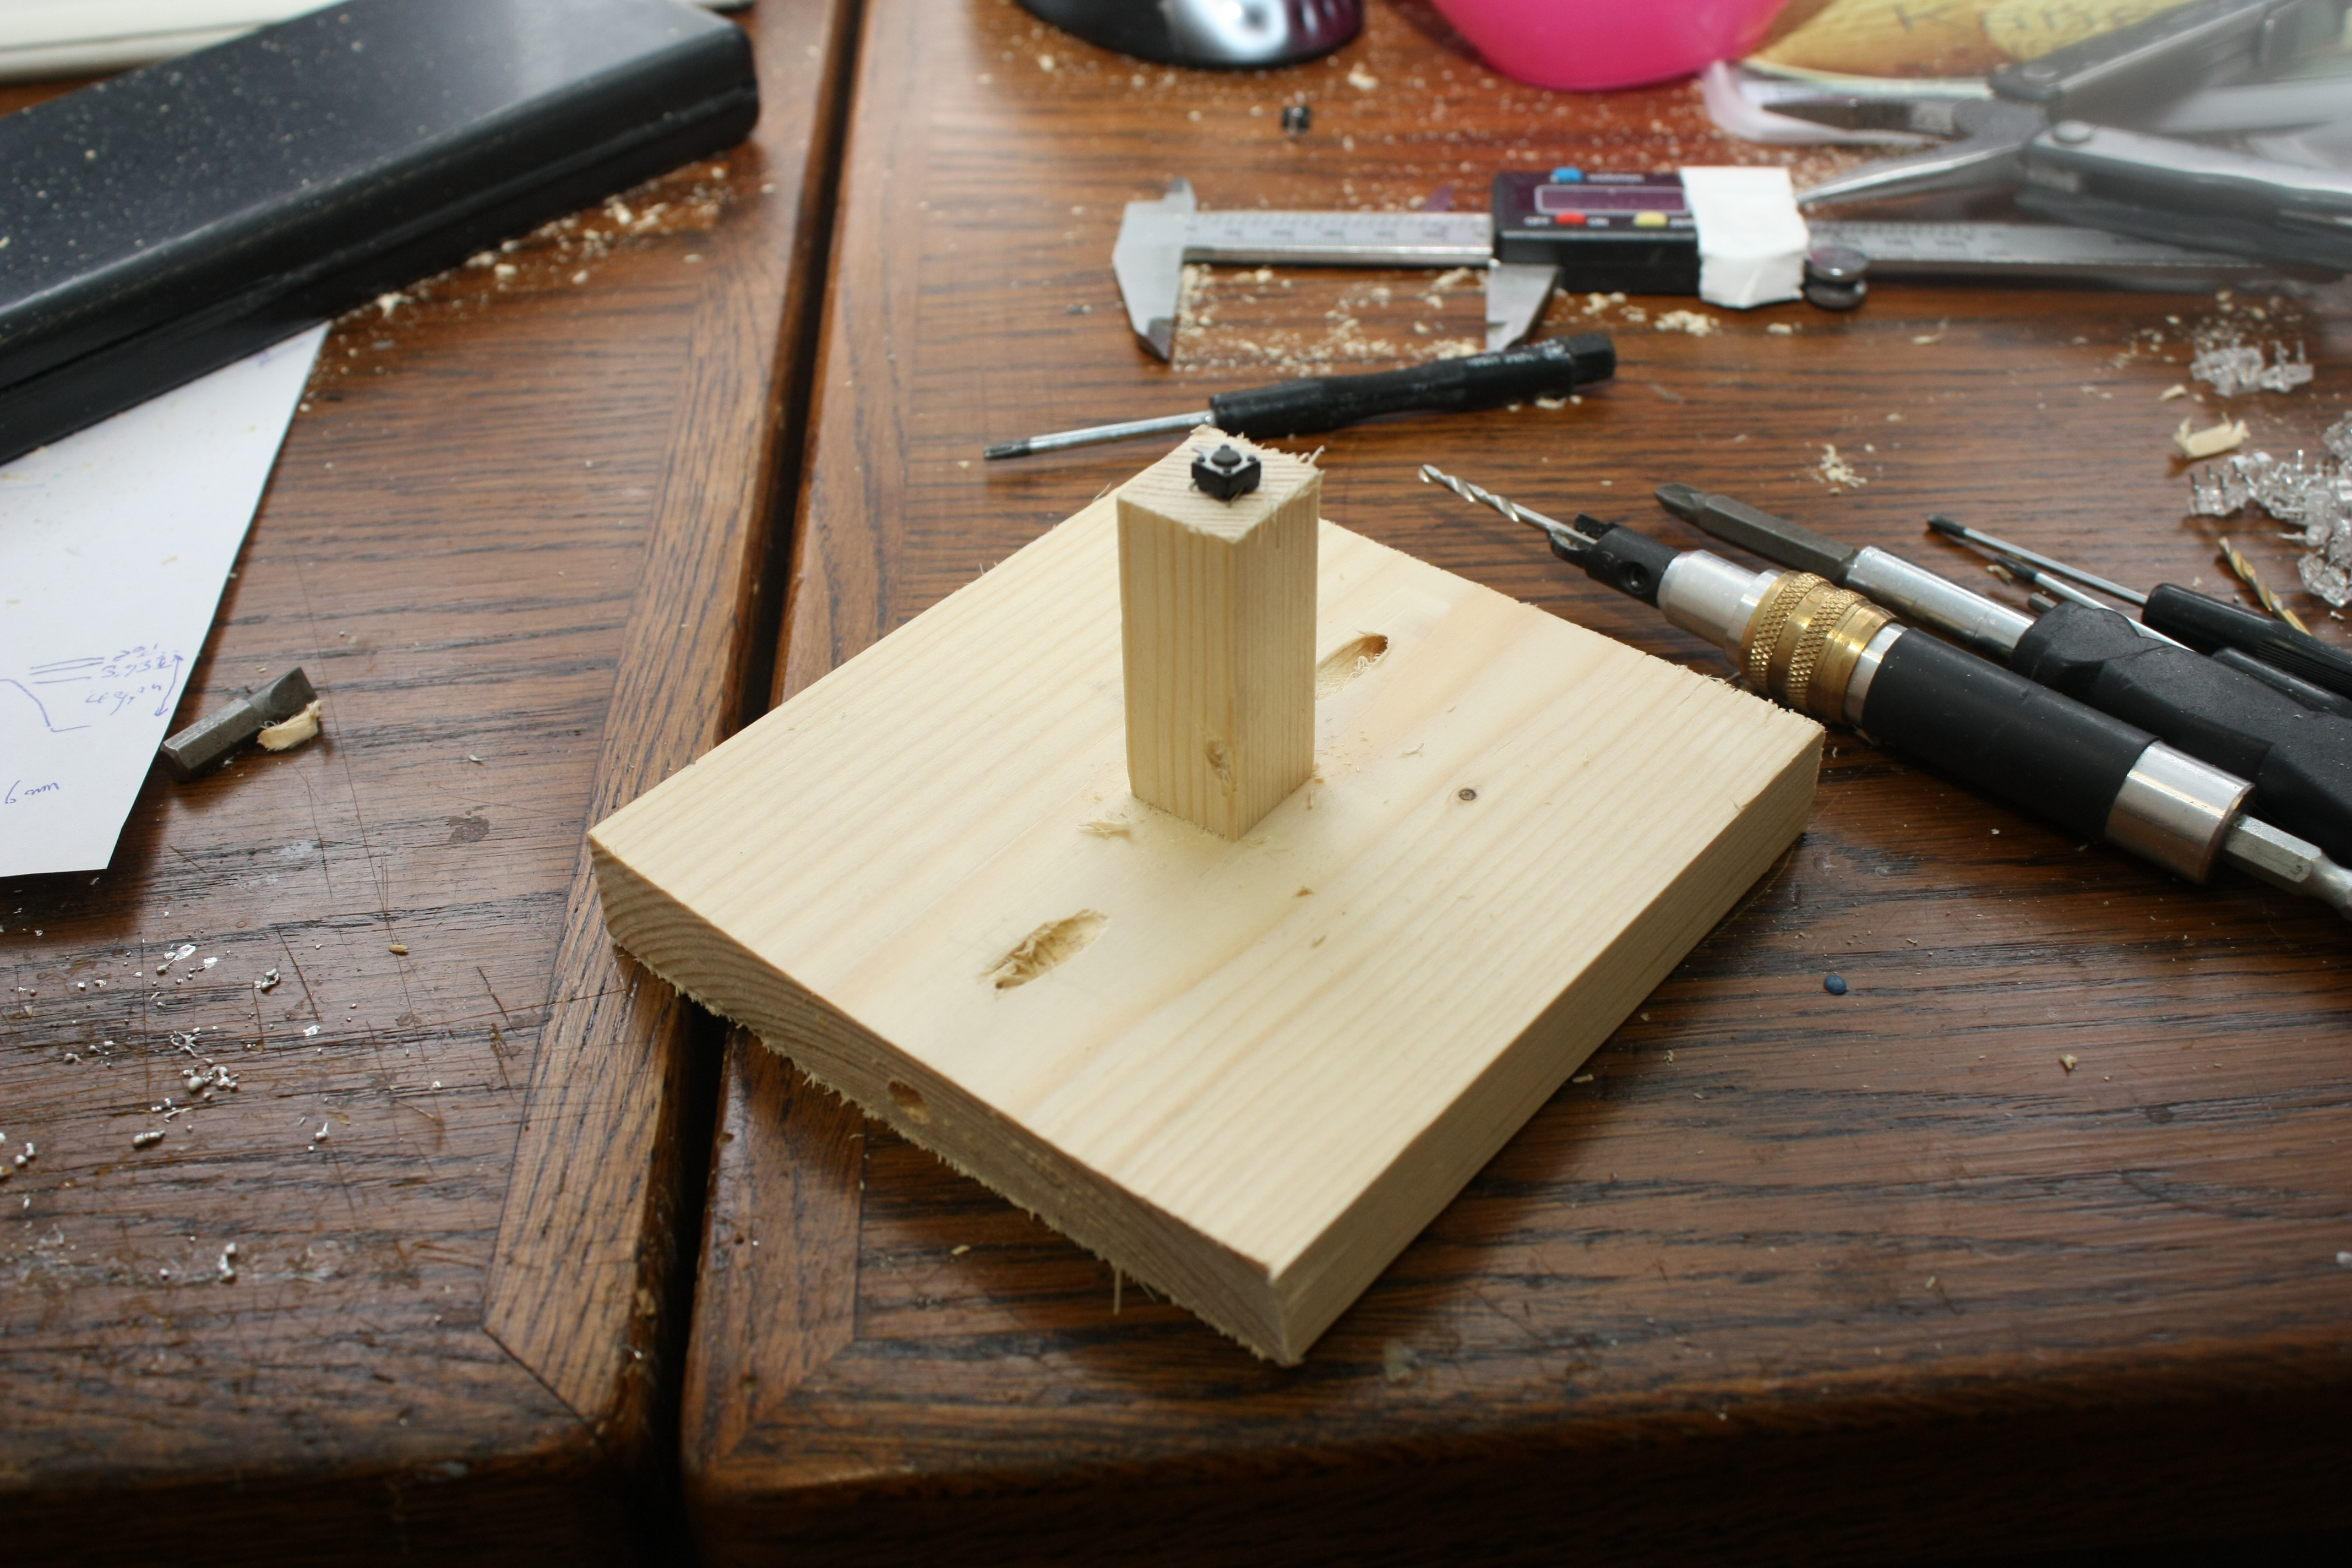
First of all, some woodwork. Two holes were drilled vertically through the base to
feed the wiring through. The base has a piece of wood screwed to it, so that it, plus
one of the buttons on top, is a bit larger than the height of a bowl.
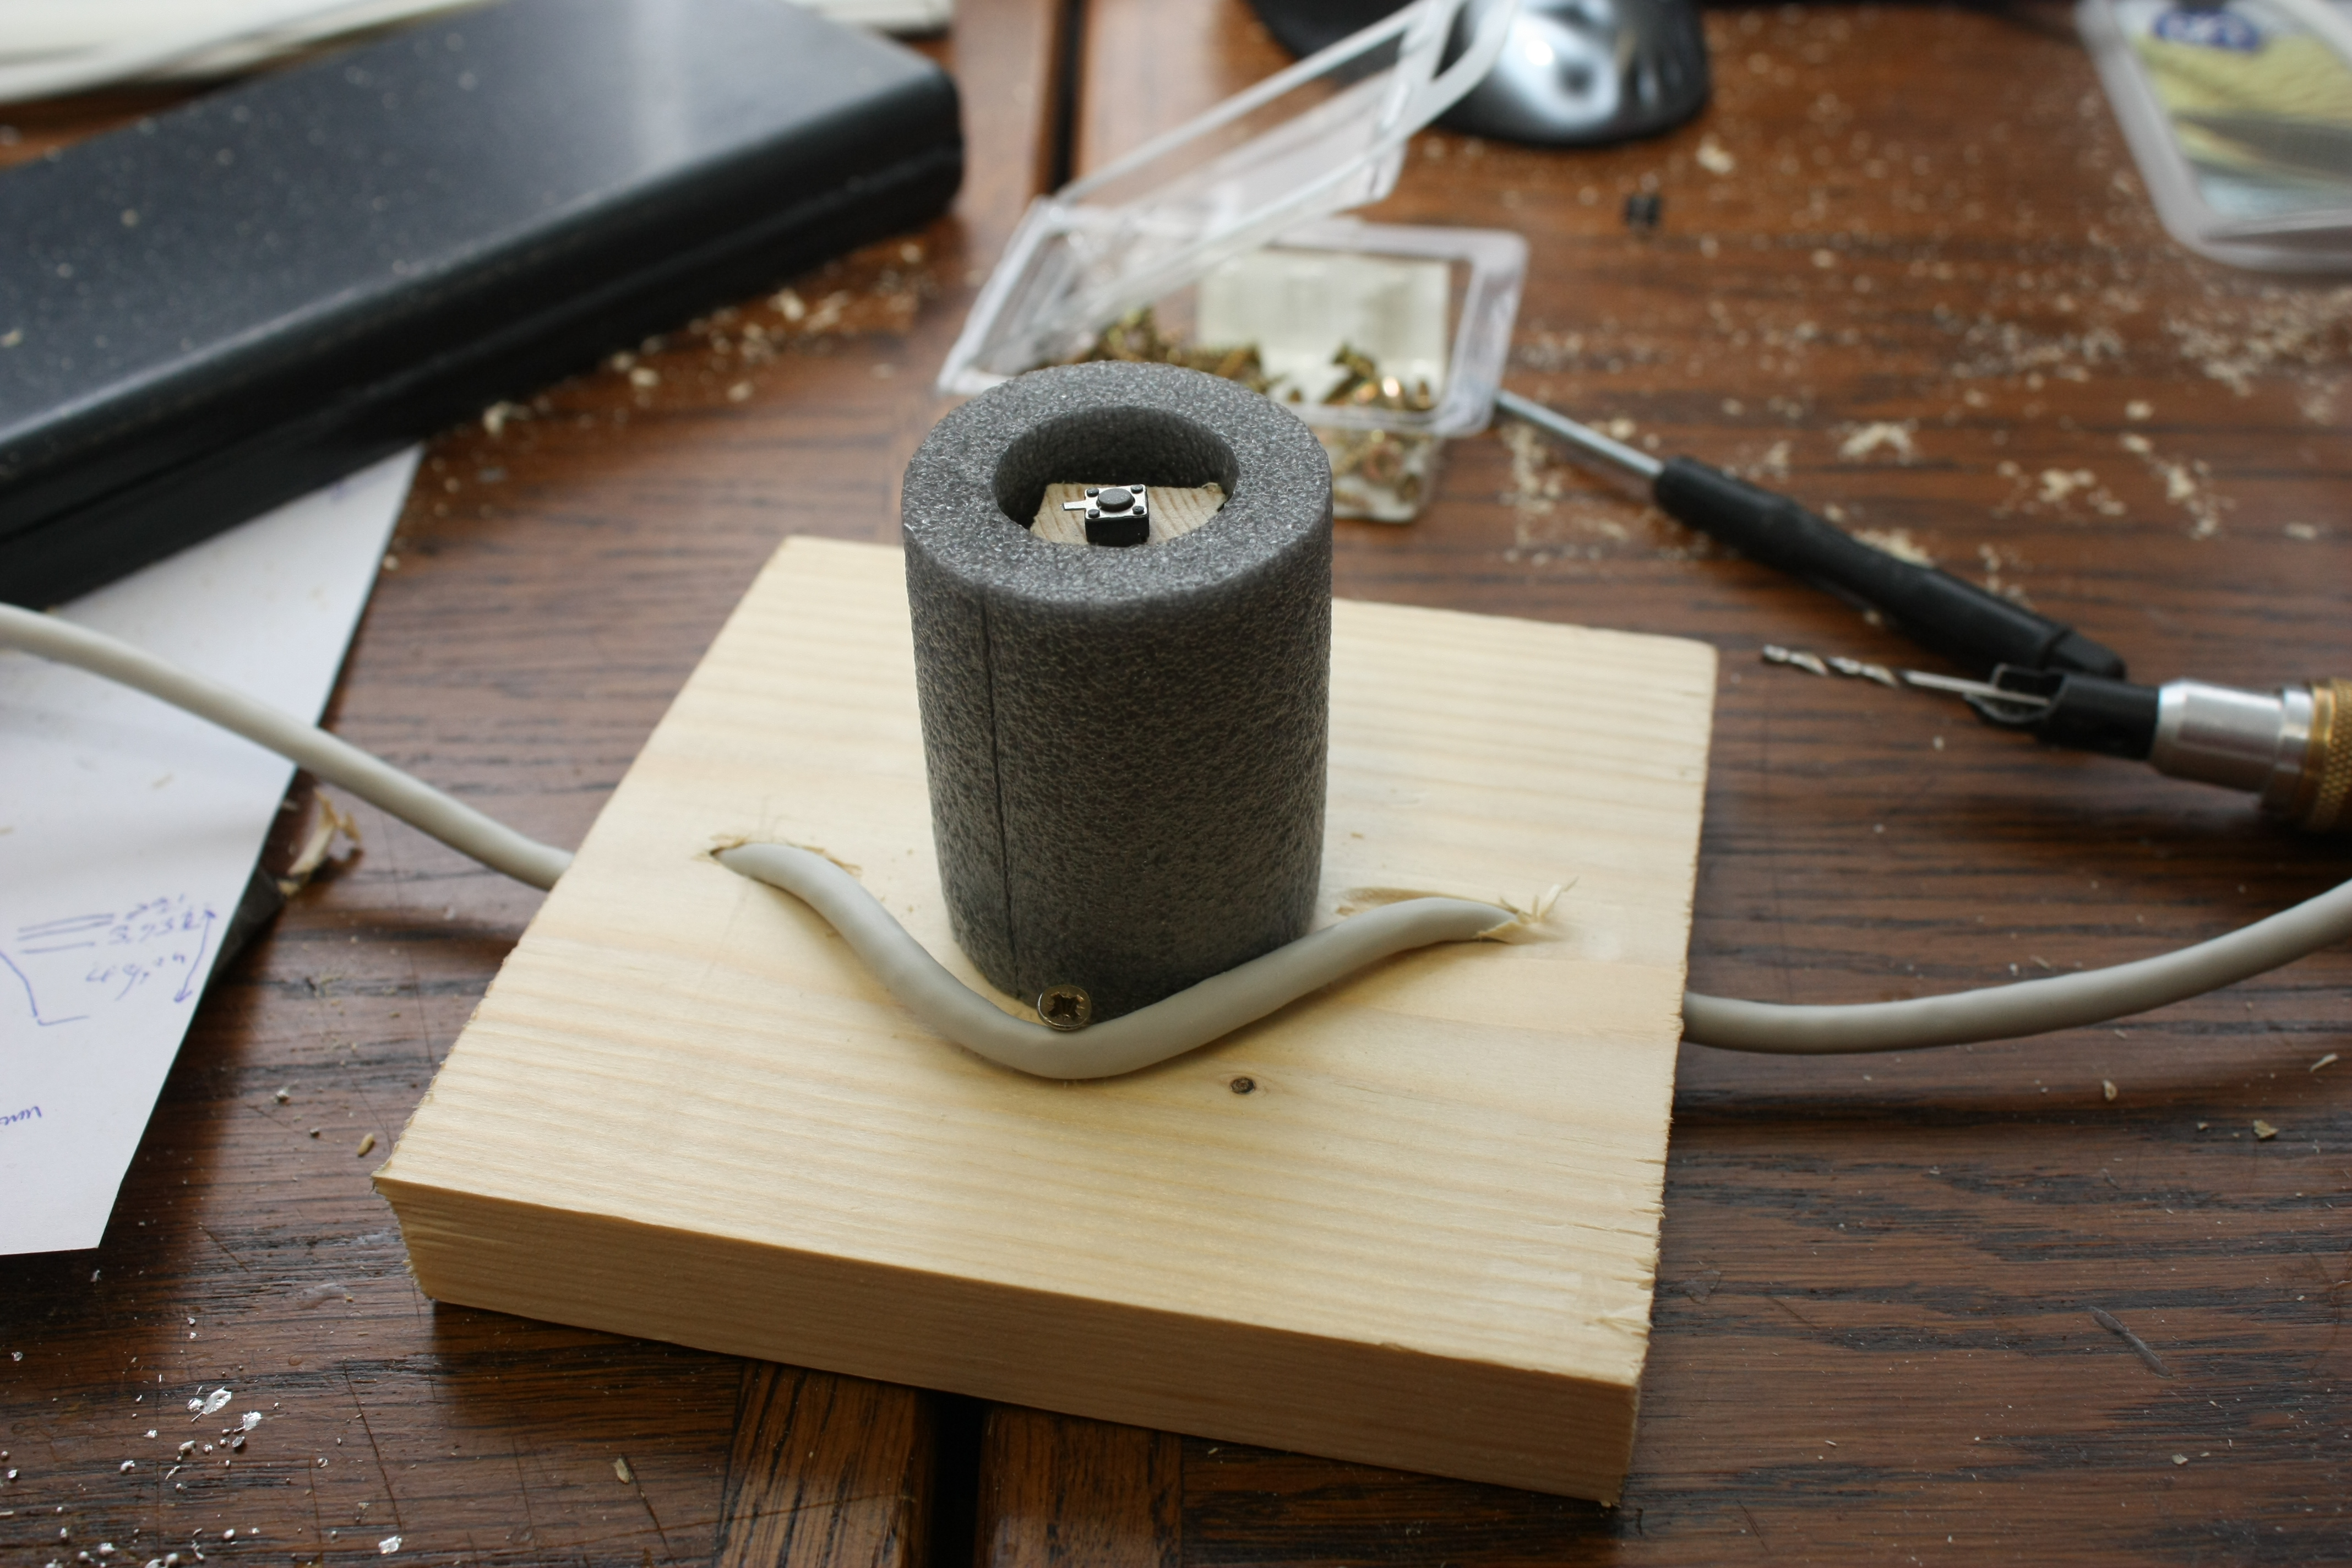
This is the basic hardware setup: a piece of CAT5 cable gets threaded through holes and a
length of isolation tubing is pushed over the piece of wood with the button. The
inverted bowl will go on top of this: the foam normally will make it hover a bit above
the button but when it's whacked, the foam will give and the button will be pressed.
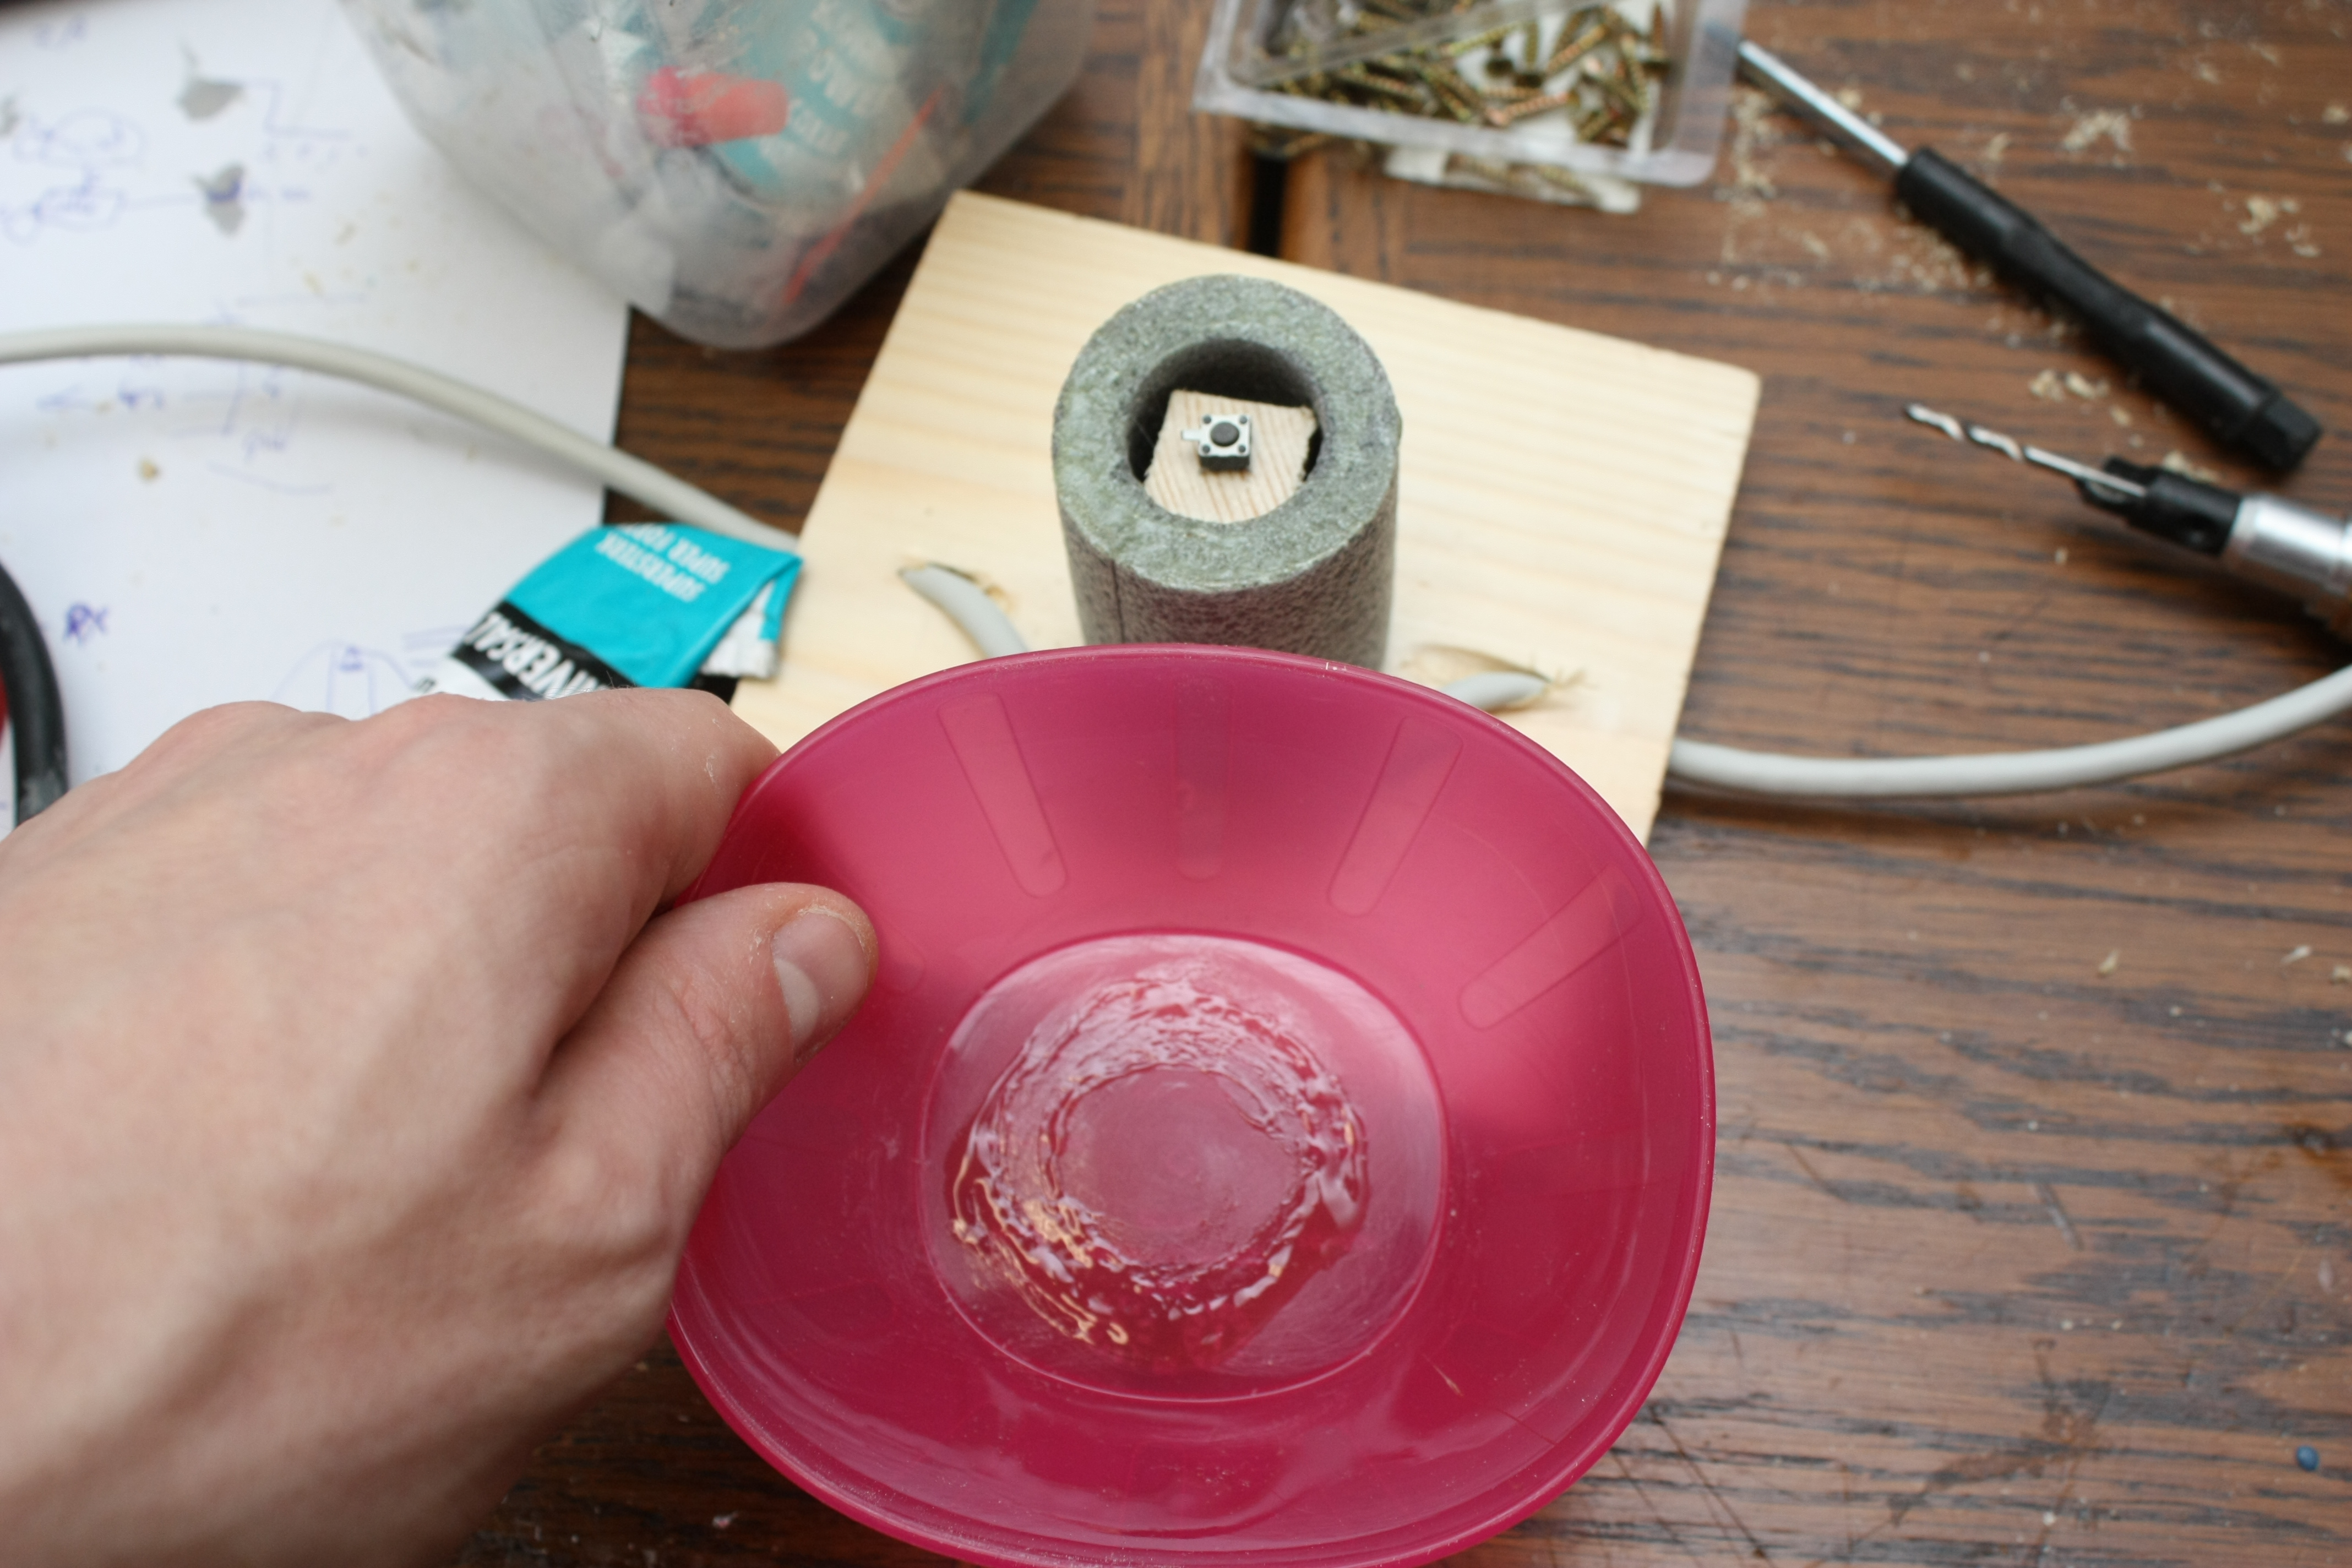
And the final mechanical part: the bowl is glued on top of the foam.
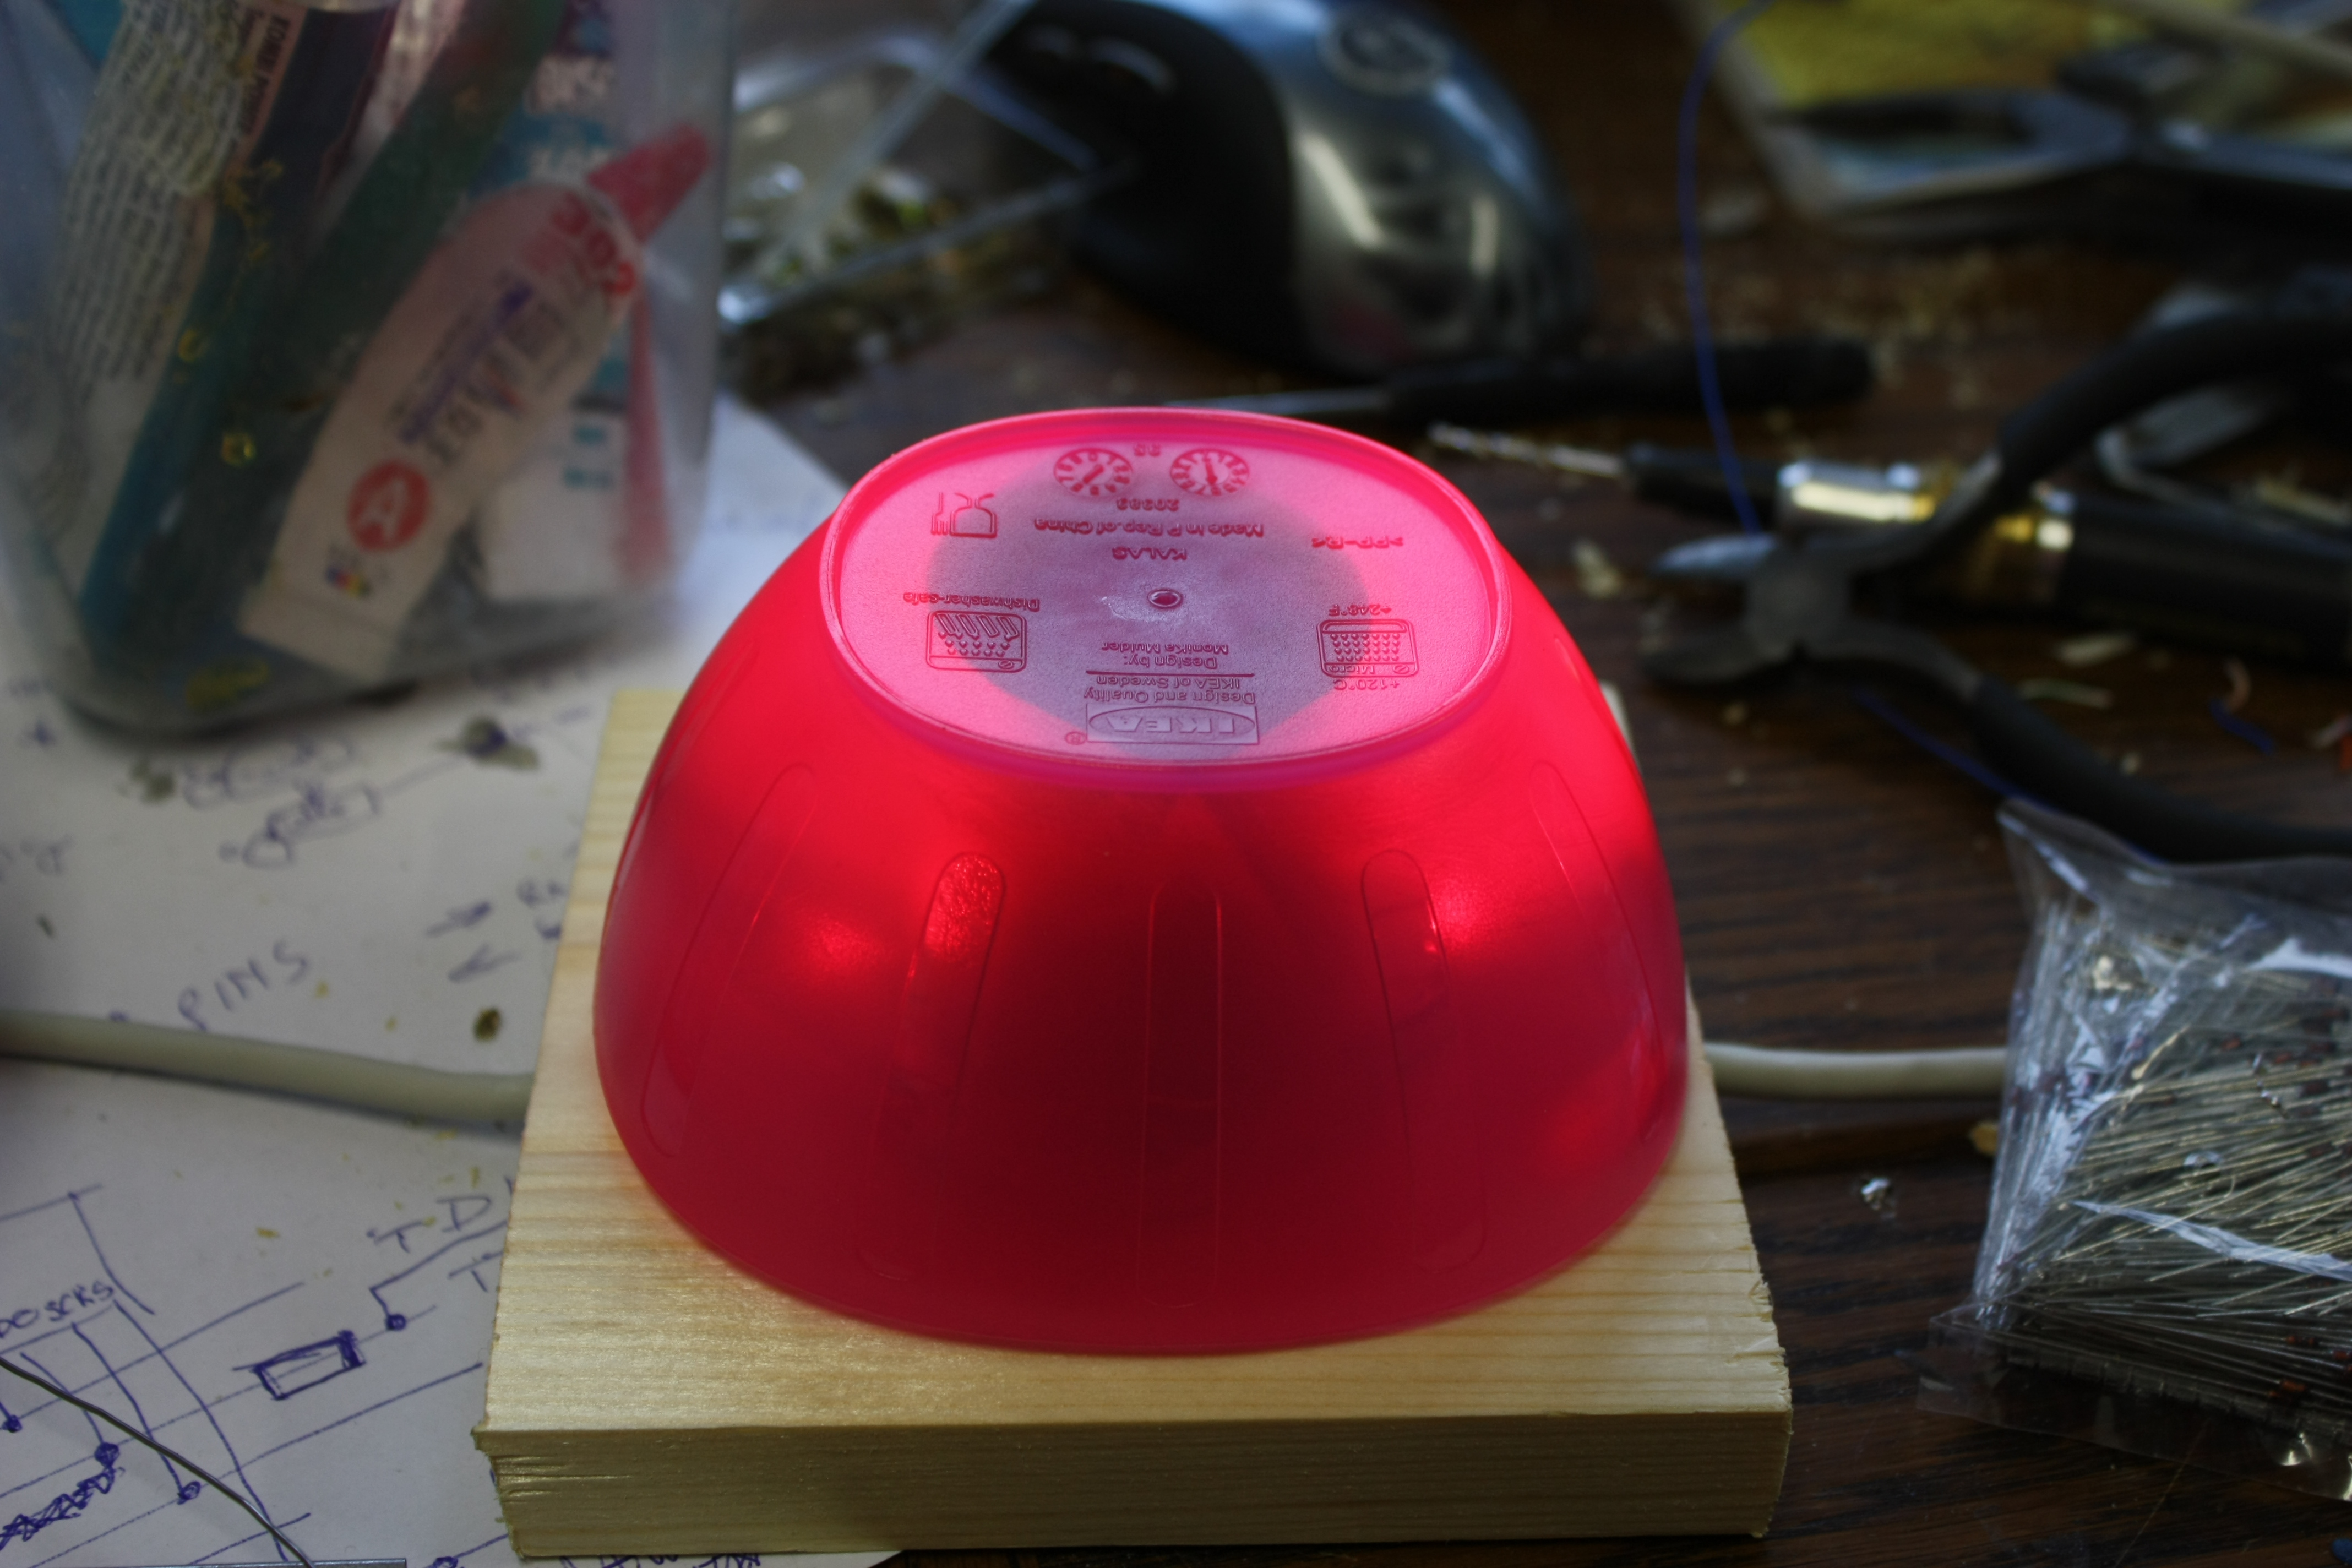
And this is how it looks, after all the electronics are put in. What electronics
exactly? I'll explain that on the next page.