Putting it all together
First, the PCBs:

I had a fair spot of luck with them: I needed to correct just one or two traces.
The above eight didn't have the 47uF capacitors soldered in, by the way.
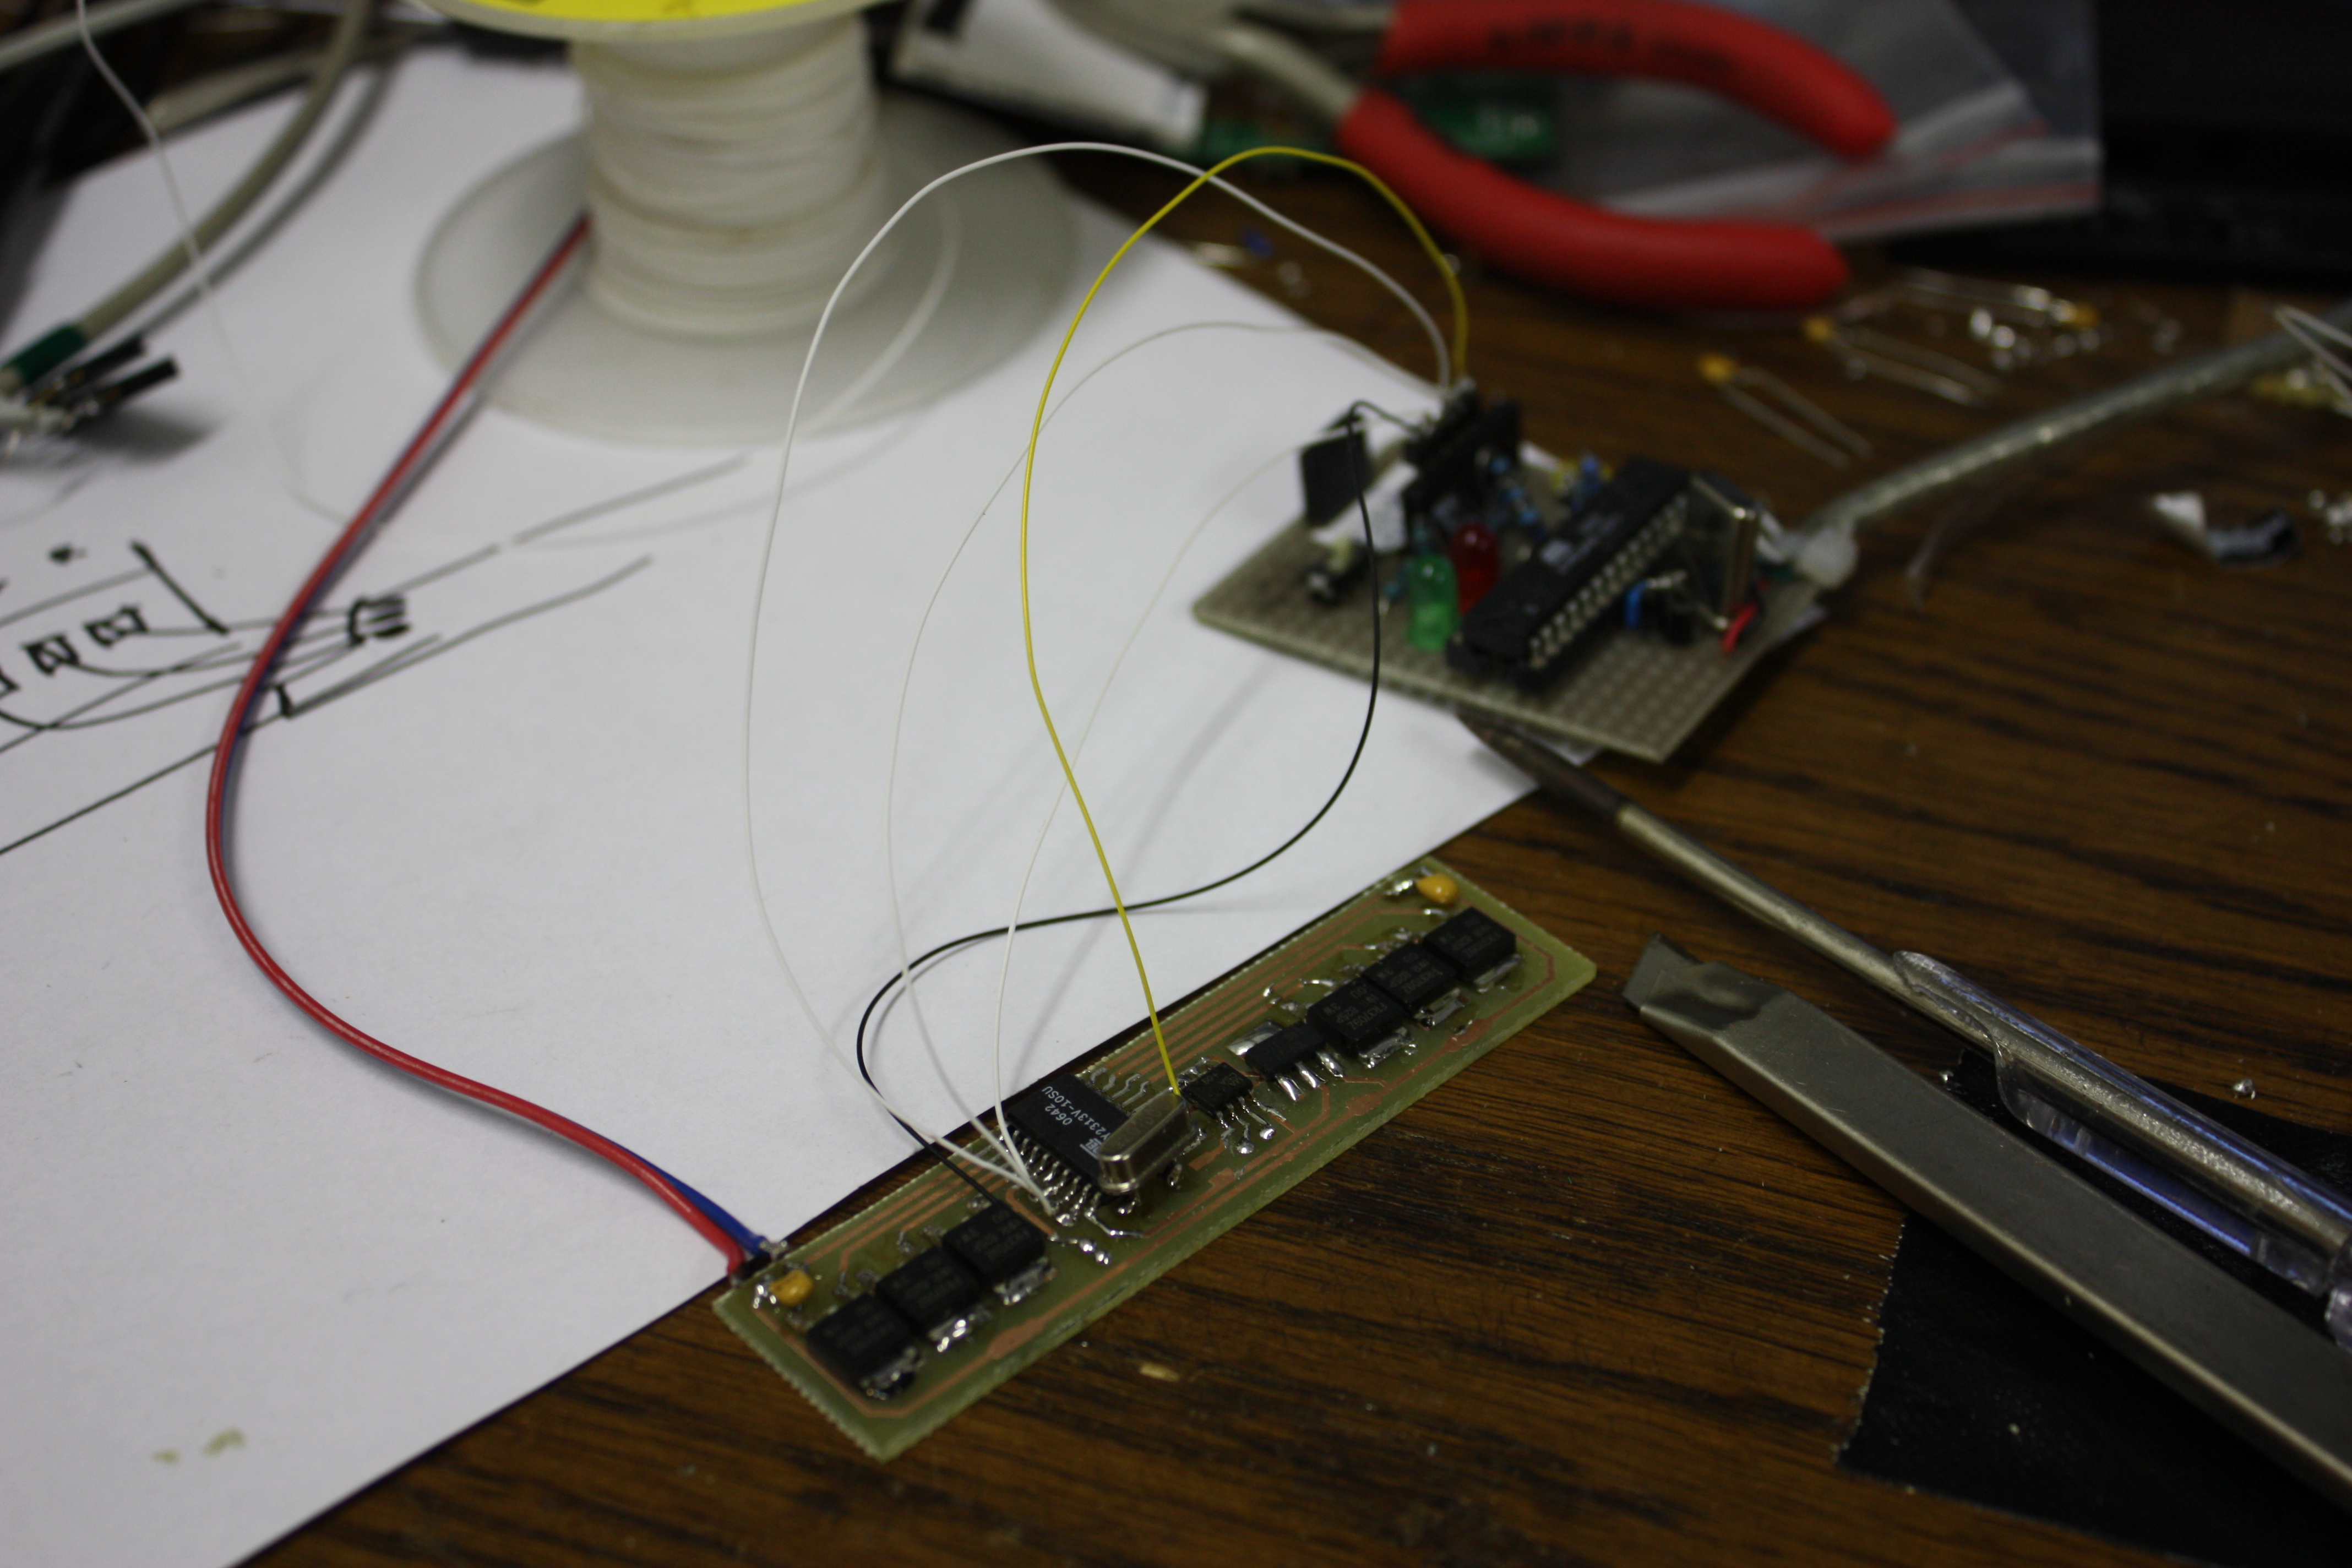
The programming rig. The address inputs double as the programming pins. Not
having a real ISP-connector was something of a bother, but I needed to program
just 7 PCBs so soldering the programmer to every single PCB to burn the
AVR was still doable.
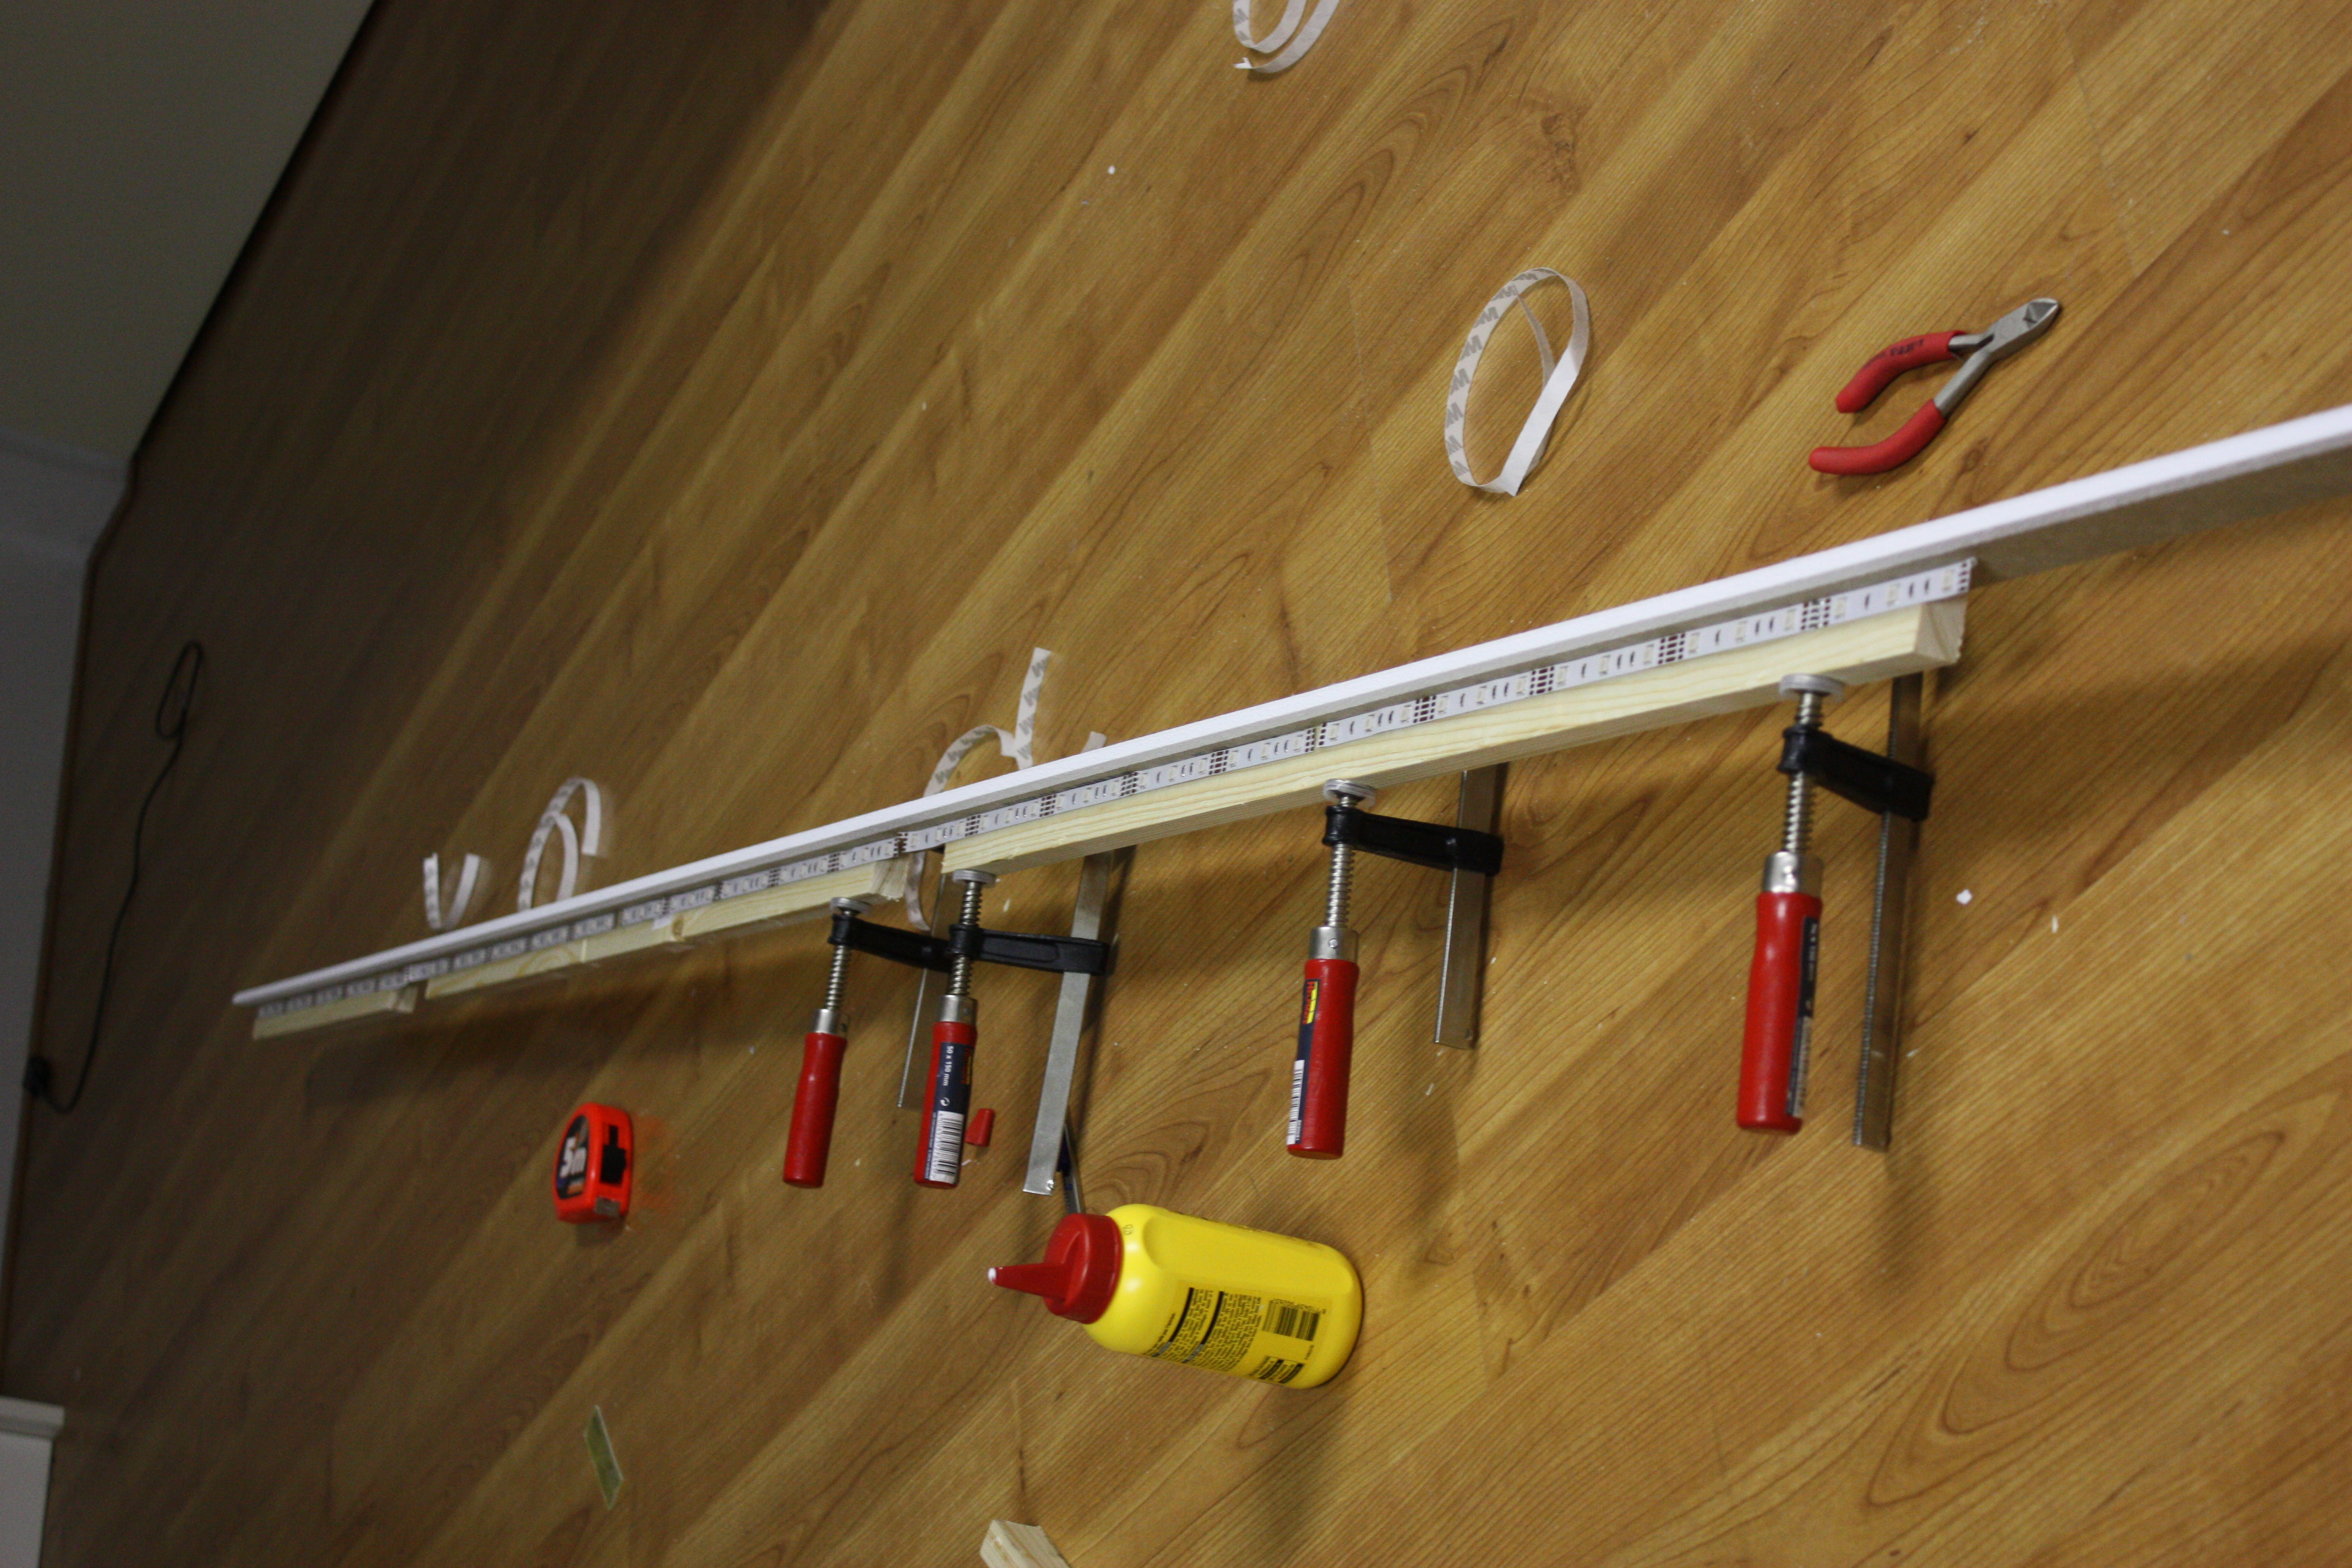
This is one of the three parts I decided to build the thing in. The wood is glued
to the front-plate and the LEDs are stuck onto that. For your orientation: the
unit lies upside-down. You can see the gaps in the wood where the microcontroller-pcb
is supposed to go.
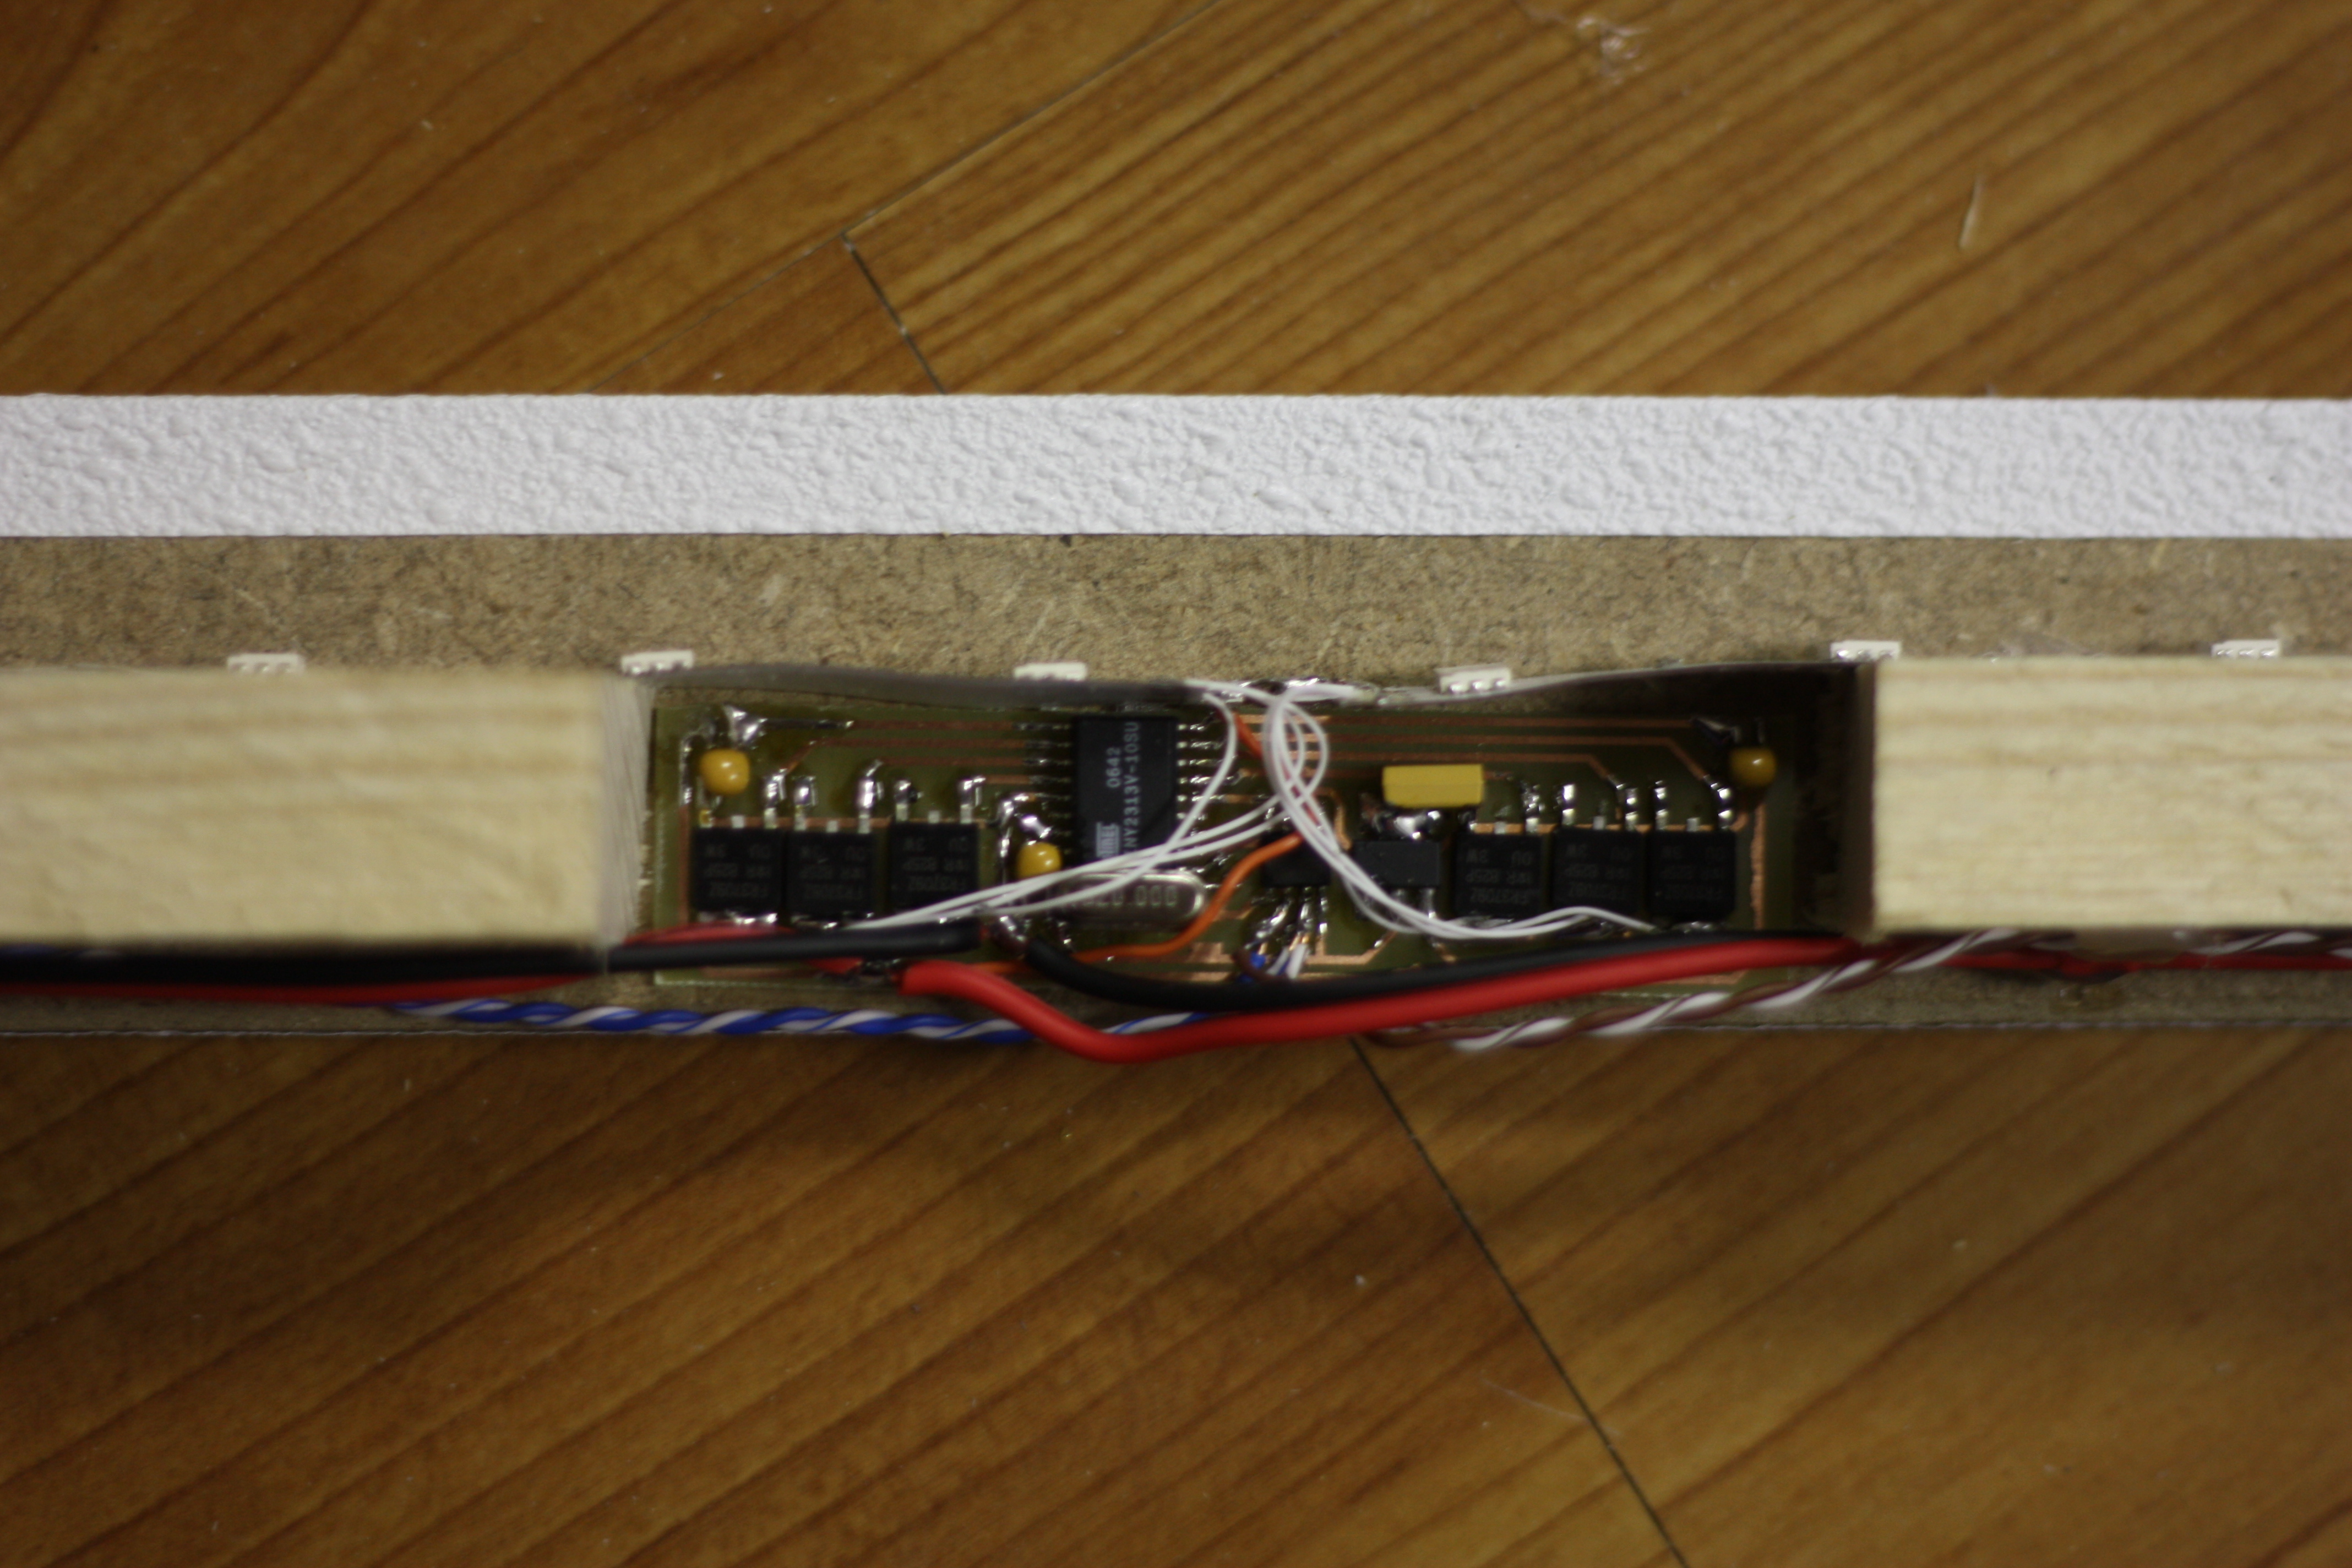
An installed microcontroller, all wired up.
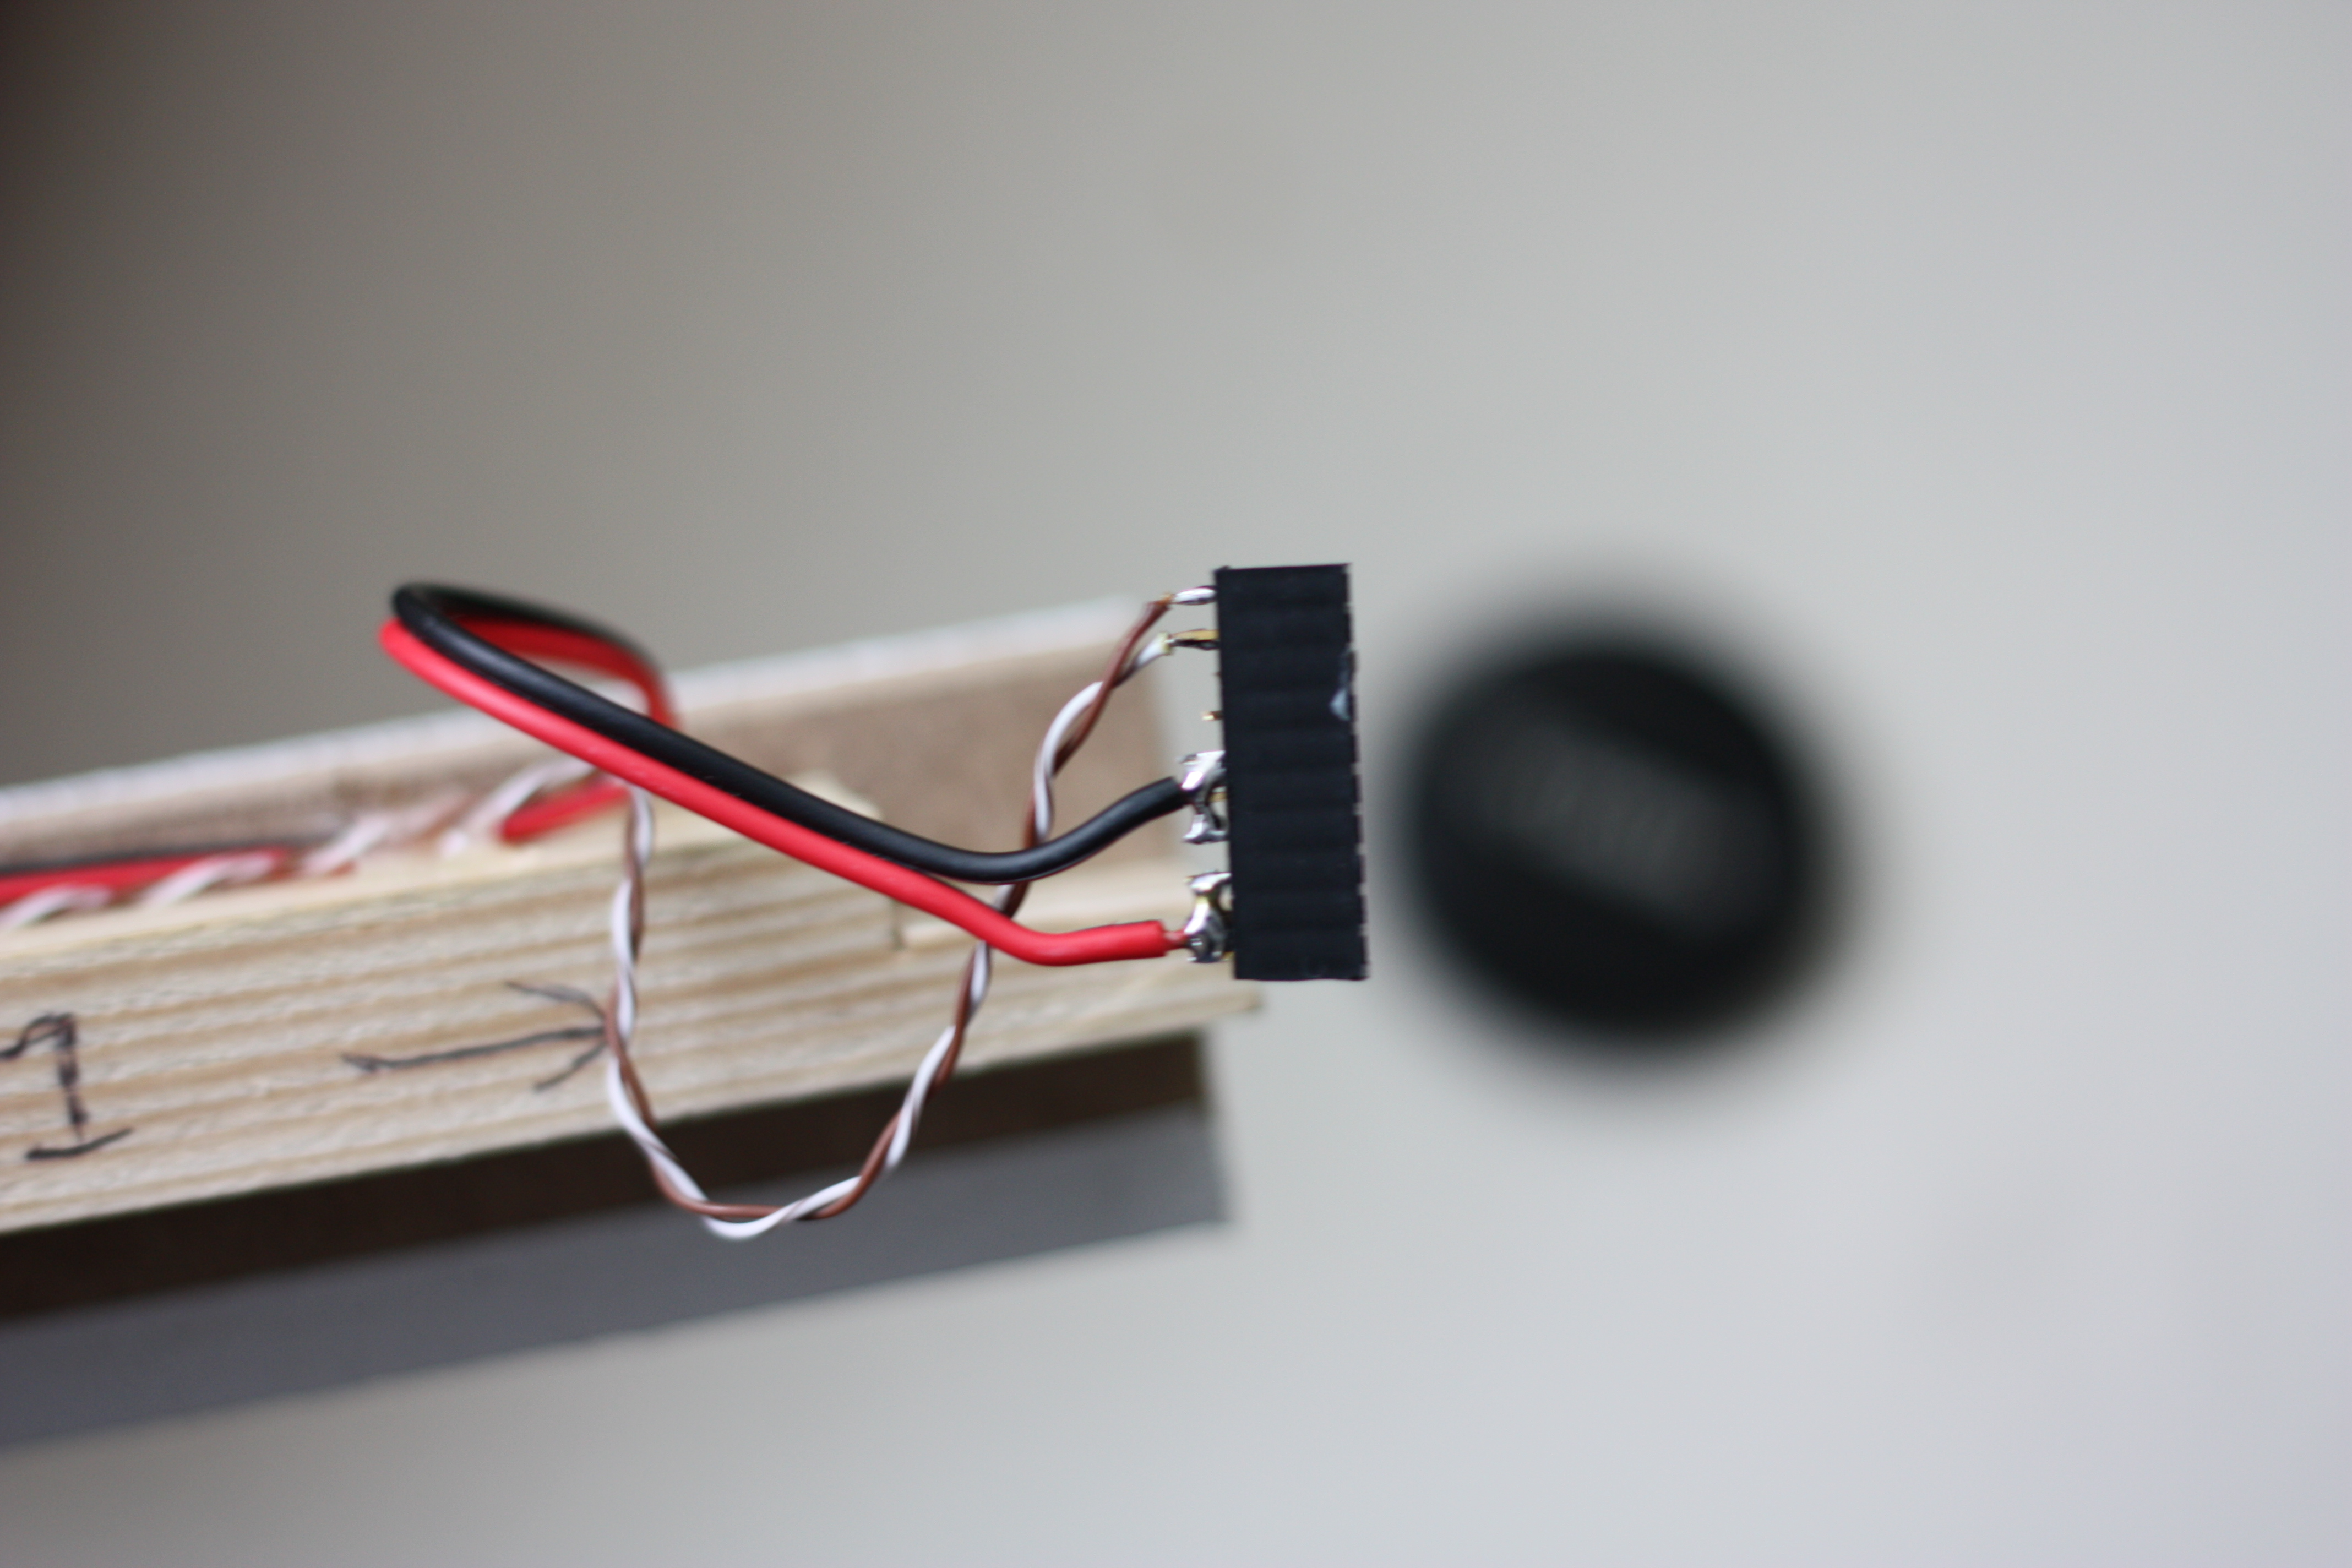
A close-up of the end of one of the segments. I decided on using a standard header
for the interconnects, with 3 pins in parallel for each power supply line. That
way, even
with one bad contact, I still have two others to carry the power.
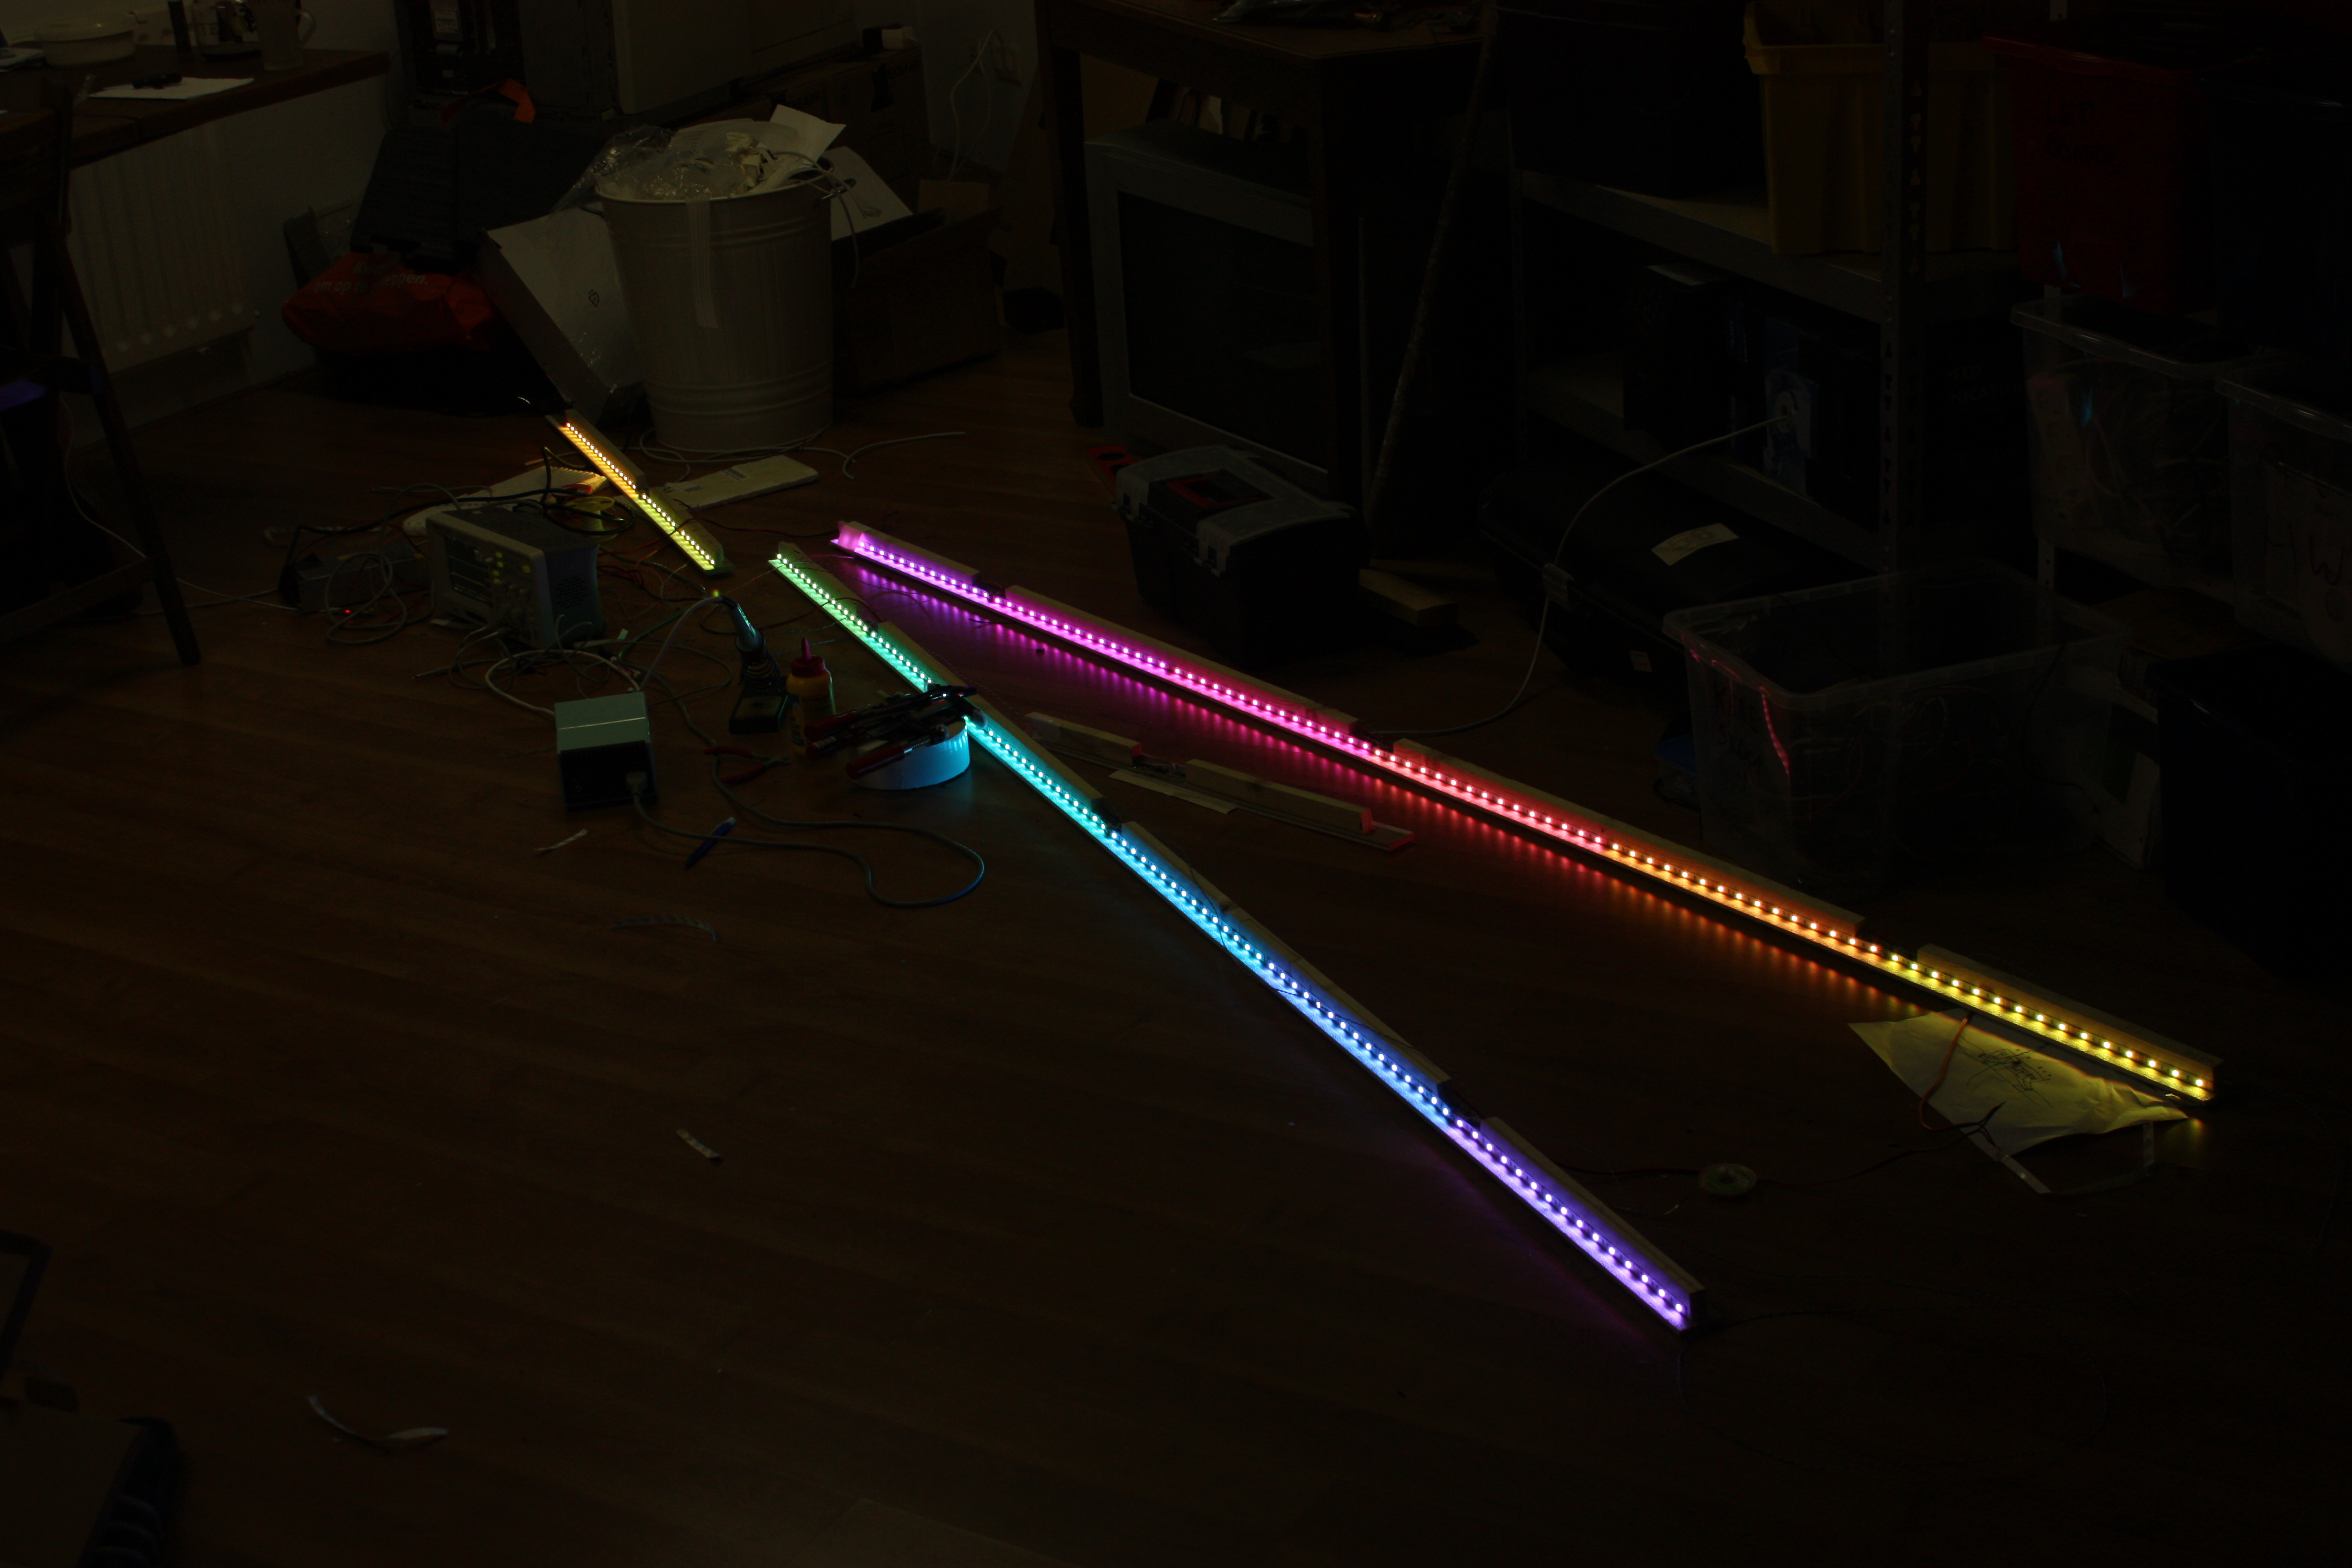
All three units on the ground of my workspace, complete and working. All that remains
is screwing them to the wall. Due to me needing all my hands for that, I don't have
any pics of that process, though.