Building it
The set-up outlined on the previous page depended on a lot of Z80 bus signals to be tapped. One way I could do it was to run a lot of wires to various places on the PCB, wiring the new hardware into the board permanently. I wasn't really charmed by the idea and thought up a different one, inspired by upgrade cards made for old Macs which didn't have upgrade slots yet: I could de-solder the Z80 from the main board, solder an IC socket in its place instead, then plug my board into the socket and the Z80 into a second socket located on the board. That way, I could both tap into the Z80s bus and isolate the Z80s BREQ-line, without needing to alter too much on the arcade machines PCBs.
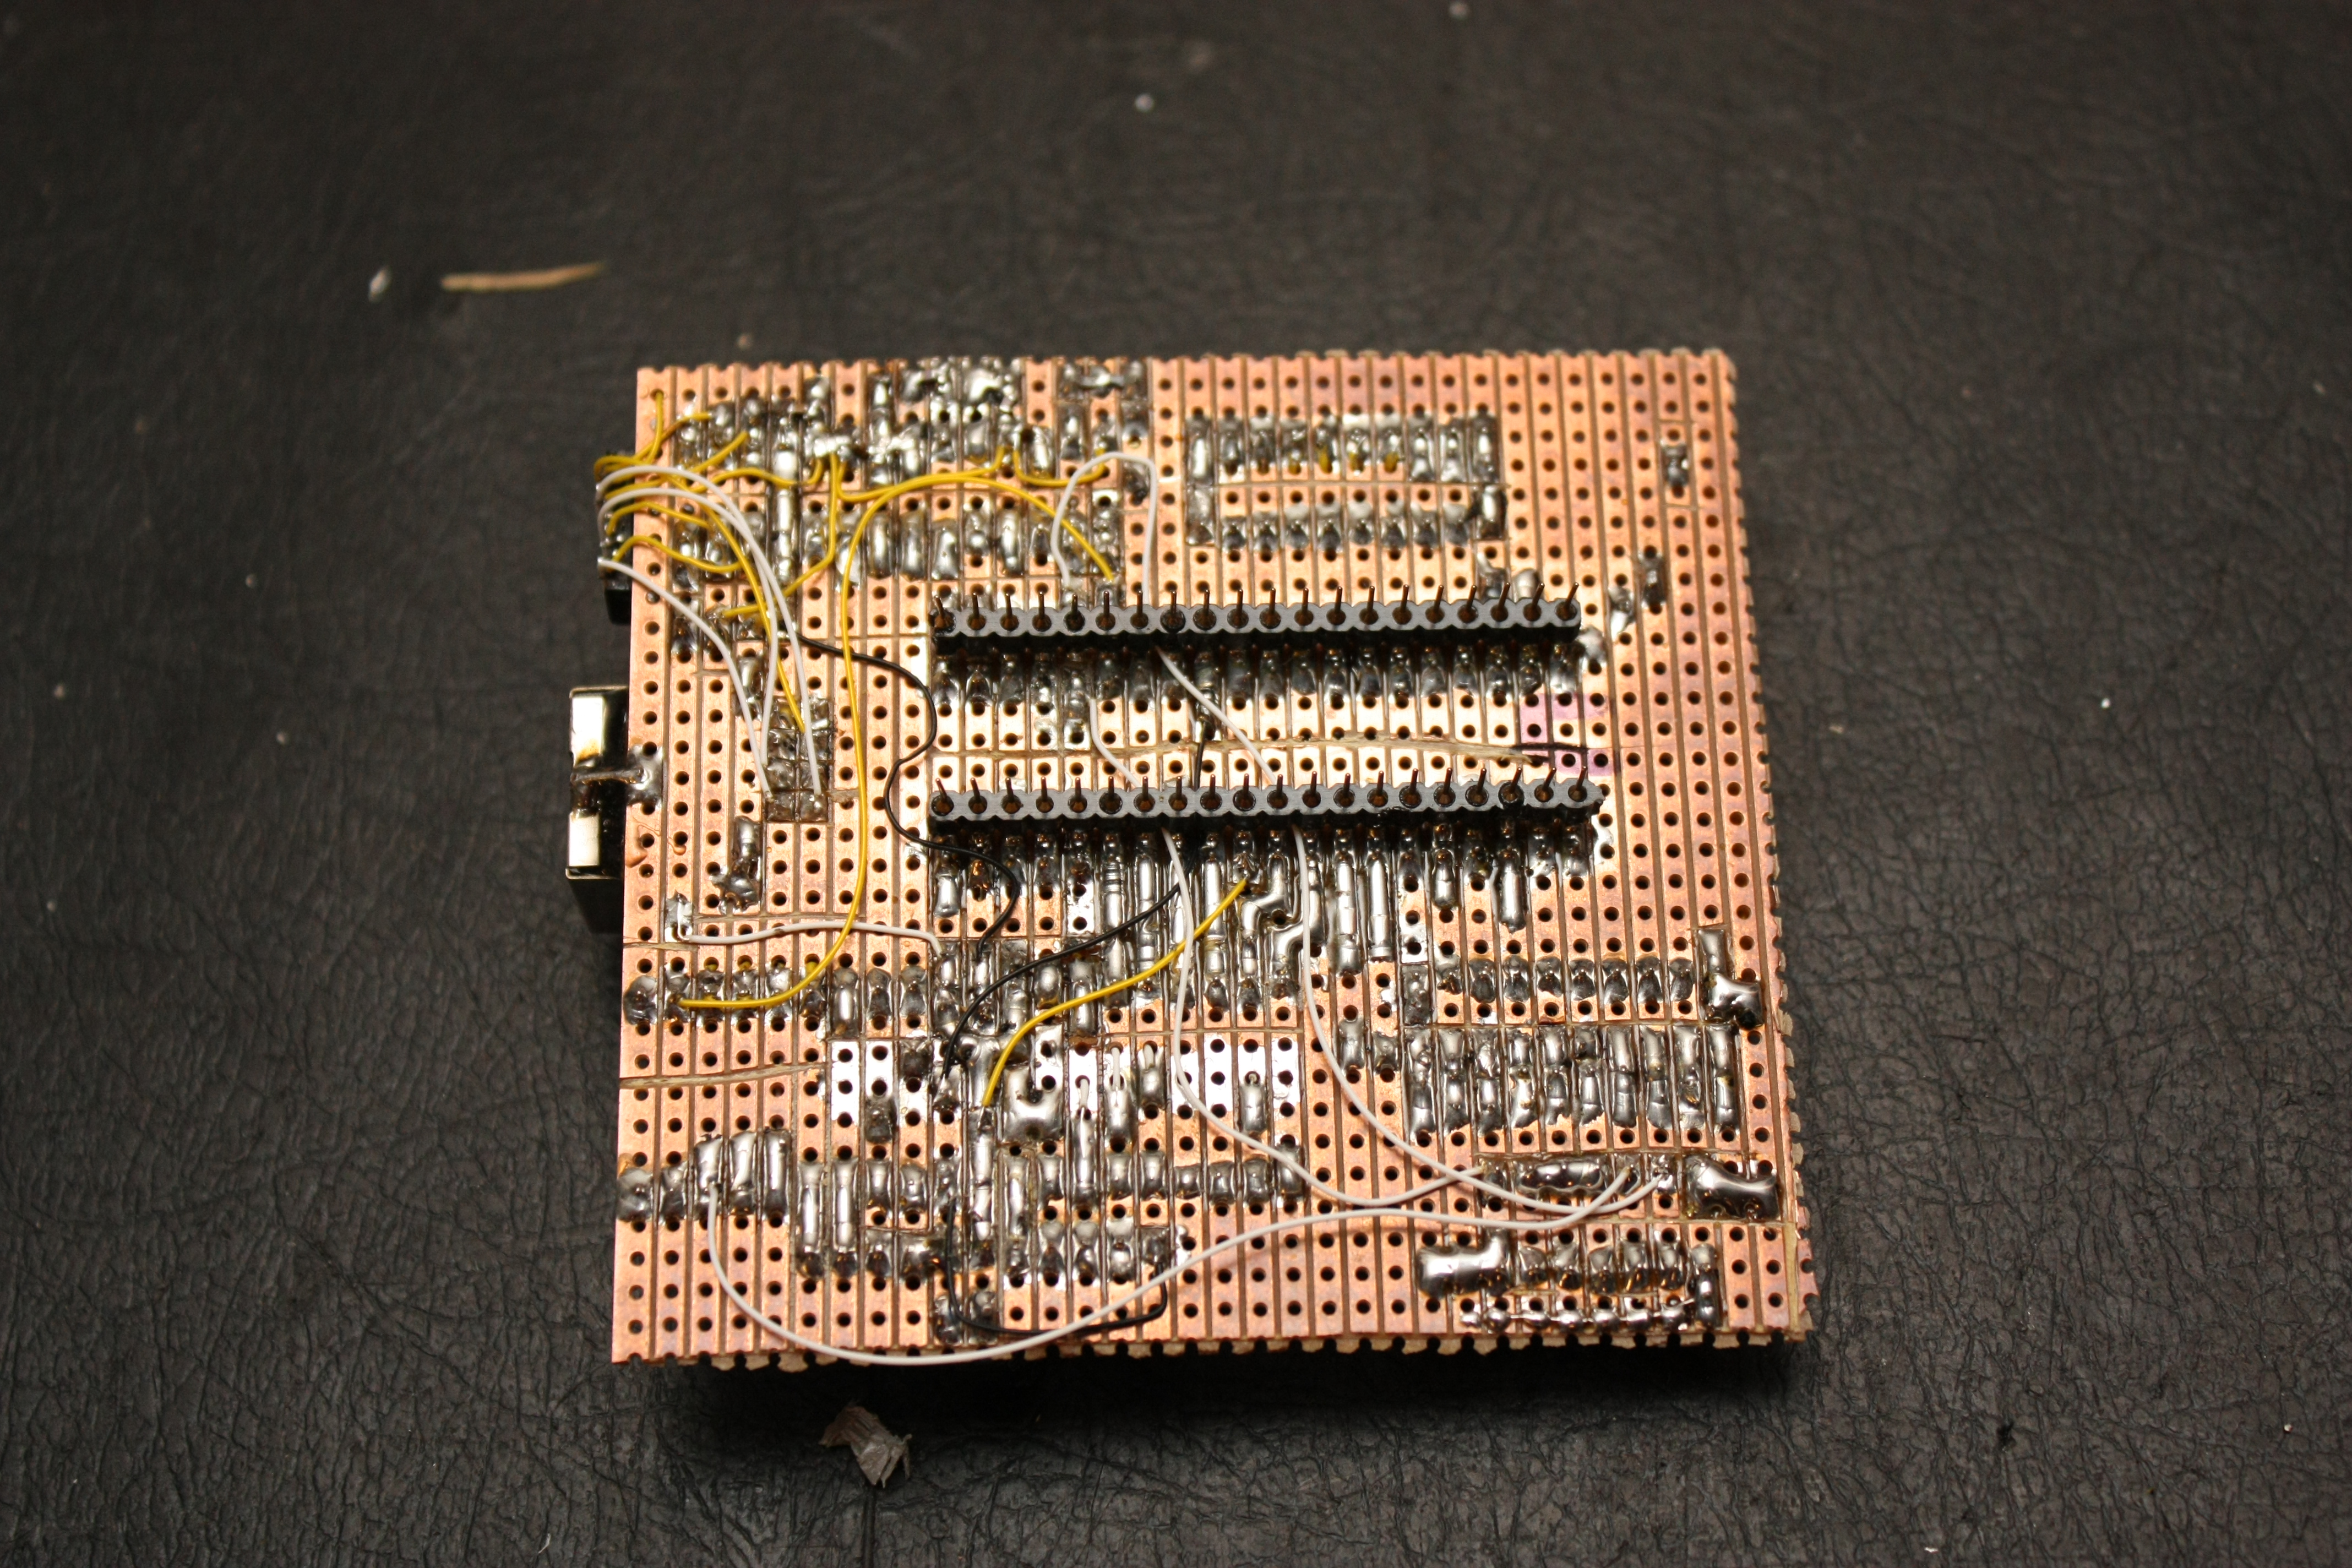
This what I eventually soldered together:
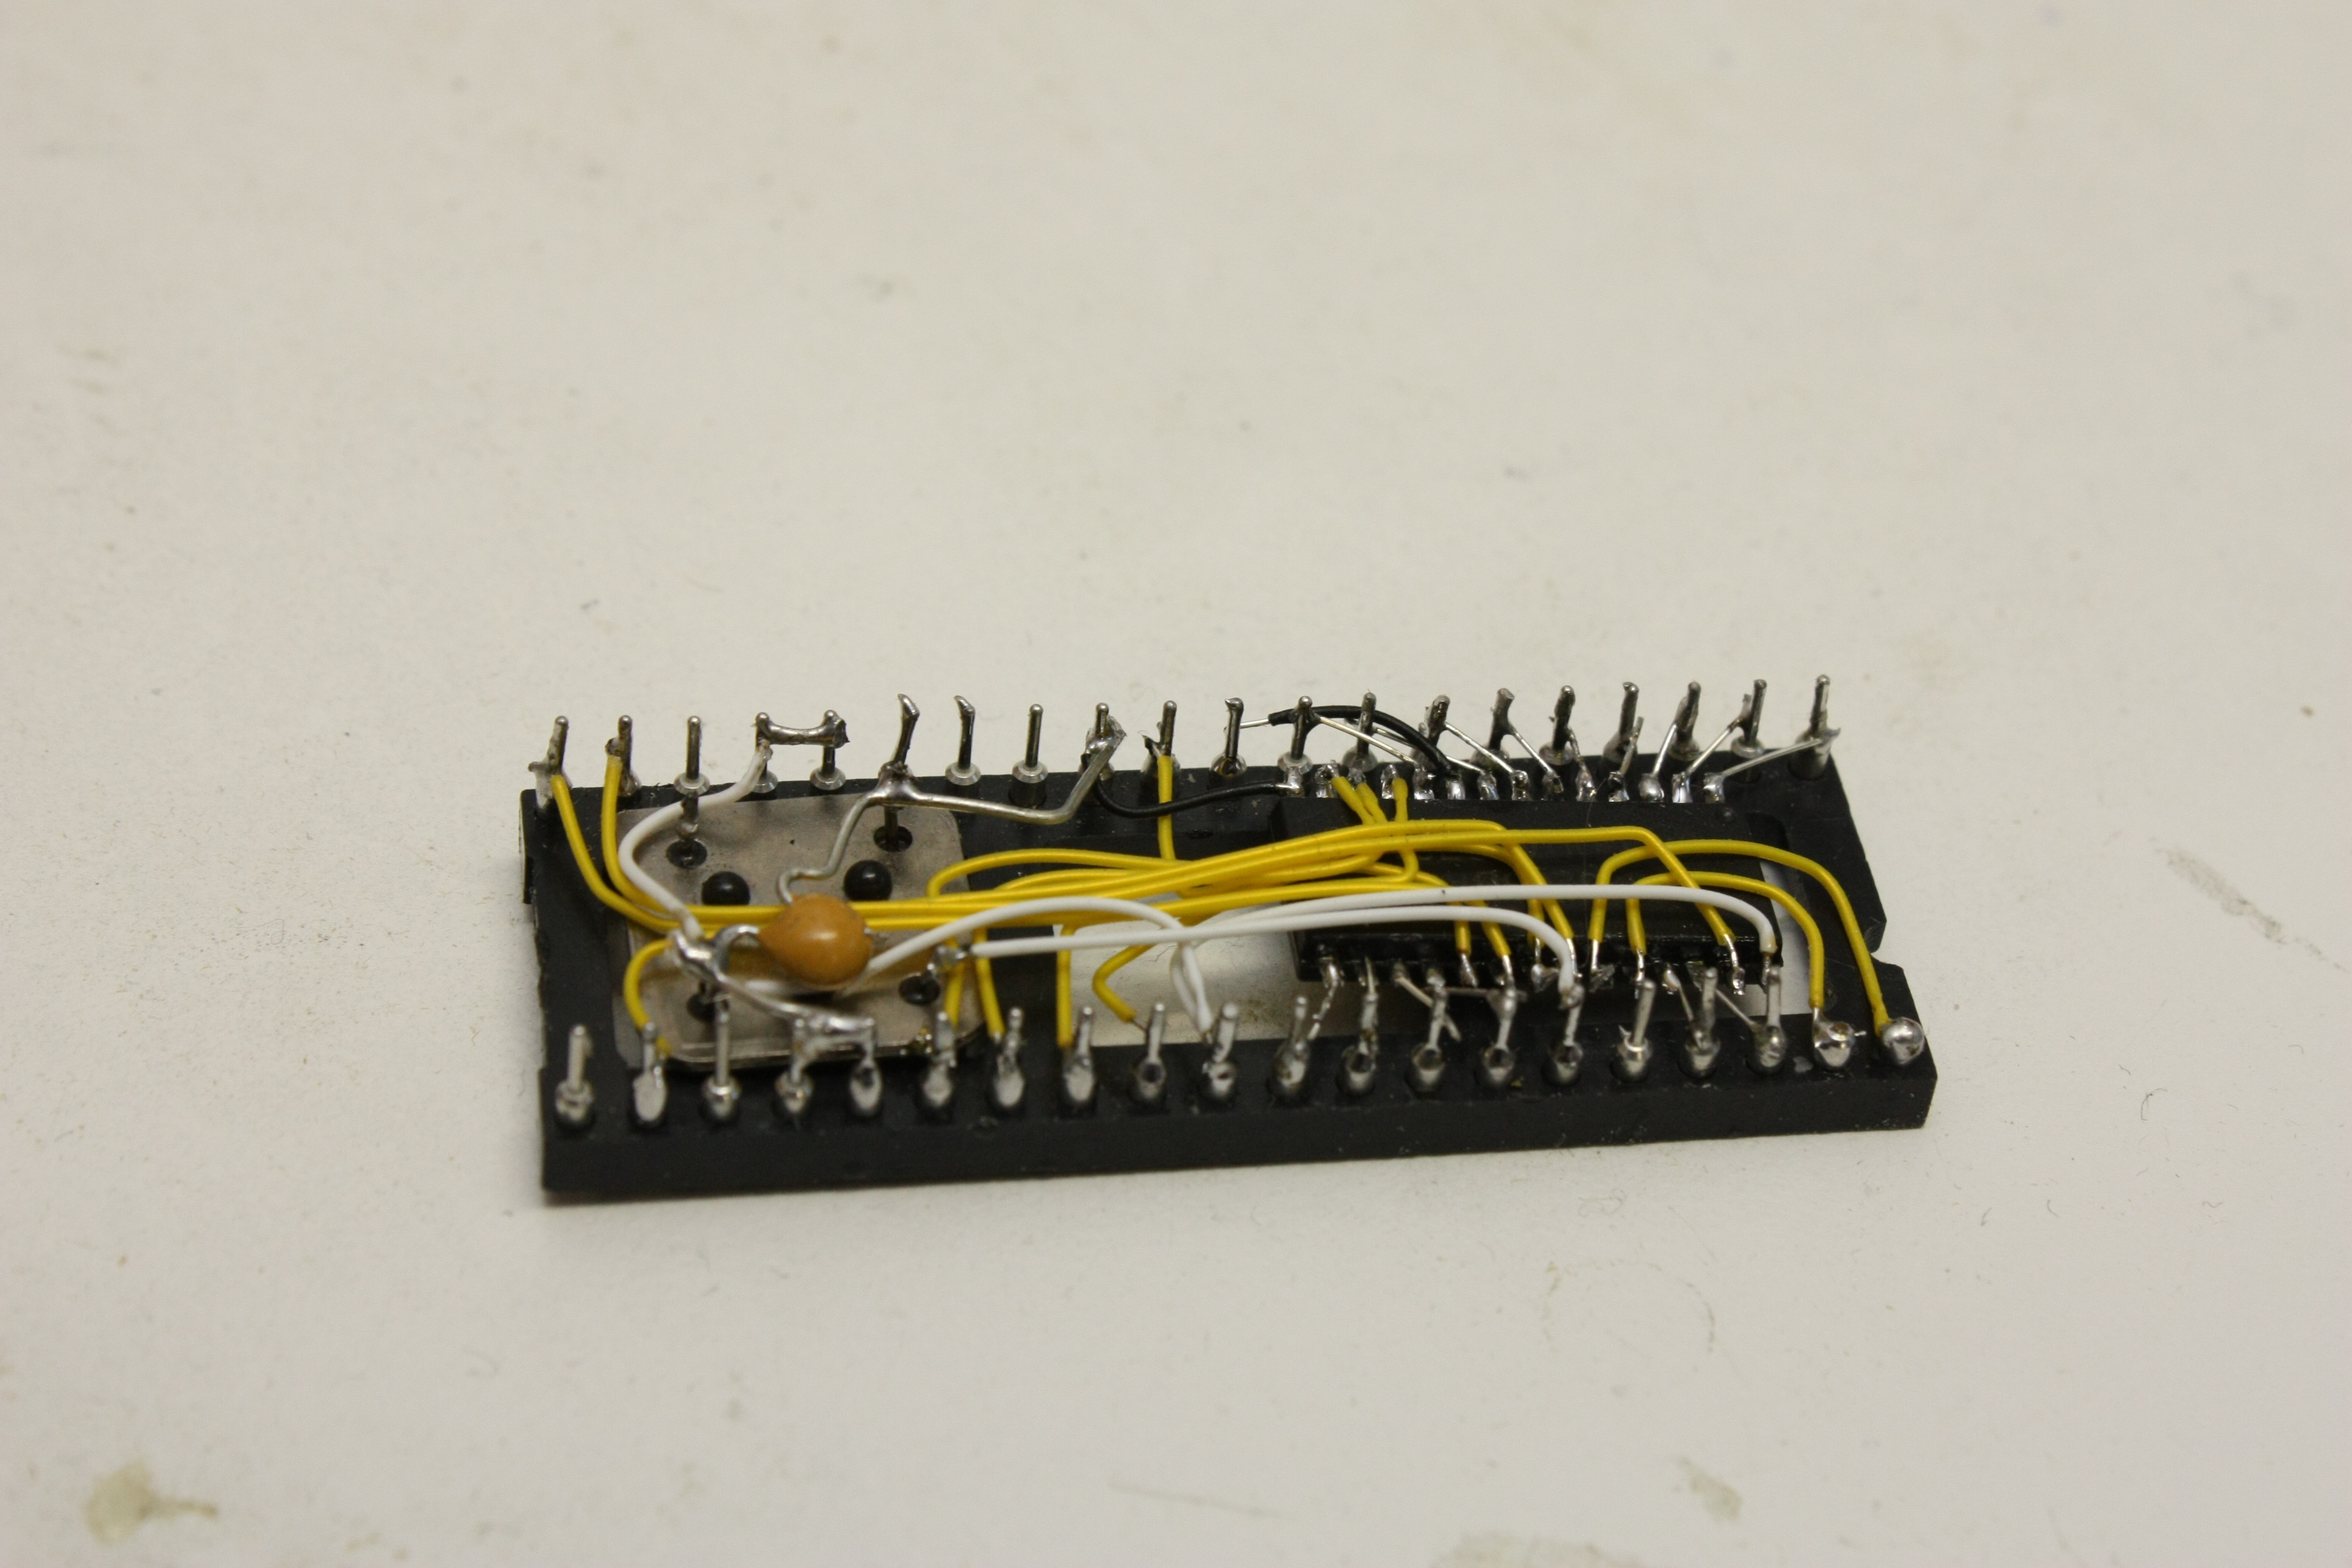
The underside of the PCB is meant to plug directly into the place where the old Z80 used
to be. It has 2 headers of 20 pins each for that:
I didn't dare yet to push this contraption into the arcade machine untested, for fear
of blowing something up I couldn't replace easily. That's why I built a small testing jig:
It's basically a piece of SRAM connected to the Z80s bus and a crystal oscillator to give the Z80 a clock signal. Coupled with the Z80 on the PCB, this makes for an extremely small but functional Z80 system, great for testing if everything worked... and if it didn't, the worst that could happen is me blowing up a few euros worth of replacable chips, instead of a complete arcade cabinet.
I tested this contraption by making the Z80 into a big and stupid co-procesor for the AVR: on boot-up, the AVR would write a program to the SRAM chip that would cause the Z80 to add the values of two memory locations and store the result in a third. The AVR would then reset the Z80, which would run the program. Now, by writing two bytes to the memory, it could delegate the hugely difficult task of adding two eight-bit numbers to the (slower) Z80! I think this is one of the more idiotic things to do with two processors working together, but if anything it proved the concept: the Z80 kept running and the AVR got back the correct result every time.
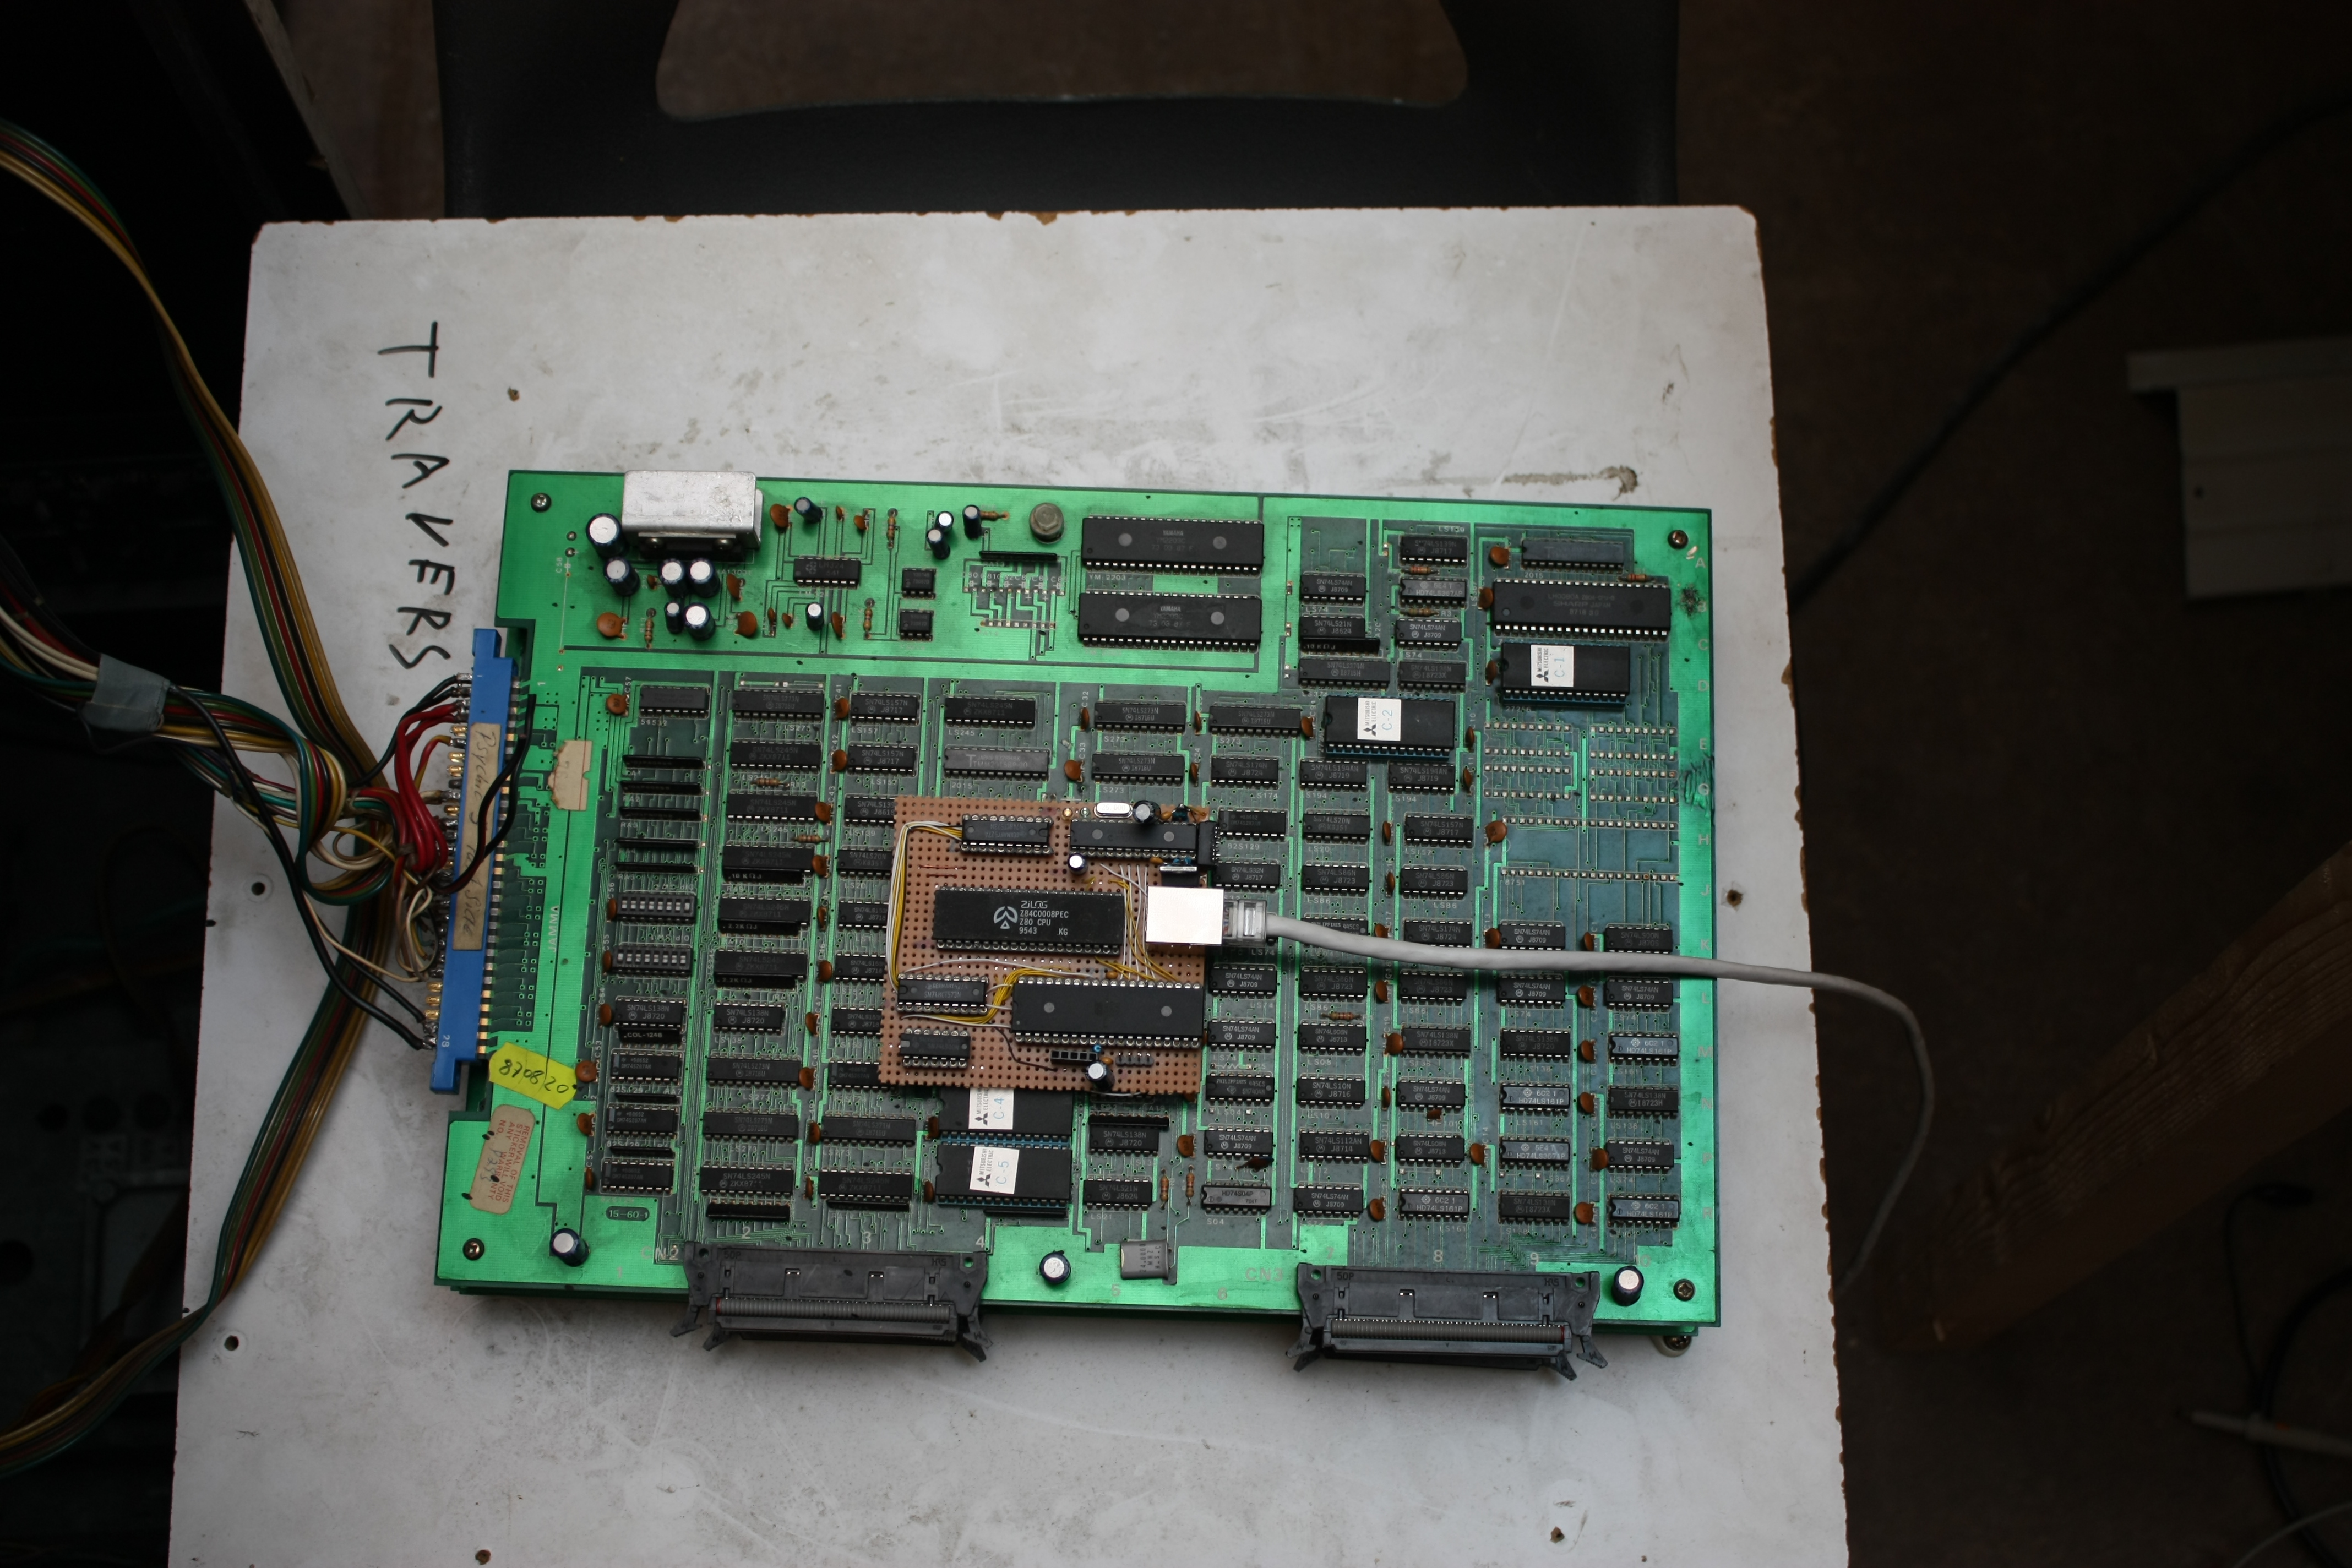
On to the real hardware! I desoldered the Z80 and put a socket in it's place. (It's
the big one in the middle of the board.)
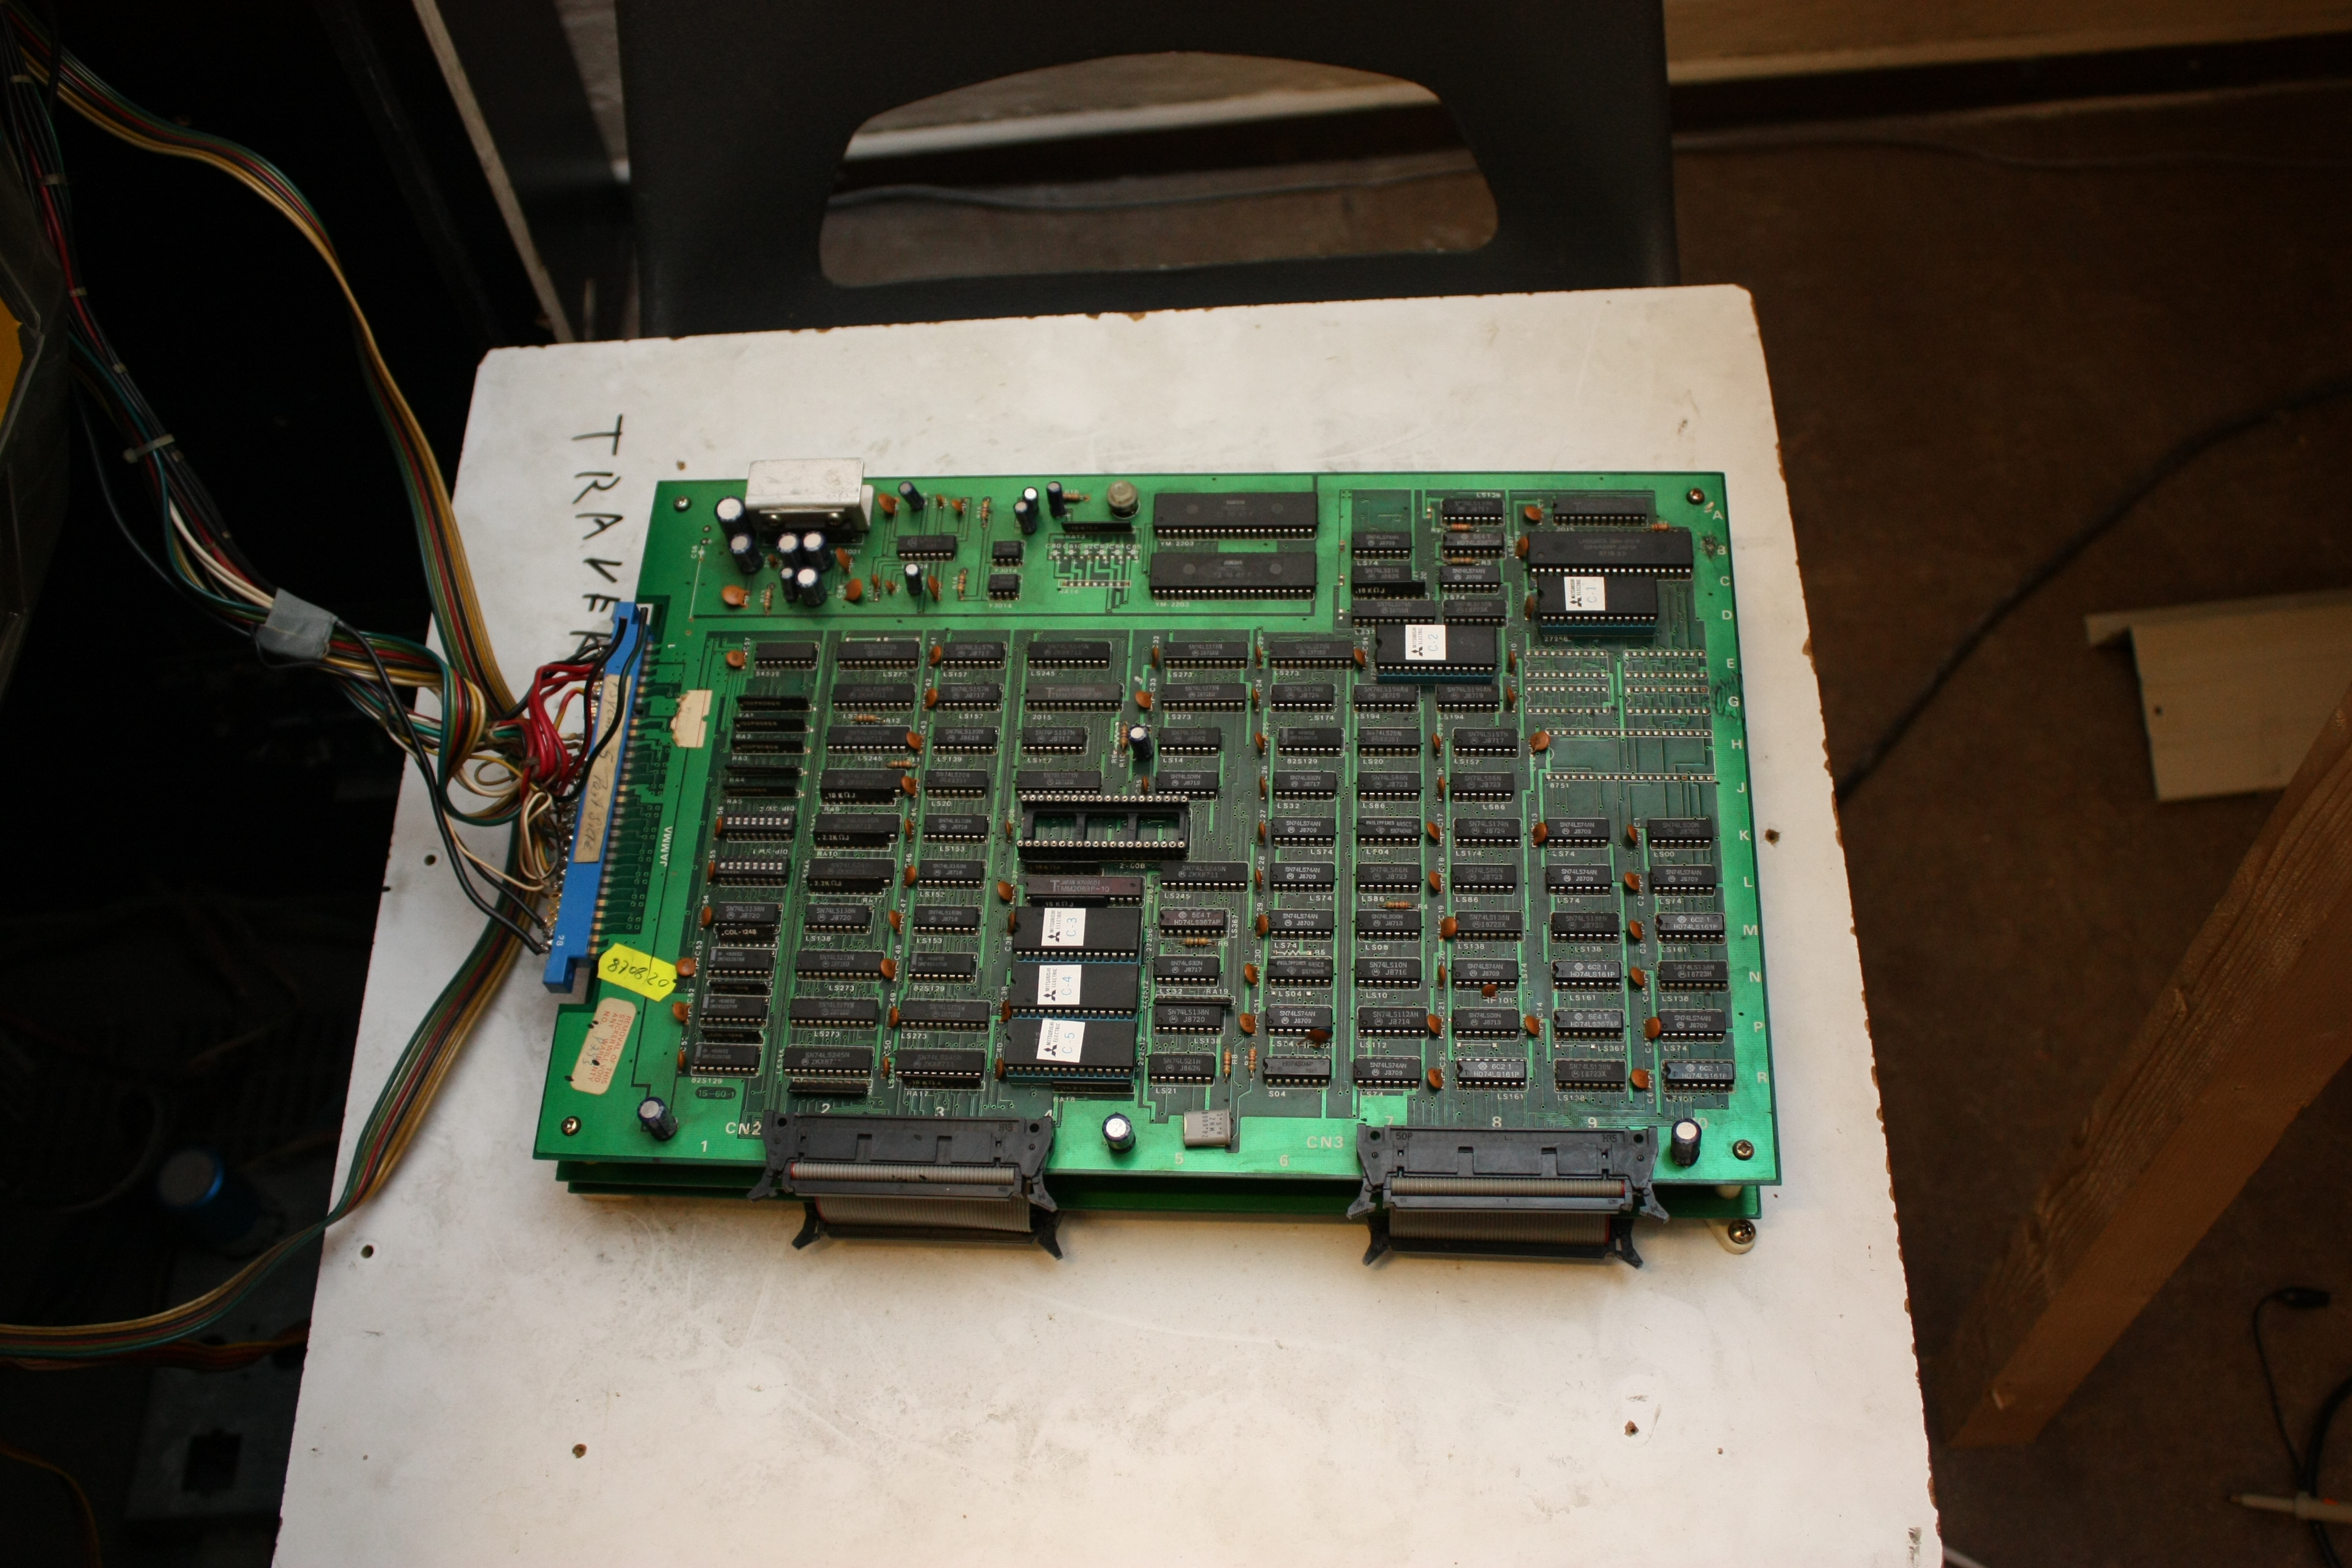
And the PCB fits on the main arcade PCB like a glove:
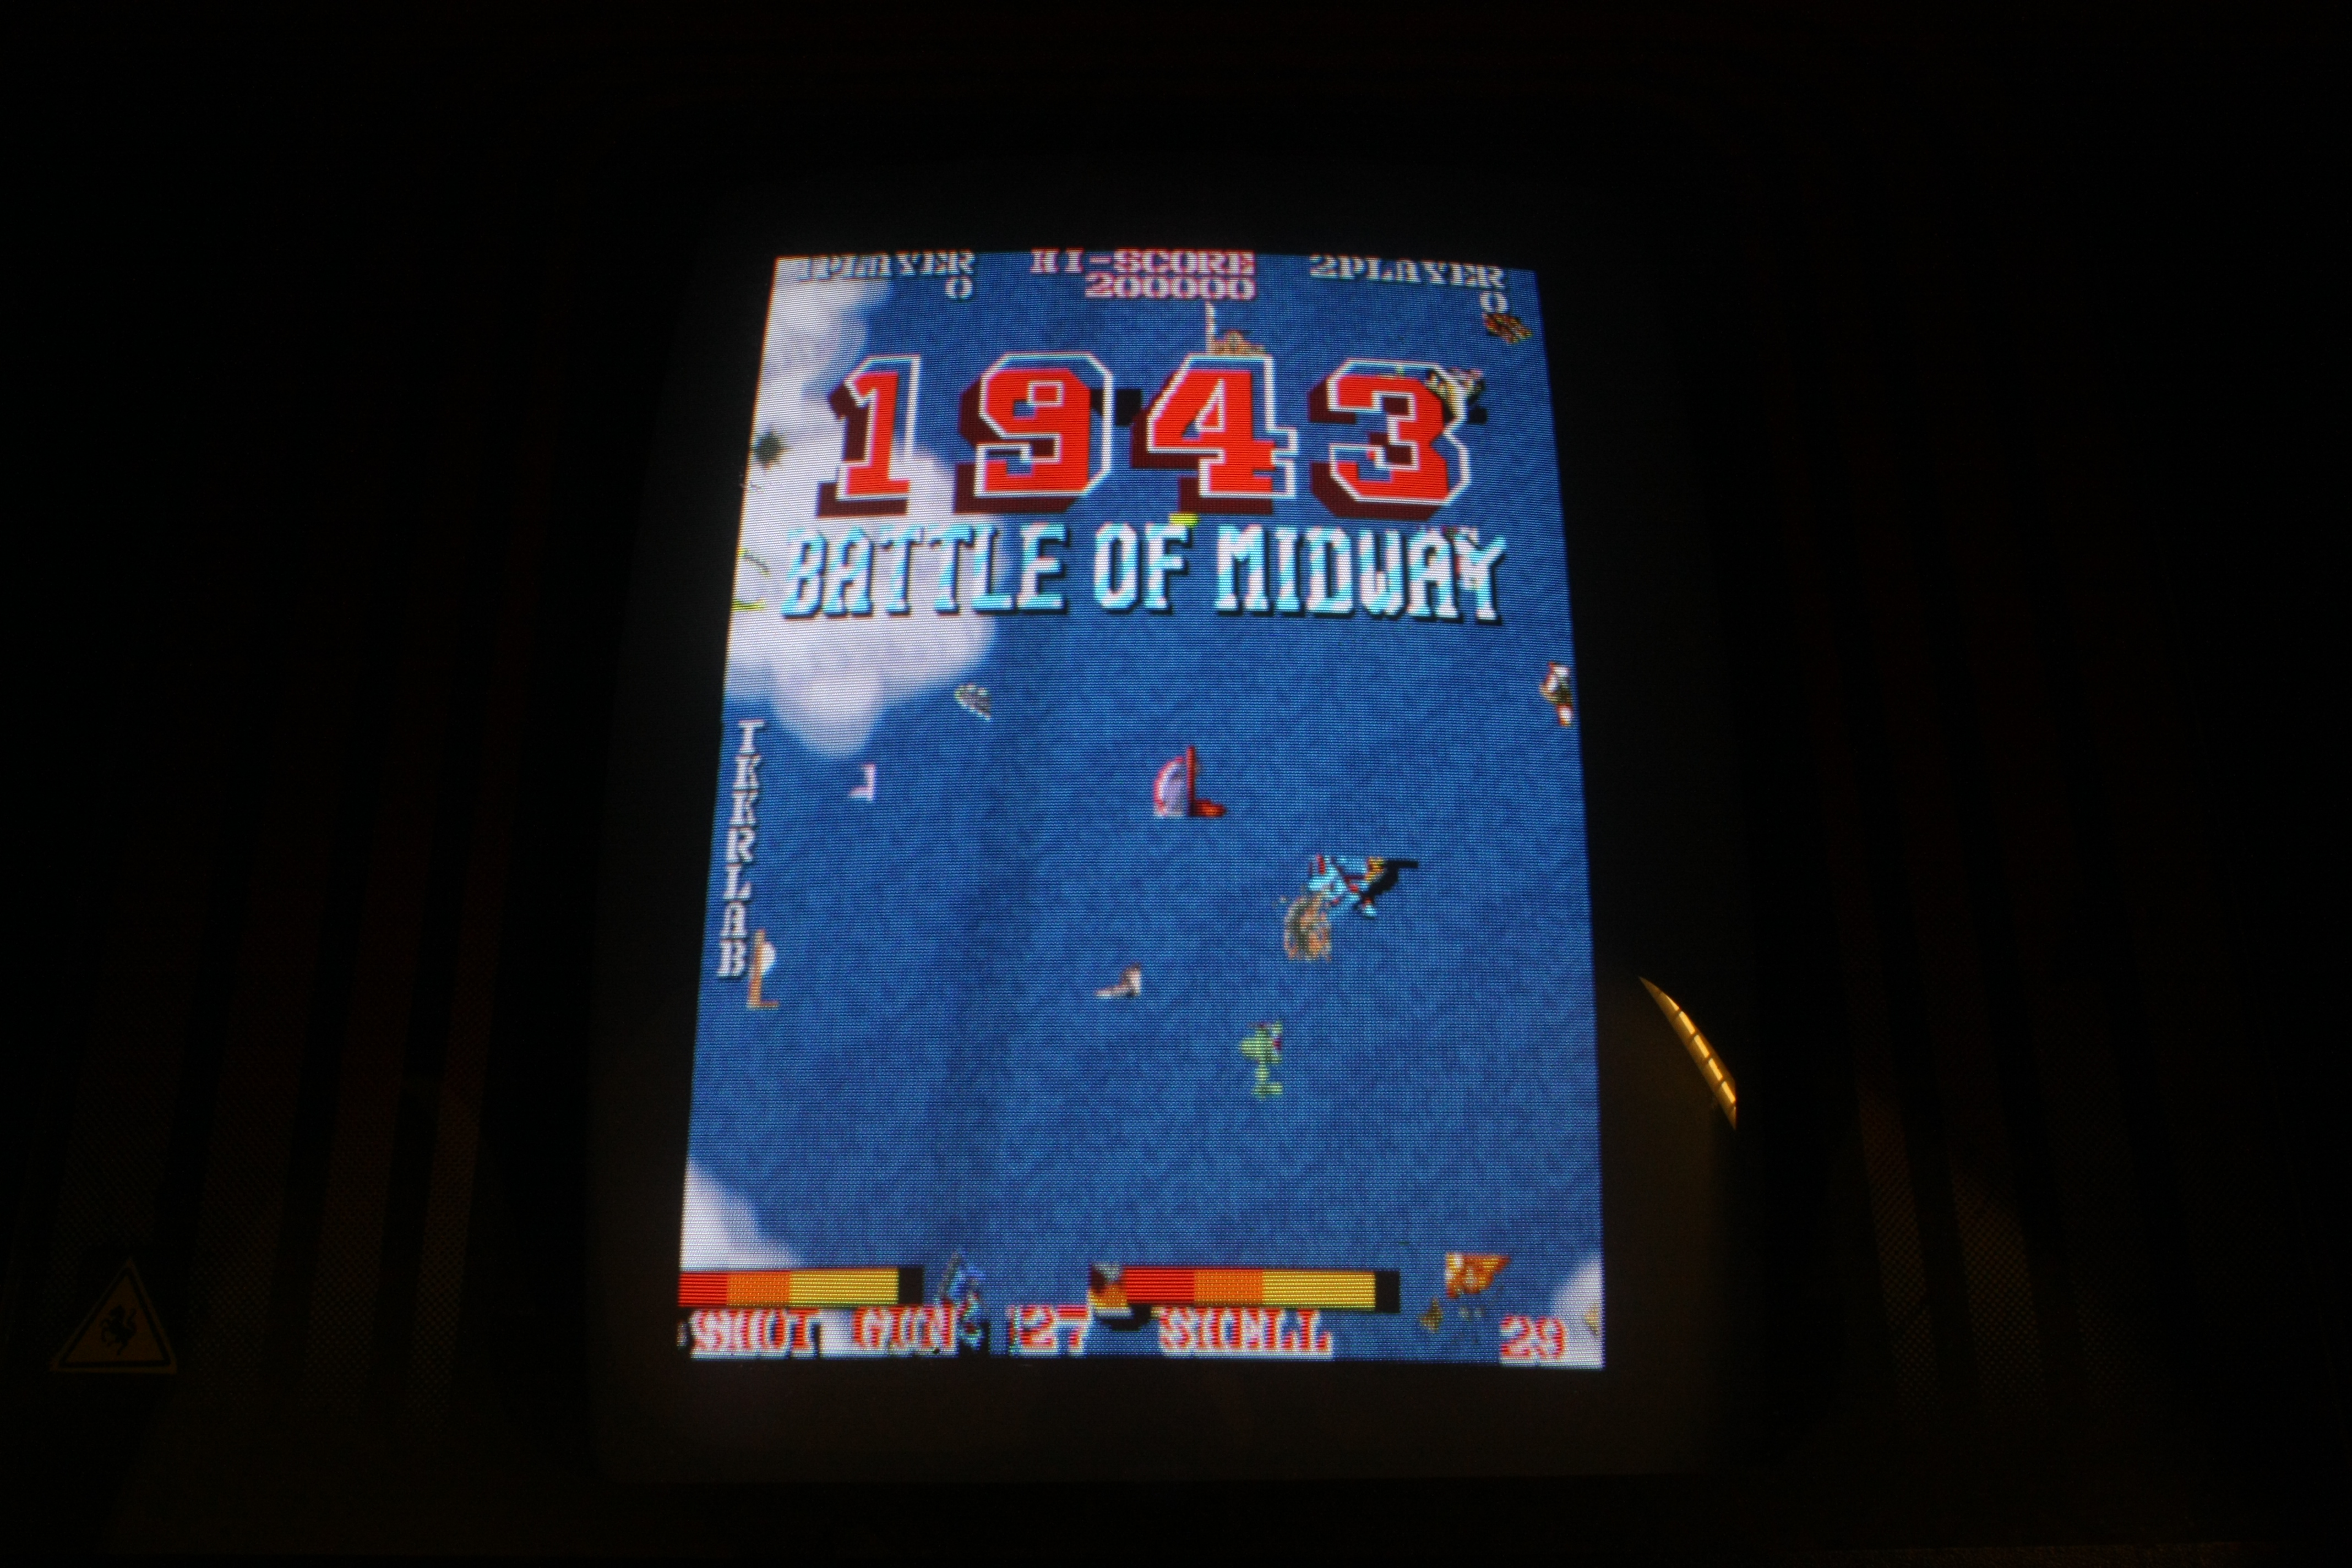
First light, the hardware works! The firmware-in-progress can sucessfully write some bytes to the video
memory; proof of that is the vertical 'TKKRLAB' text on the left of the screen.