Implementation
I implemented the schematic on the previous page on prototyping pcb, ending up with
a really cute and tiny constant current source:
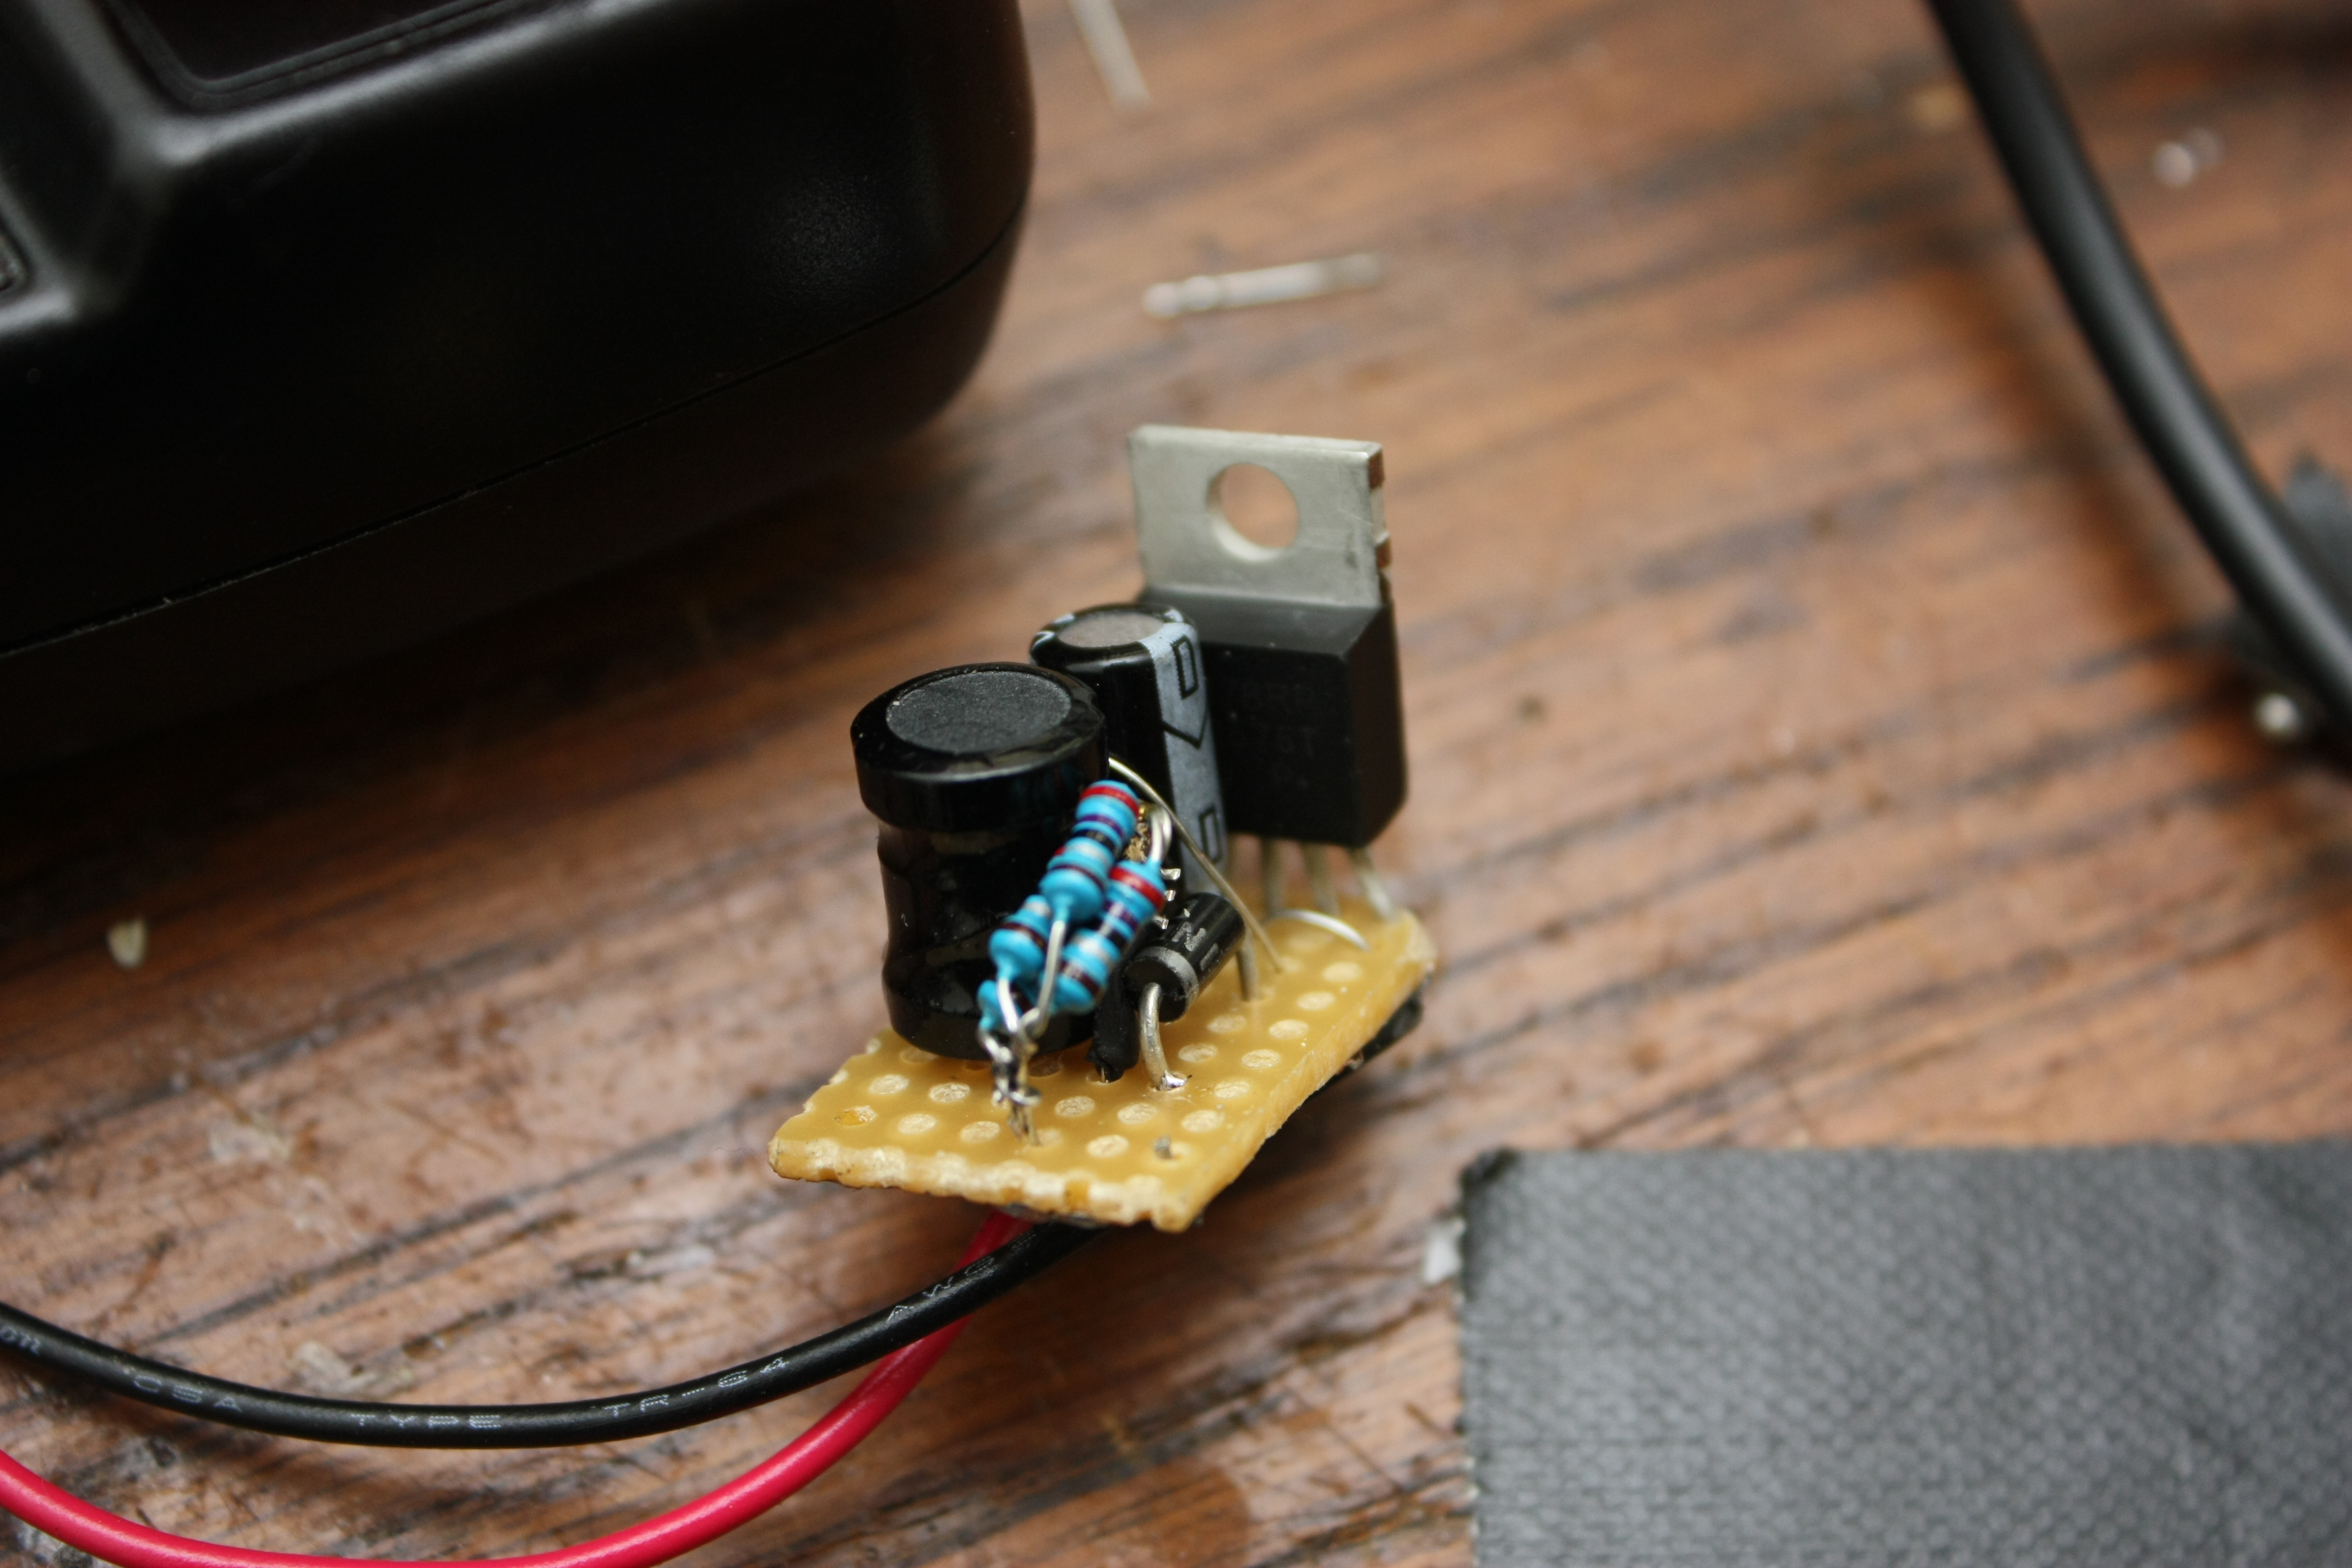
As you can see, I didn't have a 0.7 ohm resistor that could shed half a Watt, so I
just took some quarter-Watt resistors and connected them in parallel until the
total was 0.7 ohm. Looks ghetto, works just fine.
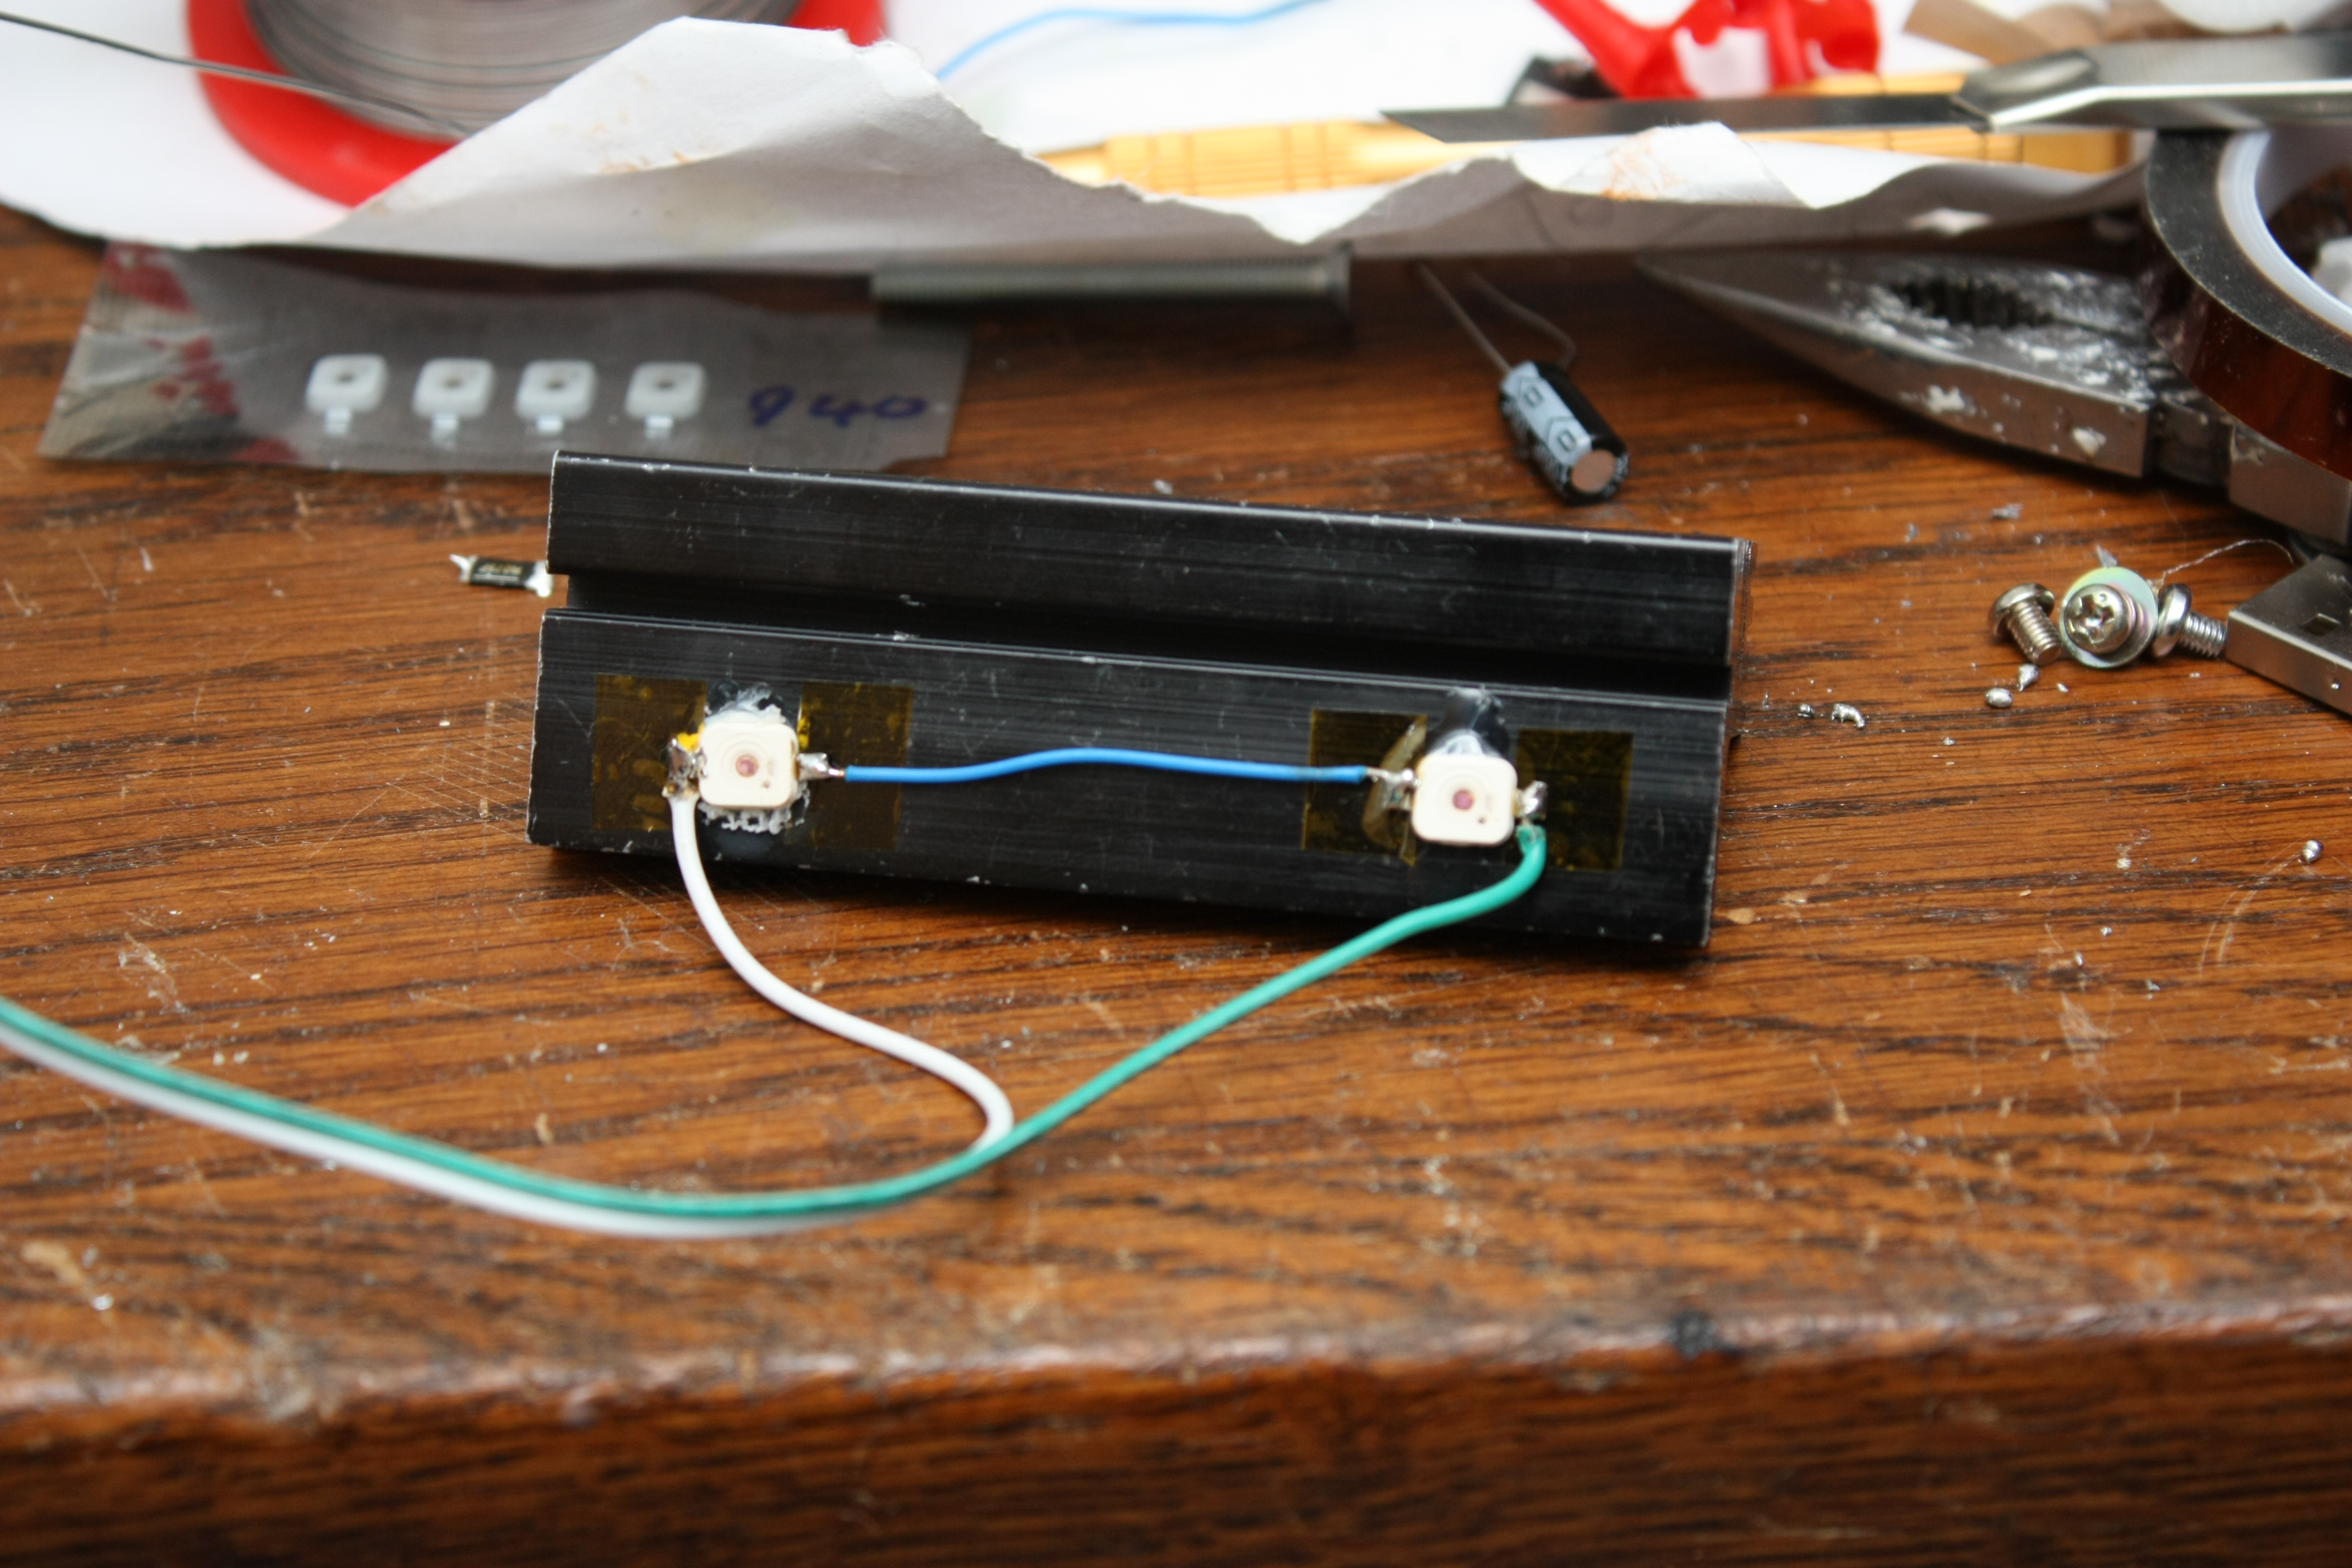
Here are the IR-transmitters, glued to a nice big heat sink. They're actually
on at full power here but thanks to the good IR-filters in my camera all you can
see is the reddish glow that's visible to the naked eye too.
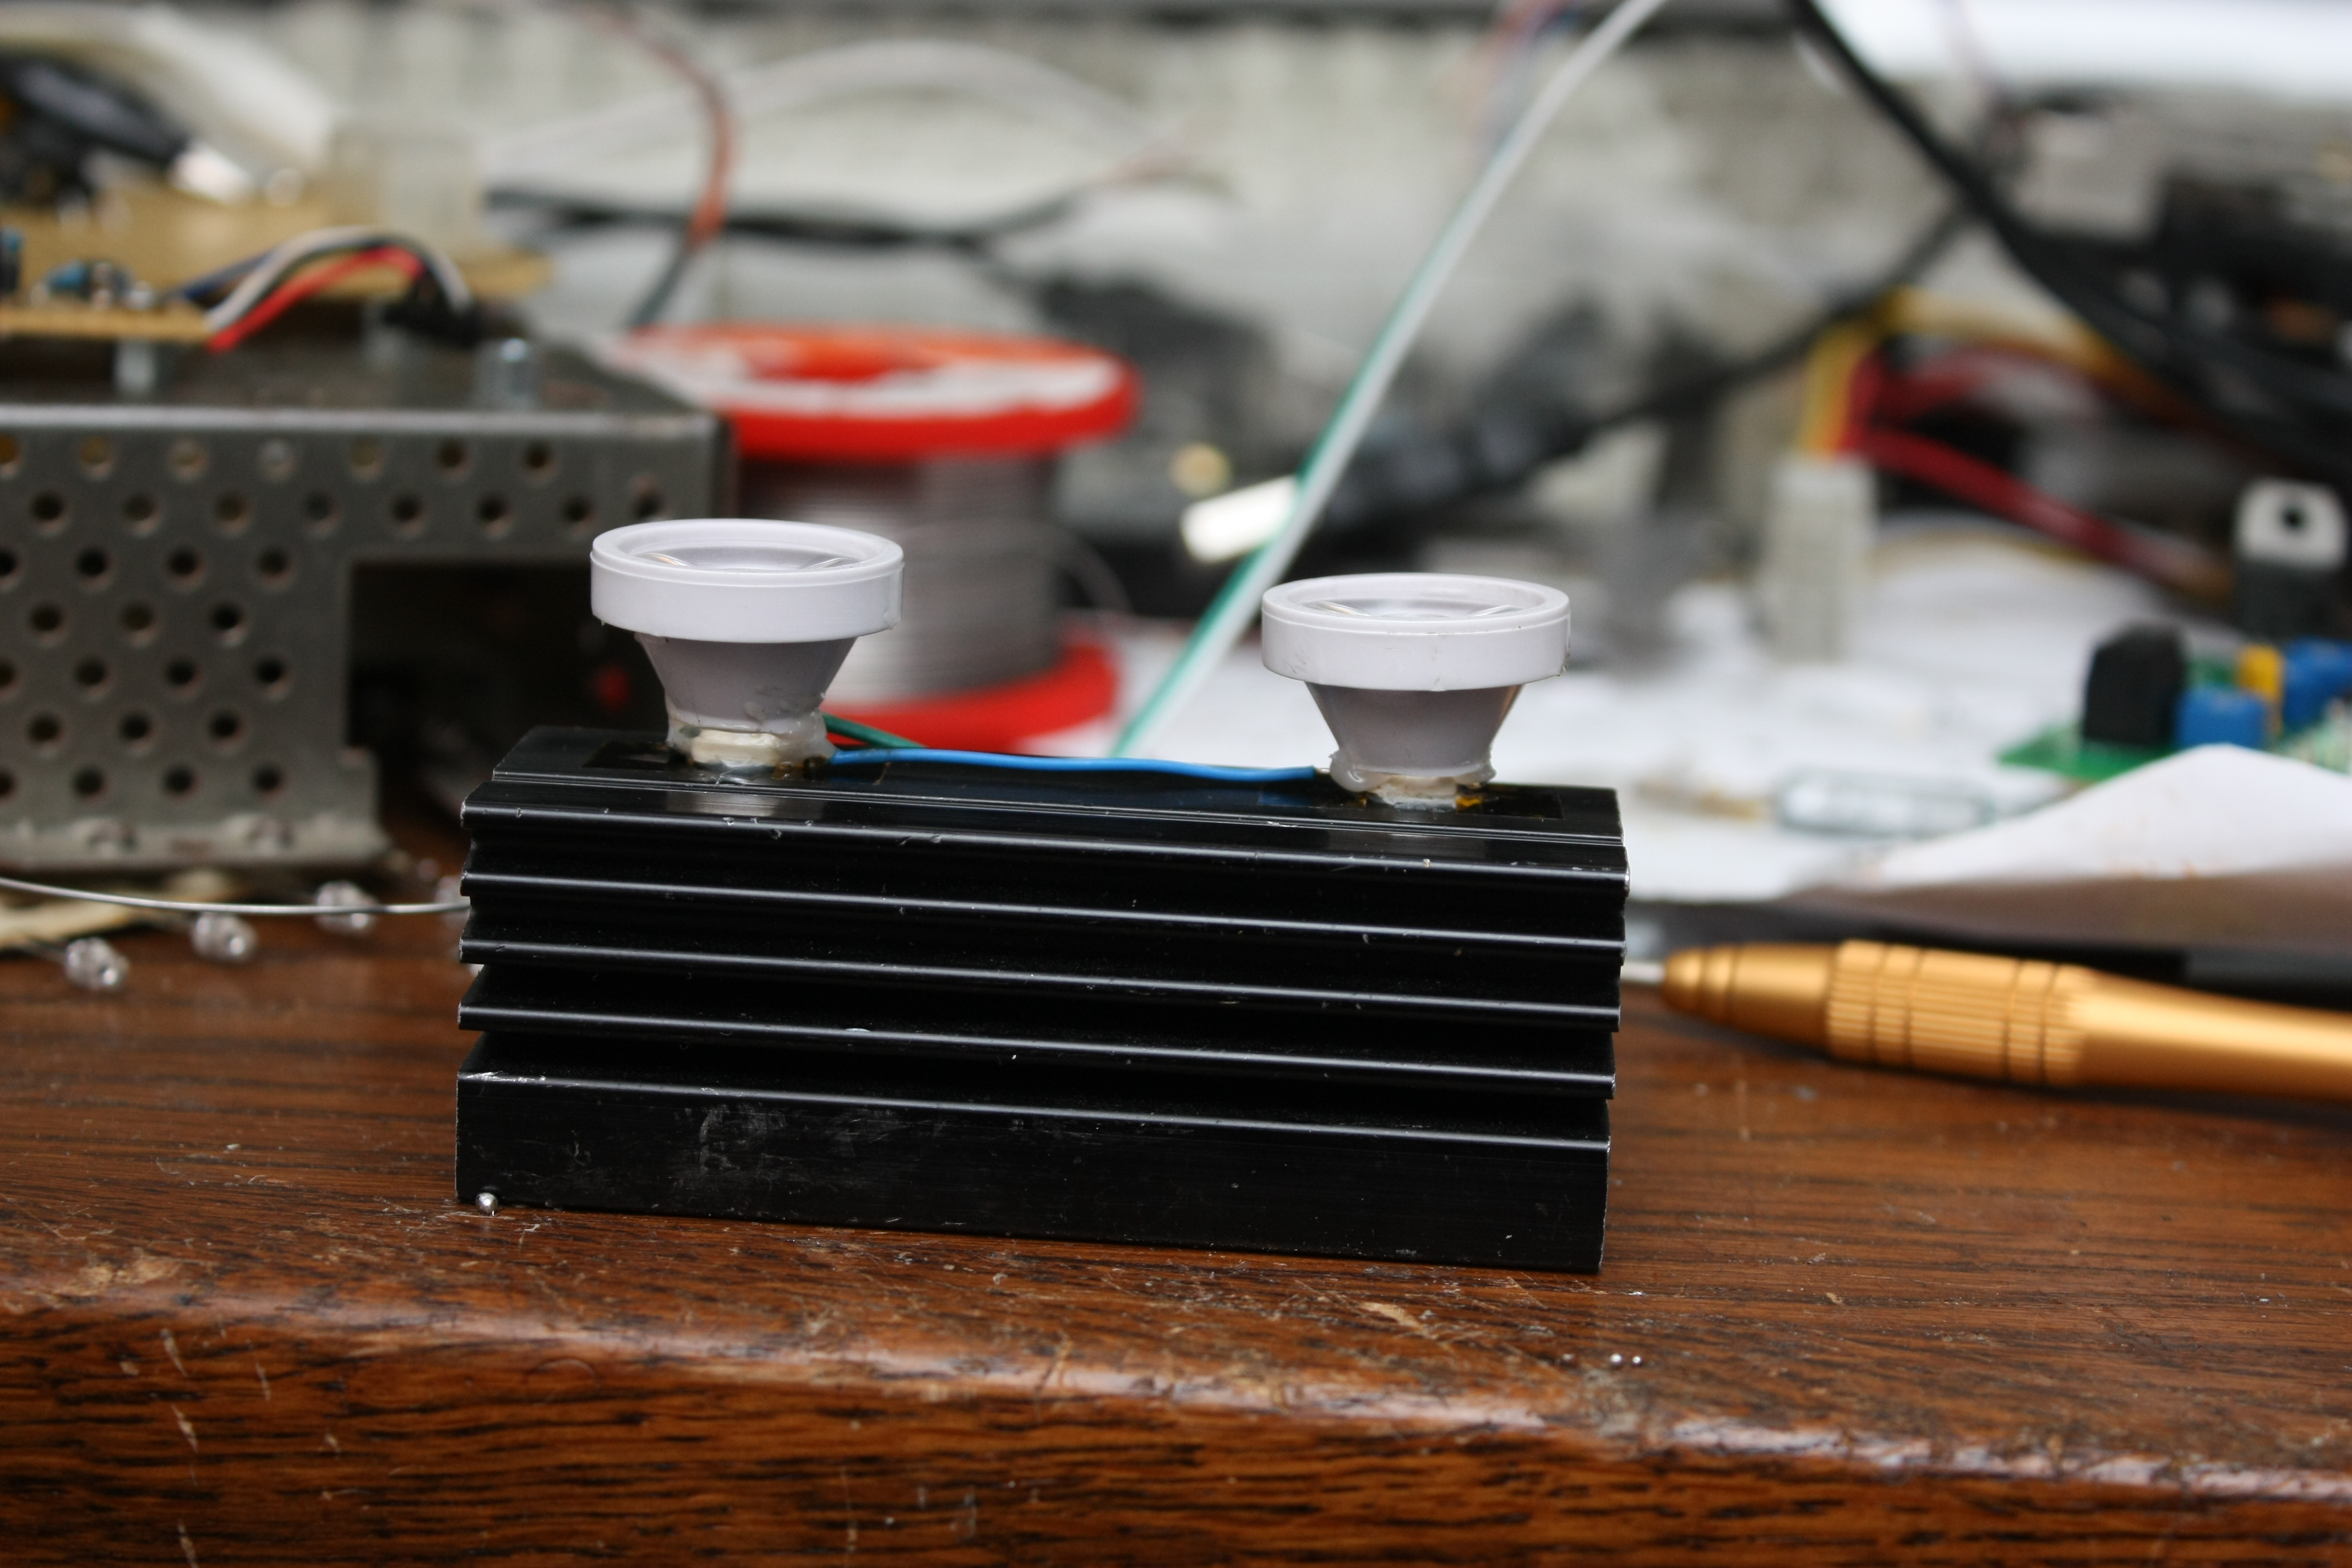
The leds actually have an emission angle of 120 degrees, which is way too much
for my use. I took two reflectors, meant to go over those Luxeon leds, and cut them
down until they fit over the two leds, giving a nice bright spot of IR instead
of spreading all the light: the light would now be spread at an angle of 30 instead
of the previous 120 degrees. If you want to do this at home: any really cheap
webcam or phone-cam usually sees IR, so having a laptop with the webcam image visible is a
real help here.
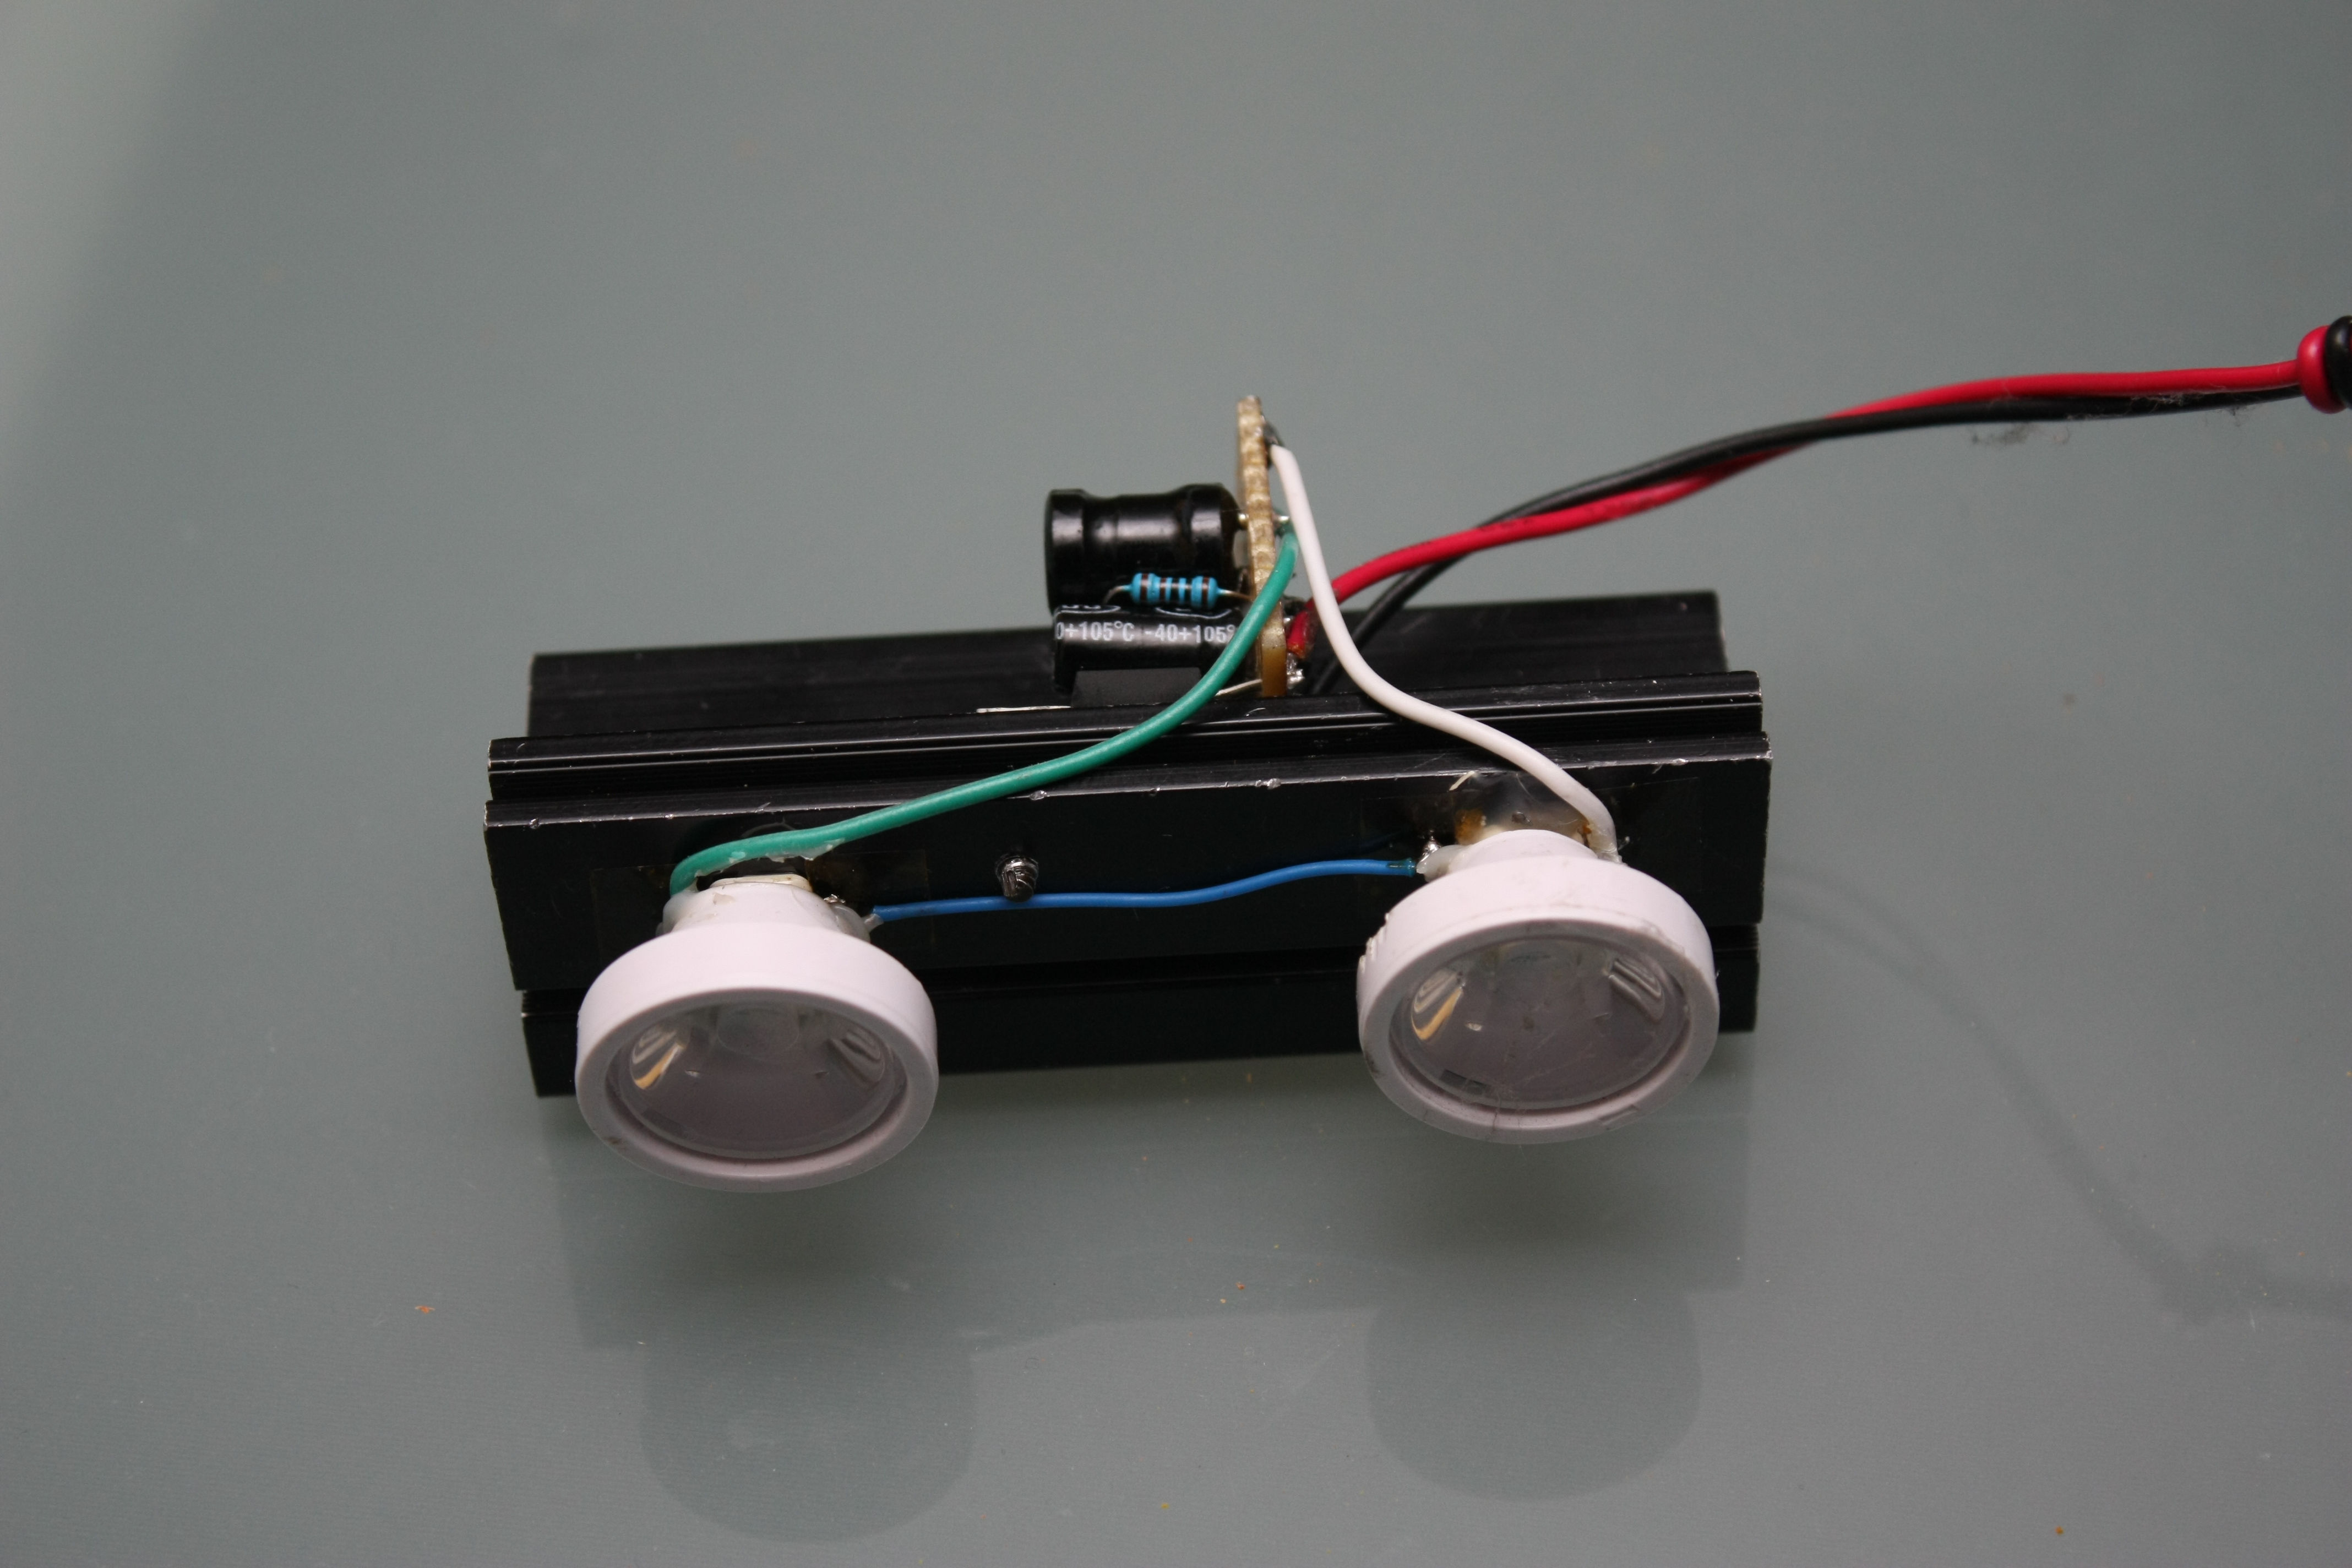
And here's it all together, with the PCB mounted too:
I really suck at optics and don't really know where to get good lenses, so I decided
to throw the big guns at it and use a huge-ass fresnel-lens for the job. These things
come at a cost of only a few bucks and can be as big as an A4-sheet of paper, so if
anything it'd bundle most of the light coming out of the leds. I mounted everything above my
beamer, and after much adjusting with a wii-mote and an IR-sensitive camera handy,
I got everything focussed and in roughly the correct position. This is the
setup I ended up with:
