Result
With the PCB made and the 3d-printed parts printed, it's time to put it all together.
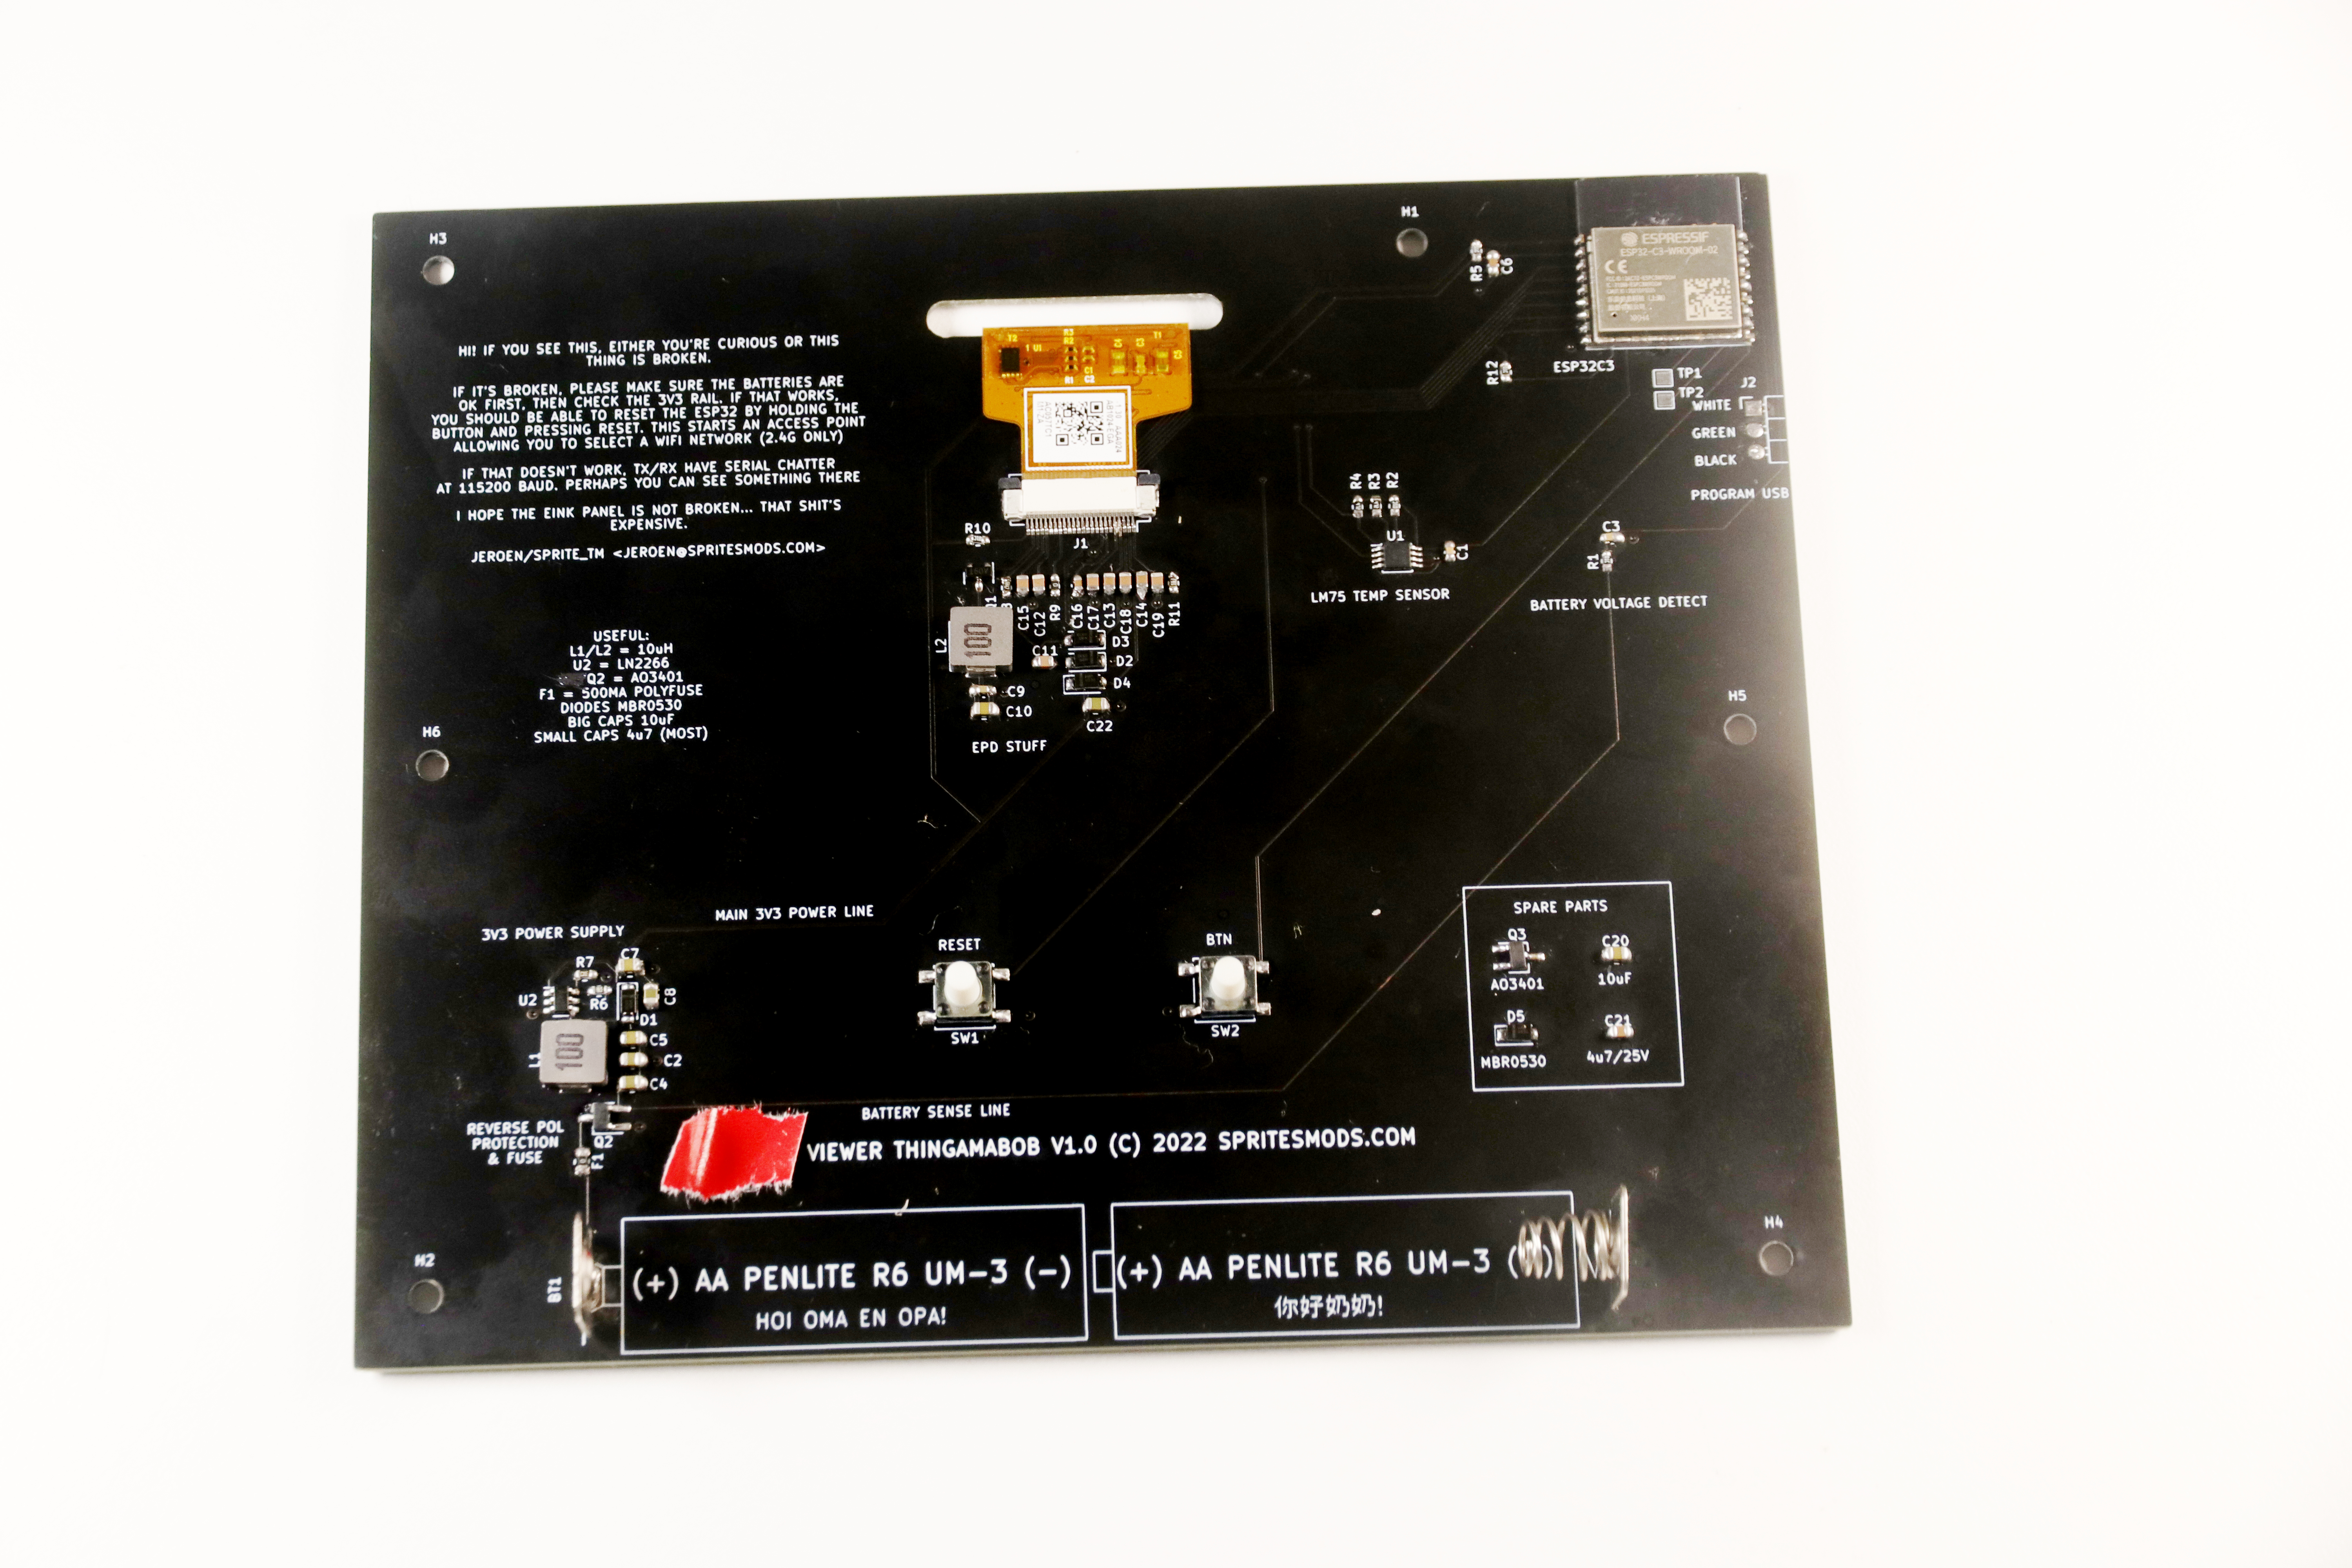
The back of the PCB contains all the electronics. The PCB is actually designed for repairability: if it breaks and I'm not around to fix it, I might have a friend or two around who are good with electronics and can take a look at it. That means there's some debug instructions on the back and even some spare components in case something breaks. Otherwise, the PCB is pretty sparsely populated: its dimensions are mostly defined by the size of the E-ink display on the other side. The amount of space would have allowed me to use larger components, but I have reels and reels of 0603 parts around, so I stuck with those for the jellybean bits; using a good soldering iron and a binocular microscope, I'm perfectly comfortable soldering all that by hand.

The case, with the white mat in it. The mat has a cutout for the E-ink display: even if somehow the adhesive that sticks it to the PCB would come loose, it still would be kept in place by that. The case is closed using screws that screw into brass inserts. The brass inserts are fixed in place by heating them up using a soldering iron (with an old corroded solder tip inserted, I don't want to damage any usable tips) and melting them in place.
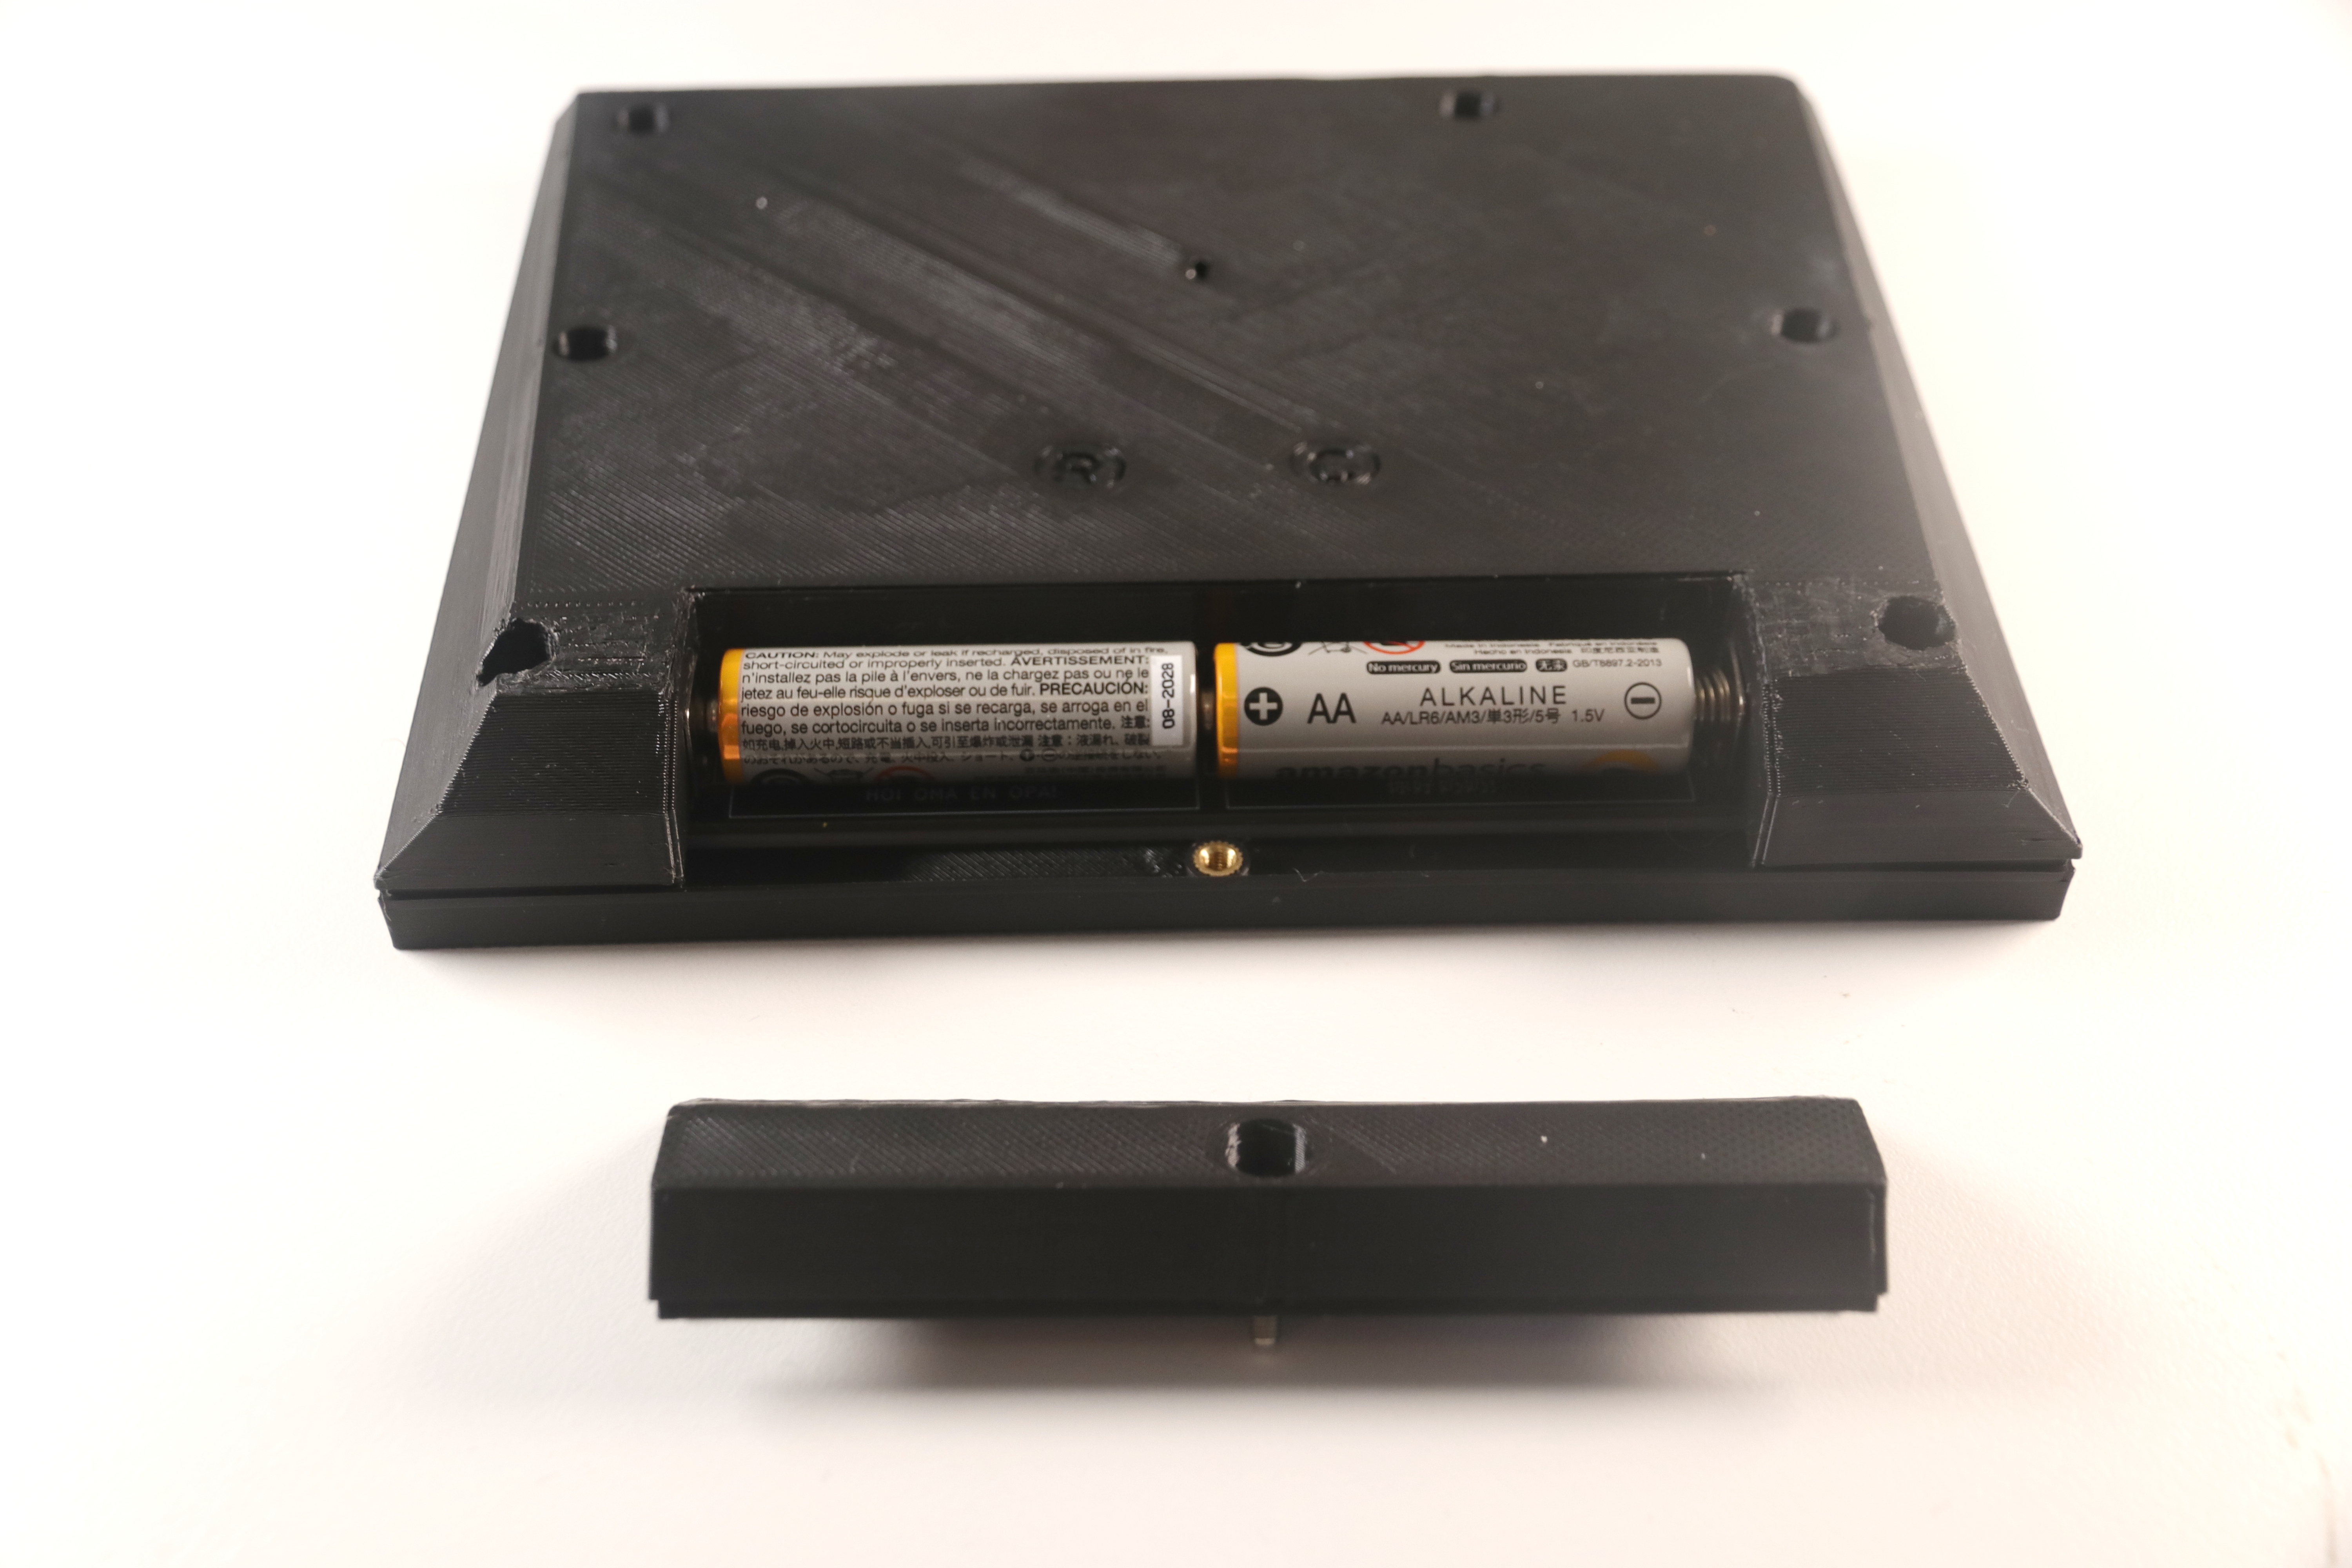
Everything goes together with a bunch of M3 screws. The battery compartment has its own little flap, so you don't need to disassemble the entire thing to replace them. The batteries should last more than a year, according to my calculations. Also note that there's two buttons in the back. One is directly connected to the ESP32 reset, the other is a general purpose GPIO. The reset button is usable to make it do a connect-and-refresh cycle manually, and has the side effect that it'll show the next picture in line. The other button, when held when the picture frame is reset, starts up an access point that allows you to connect to it and reconfigure the WiFi network it connects to.
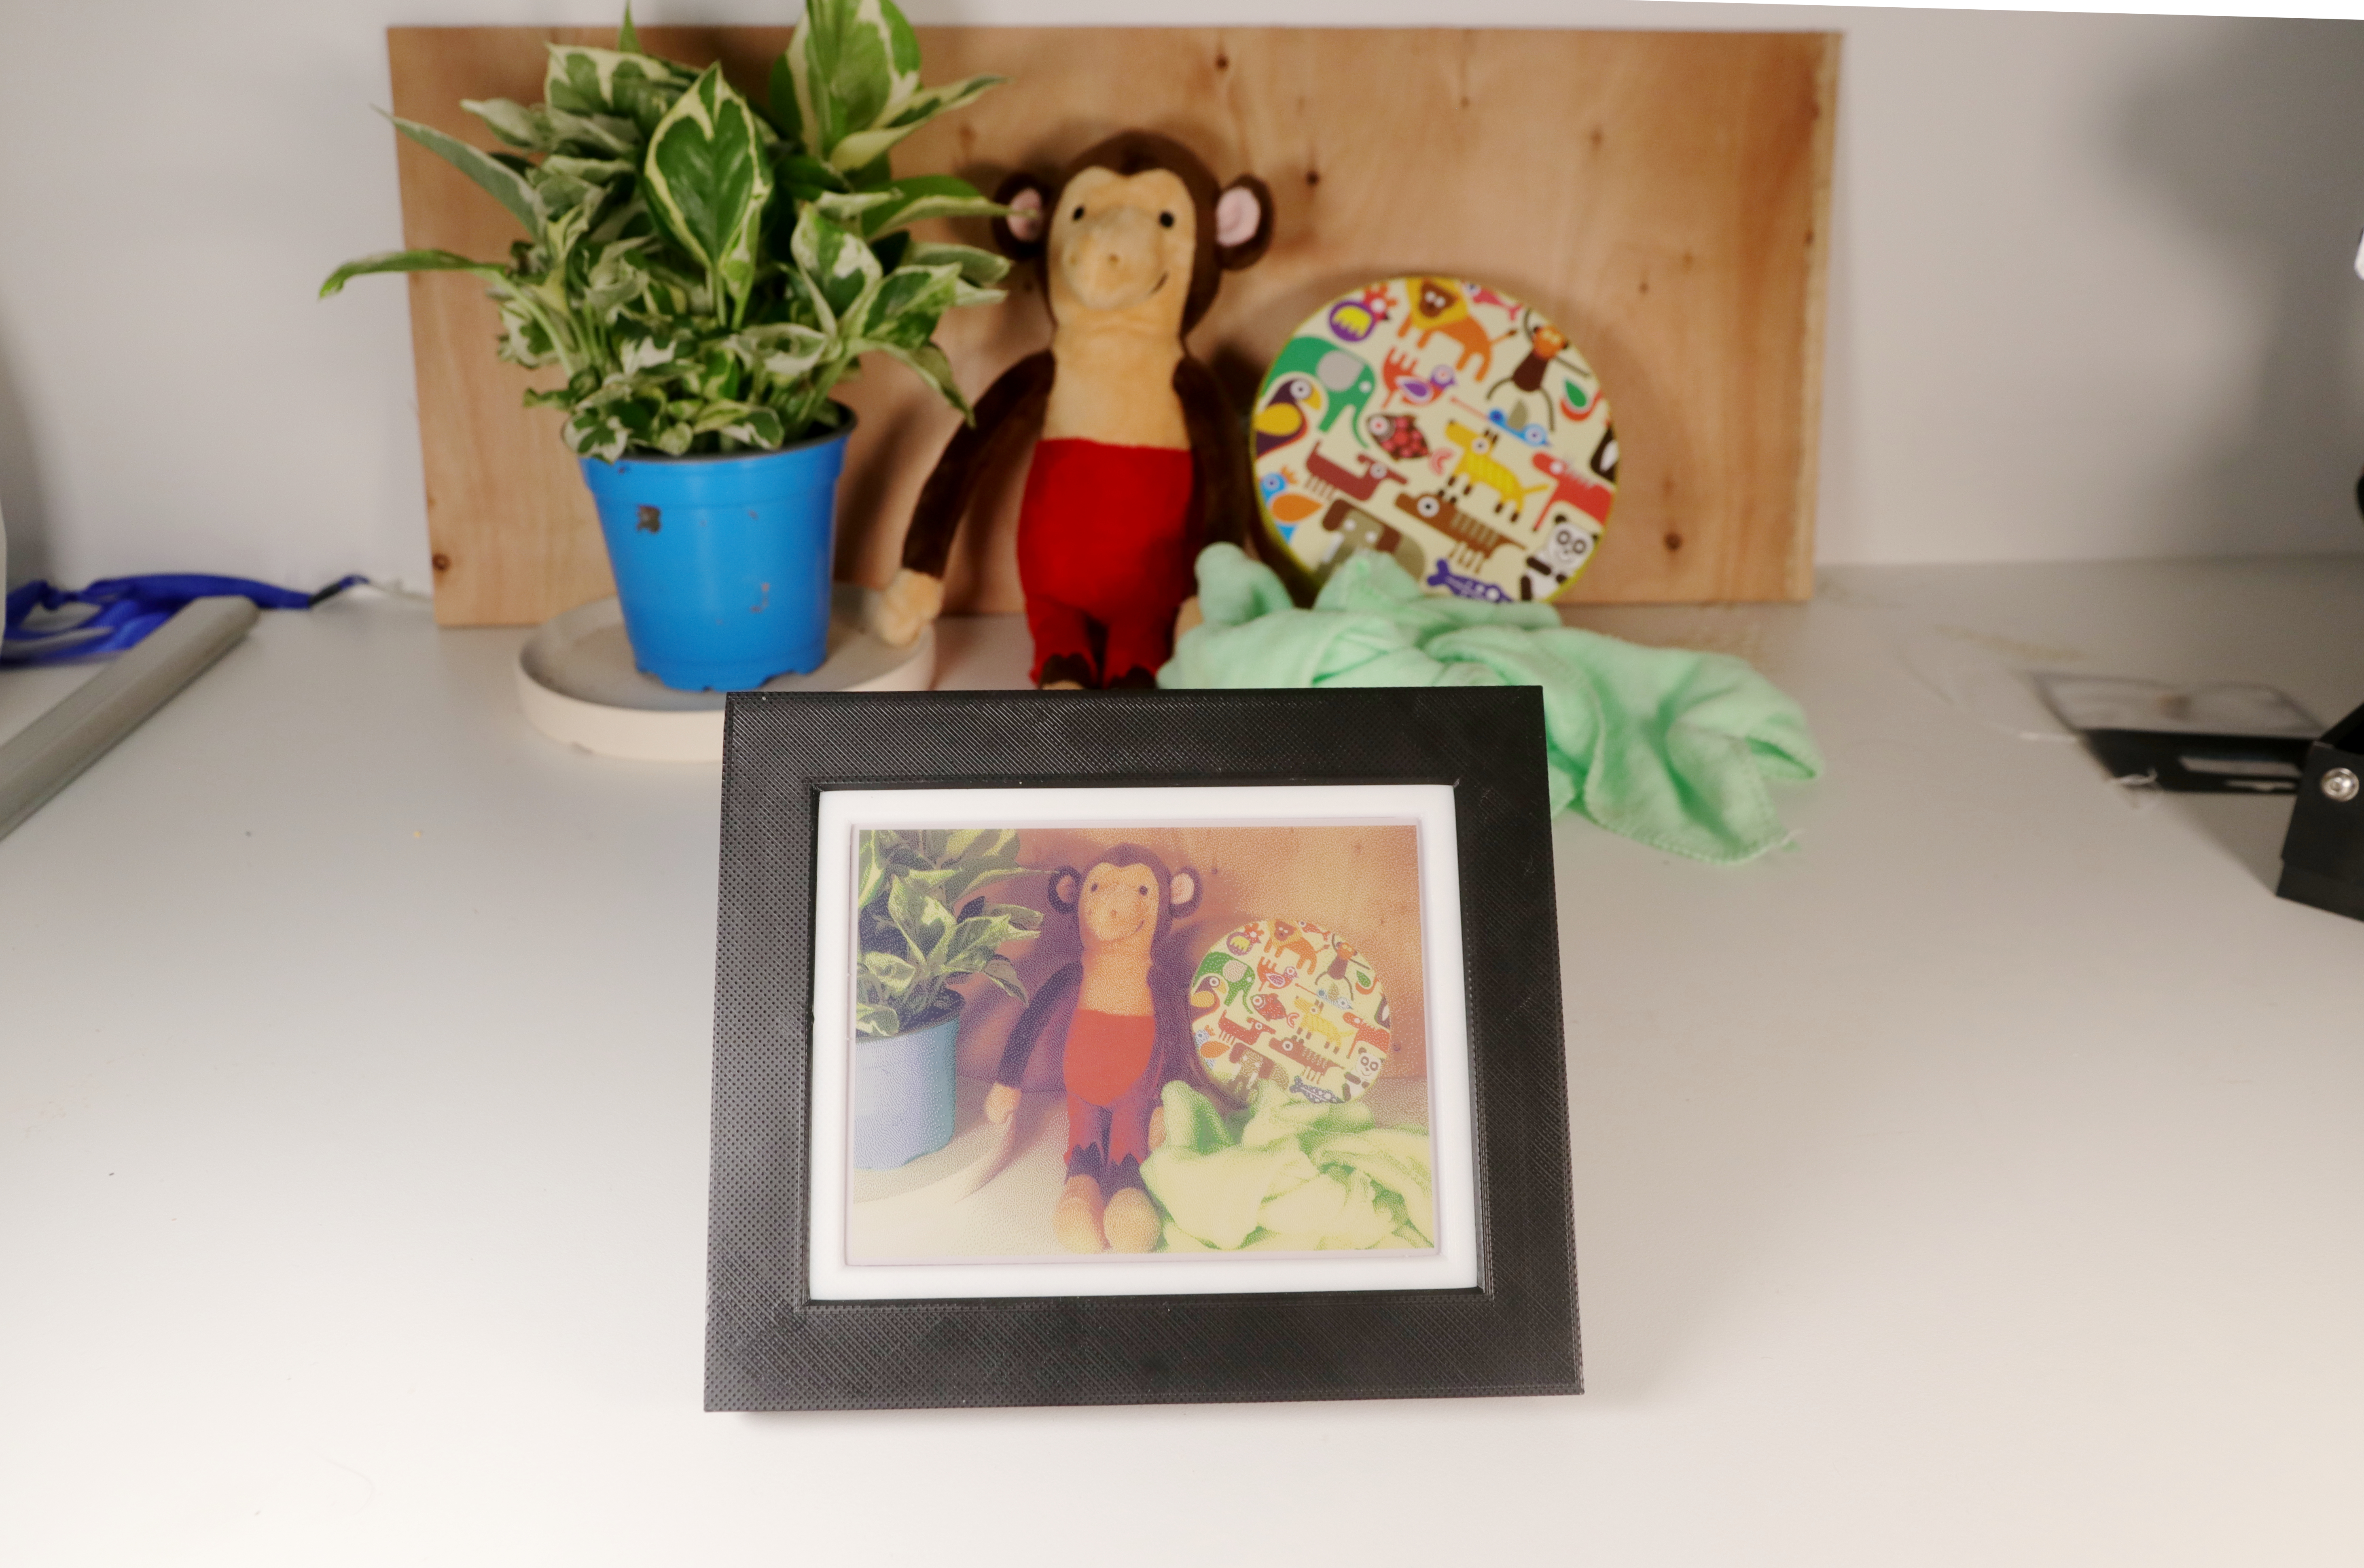
And this is the end result. As pictures go, this one doesn't have the best fidelity ever, but the fact that we can send it a new photo every day from the other side of the world more than makes up for it.
As usual, this project is open-source: with a 3d-printer, access to a server and some skills, you can make your own version of this picture frame. All sources, PCB artwork etc can be found on Github.
« Prev 4
10 commentsCool project! For the low res screen, you might try if different dithering methods improve the image over Floyd-Steinberg; like Riemersma dither (along the Hilbert curve). Surma's discussion at surma.dev/things/ditherpunk/ might catch your interest.
flannelhead: You don't need to. To quote the datasheet: 'Soldering the EPAD to the ground of the base board is not a must, however, it can optimize thermal performance.' Given that this device is not out of deep sleep for very long, there's not much gain to any potential thermal performance optimization anyway.
Thanks a bunch for sharing this! I've been meaning to make something similar, and your project provided a starting point to finally get my hands dirty. Do you have any tips for hand soldering the thermal pad of the ESP32-C3 module? Unfortunately I don't have access to a hot air station so I would likely just use my soldering iron and some tricks. Currently I'm thinking of adding a couple of vias to the thermal pad and then heating it from the back side of the PCB with the soldering iron.
A picture frame that at night blinks and flashes onto displaying a new picture every day... You're sure this is stil tech and not magic :P ? Very repair friendly design, nice! Also: An epaper display that makes it's own 'weird voltages' wit a few external parts - that's kinda cool.
@Gaston: We do that as well, especially for video material mail or IM is a lot easier. It lacks the 'casual glance' nature of a picture frame, though; it's something you actively need to pull up. @Charles Wallace: Nope, the frame flickers in all sorts of colors while refreshing; it's something you preferably do when no one is looking at it (e.g. at night in my case).
I'm wondering if I could adapt this to act as a clock that updates once per minute. Does the screen change during the minute-long update? Here's one clock I created: https://coolweird.net
Gaston: sending an email sounds more cumbersome than having a clean upload dialog with cropping included. For email I'd have to crop locally first and then save a copy and send that copy via mail... Nononono. Also why a new picture every day? You could just do 10 at once and then pause for a while, also if you don't upload in a while it will just repeat displaying the last 10 pictures again and again. I fail to see the issue here.
Congratulations!
Neat e-ink display, but have you considered just sending the pictures in full size/quality in an e-mail instead? This whole thing seems a bit too contrived. I also wonder how long you have the patience to keep up before one new photo every day starts to feel like a tiresome daily chore.
Ask Skyframe how that worked out for them.