HTPC
Specs of the HTPC:
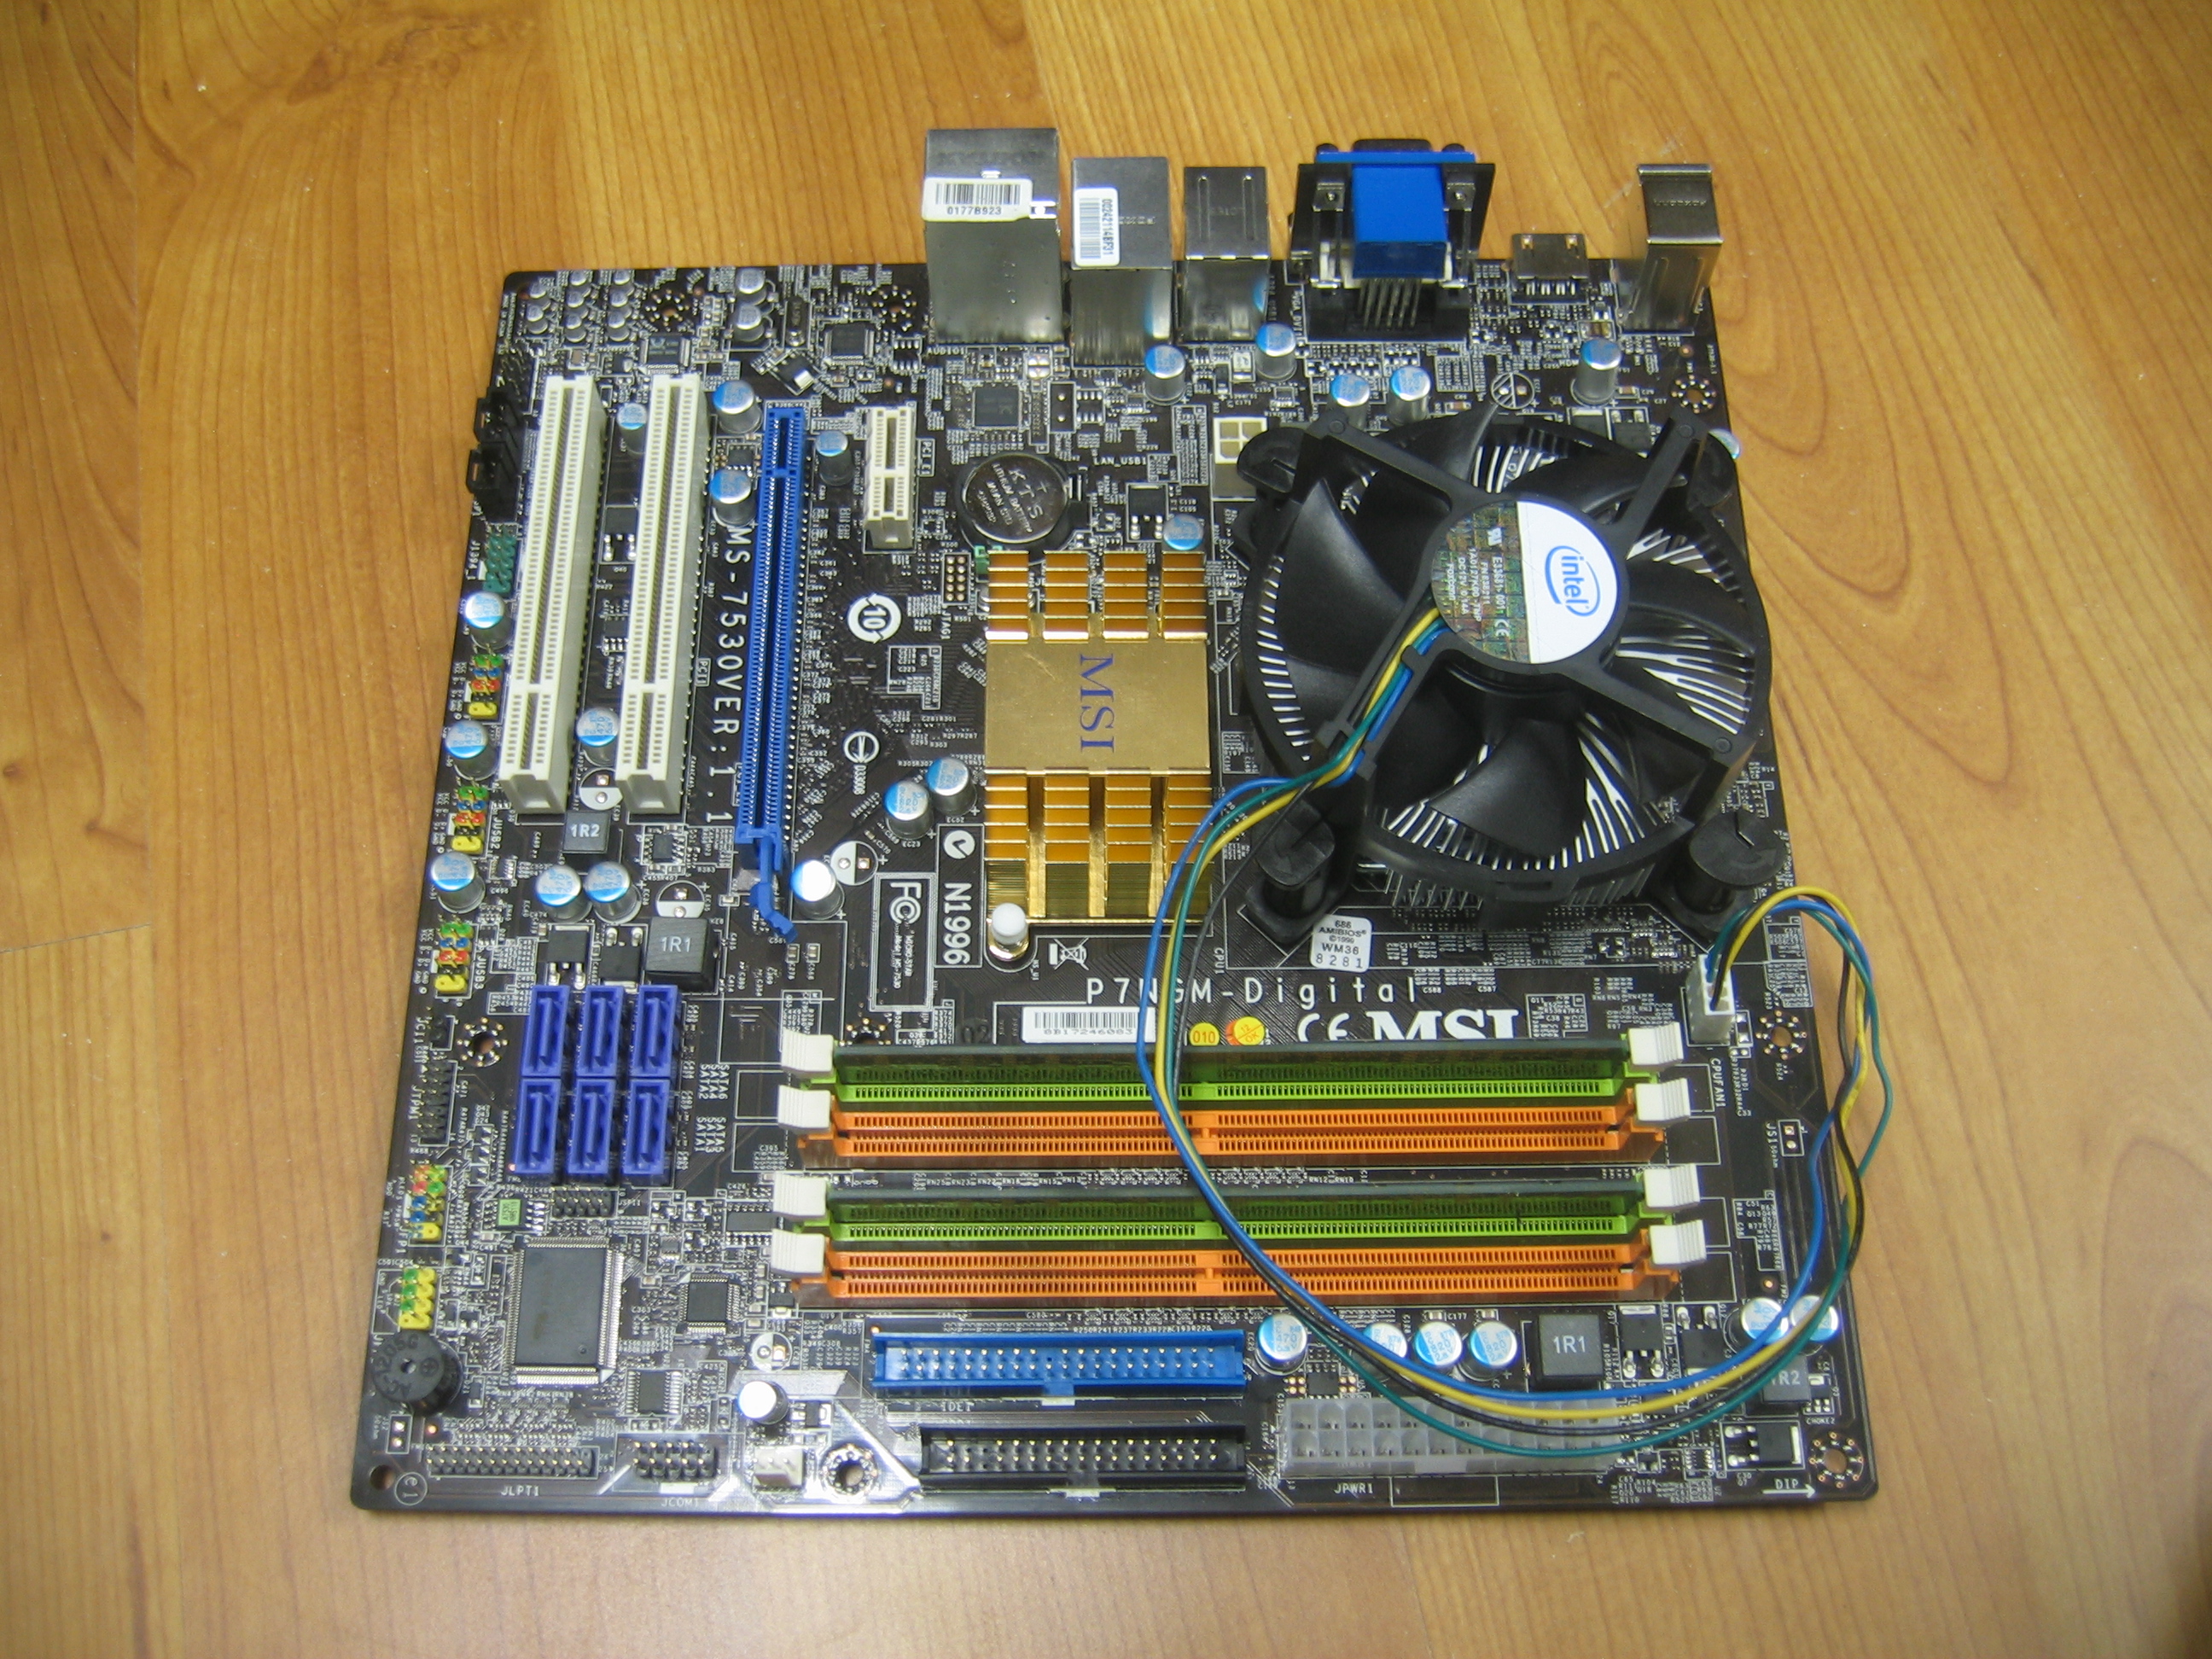
- Motherboard: MSI P7NGM. This board has an on-board nVidia-chip which is powerful enough to do 1080P-encoding in the GPU. Recently, this has been made to work on Linux too. I'll be needing this because I'll be connecting the setup to a full-HD beamer.
- Processor: The cheapest Core2Duo I could find, an E5200.
- Memory: 1GB Kingston. Oughtta be more than enough
- PSU: Antec 380W
I won't be needing an HD; the HTPC can netboot off my server using PXE and NFS. That has the added advantage of making it even more silent.
This'll be the main component that needs to be placed inside the case:
the mobo/processor/memory-combo.
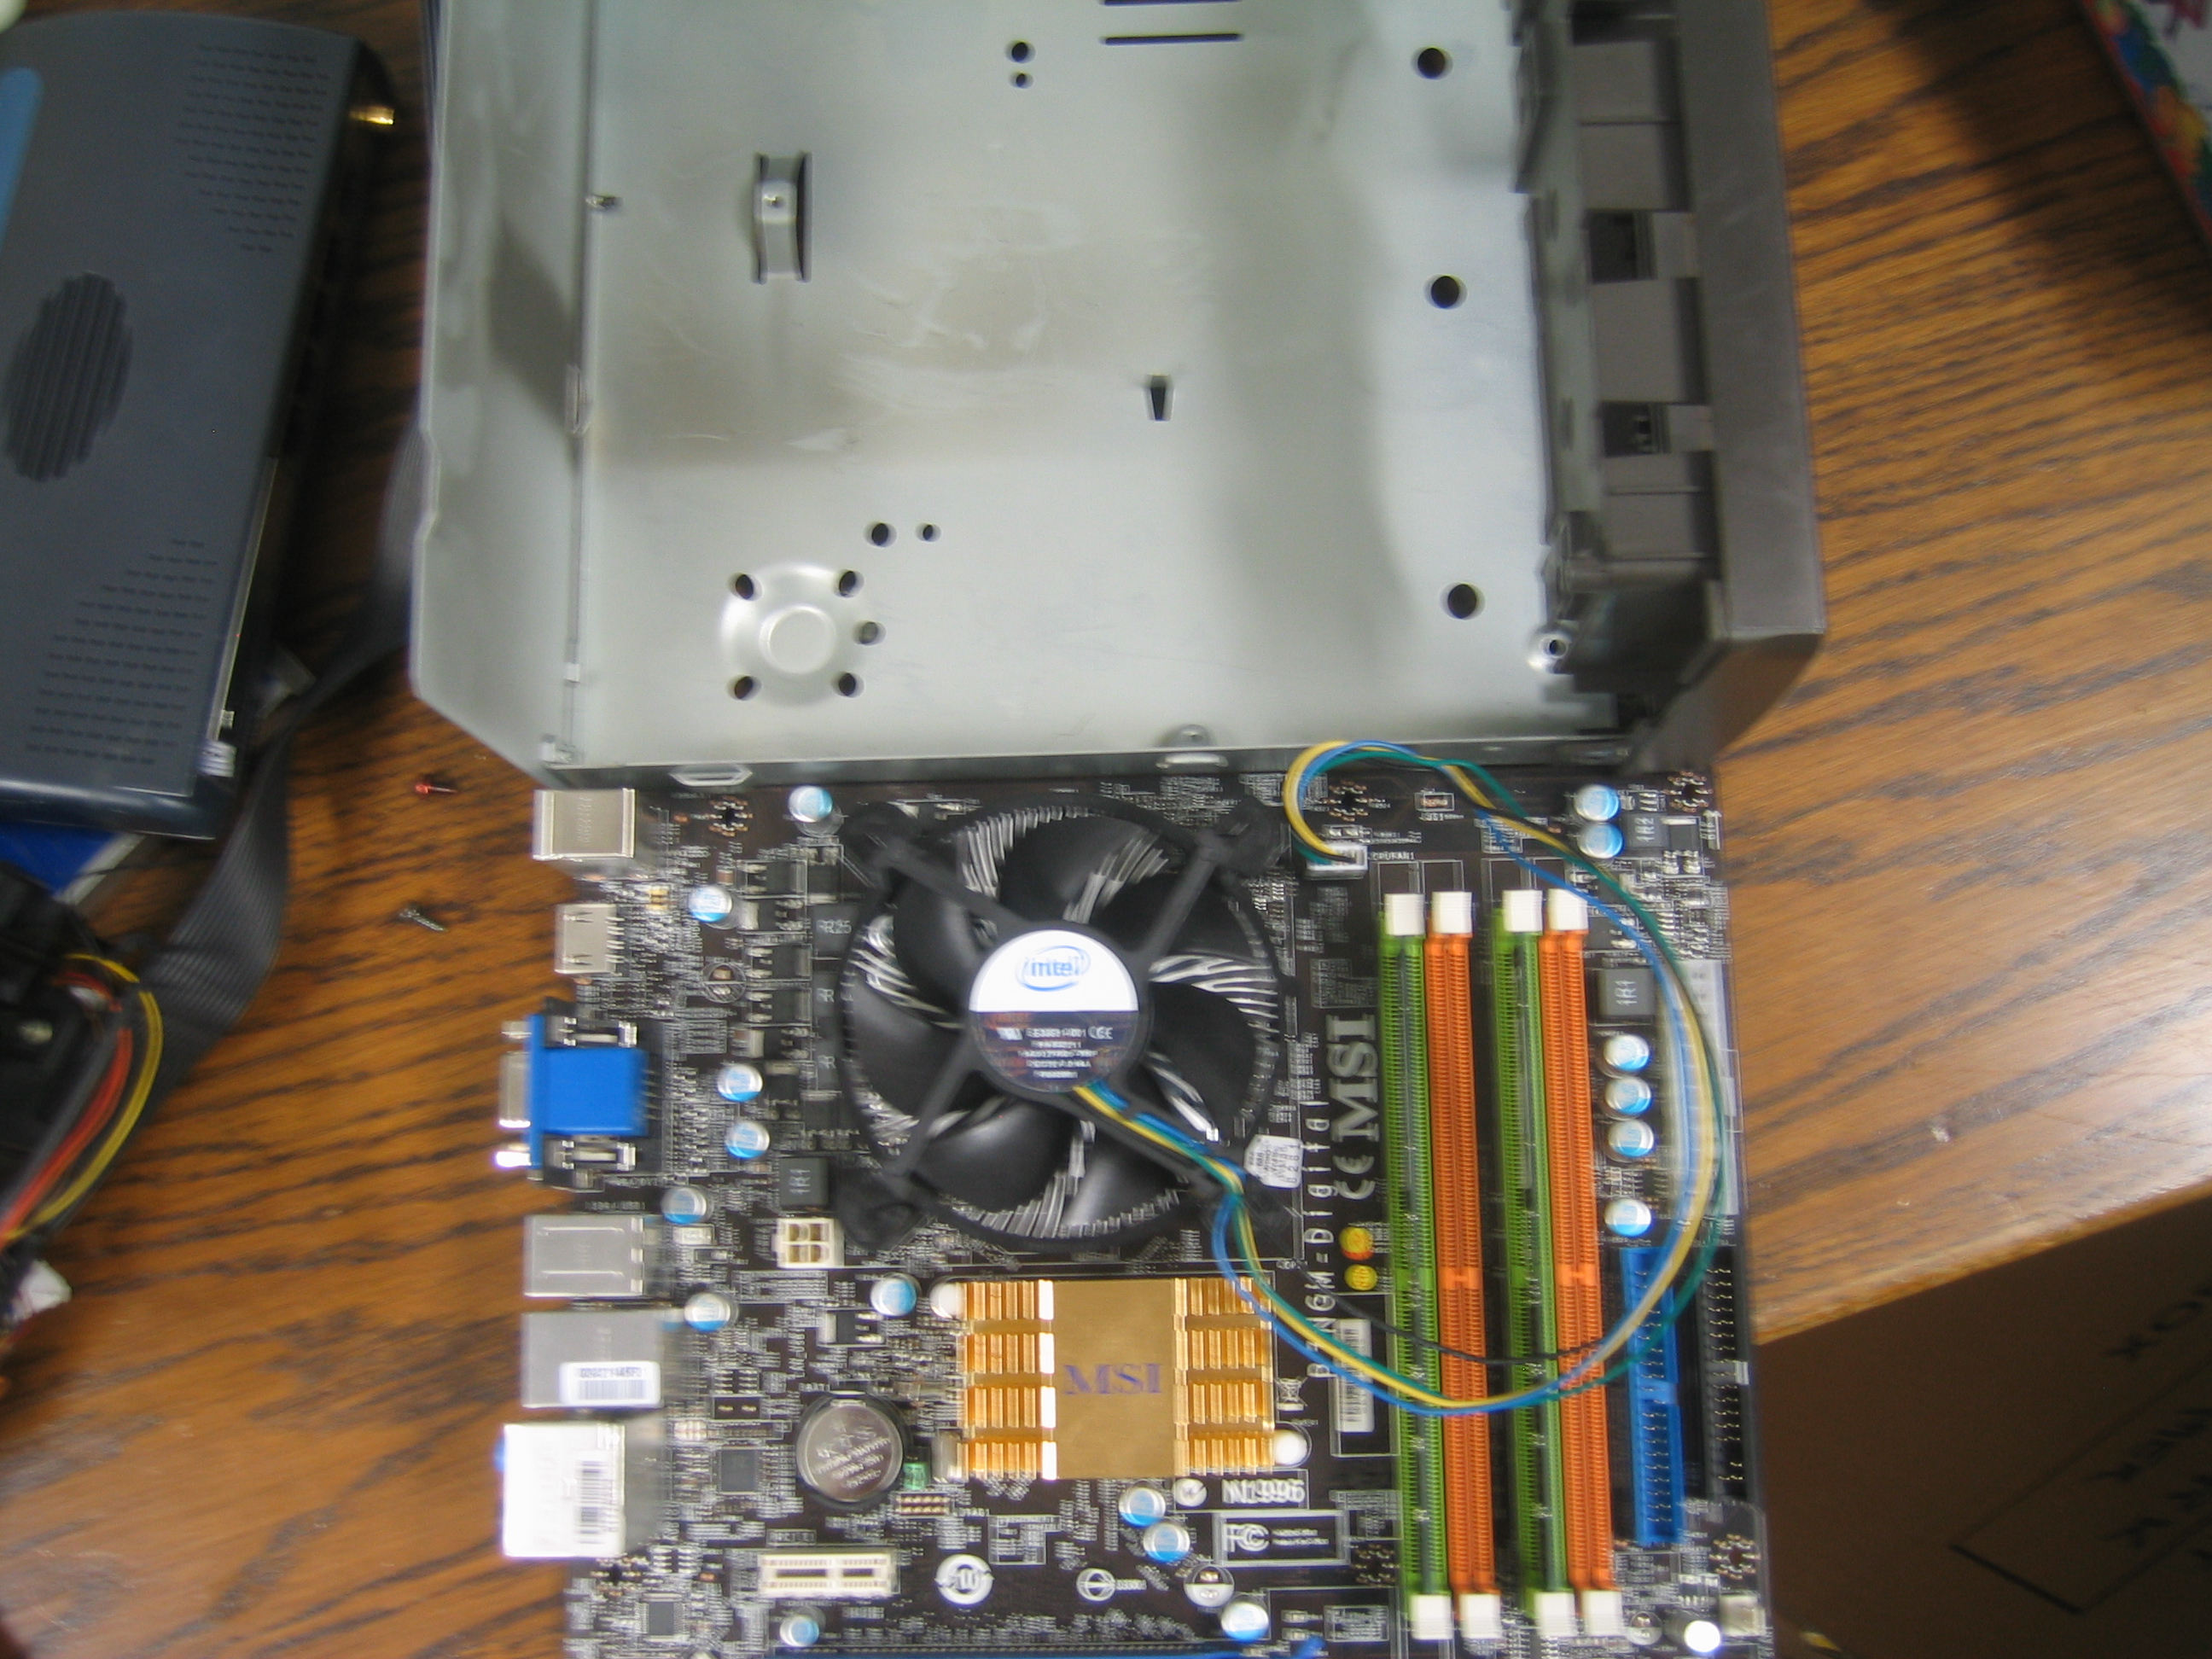
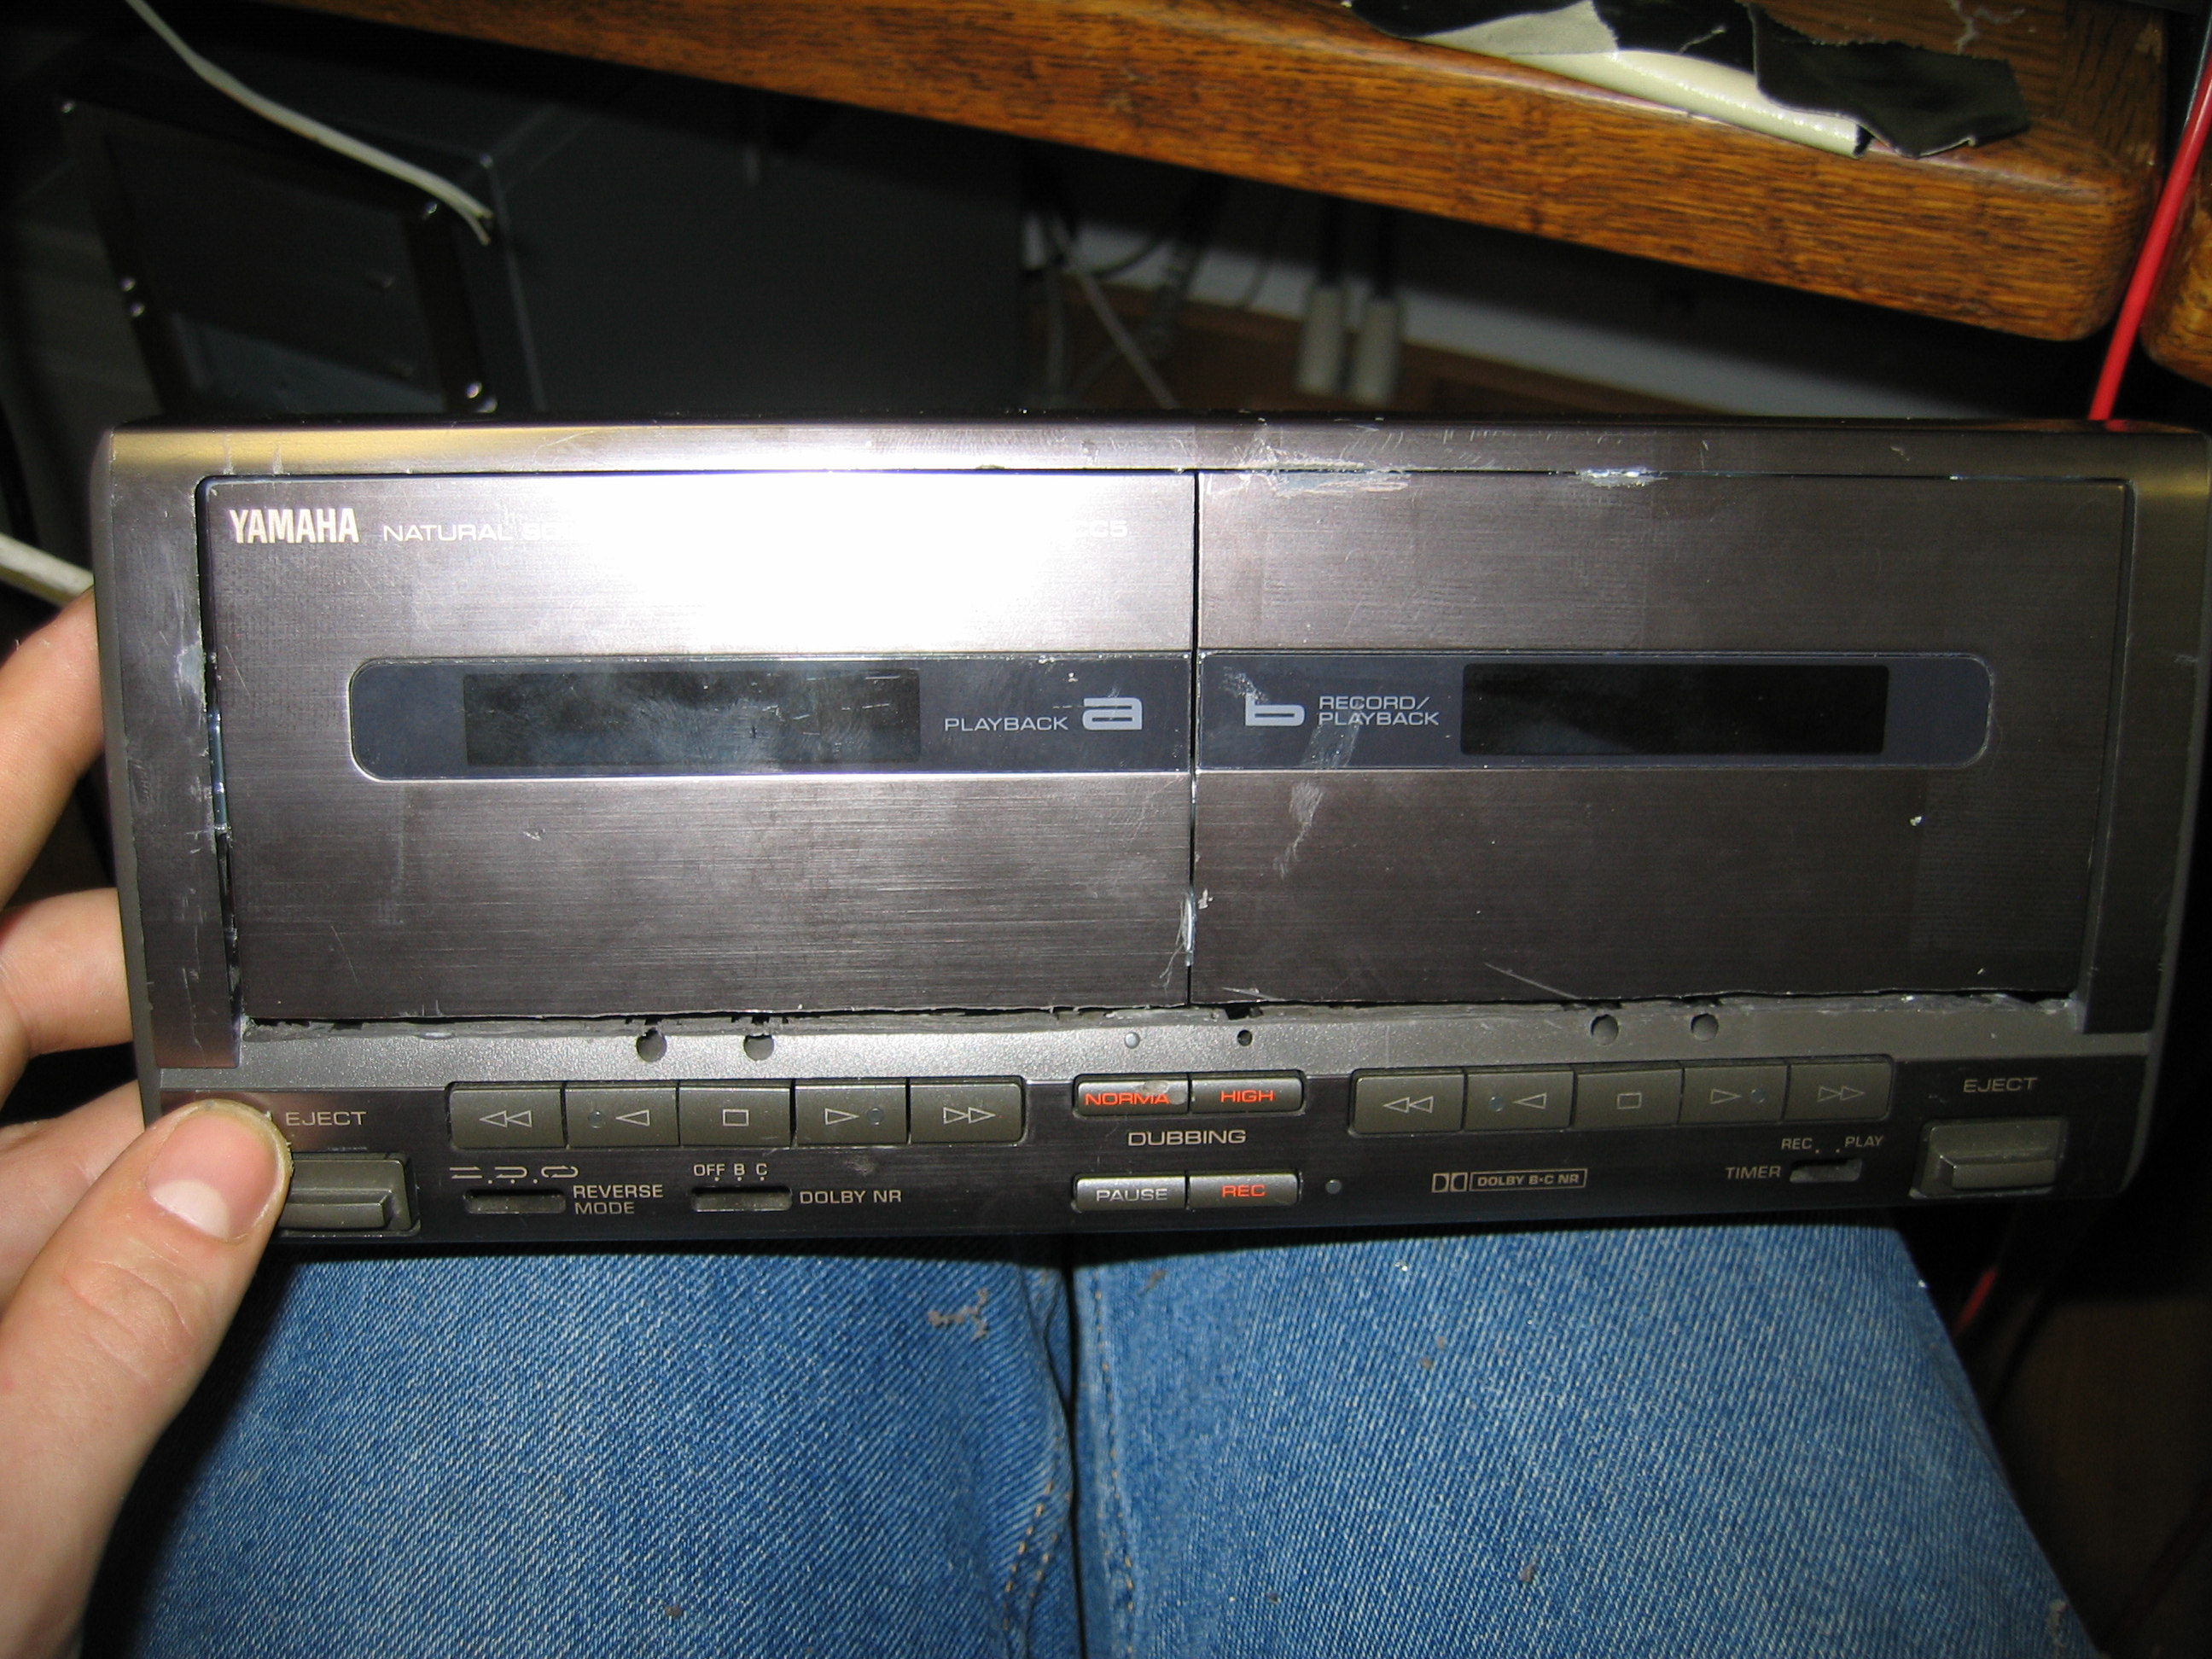
The idea is to build it into the cassettedeck. No idea if that was broken too,
but hey, who uses cassettes now anyway? Anyway, let's remove everything from the
cassettedeck-housing and put the mobo inthere. Hmmm, that looks like it's gonna be
a tight fit...
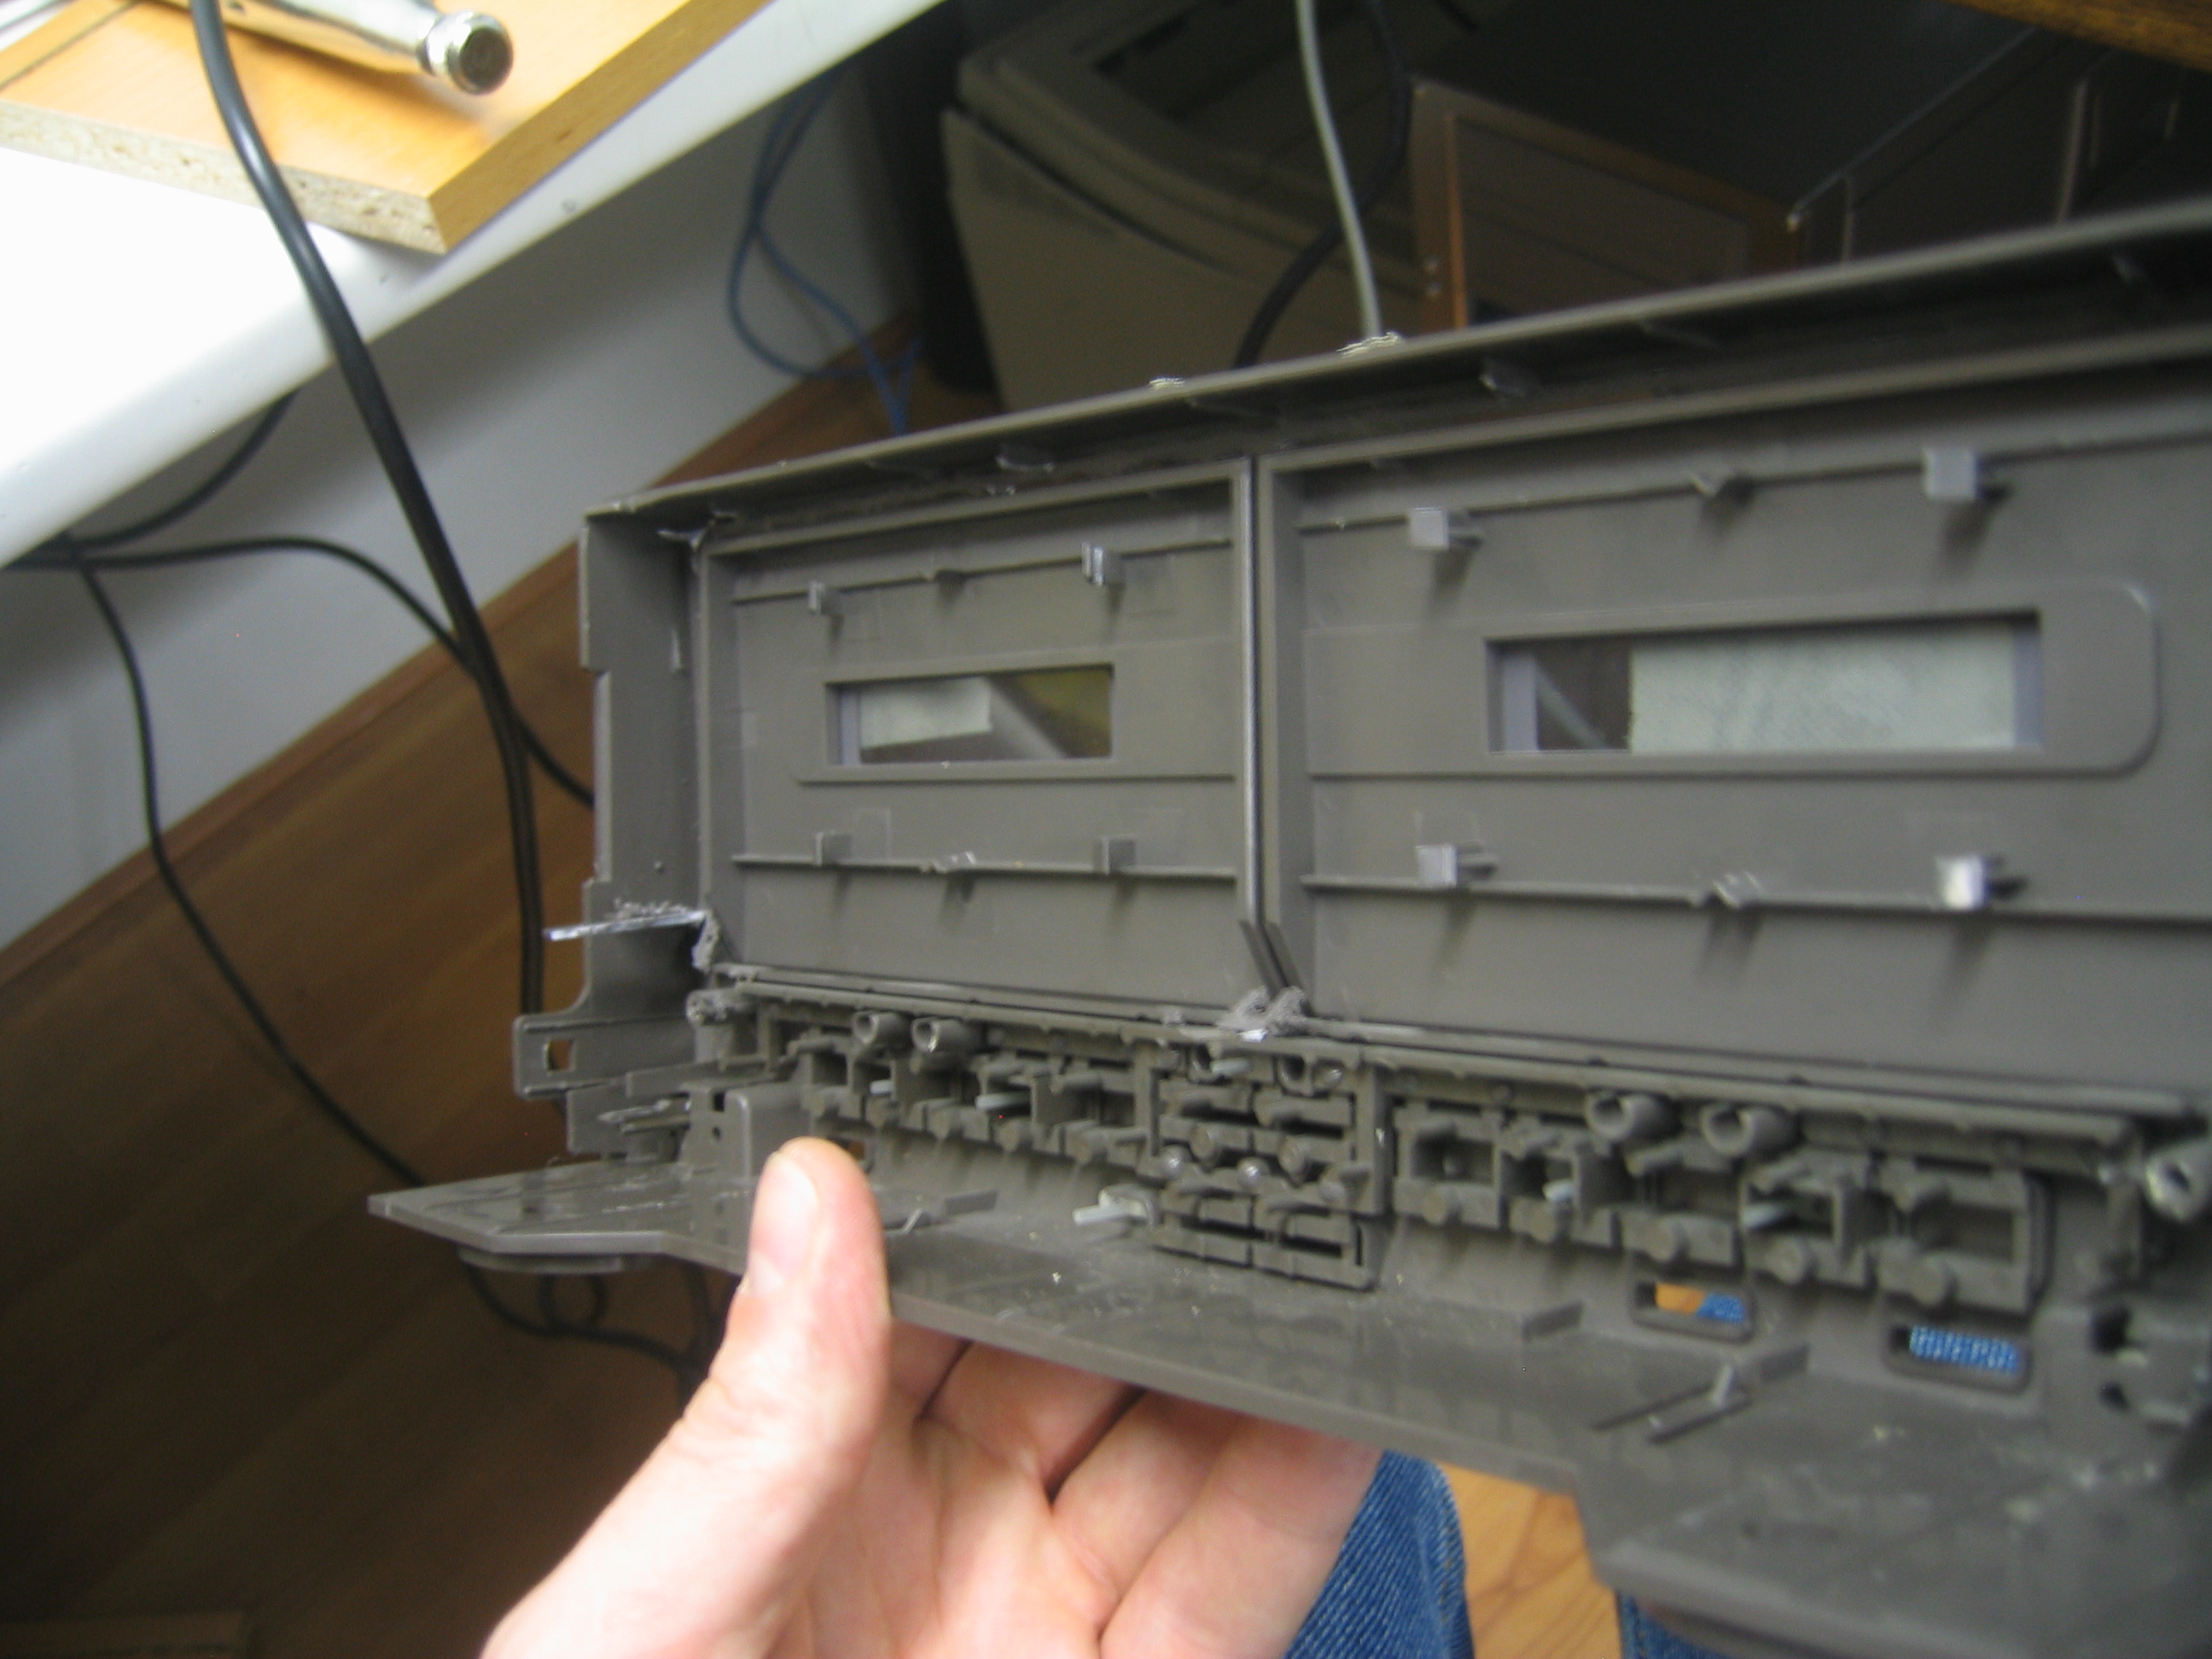
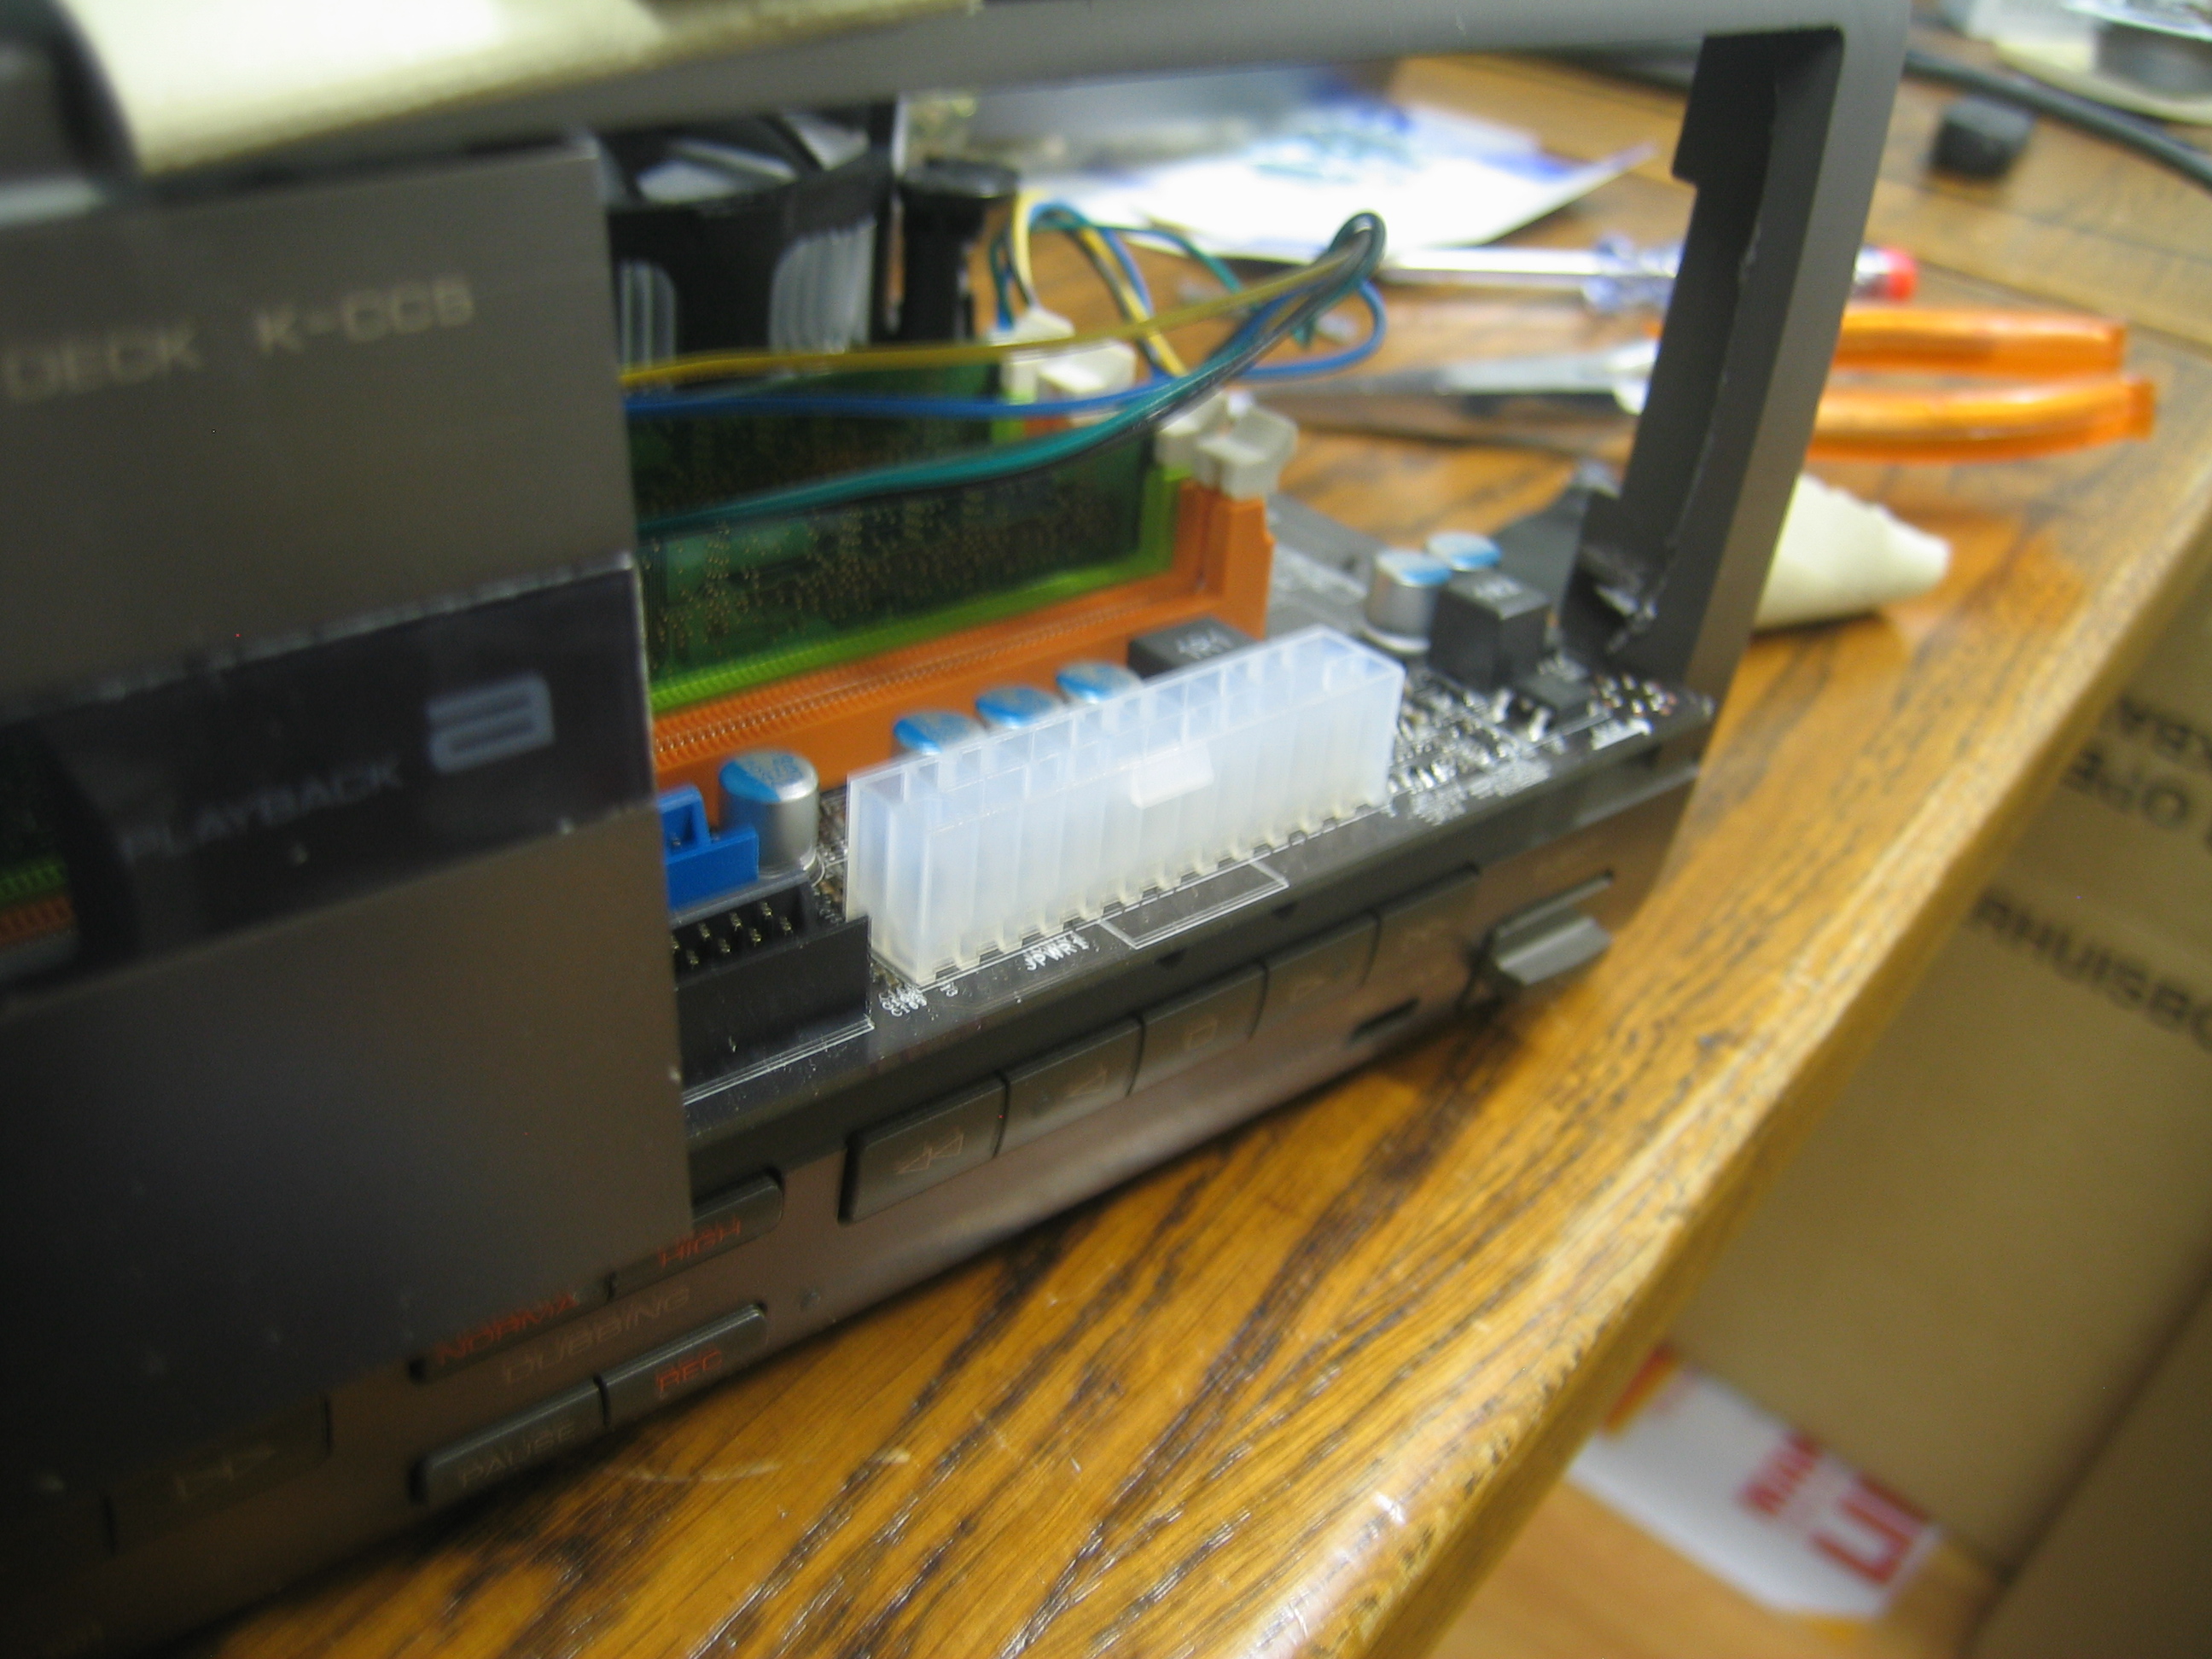
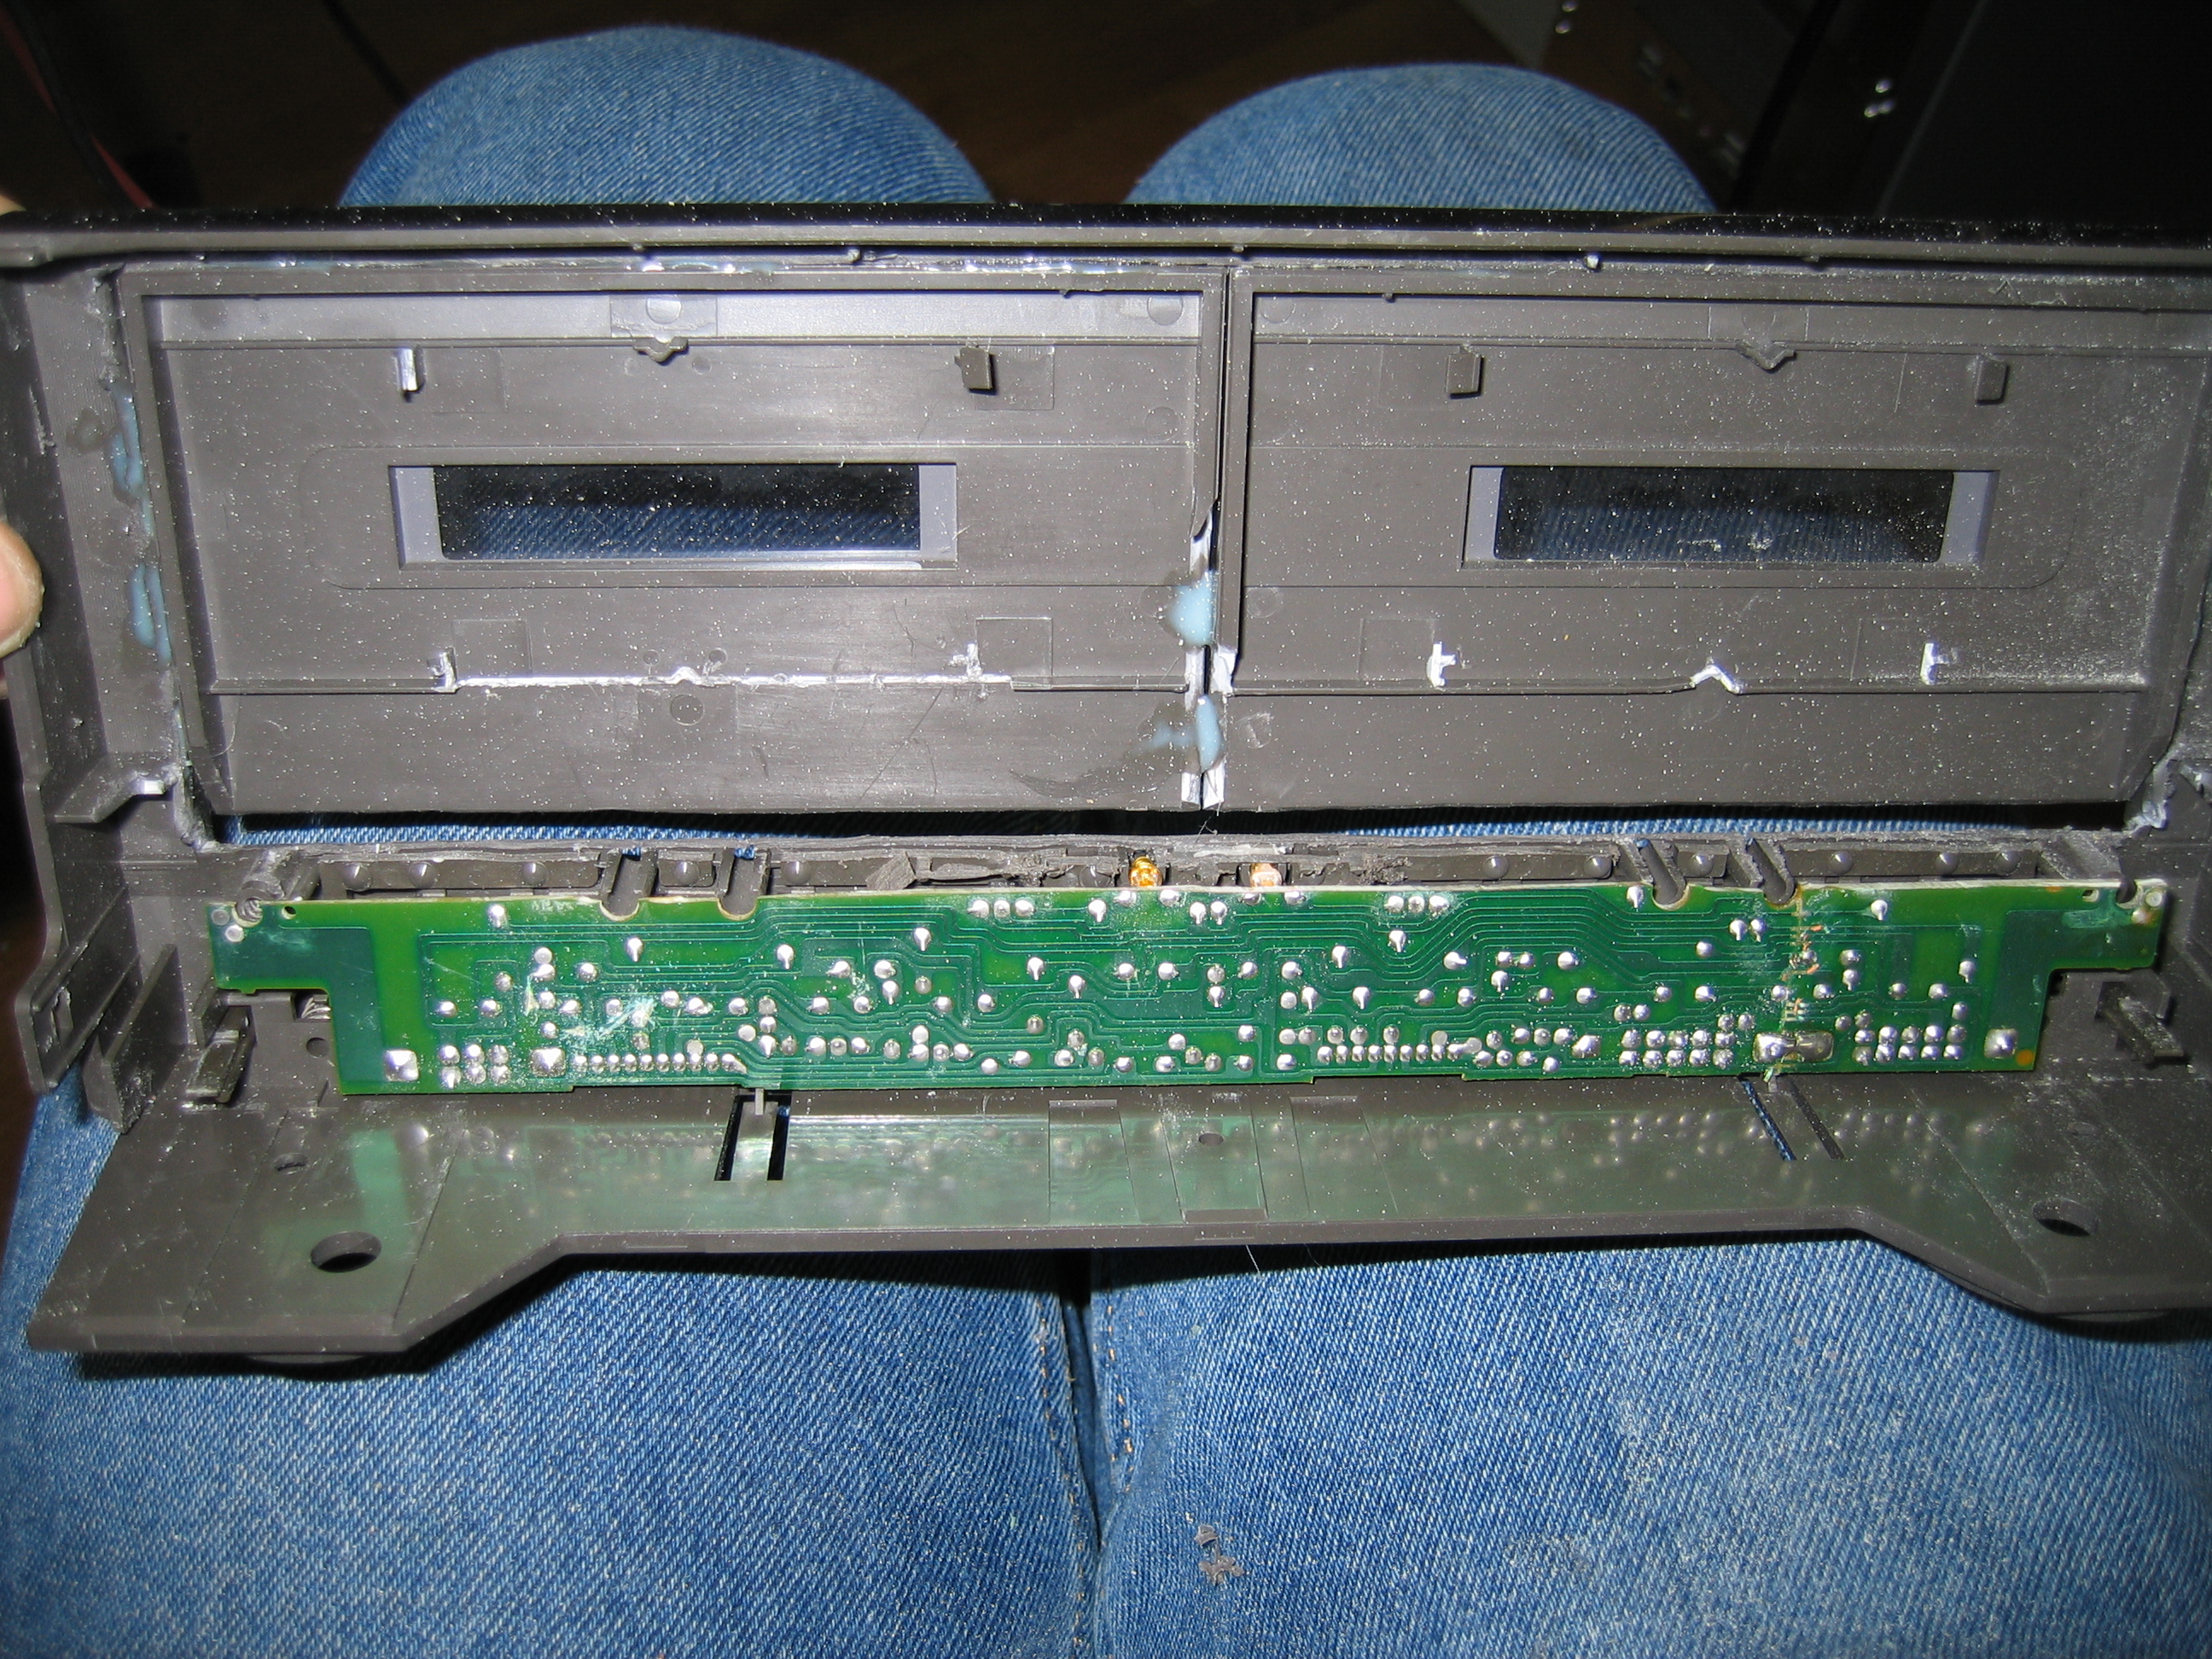
First of all, we're gonna need some extra space in the front of the housing. We
can get that by using a multitool to saw off the casings that used to hold the
cassettes.
Much better!
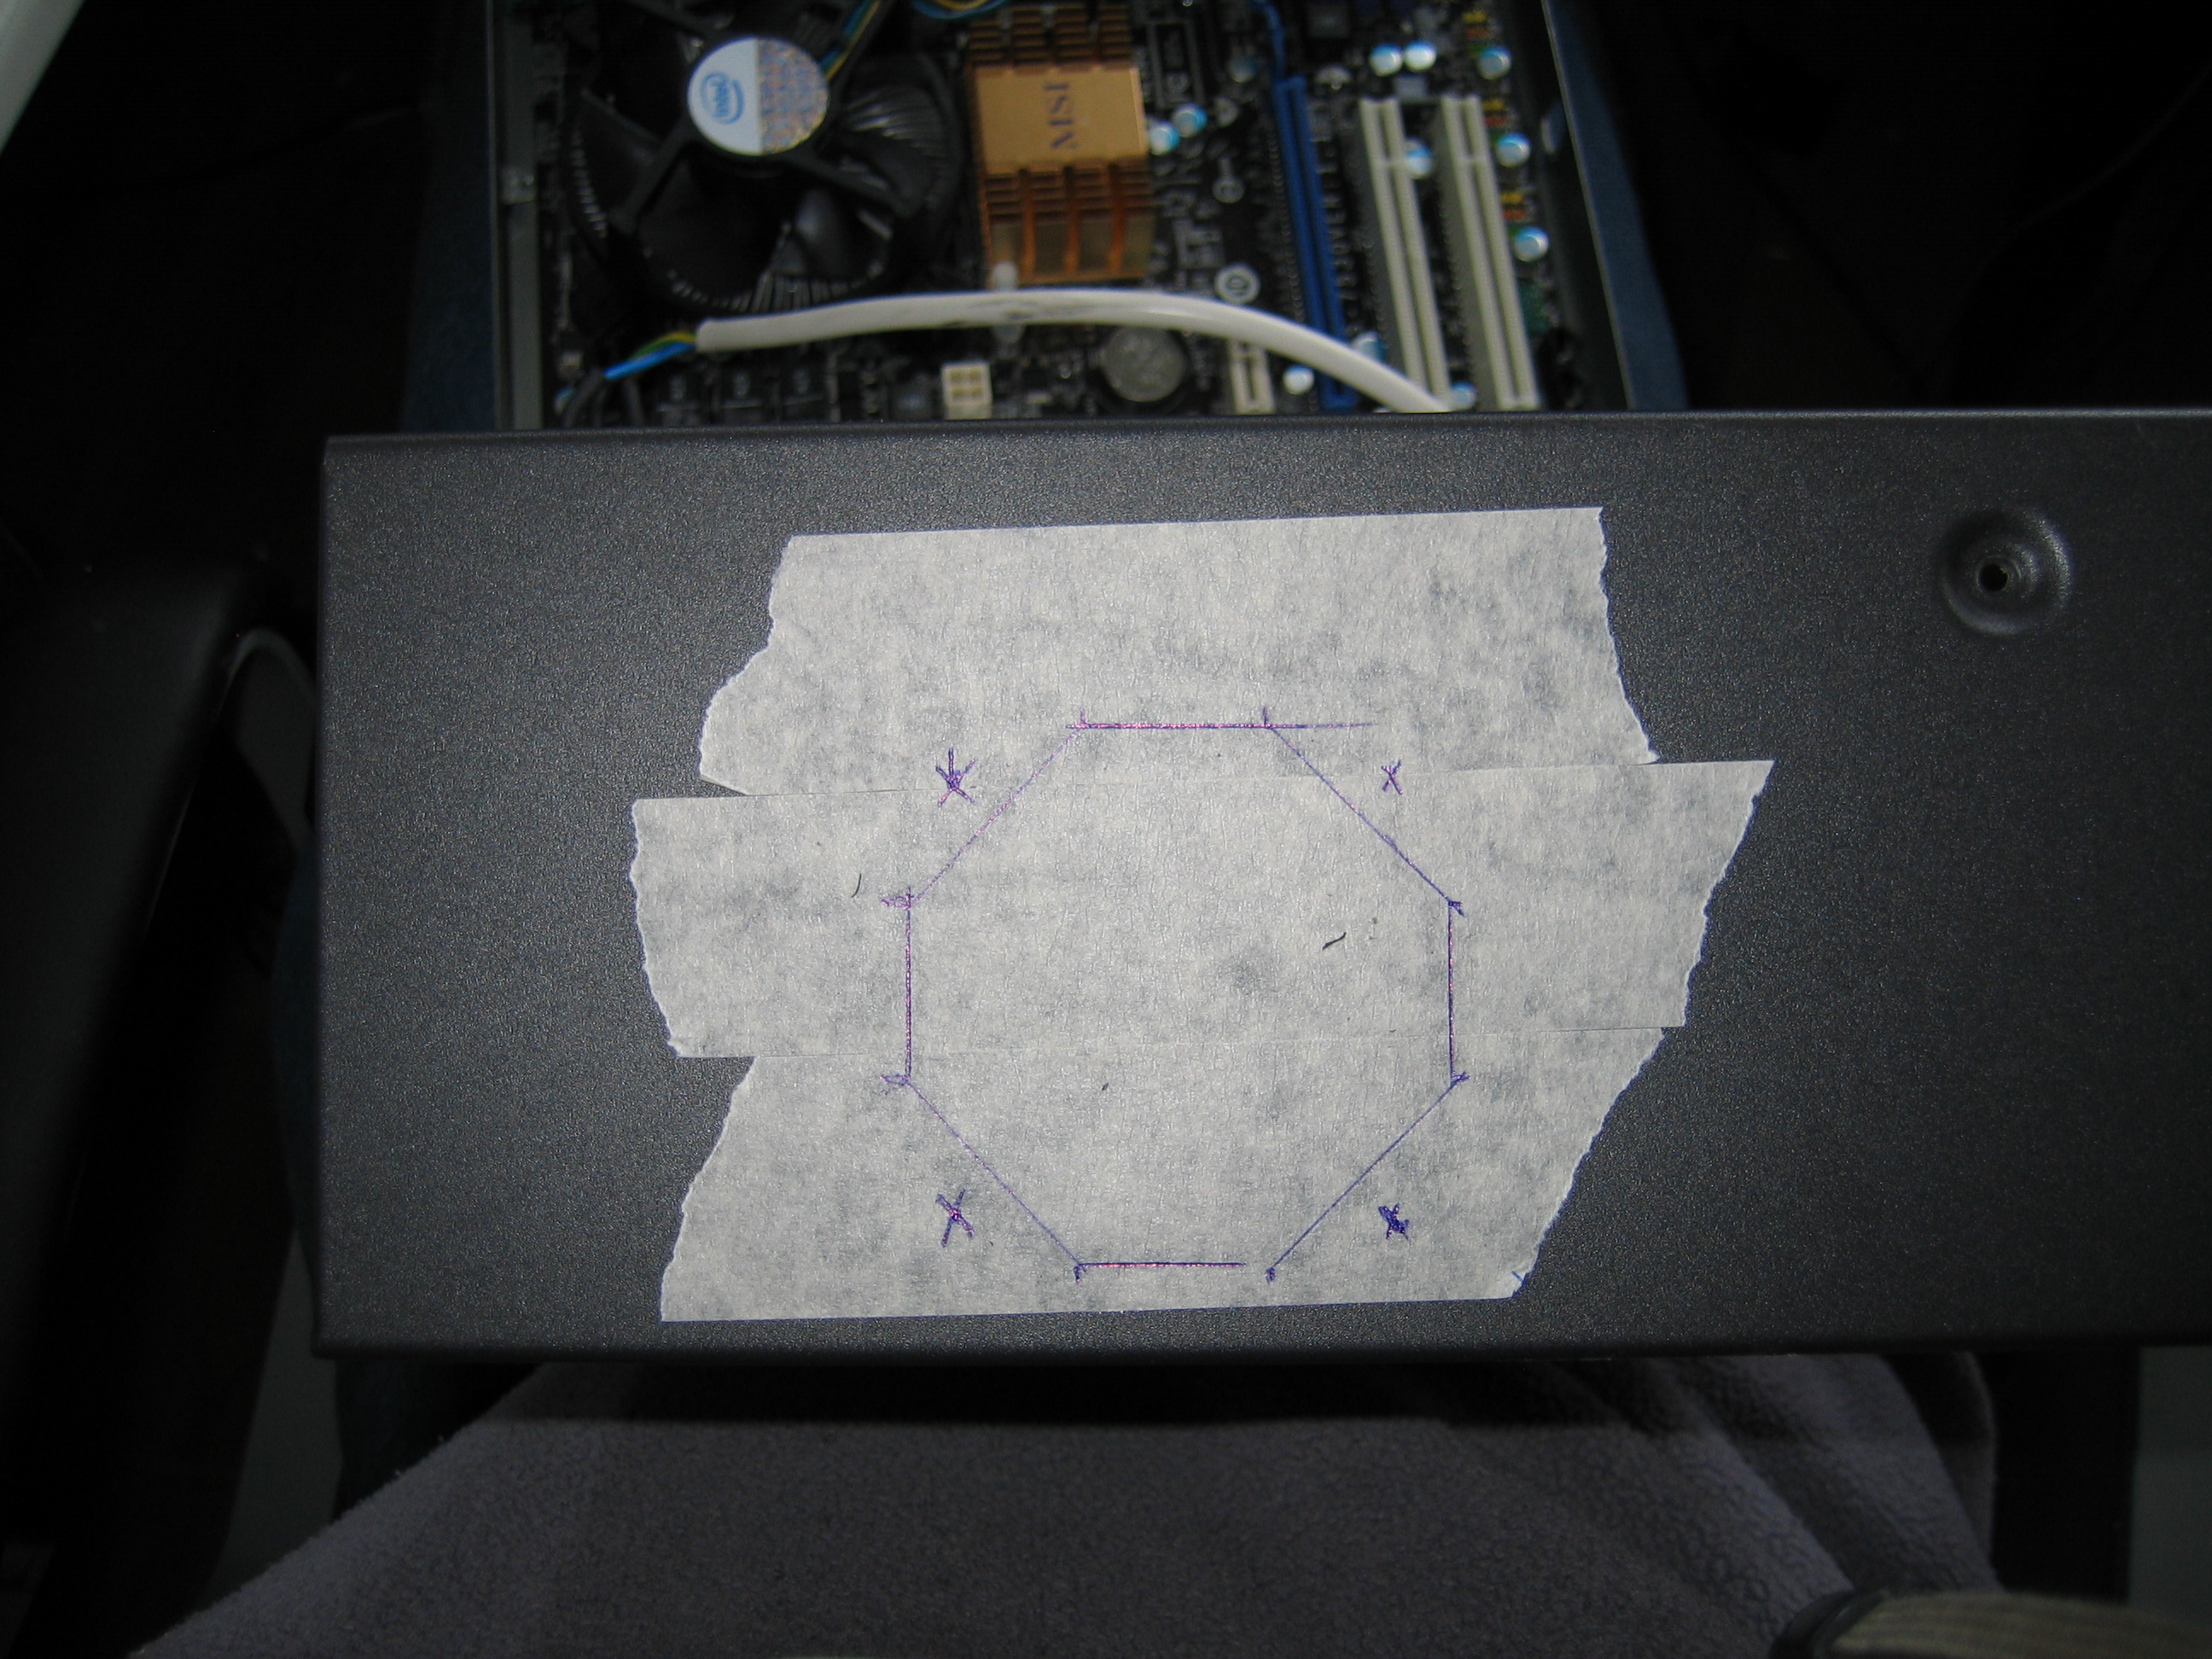
The connections of the motherboard need to be accessable from the back too,
so the next item on the list was to use the multitool to make a hole in the
back for the backplate.
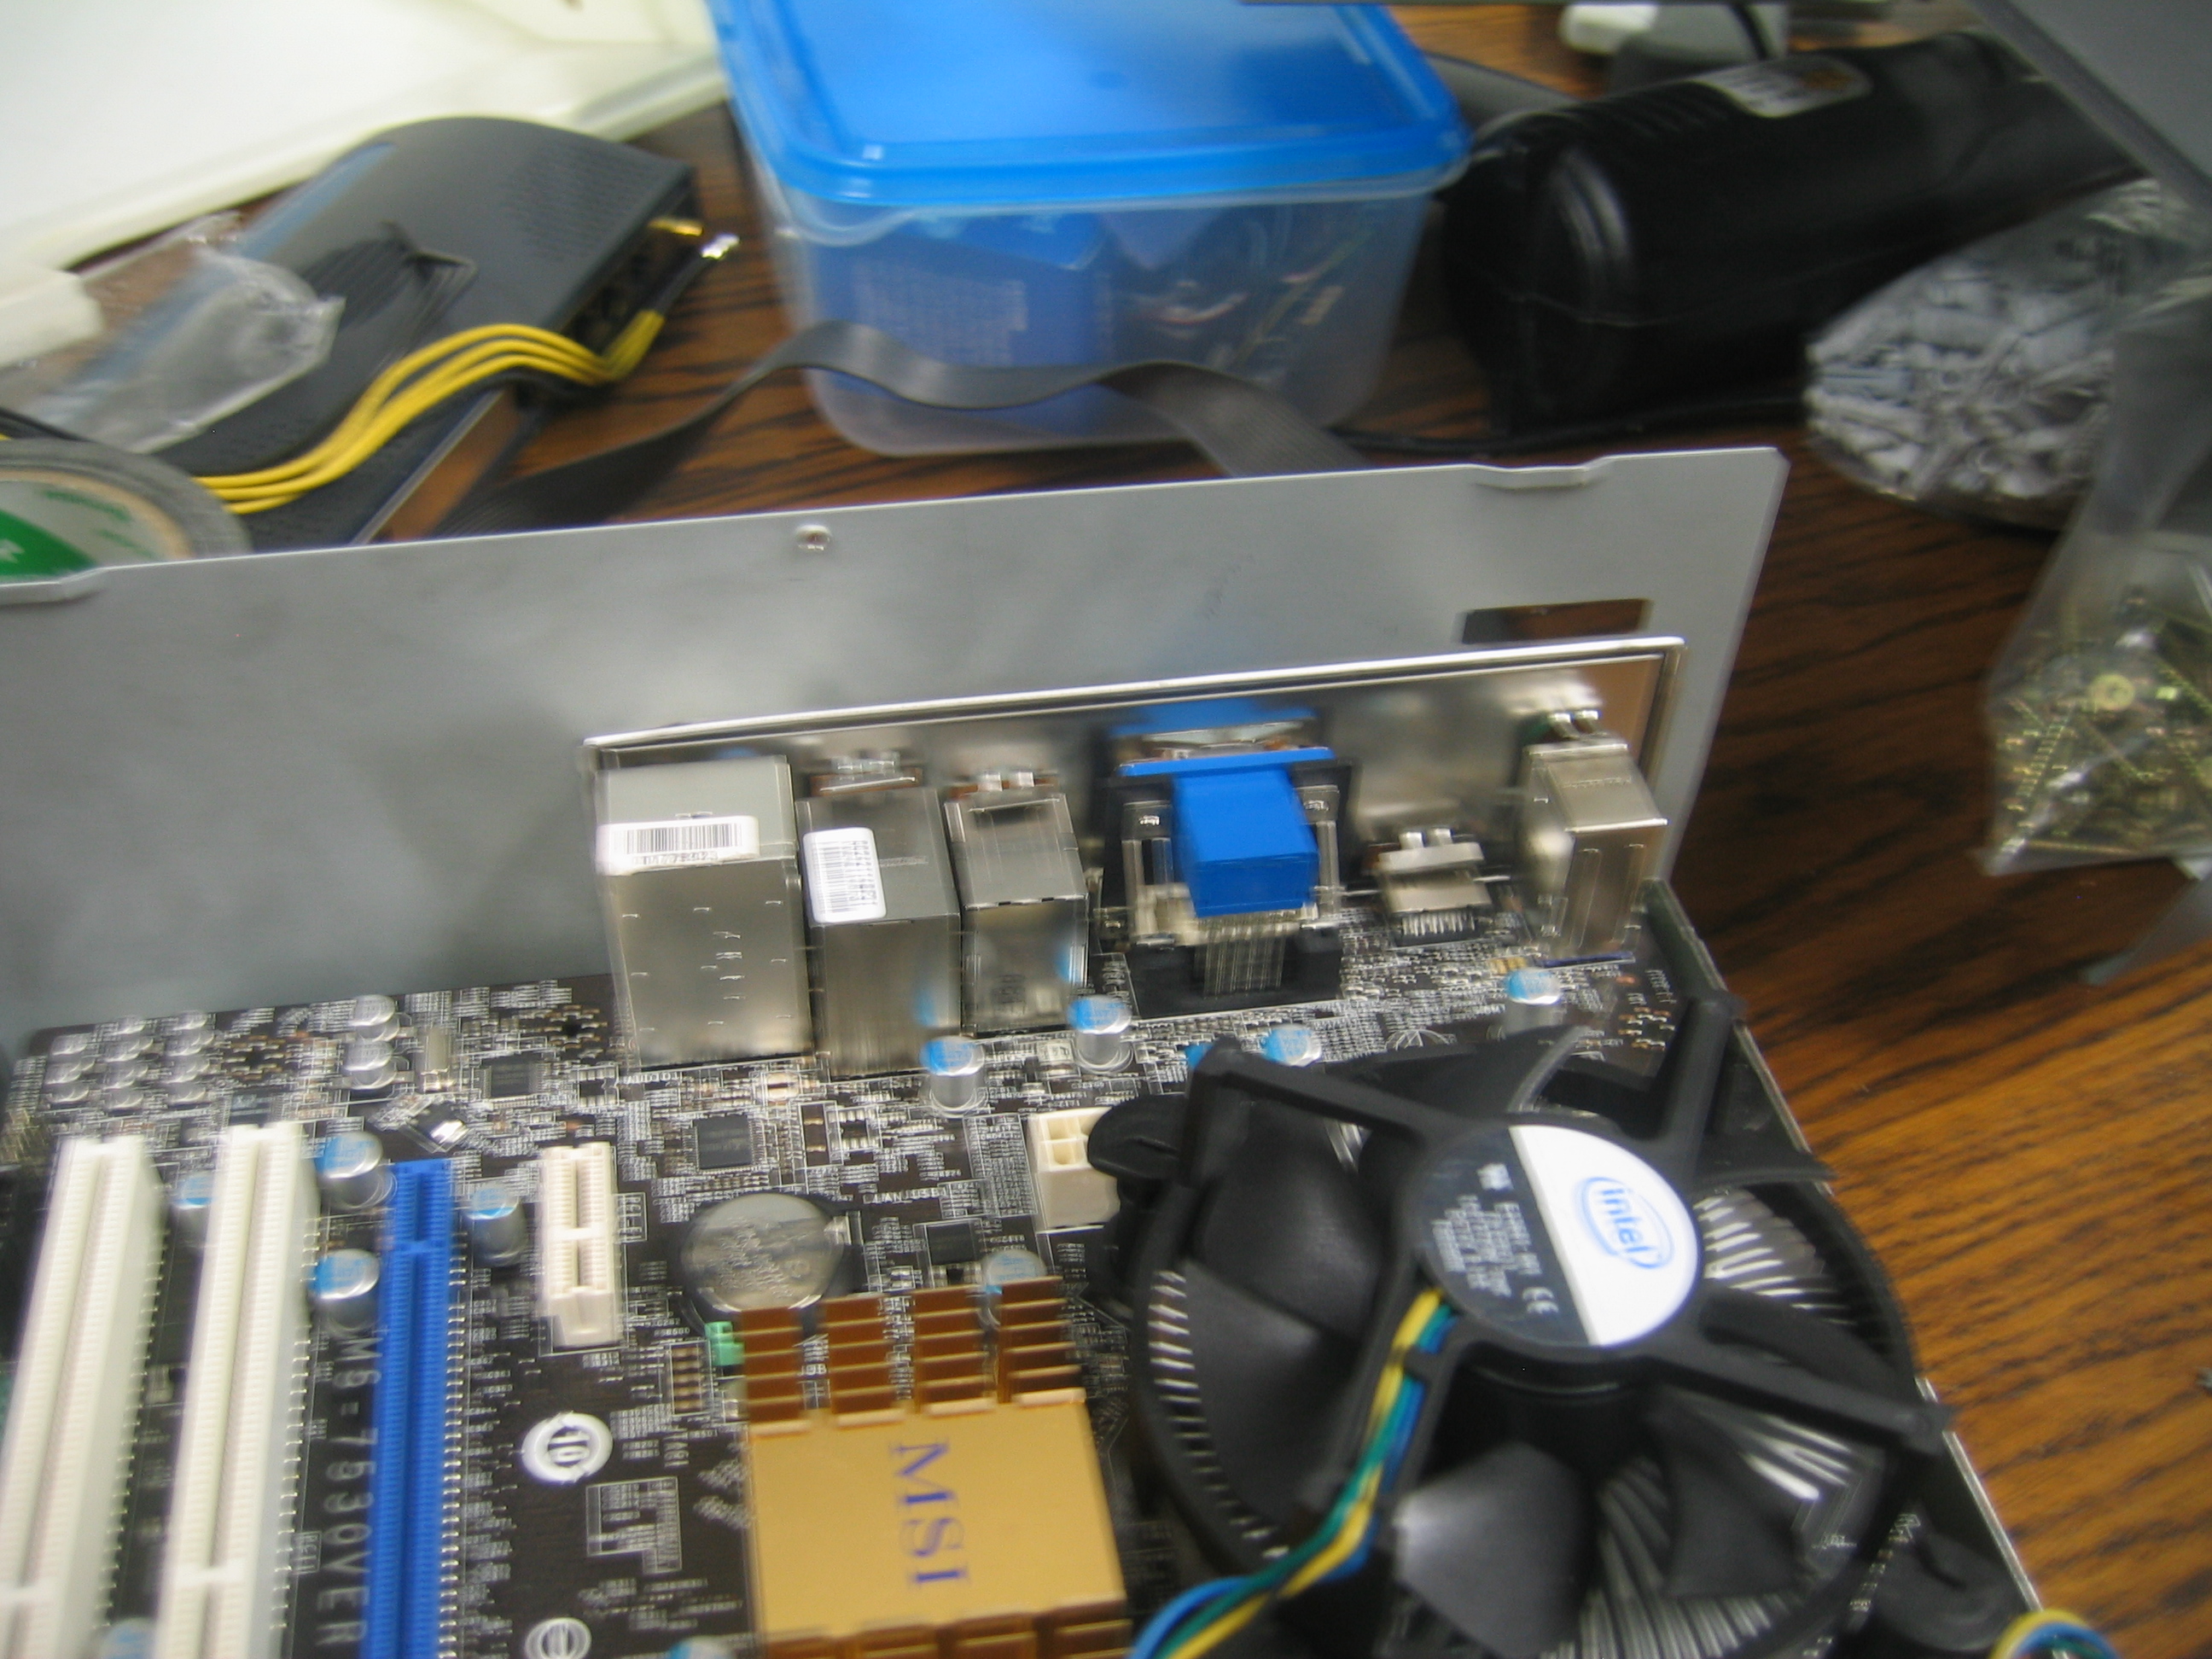
But hold the phone there, how does the other end look?
Ahrg, the mainboard is a tad longer than the case is. (Fyi, this was just bad
luck: when I bought the components for the HTPC I hadn't actually thought of
putting it inside this midi-set yet.) How to fix it?
After much thought, I decided on a simple solution: If the motherboard
wants to peek outside, lets just let it do that. After some sawing and breaking:
The PCB of the mainboard is black, so in real life it actually doesn't really
show that you're looking at a part that's meant to be on the inside of a case.
Now let's close the case, and whaddayaknow, it all fits! Shot from the backside:
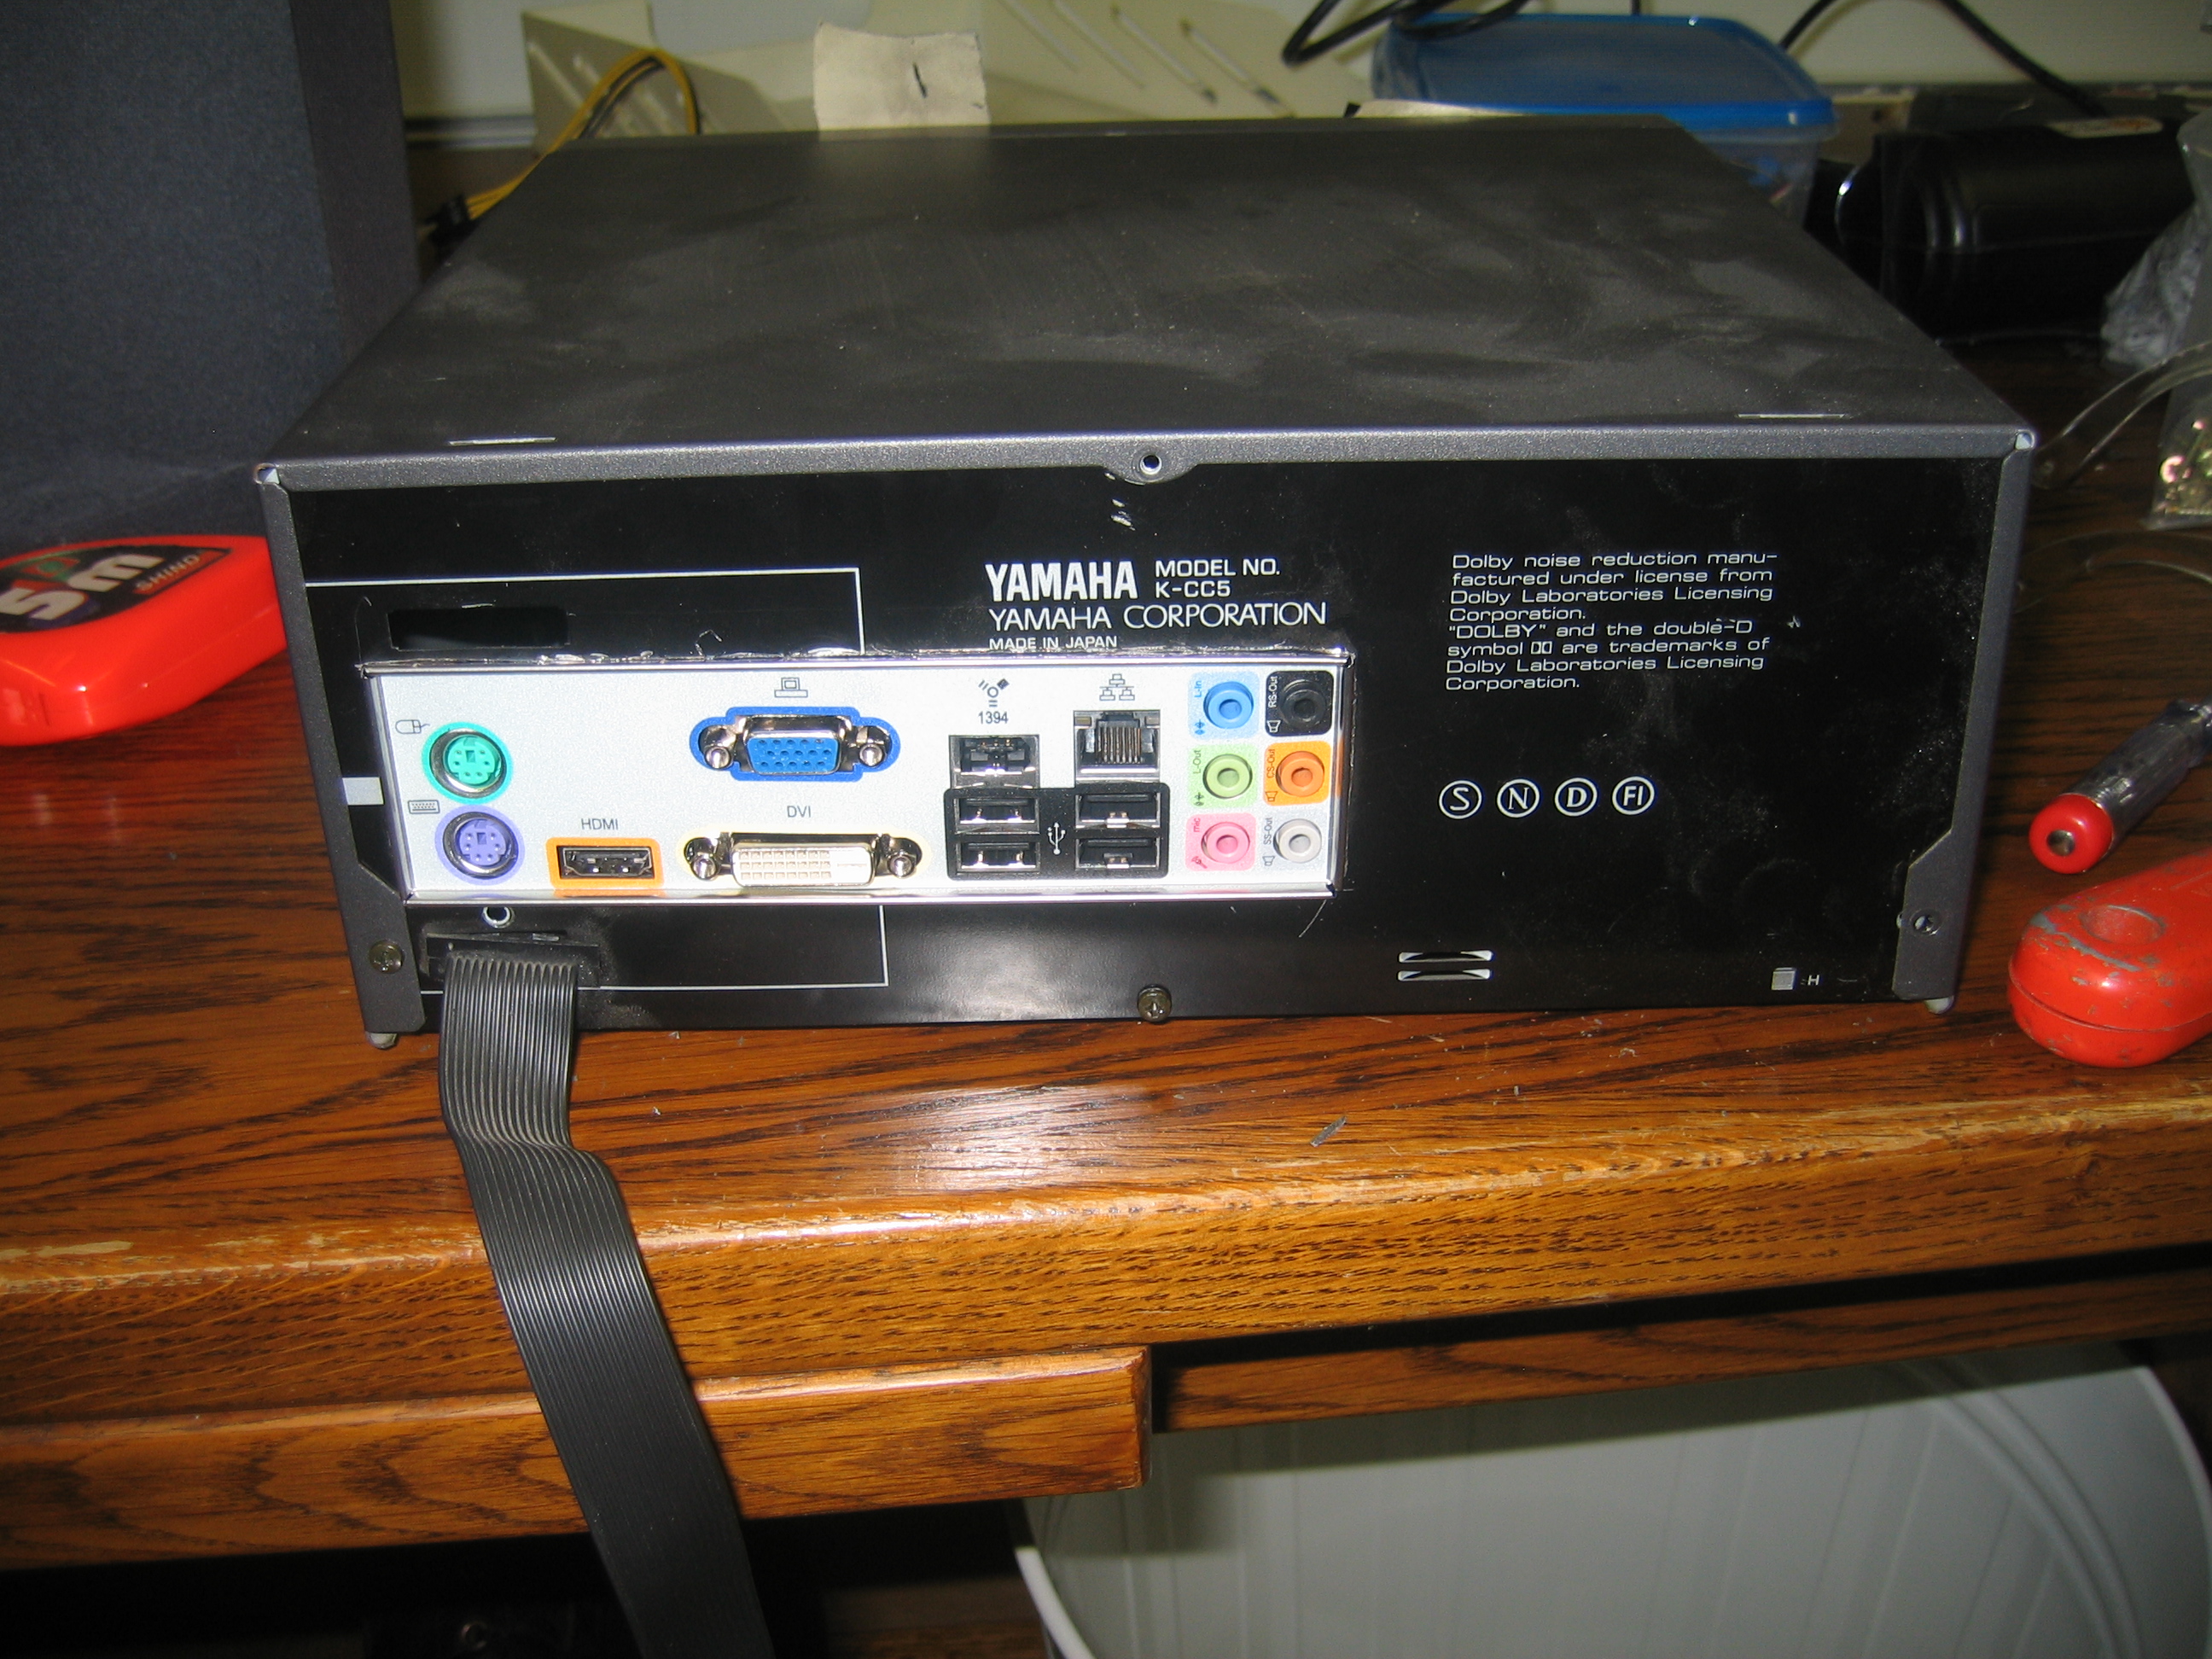
The flatcable in the image used to be partially where the new backplate is now,
so I relocated it to a vacant hole in the lower part of the case. It runs to
the amplifier, and while I don't have an immediate use for it, I kept it
because I may have in the future.
The Antec 380w-psu I bough for the HTPC is a standard ATX-PSU which would normally have no way of fitting into the already cramped HTPC-casing. I decided the only way to get it in there was to strip off the metal casing and put only the electronics it contains into my case. There is only one place left that would fit: at the top of the case, above the mainboards PCI-connections. Hope I won't be needing them later on...
First off all: we're working with 230V here, so for isolation, I decided on gluing a slab
of plexiglass to the top of the case:
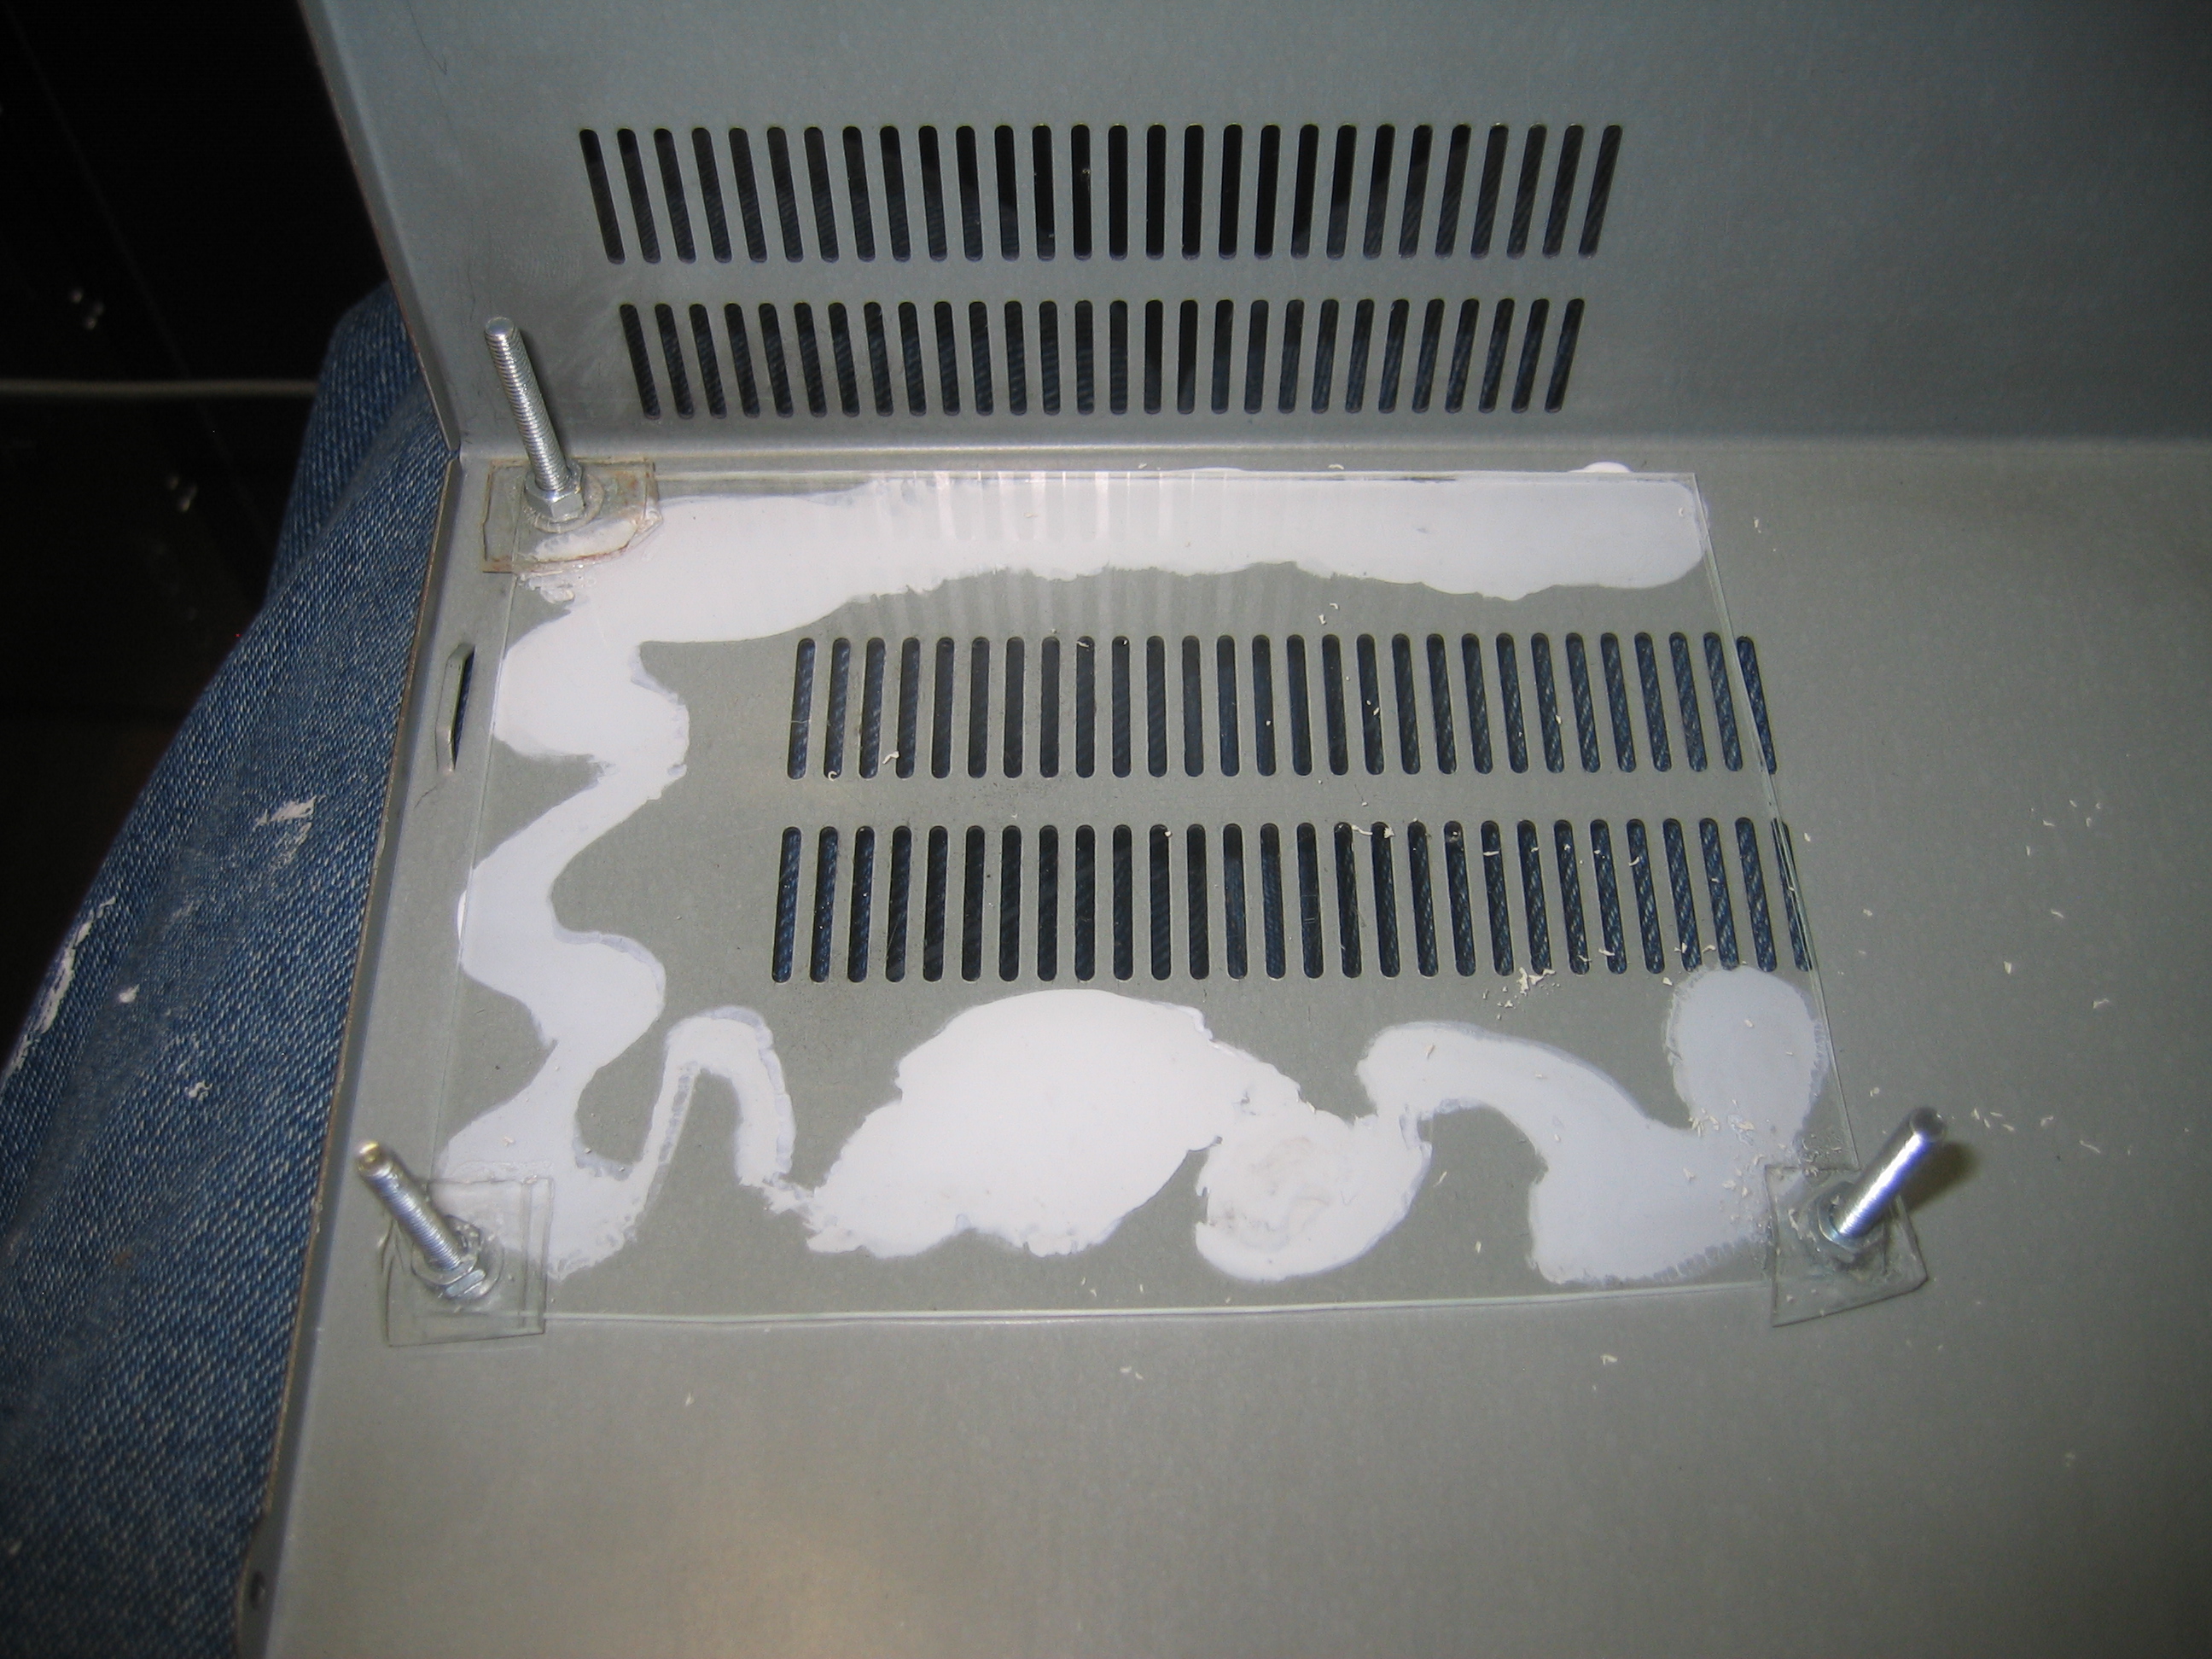
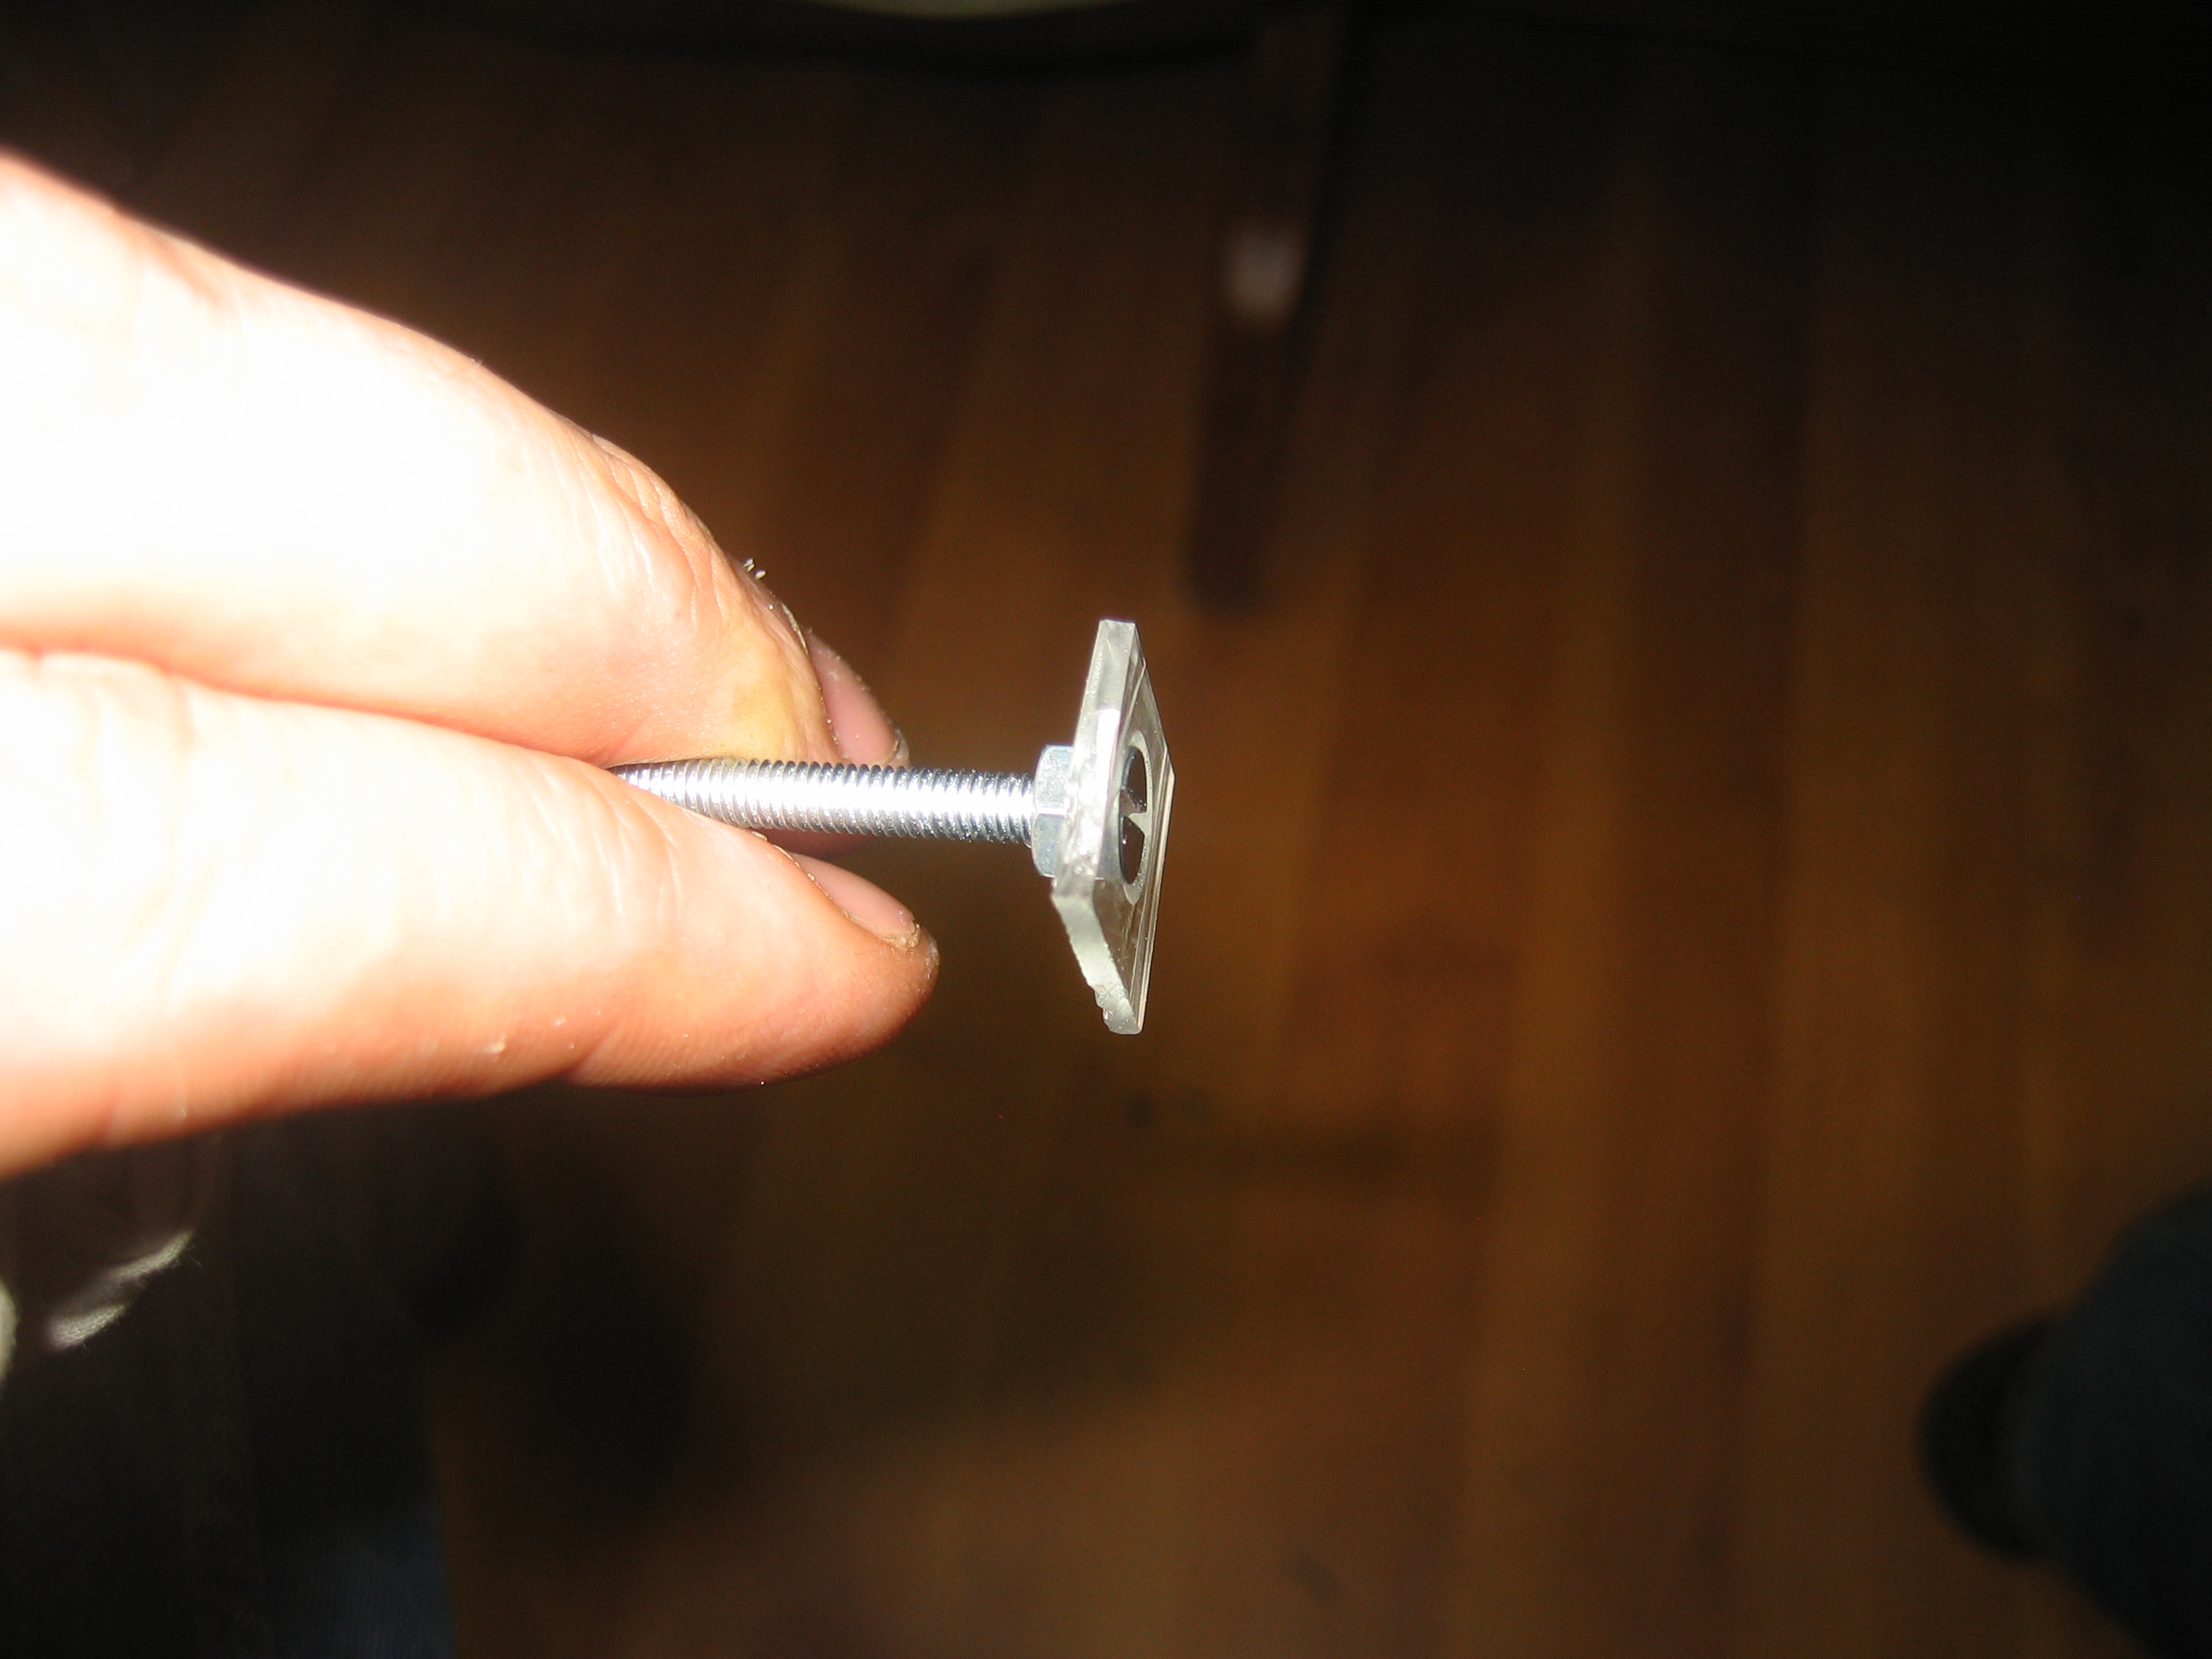
The screws are basically these constructions, glued to the plexiglass:
 And with everything put together, it even still all fits in the case!

(Fyi: To be safe, the top of the PSU PCB is covered with a sheet of plexiglass too.)
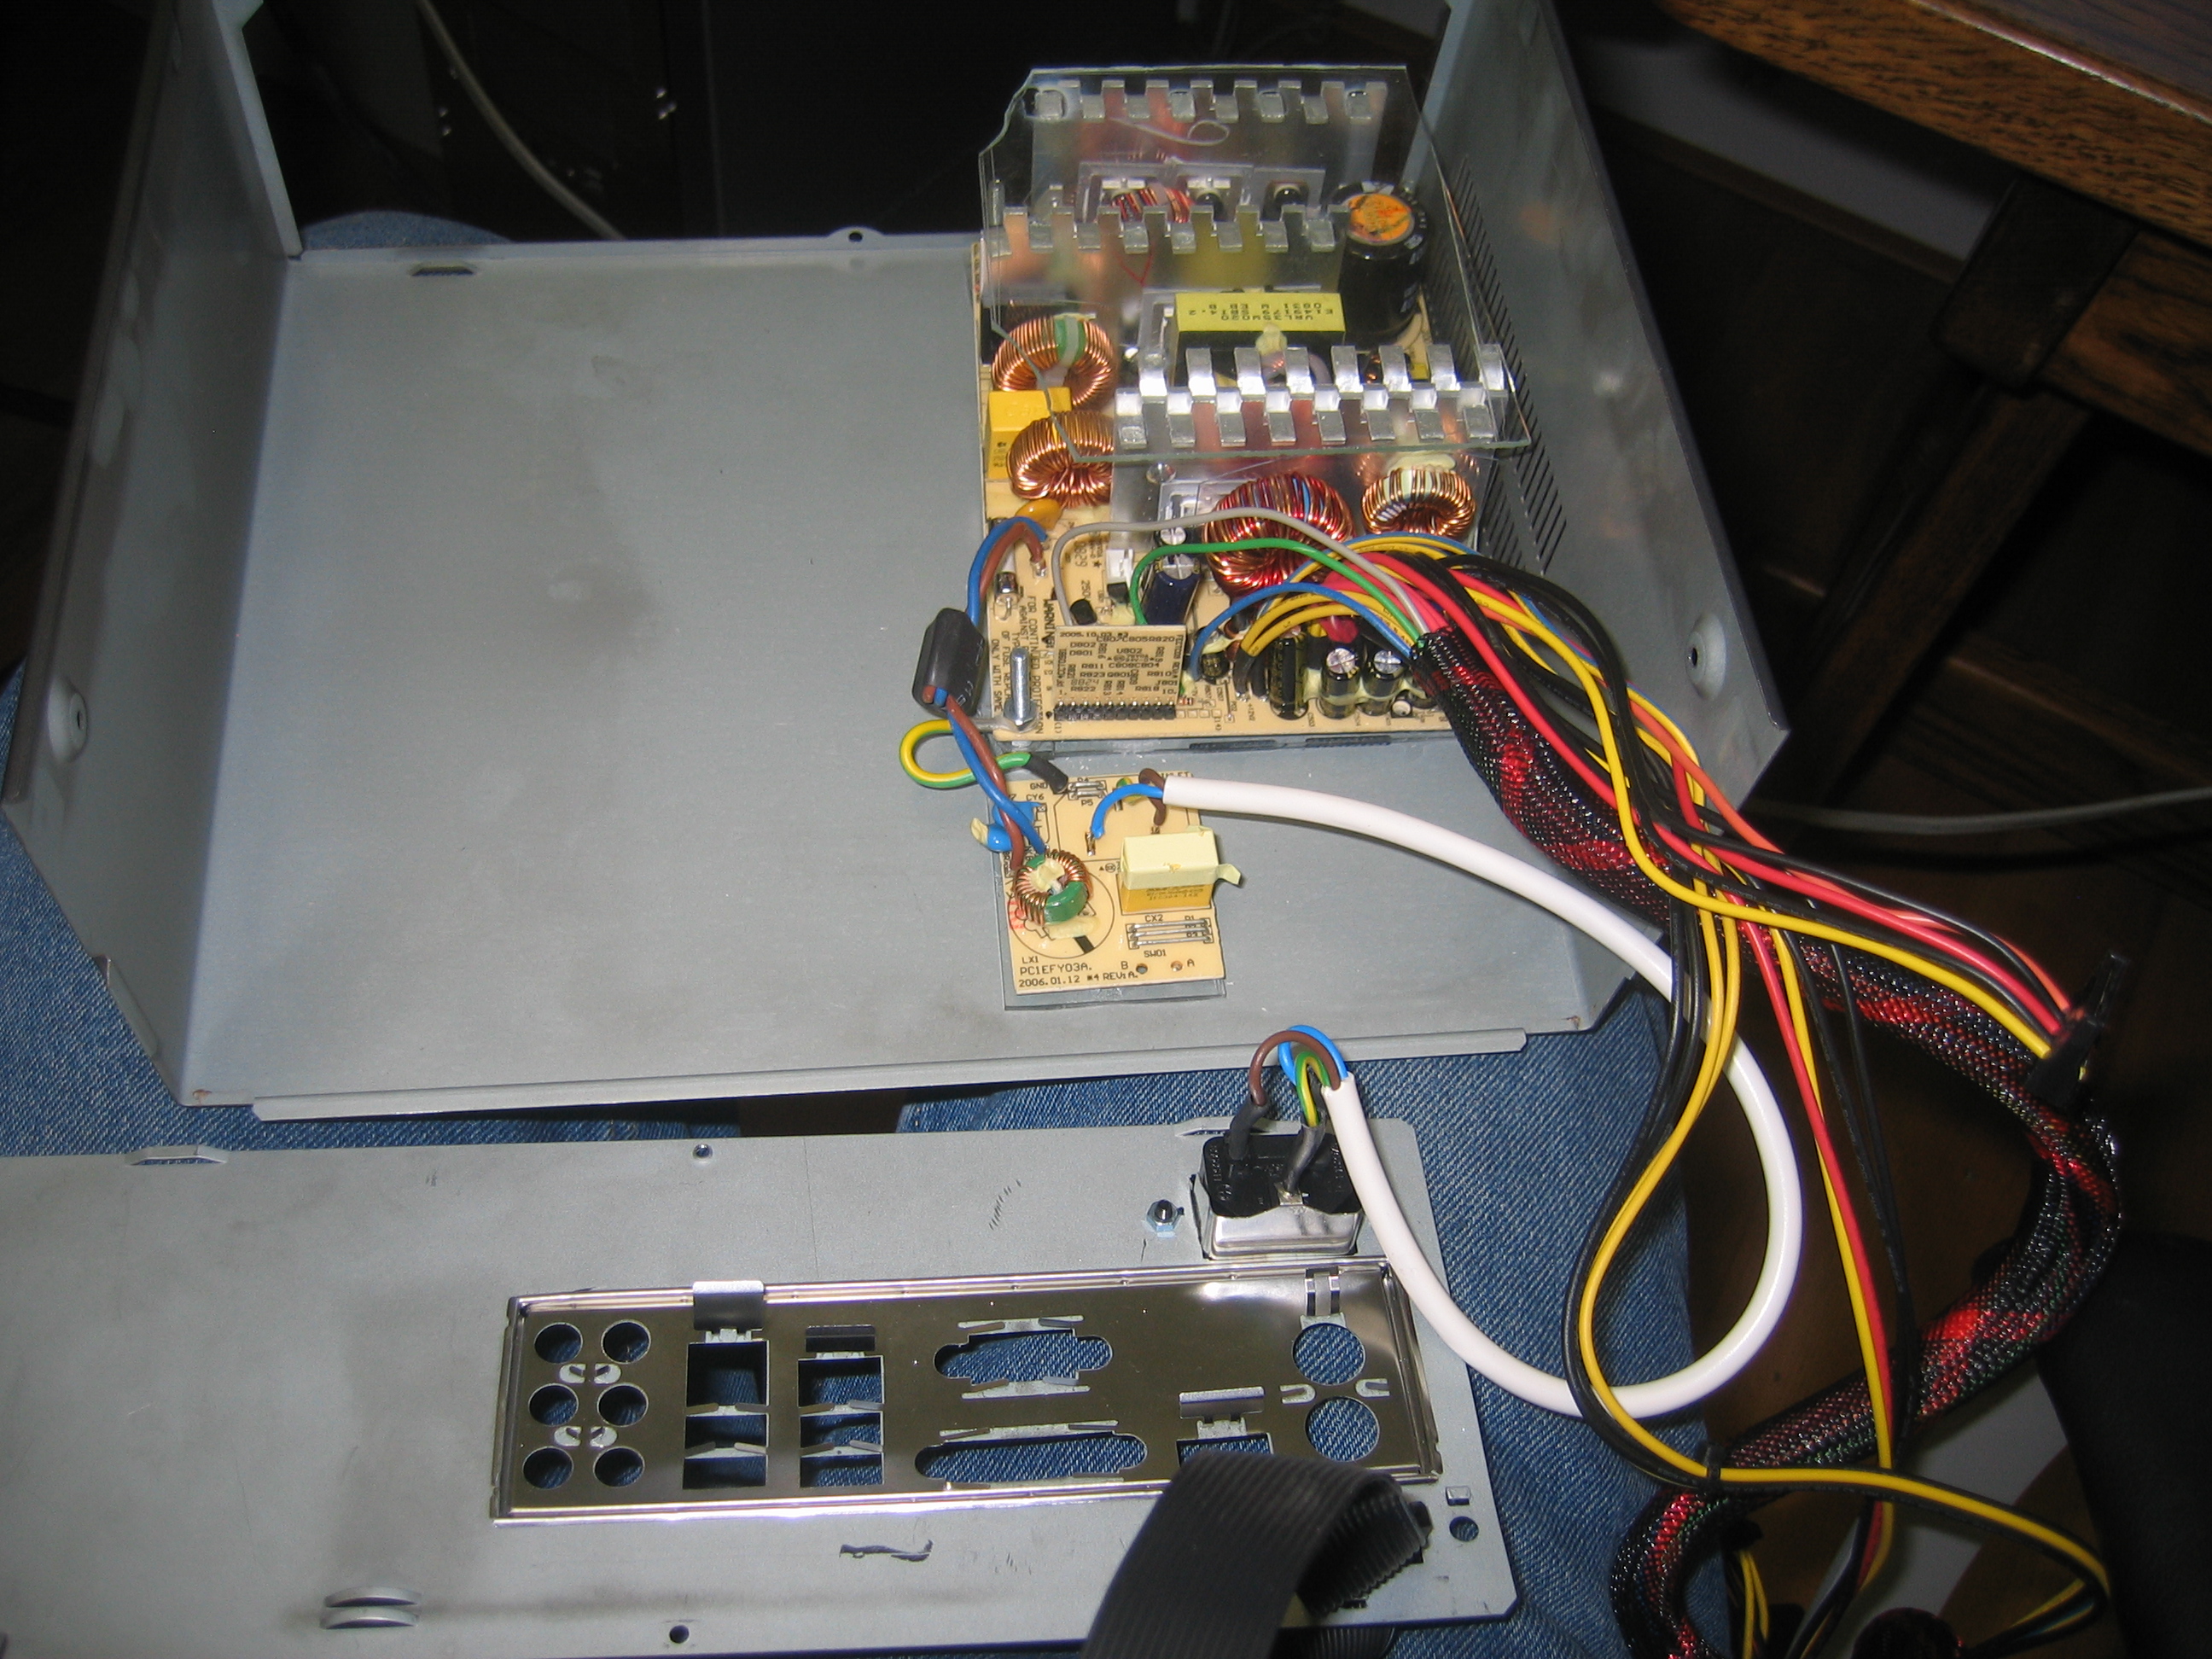
The PSU will be needing 230V too. It can't get that over the flatcable to the
amp, so I decided on using an ordinary Euro-plug for that.

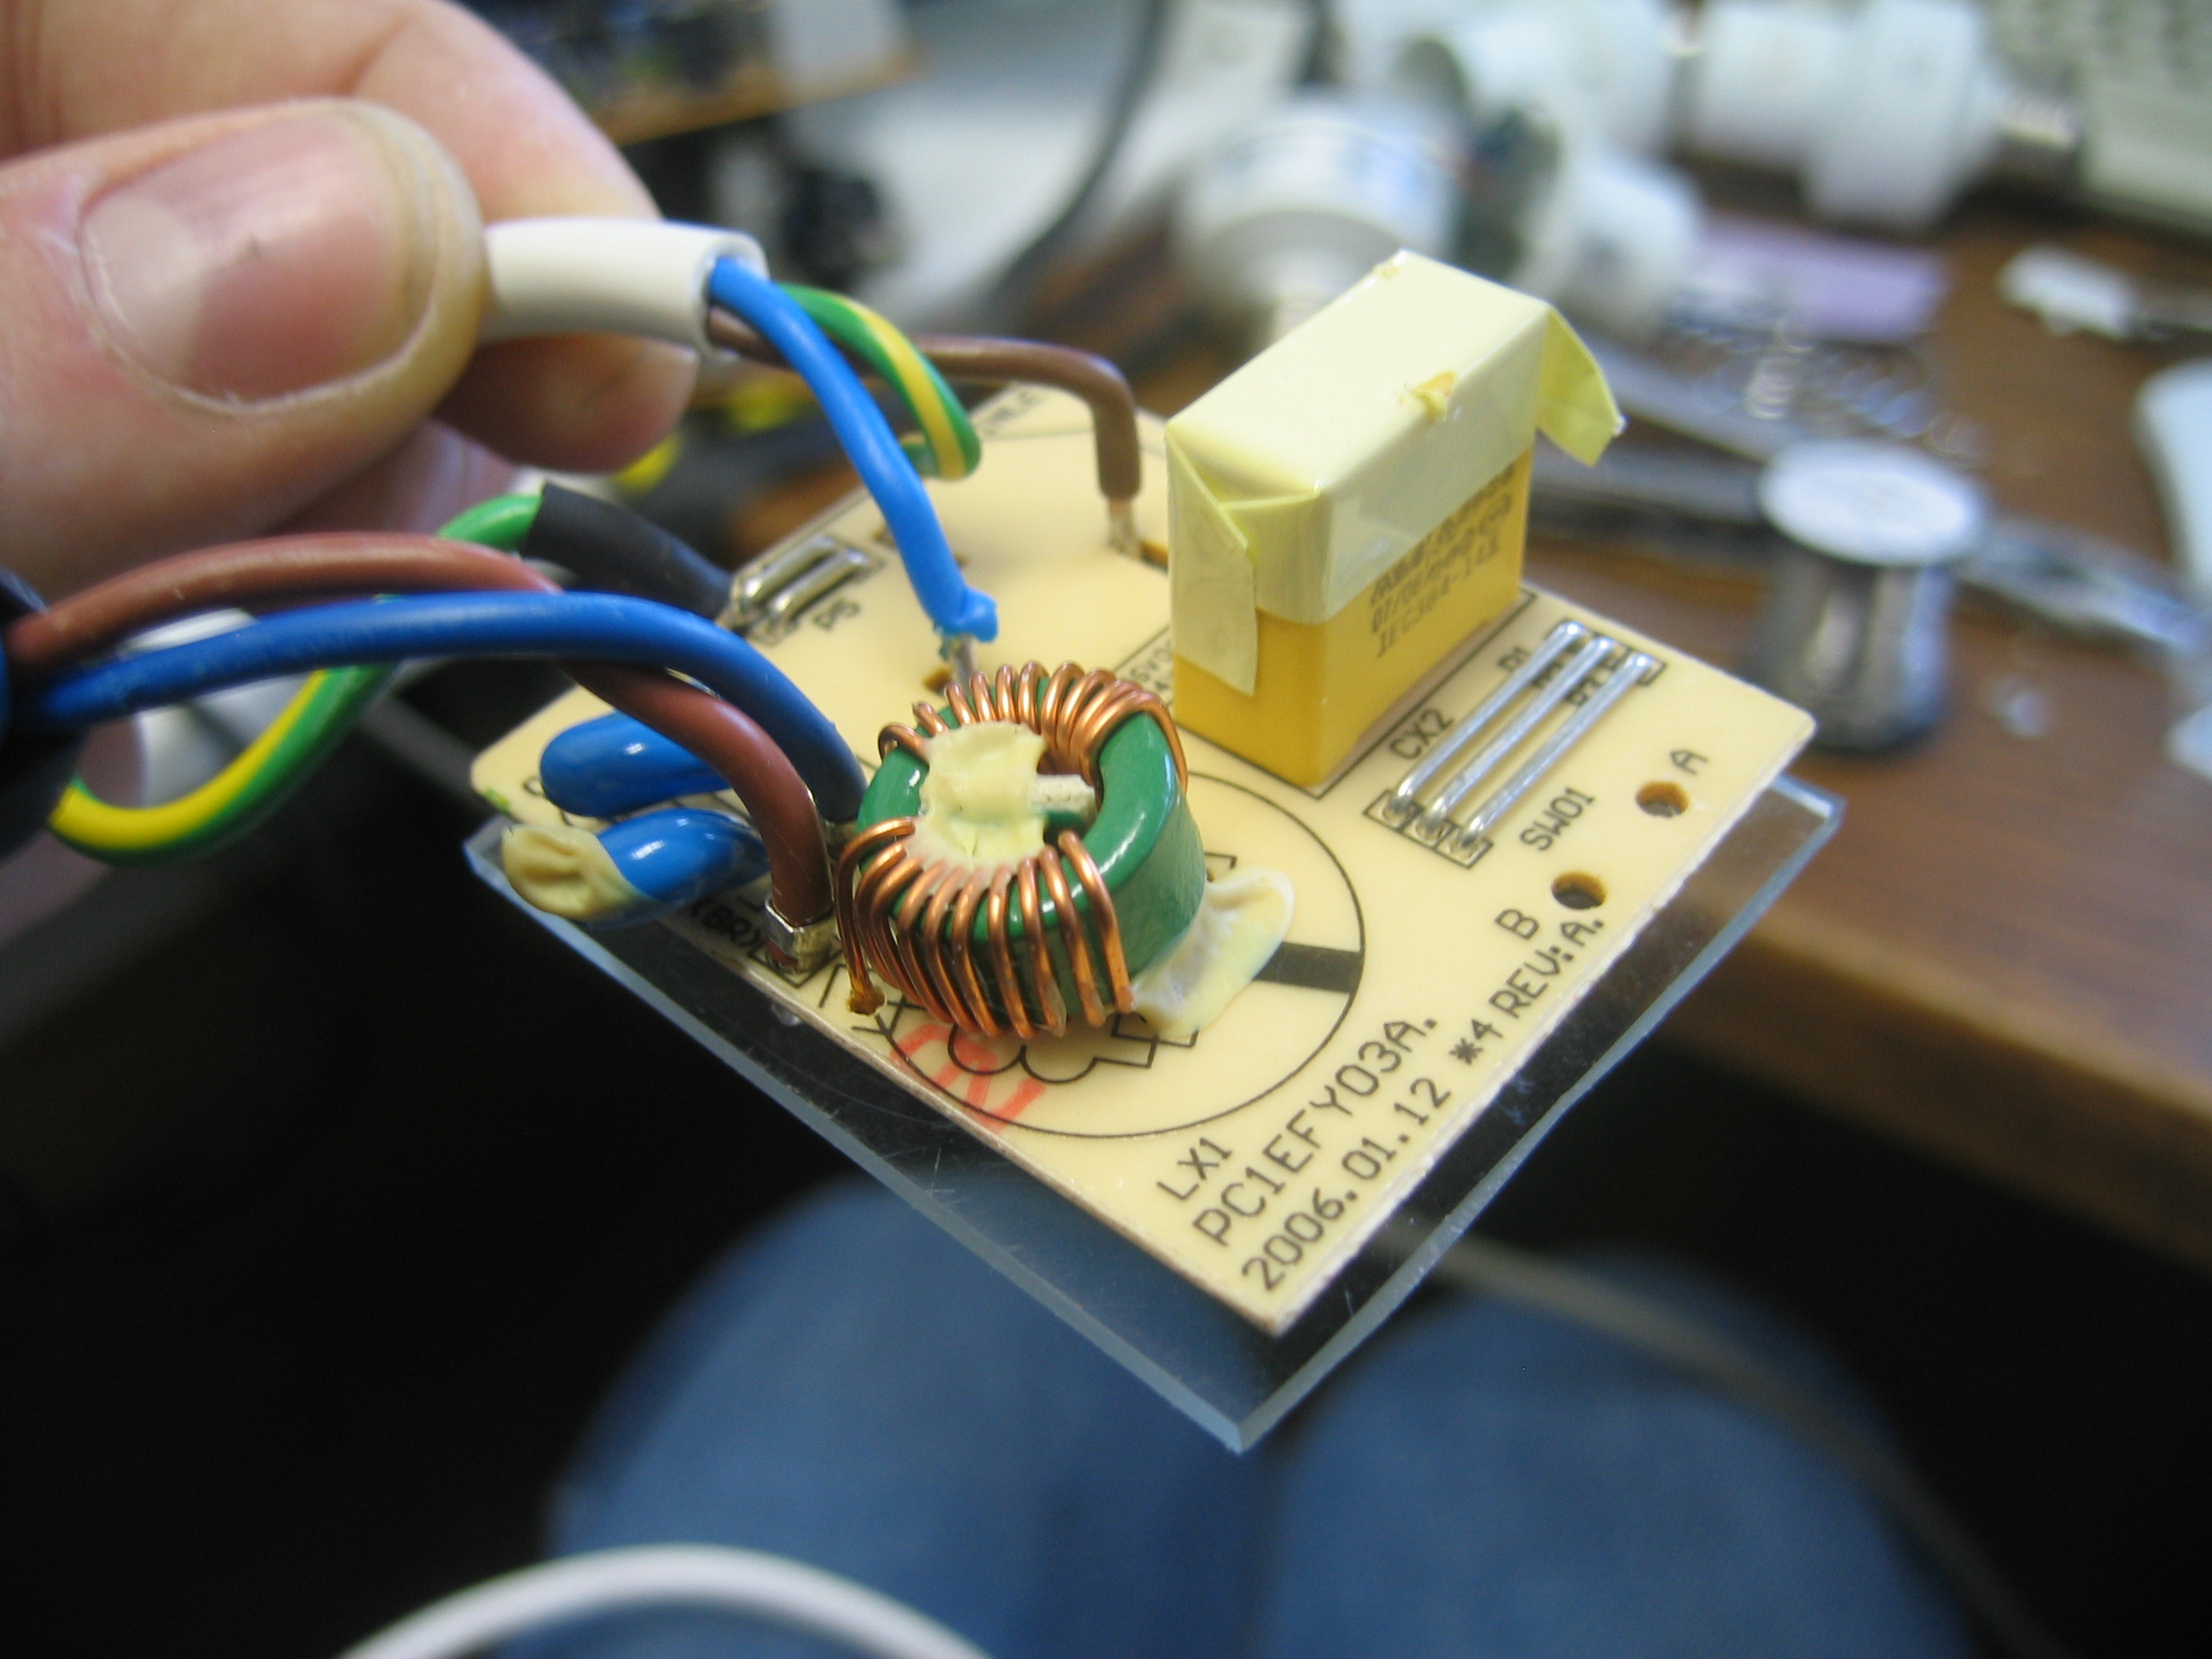
This little PCB was between the power connector and the main PSU PCB. No idea
what exactly it's good for, but it must be a good idea to put it back inbetween too. I
decided to glue it to a piece of plexiglass and glue that to the top of the case:
And this is how it ended up looking:
At that moment I decided to try out the system. Hopefull, I pushed the plug into the socket... darkness; a circuit breaker triggered. After a short search, I found out the cause: the glue wasn't completely dry yet and was water-based, making it conduct while not 100% dry...
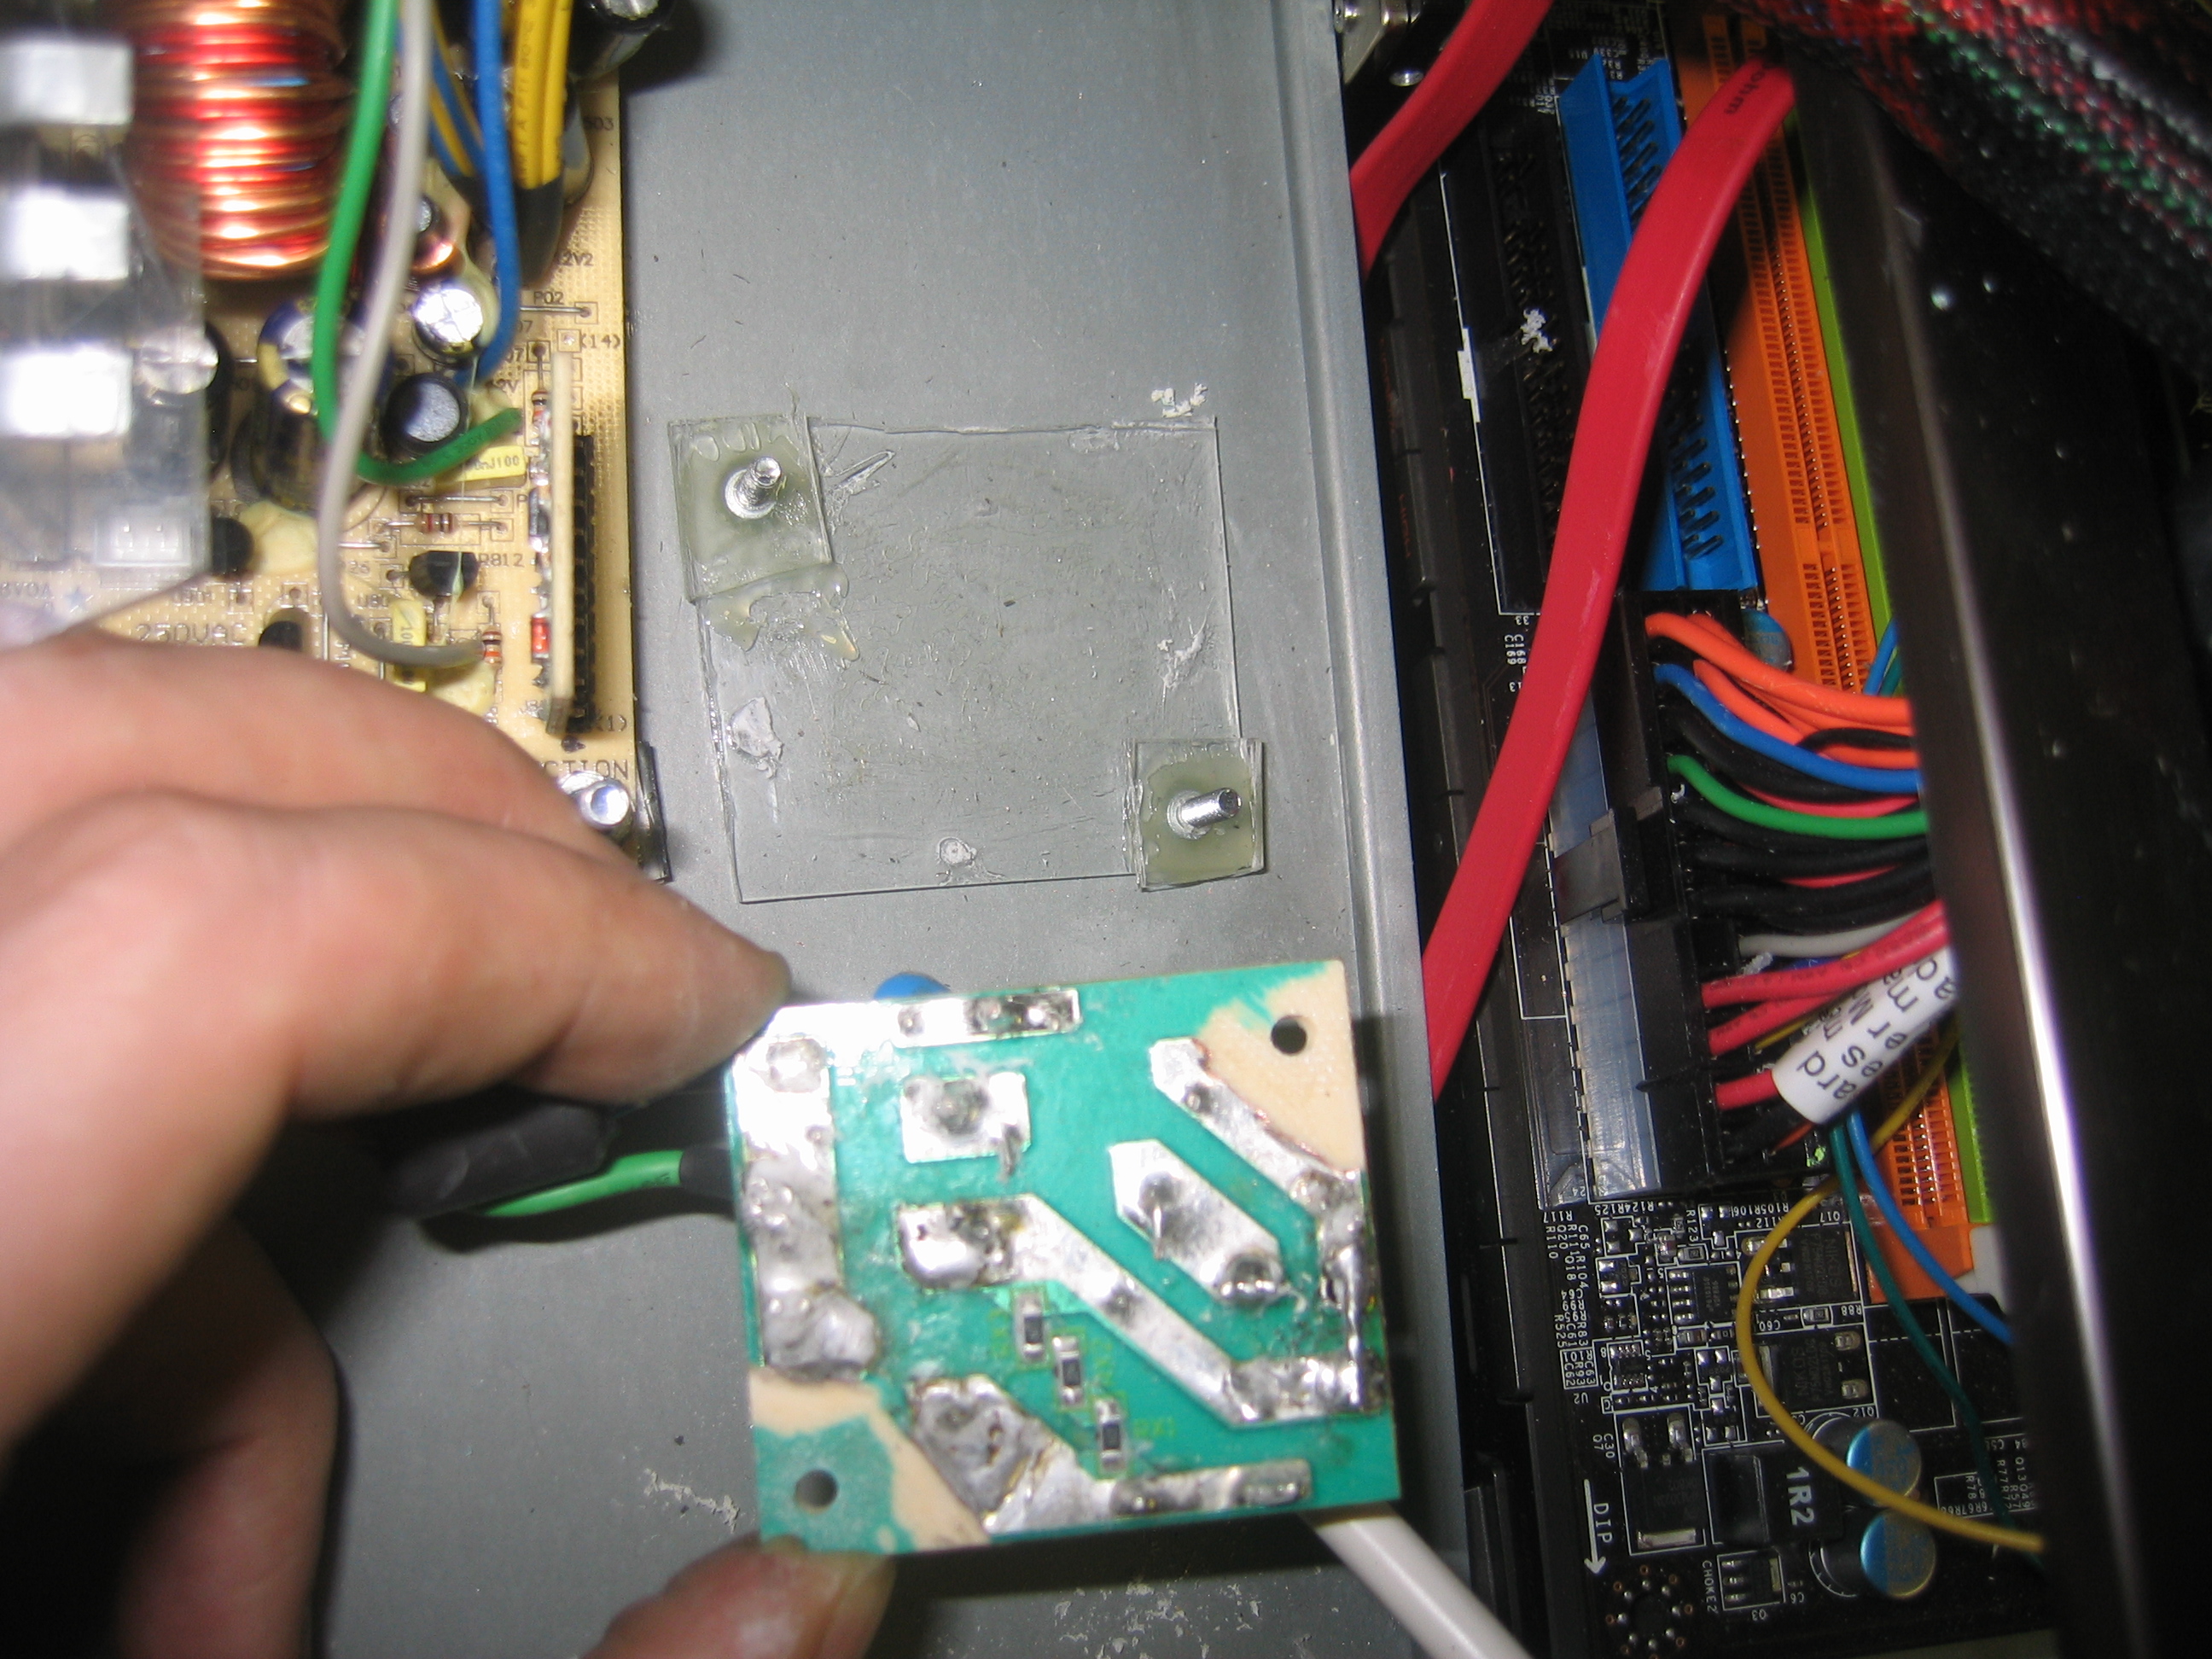
Second try: get rid of the glue and use the tested-and-tried way of drilling two holes in the PCB and using
these plus some screws to affix it:
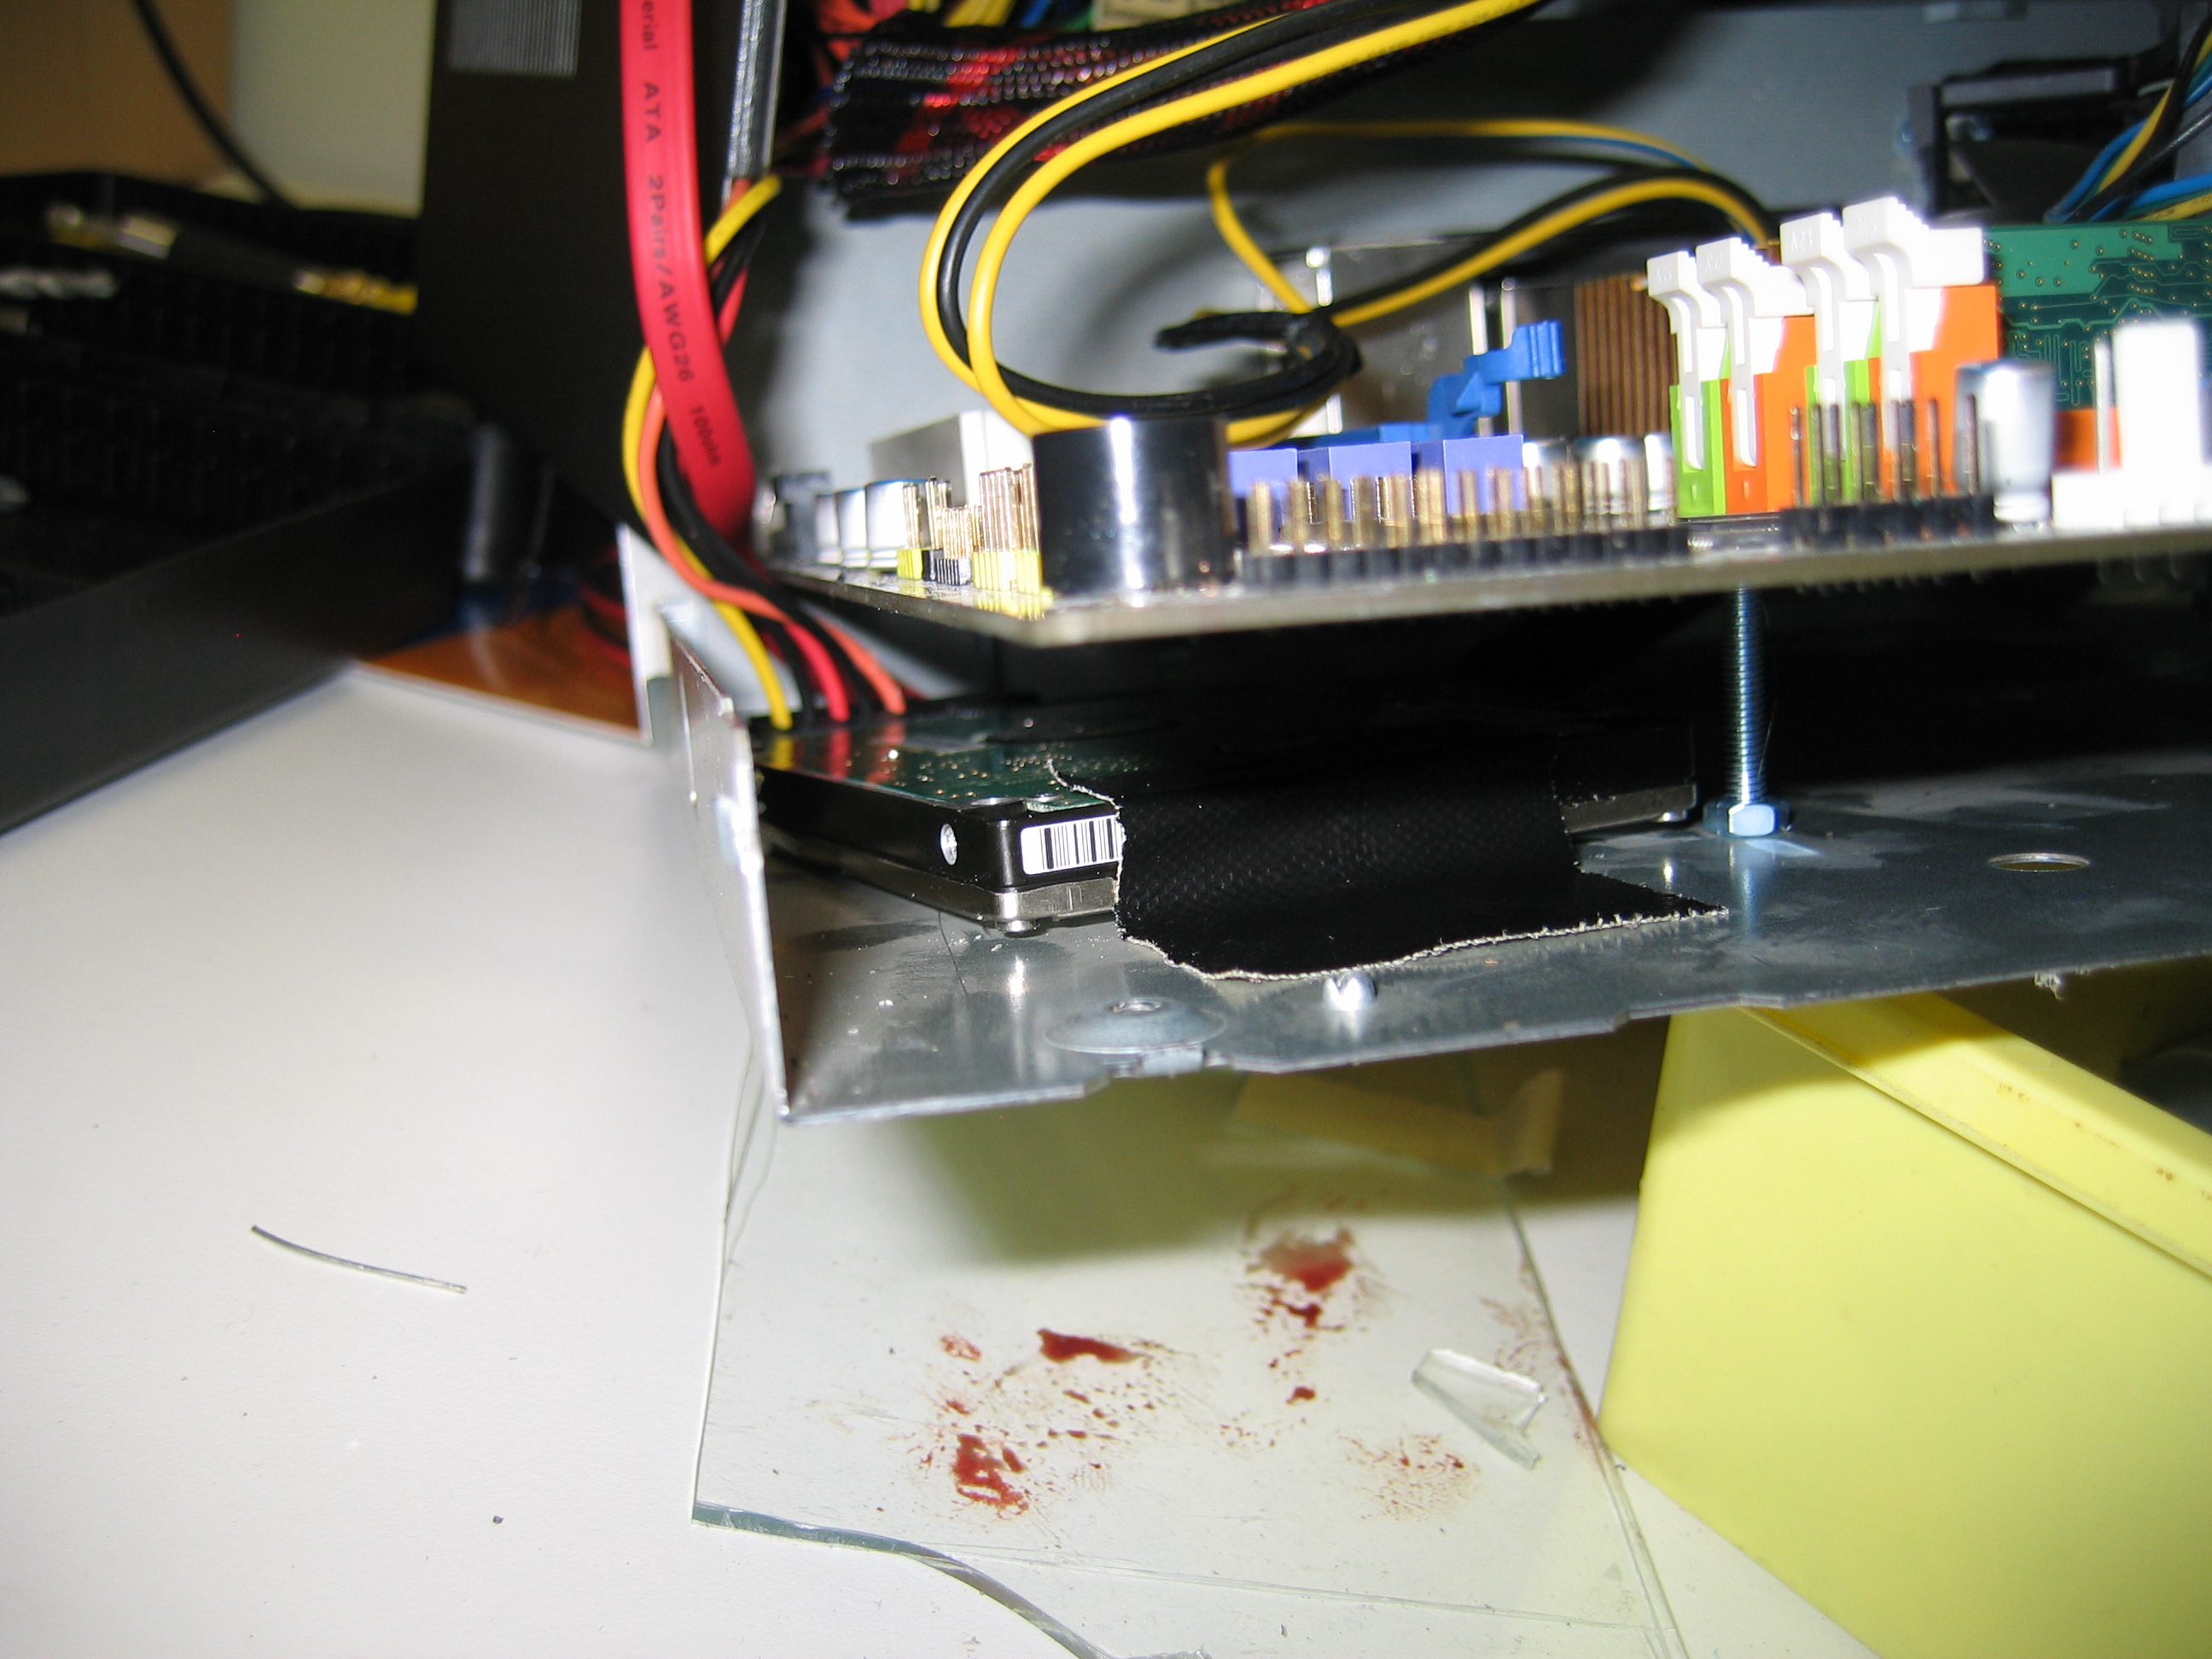
Ok, that was it for the top of the case. The bottom still needs some work, though. Let's fix the motherboard
to the case first, using some long screws:

And this is how it ended up looking. The laptop-HD is temporarily, for testing purposes.
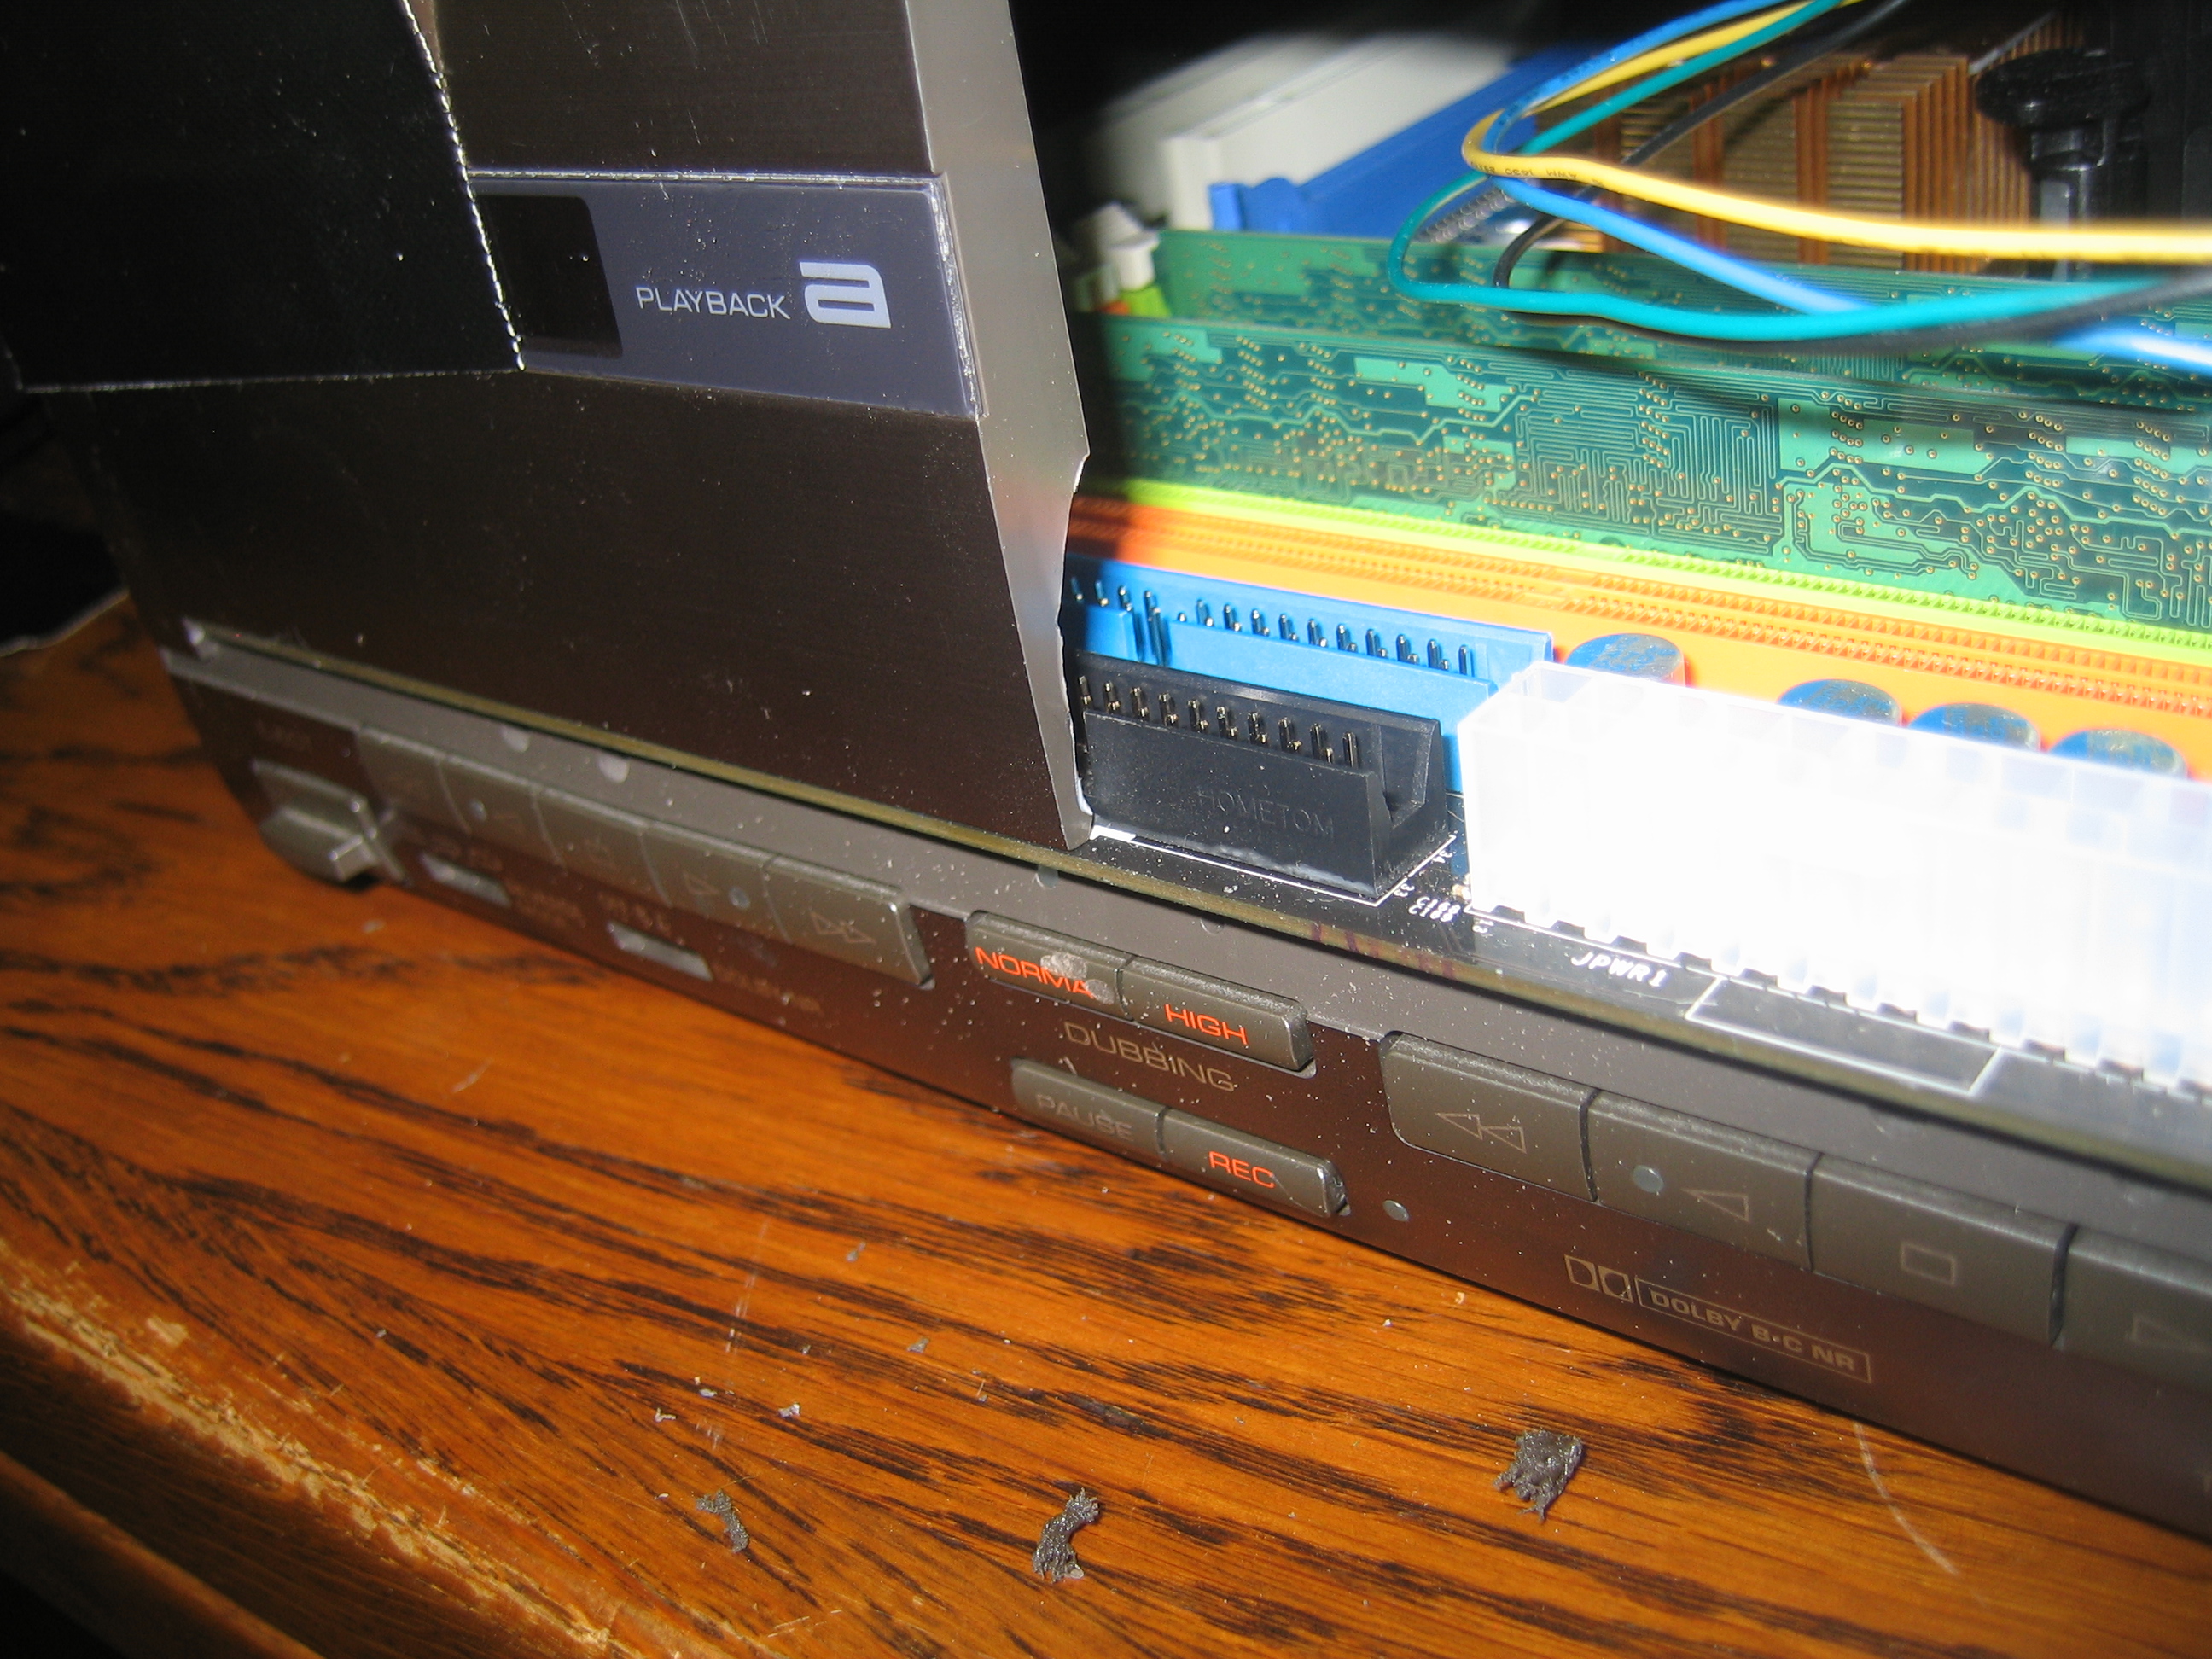
The front still needs some glue, but wait a moment: deck B did fit too, didn't it?
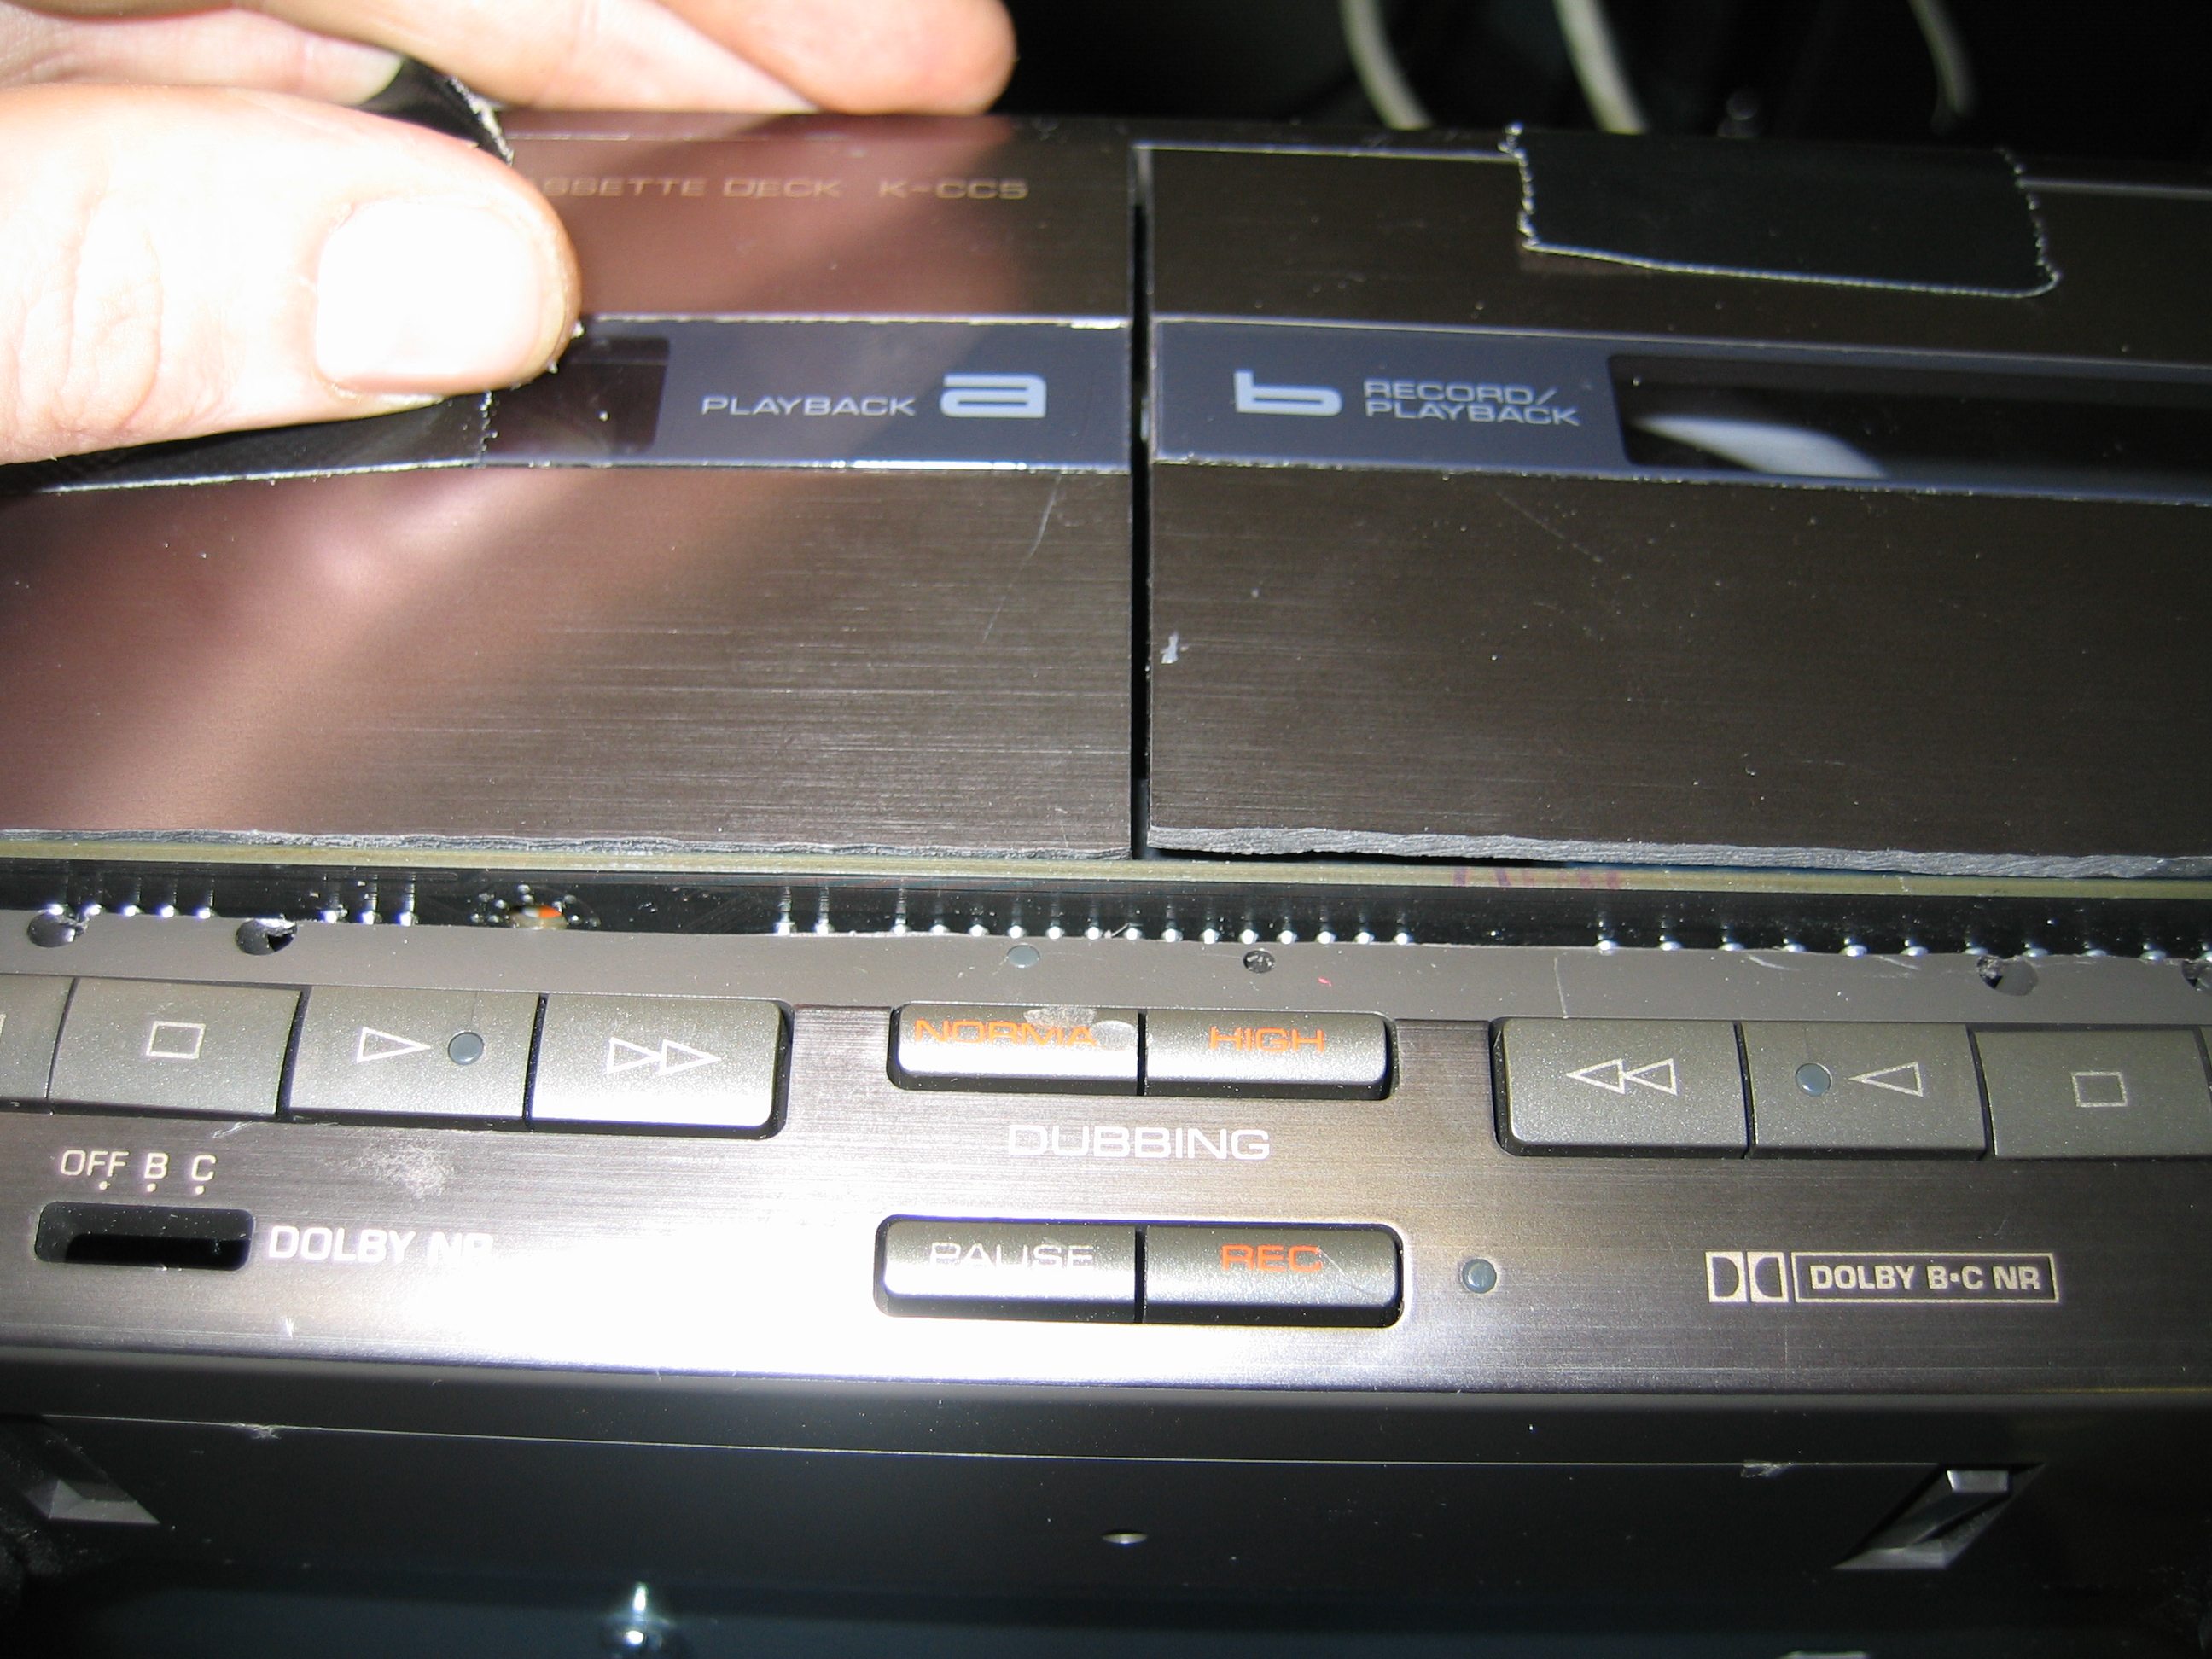
Ah, the retainer clip of the PSU connector is the cause.
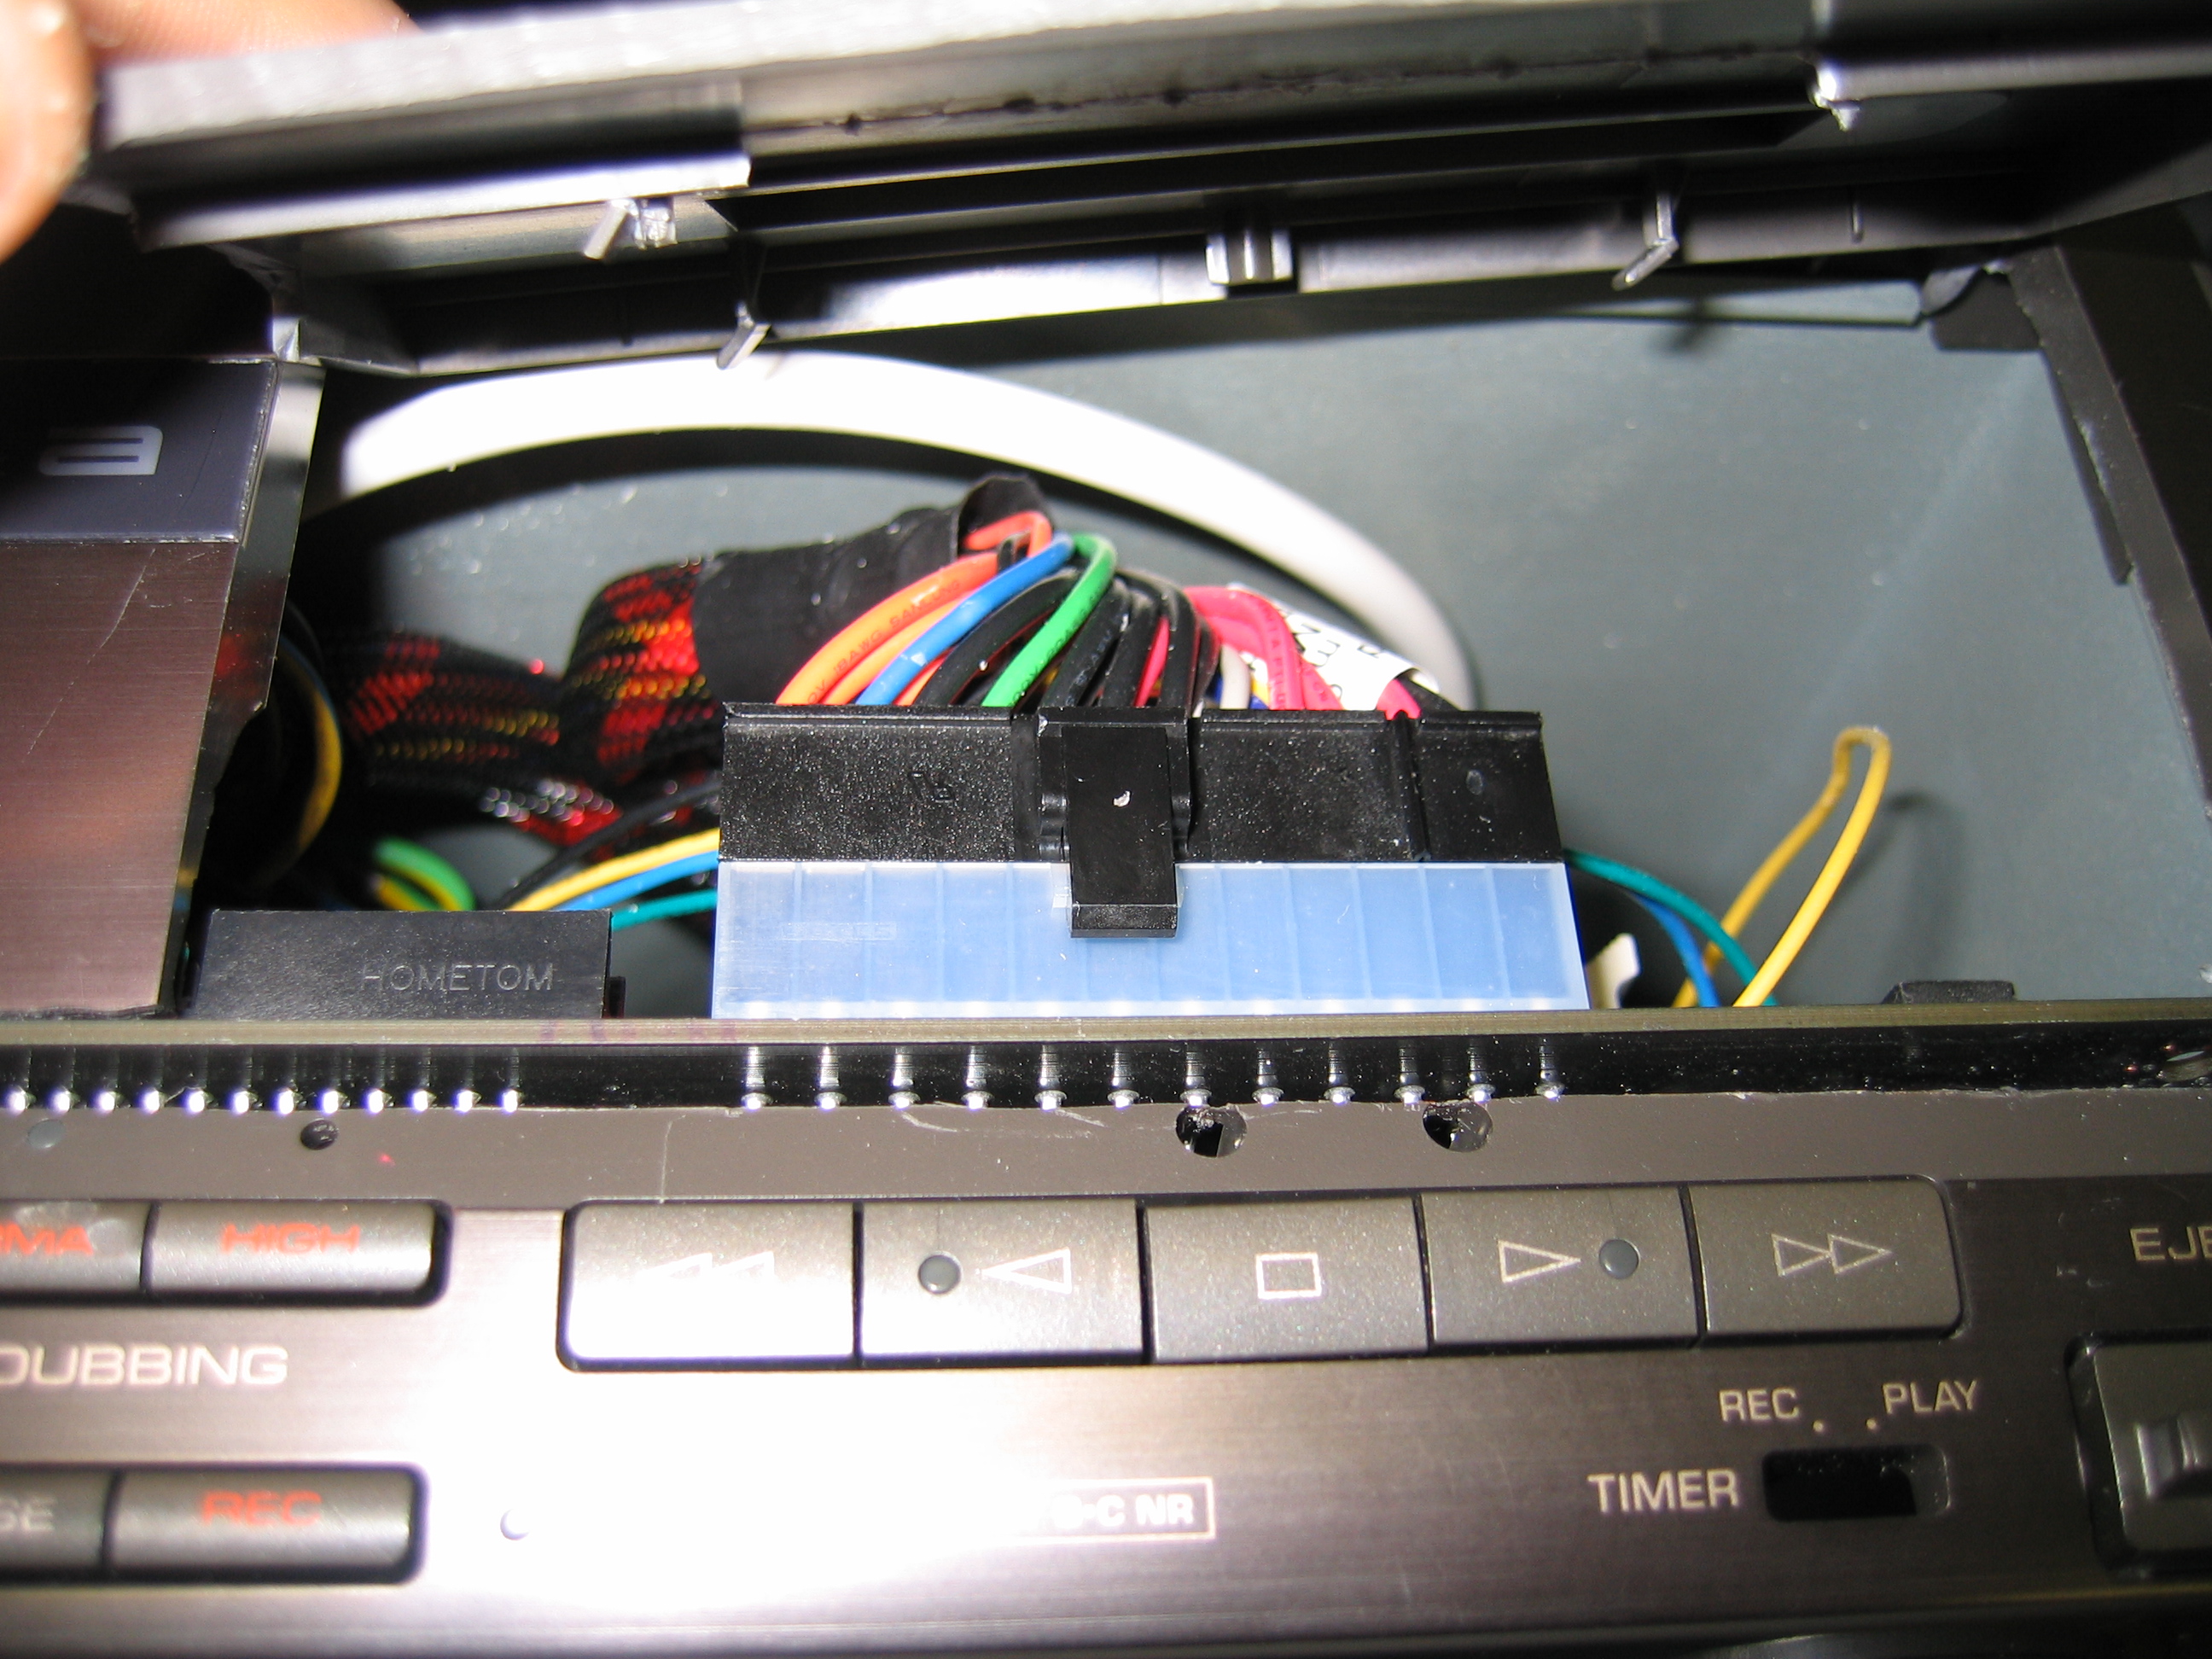
Luckily, these clips don't have an electrical purpose and can be clipped off without too much harm.
Last look. The fact that the mainboard is sticking out is less than ideal, but I can't doo too much about it without picking another case.
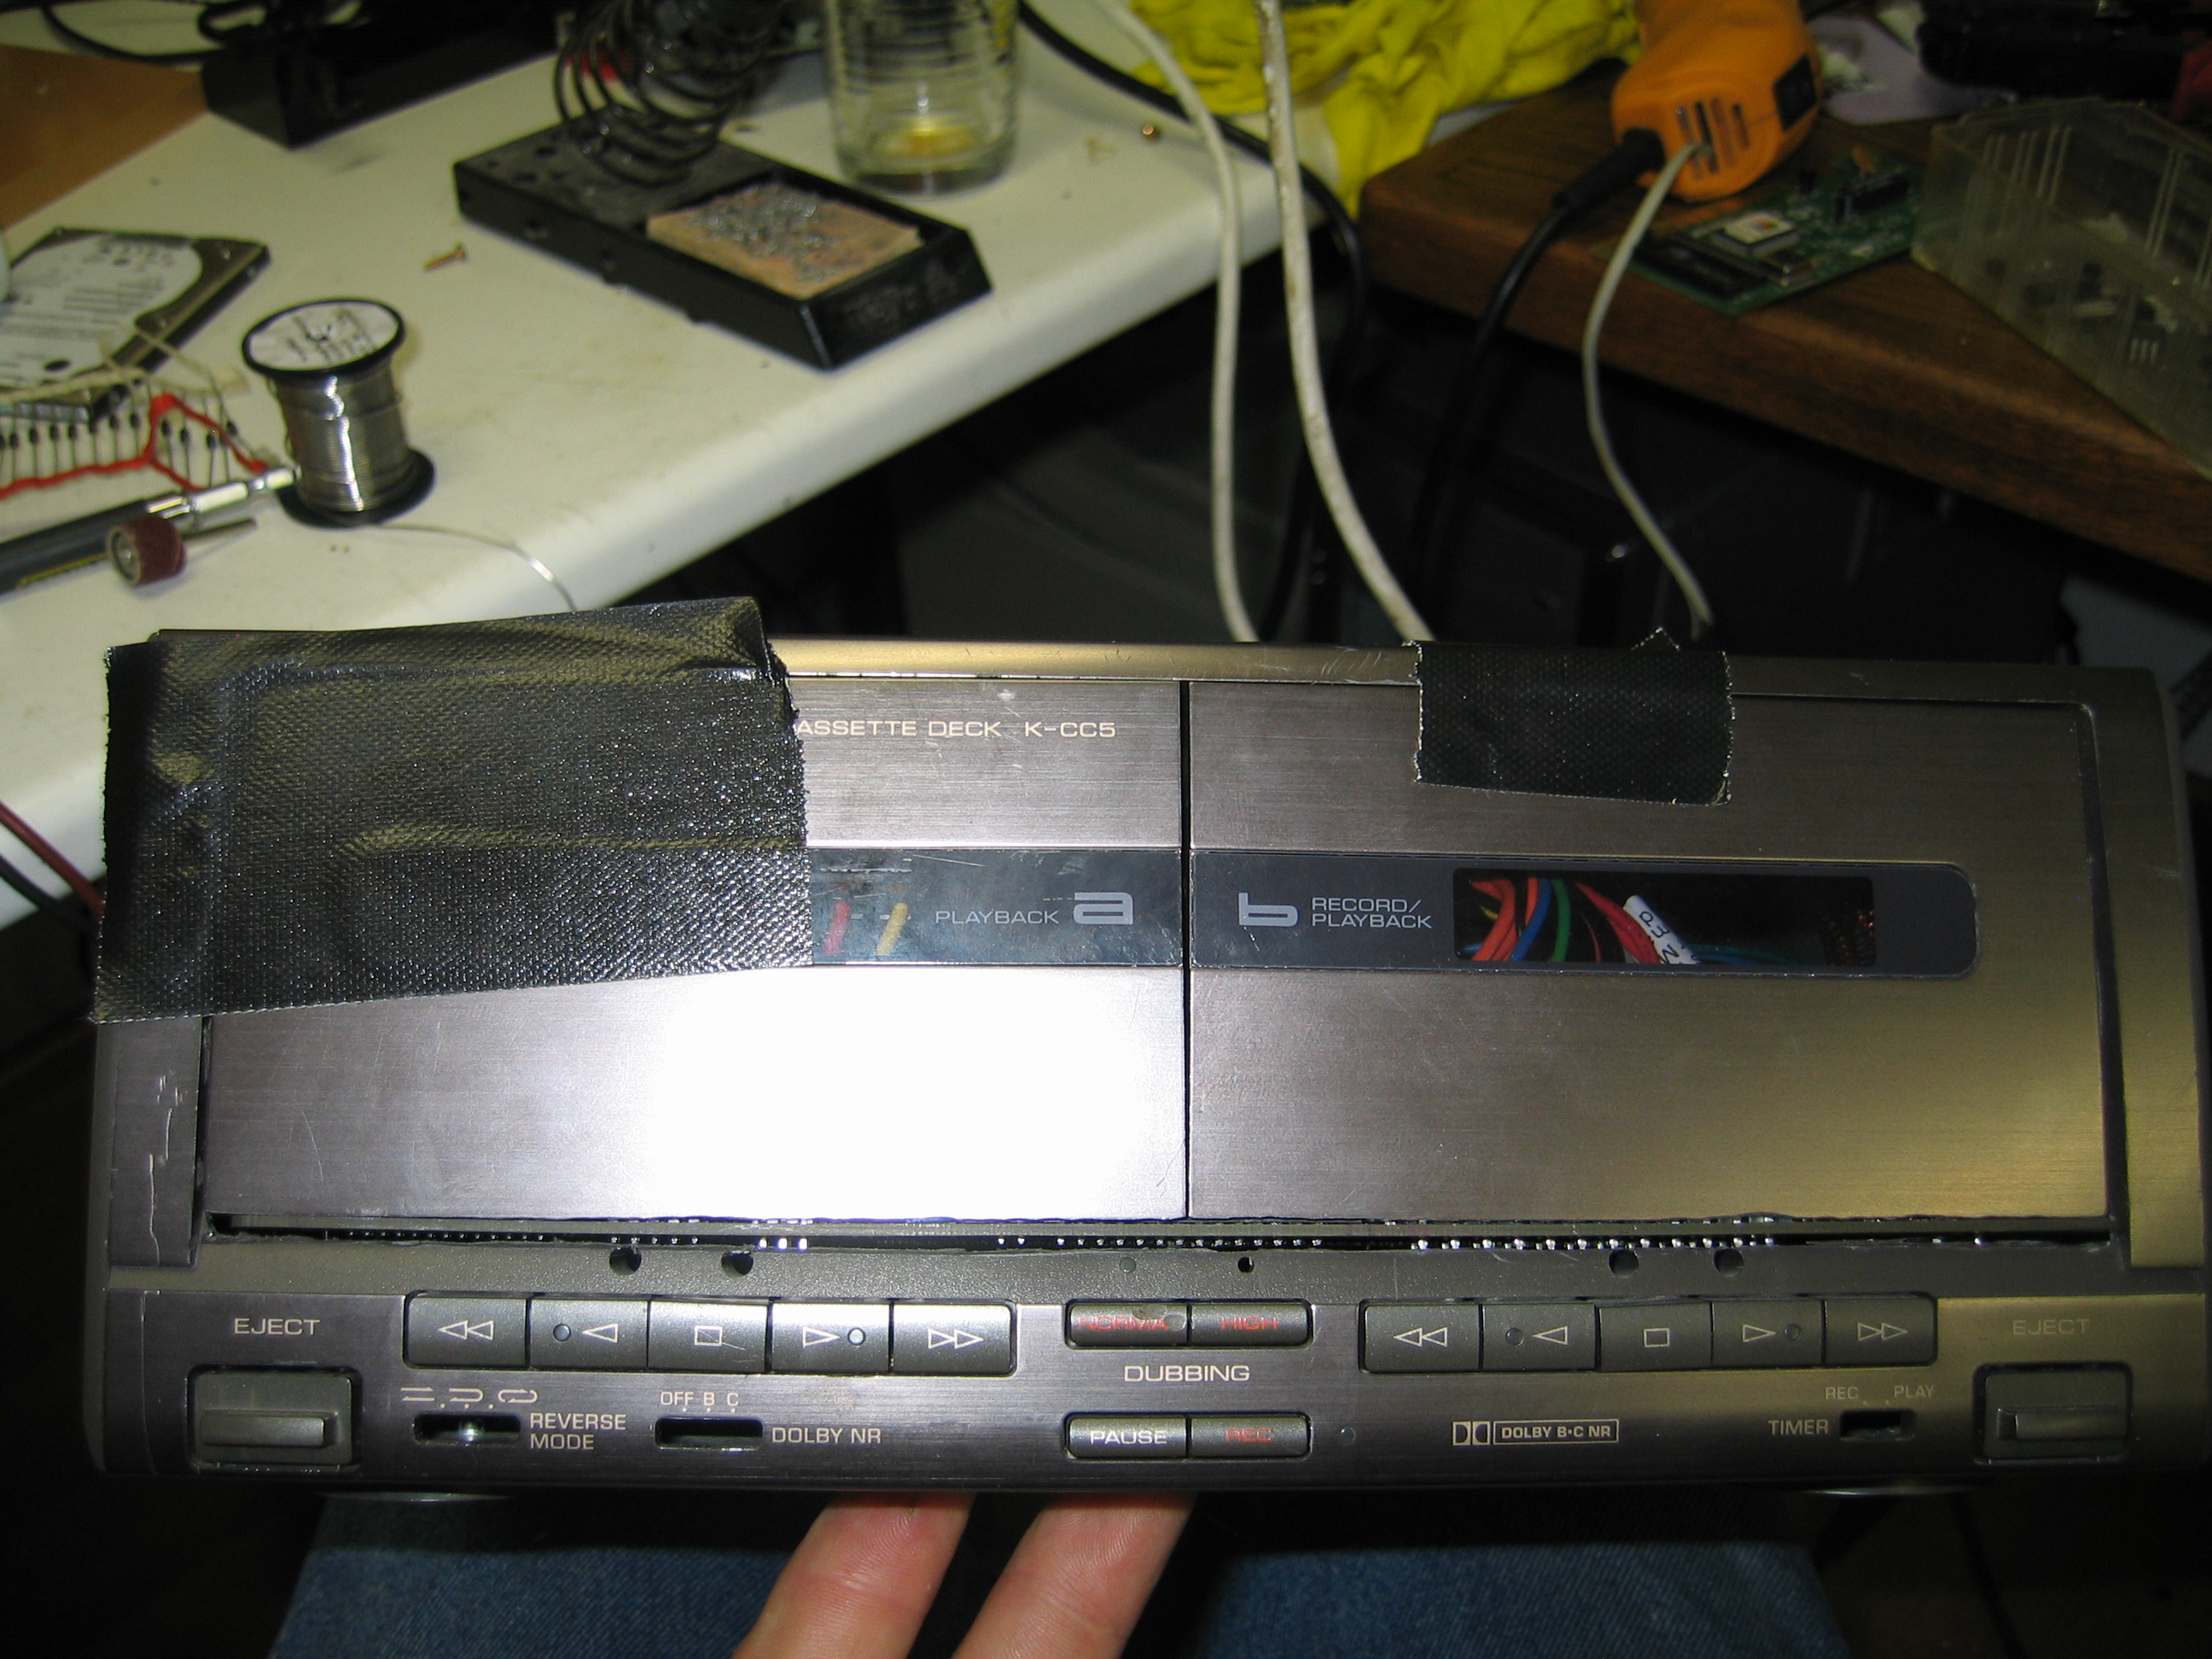
The cassette-deck lids still need to be glued in place...
And this is the result. Unfortunately, the glue ran a bit, and I can't get it off without damaging the coating. Luckily, the damage isn't
really obvious when not viewed in direct light
While the result is OK, the device doesn;t have any cooling except for the CPU-cooler. We won't want the HTPC to overheat, so we'll be needing a fan or so.
There's still space for a 60mm-fan next to the CPU.
And a hole like that just screams for a fan-guard. Unfortunately, I only had the 80mm-versions of these!

Multitool to the rescue.

And this is how it ends up looking:

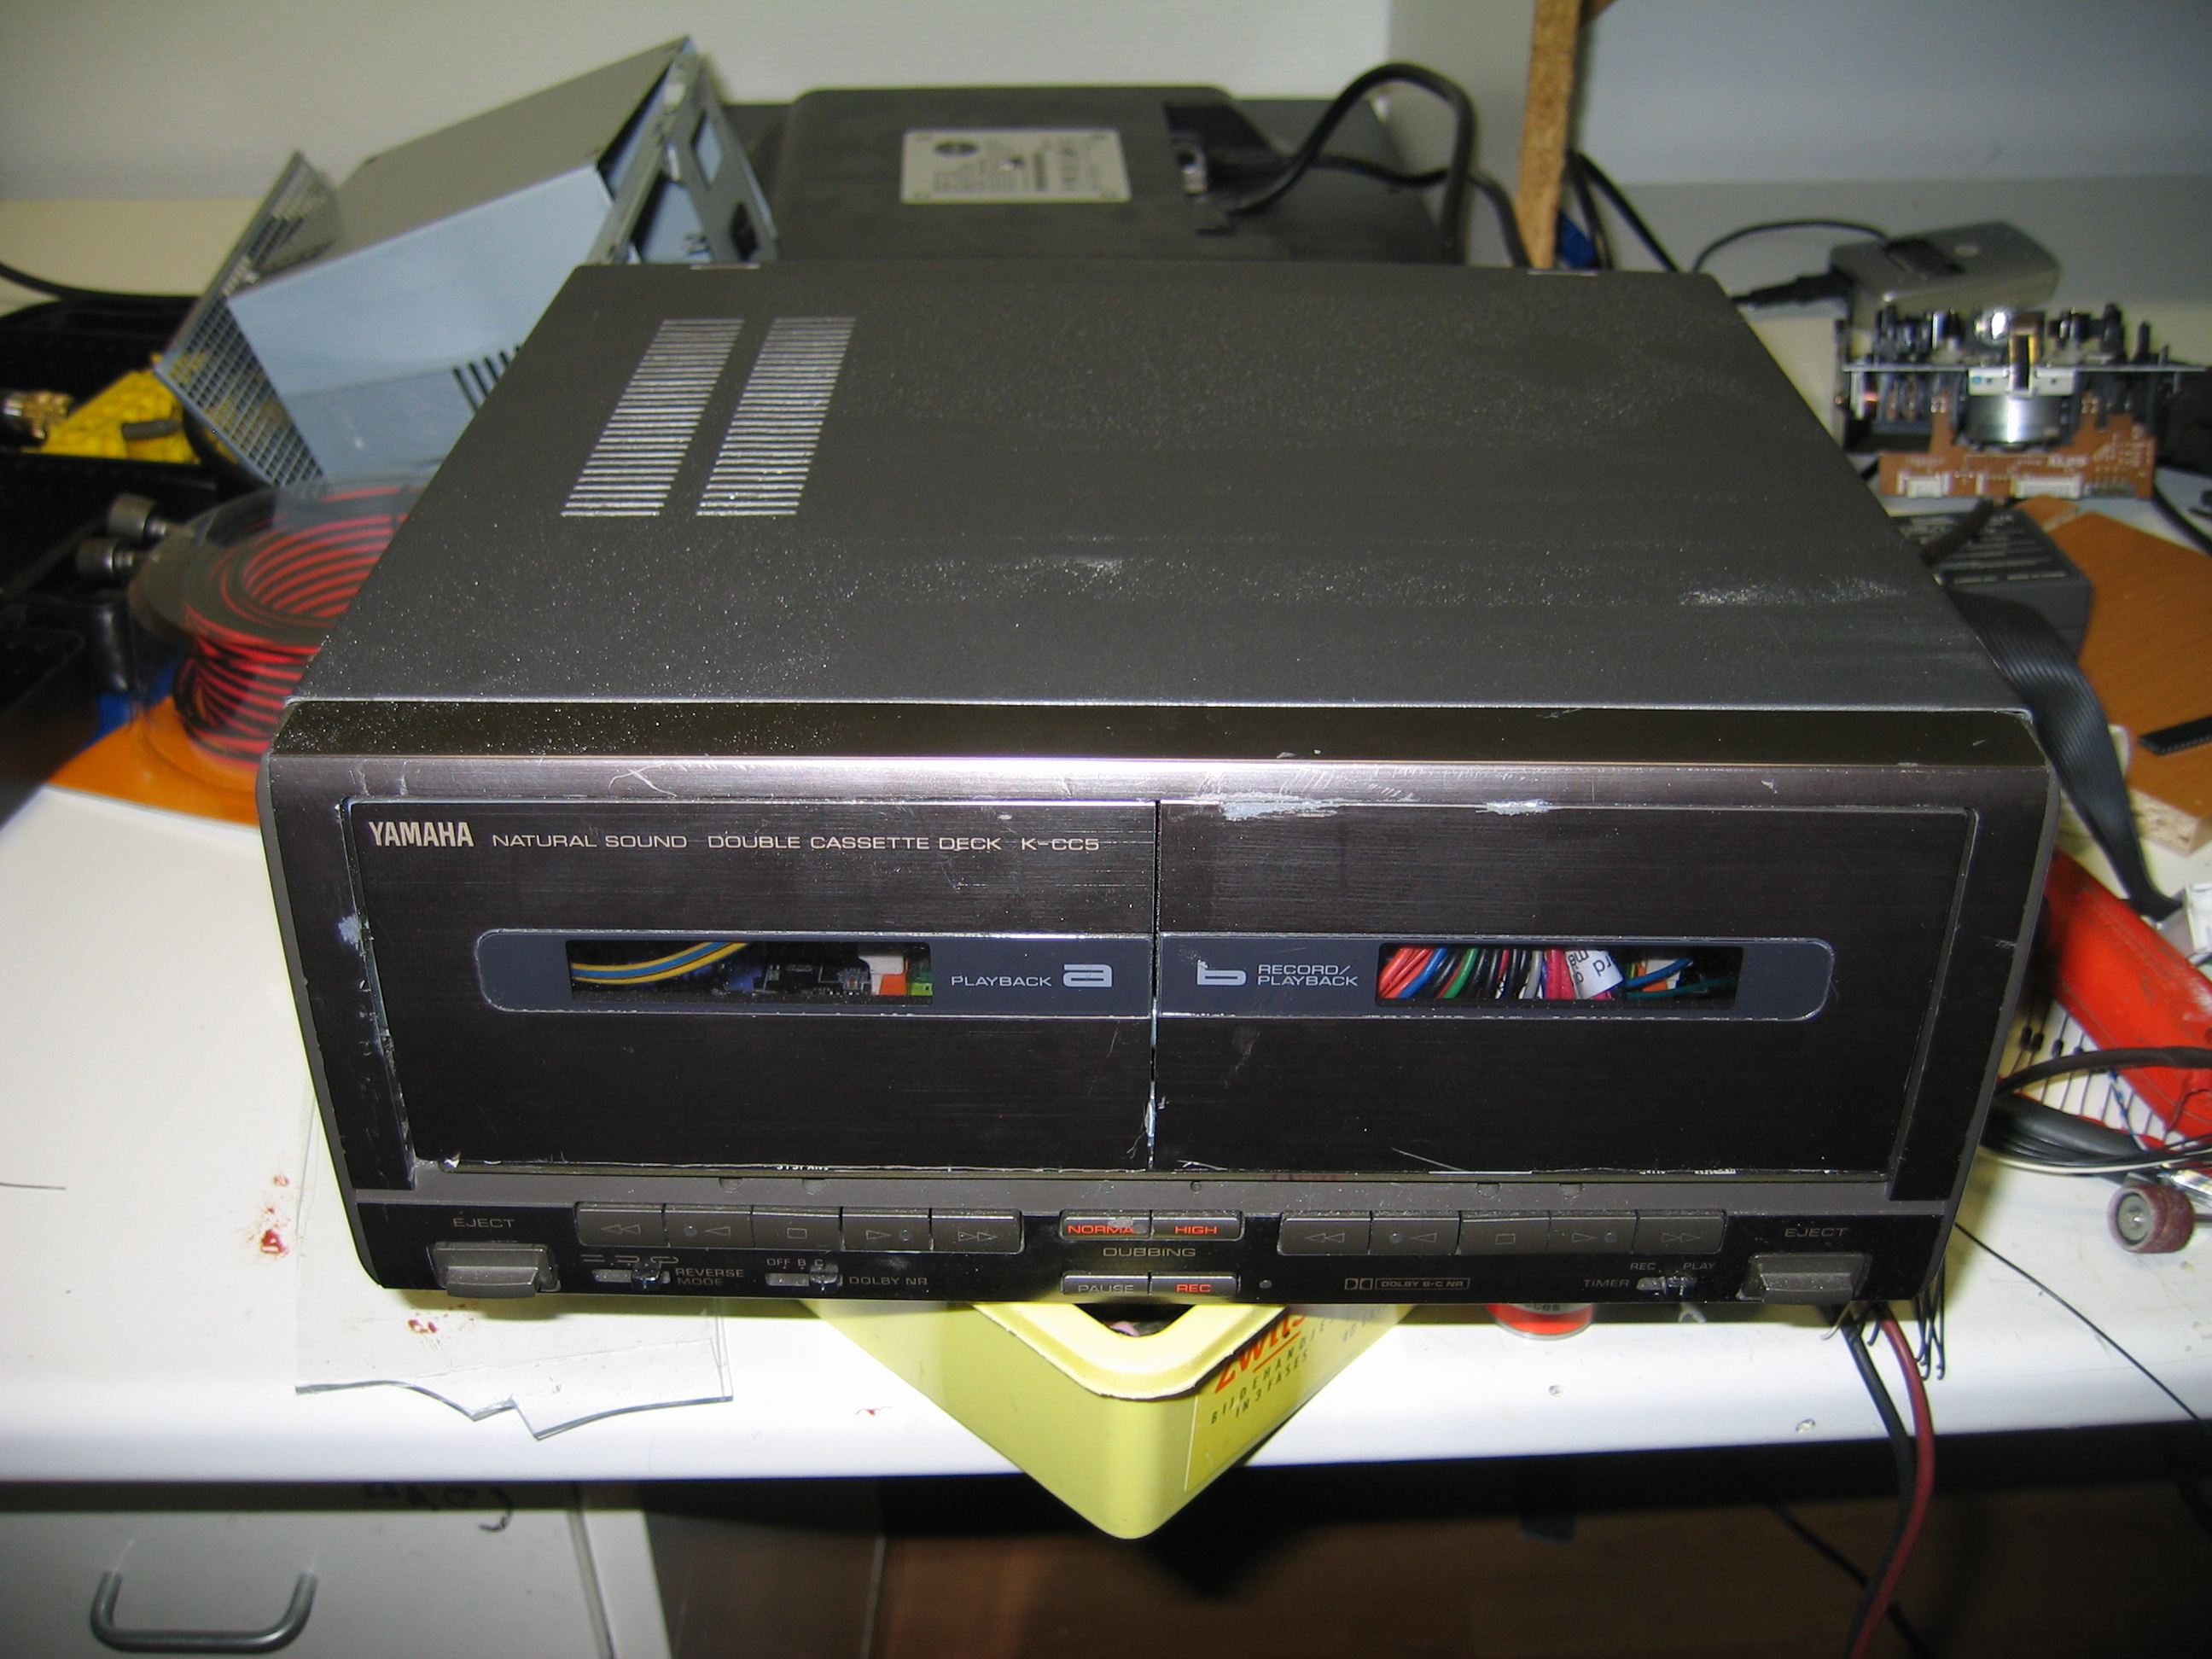
Another thing: I didn't really like the cabling to be visible through the cassettedeck windows. There's a low-cost fix for that, though:

And with that, I decided the HTPC-part was ready. The project isn't done, though...