Teardown, serial port
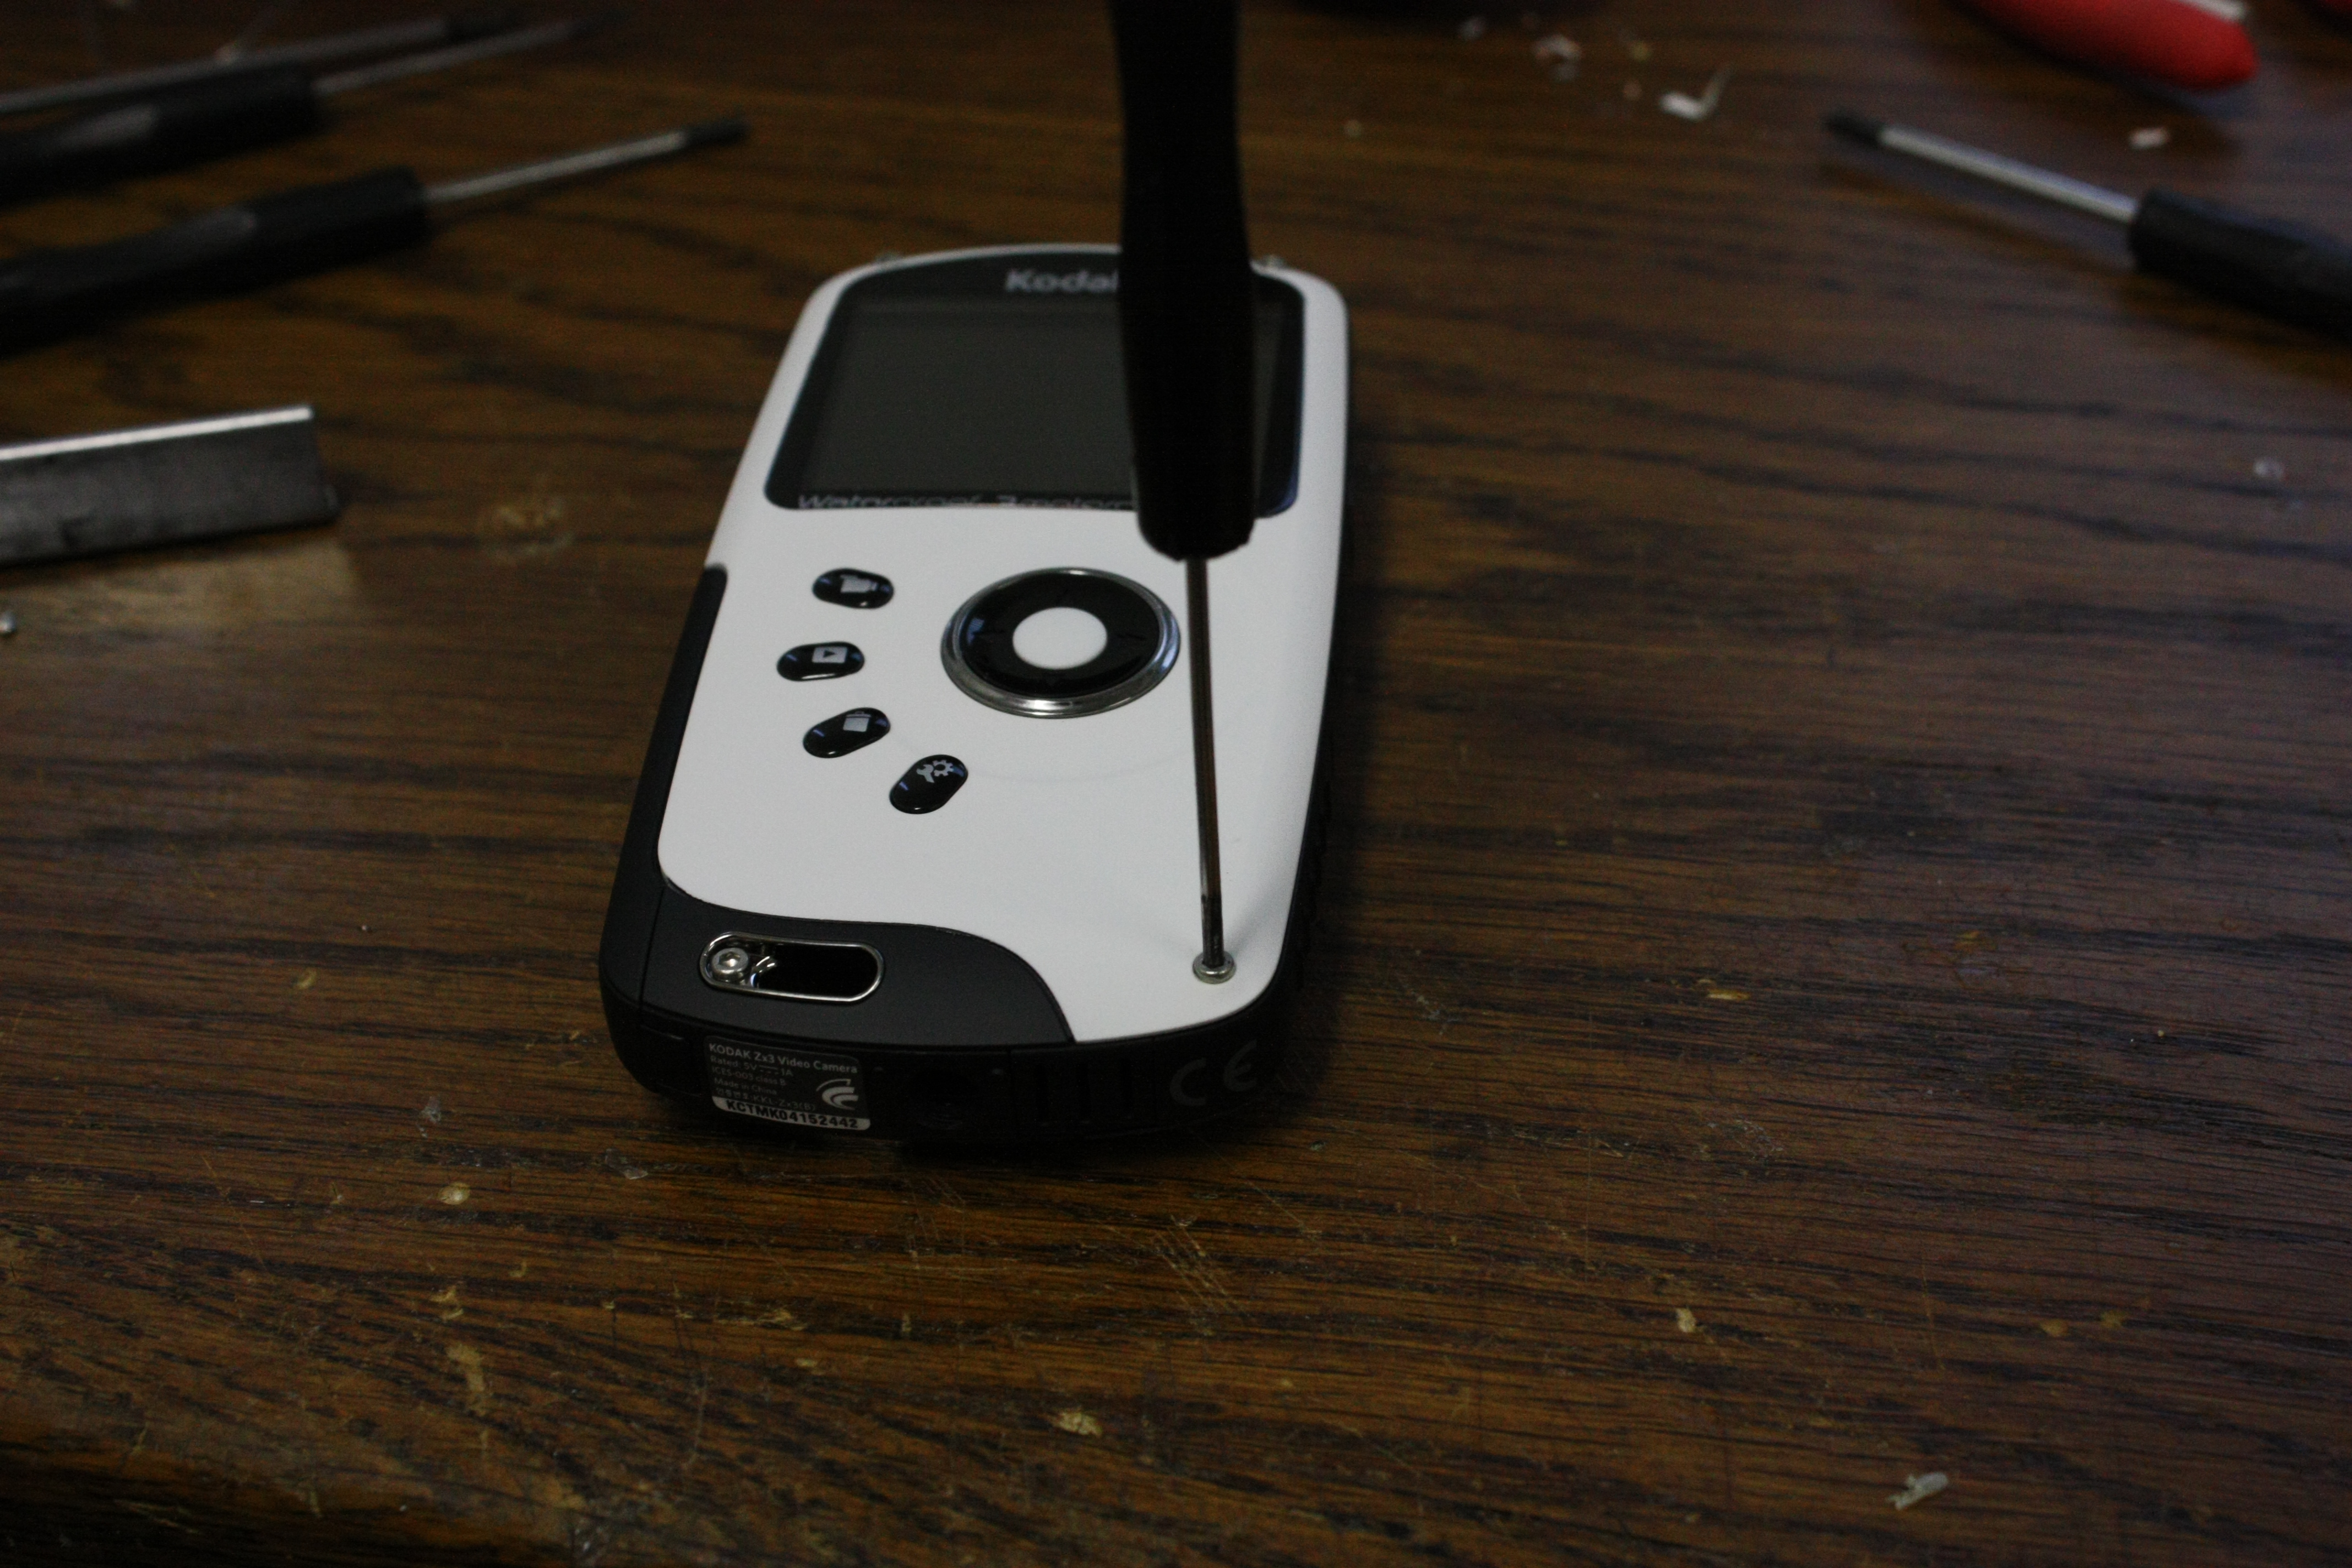
Opening the device is a bit of a hassle: the top is screwed on with 4 tiny hex socket
screws, plus three Philips screws behind the two flaps covering the ports and
SD-card-socket.
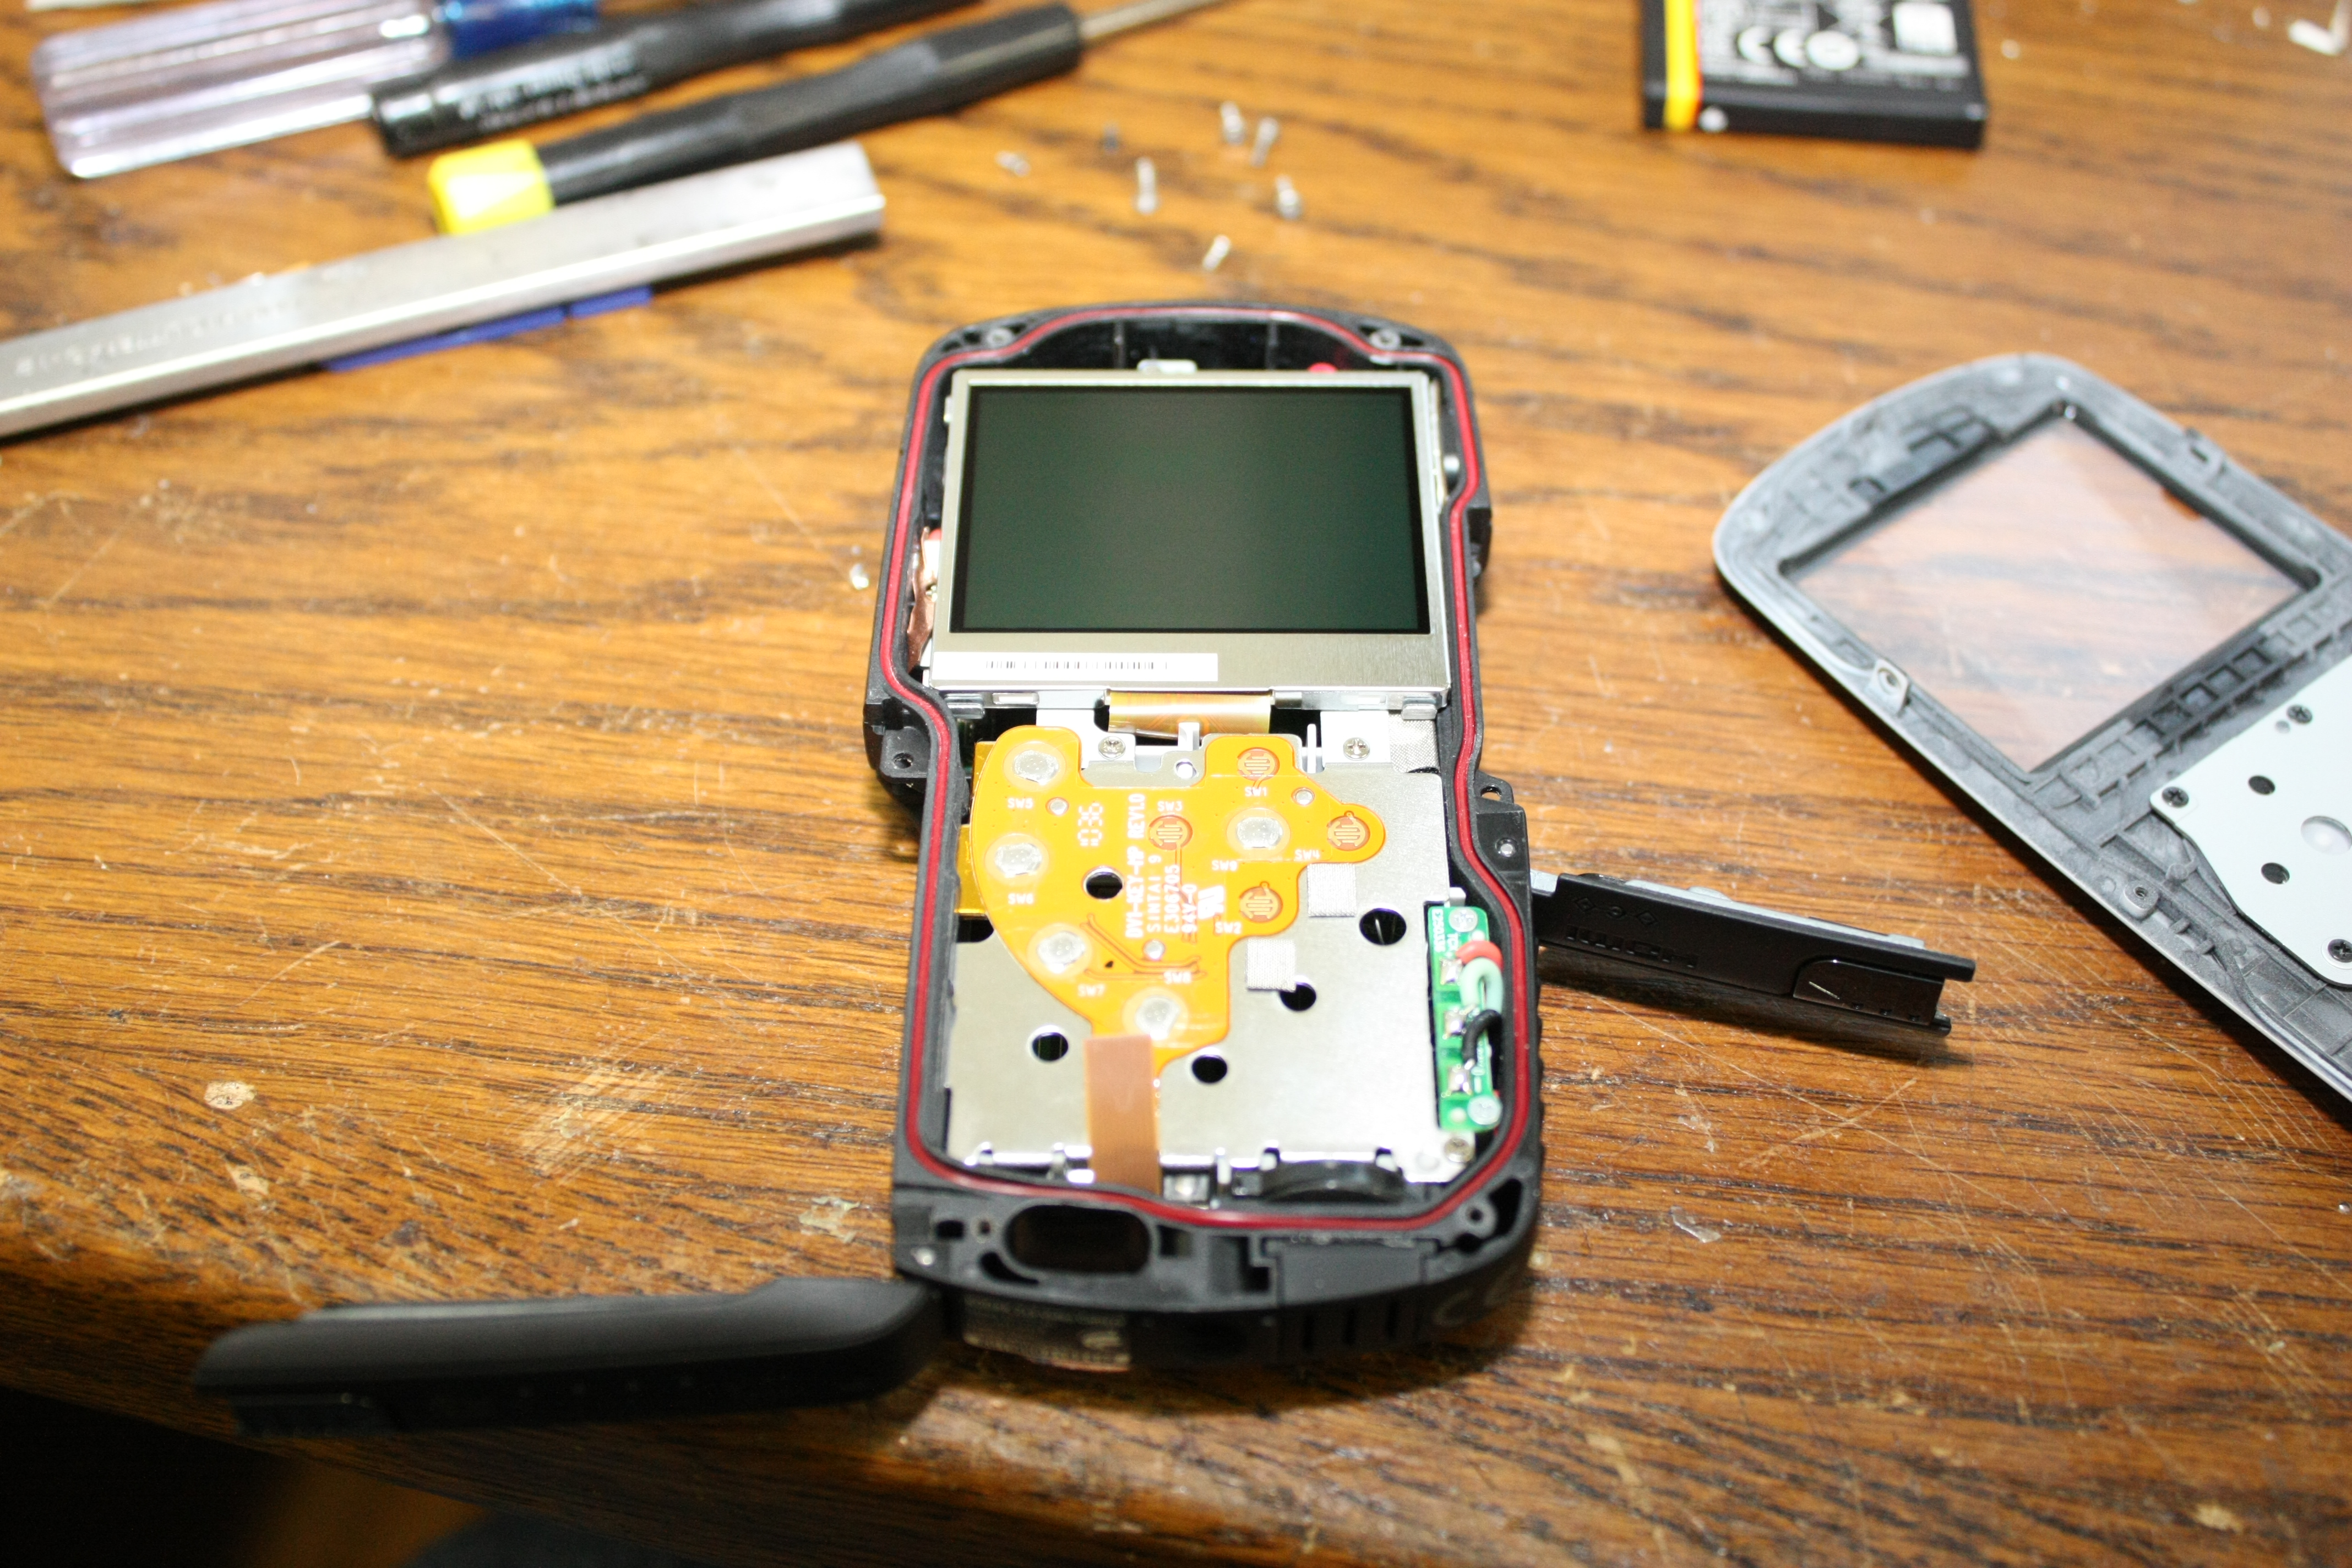
Then the top can be removed. Nice to see the waterproofing in action: it's basically
a slit along the edge of the casing with reddish elastic material pressed in.
Display removed. On the left side, from top to bottom: the IR receiver with 3 wires
running to it, the main image sensor, the microphone with next to it the gyroscope used
for image stabilisation and the flexcable to the power button.
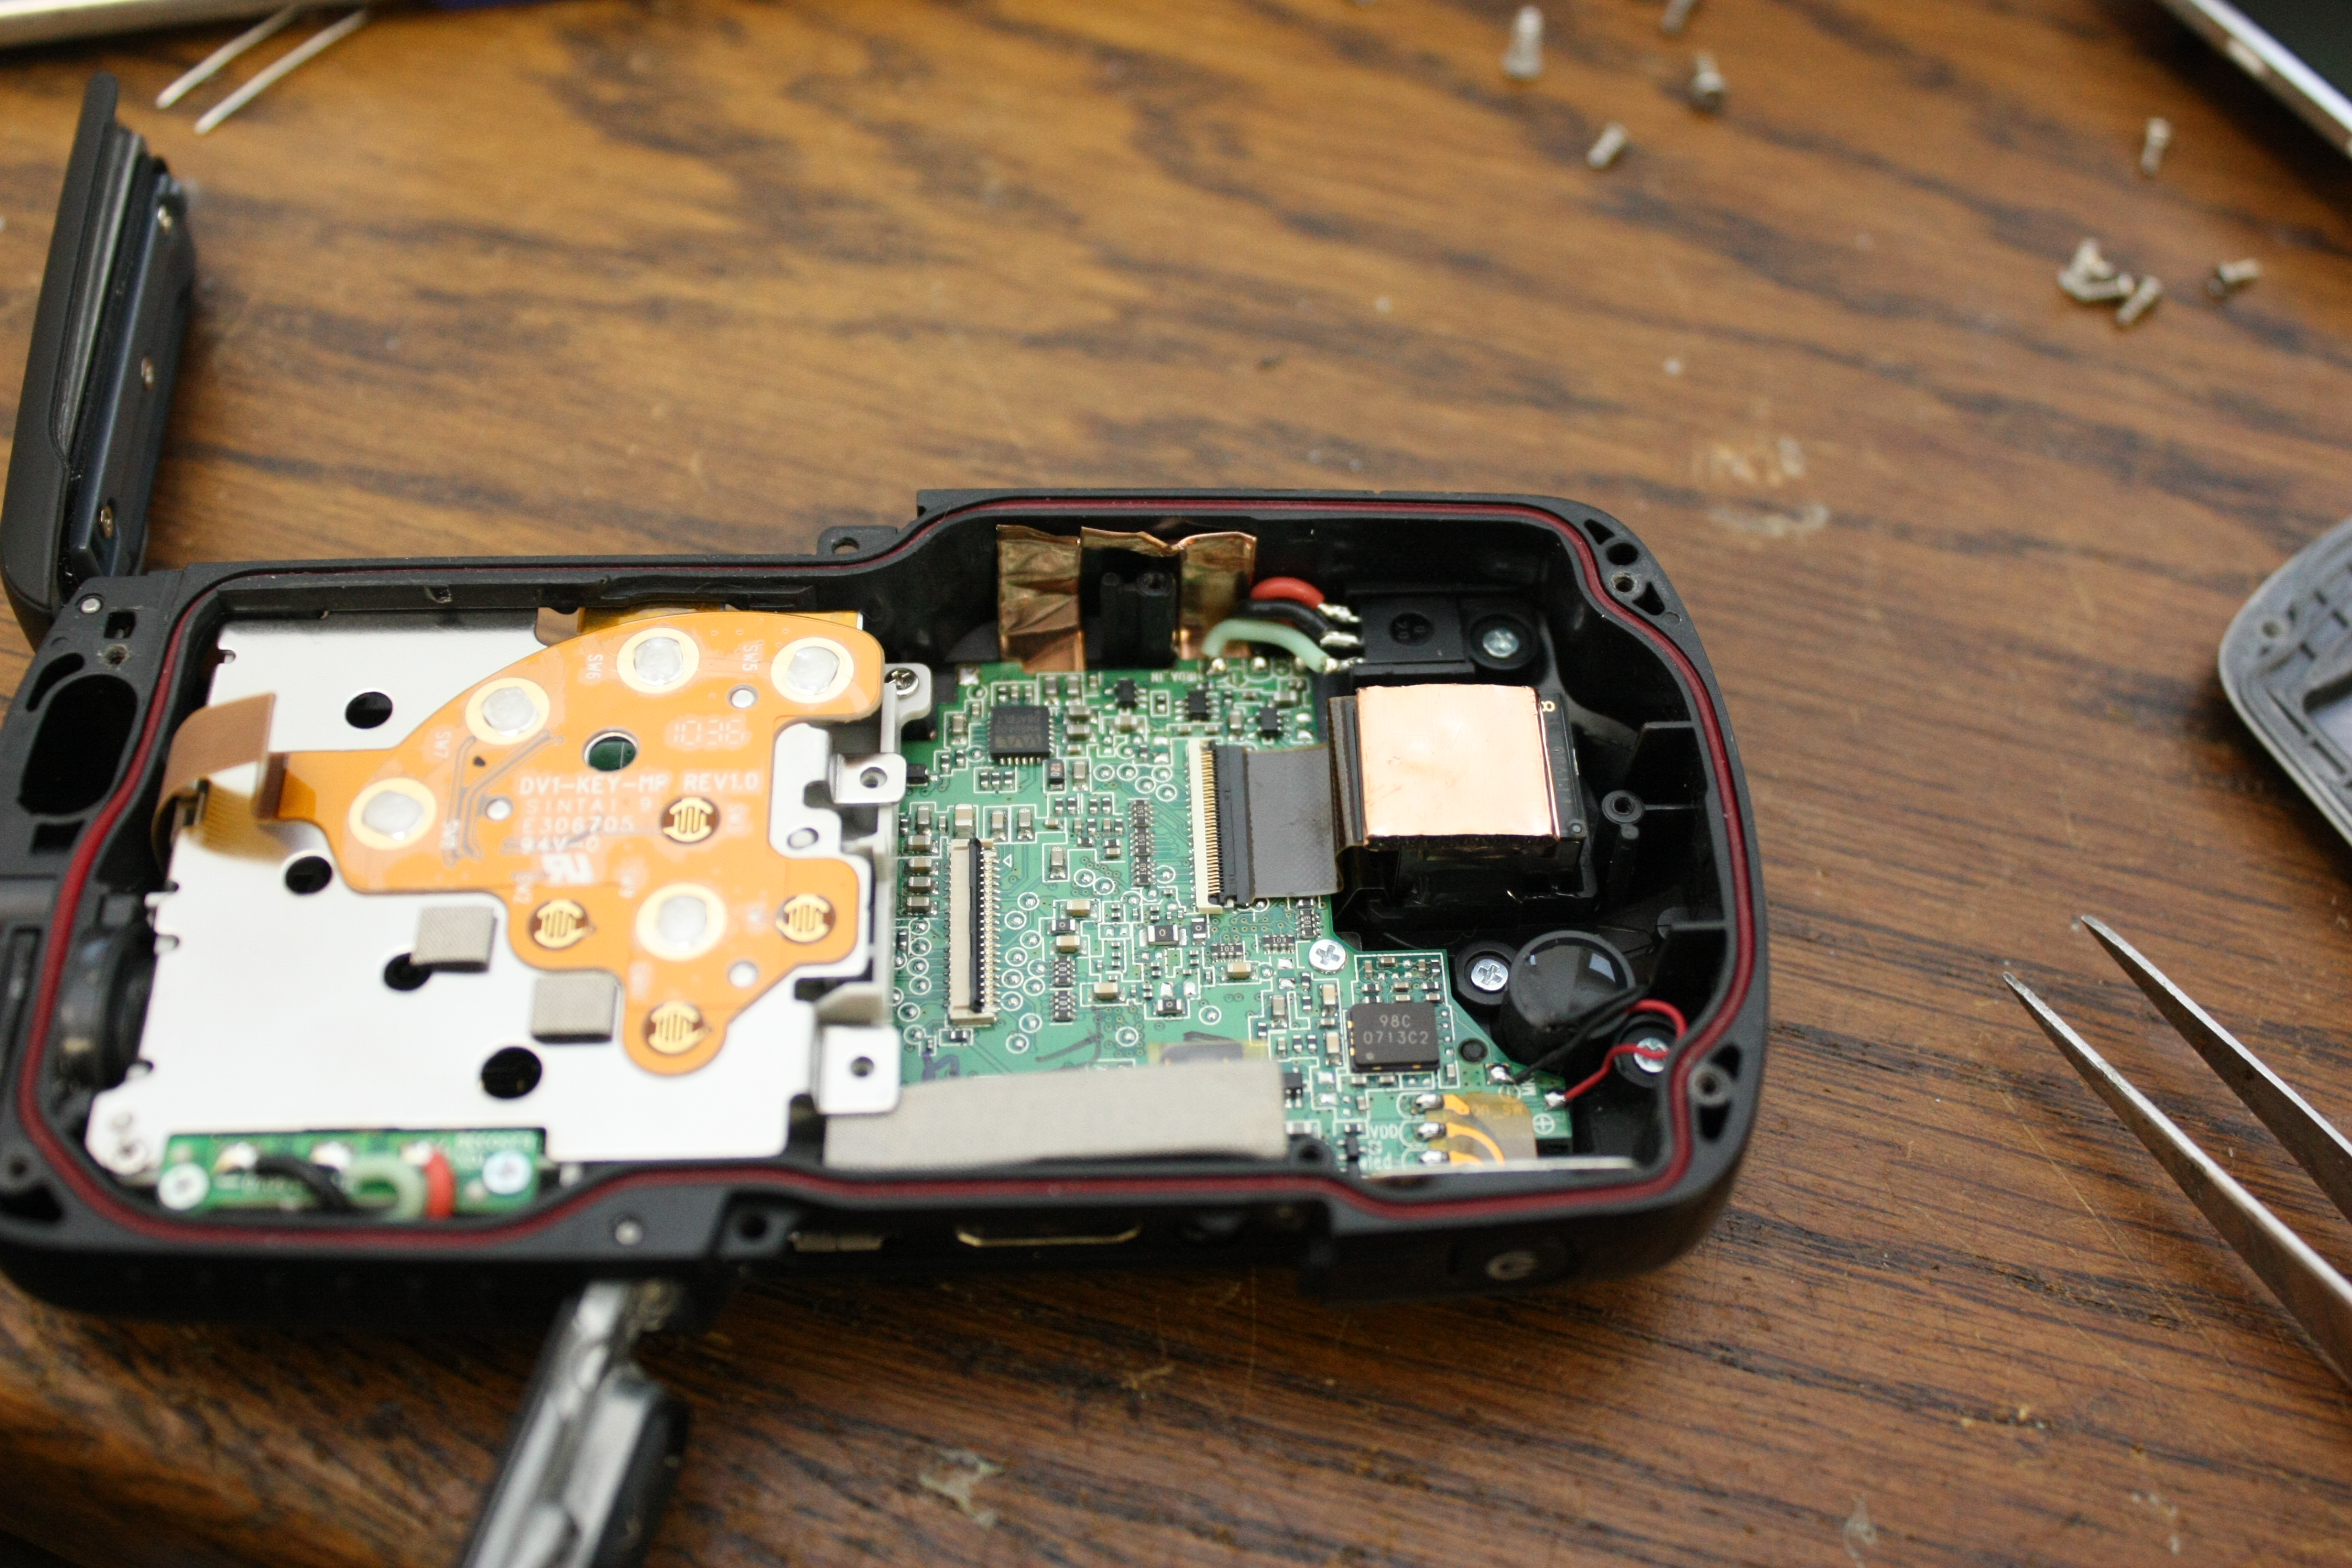
Without the buttons, the rest of the PCB can be seen. There's even a little battery
or gold cap to remember the current time and date, in front of the SD-card-slot.

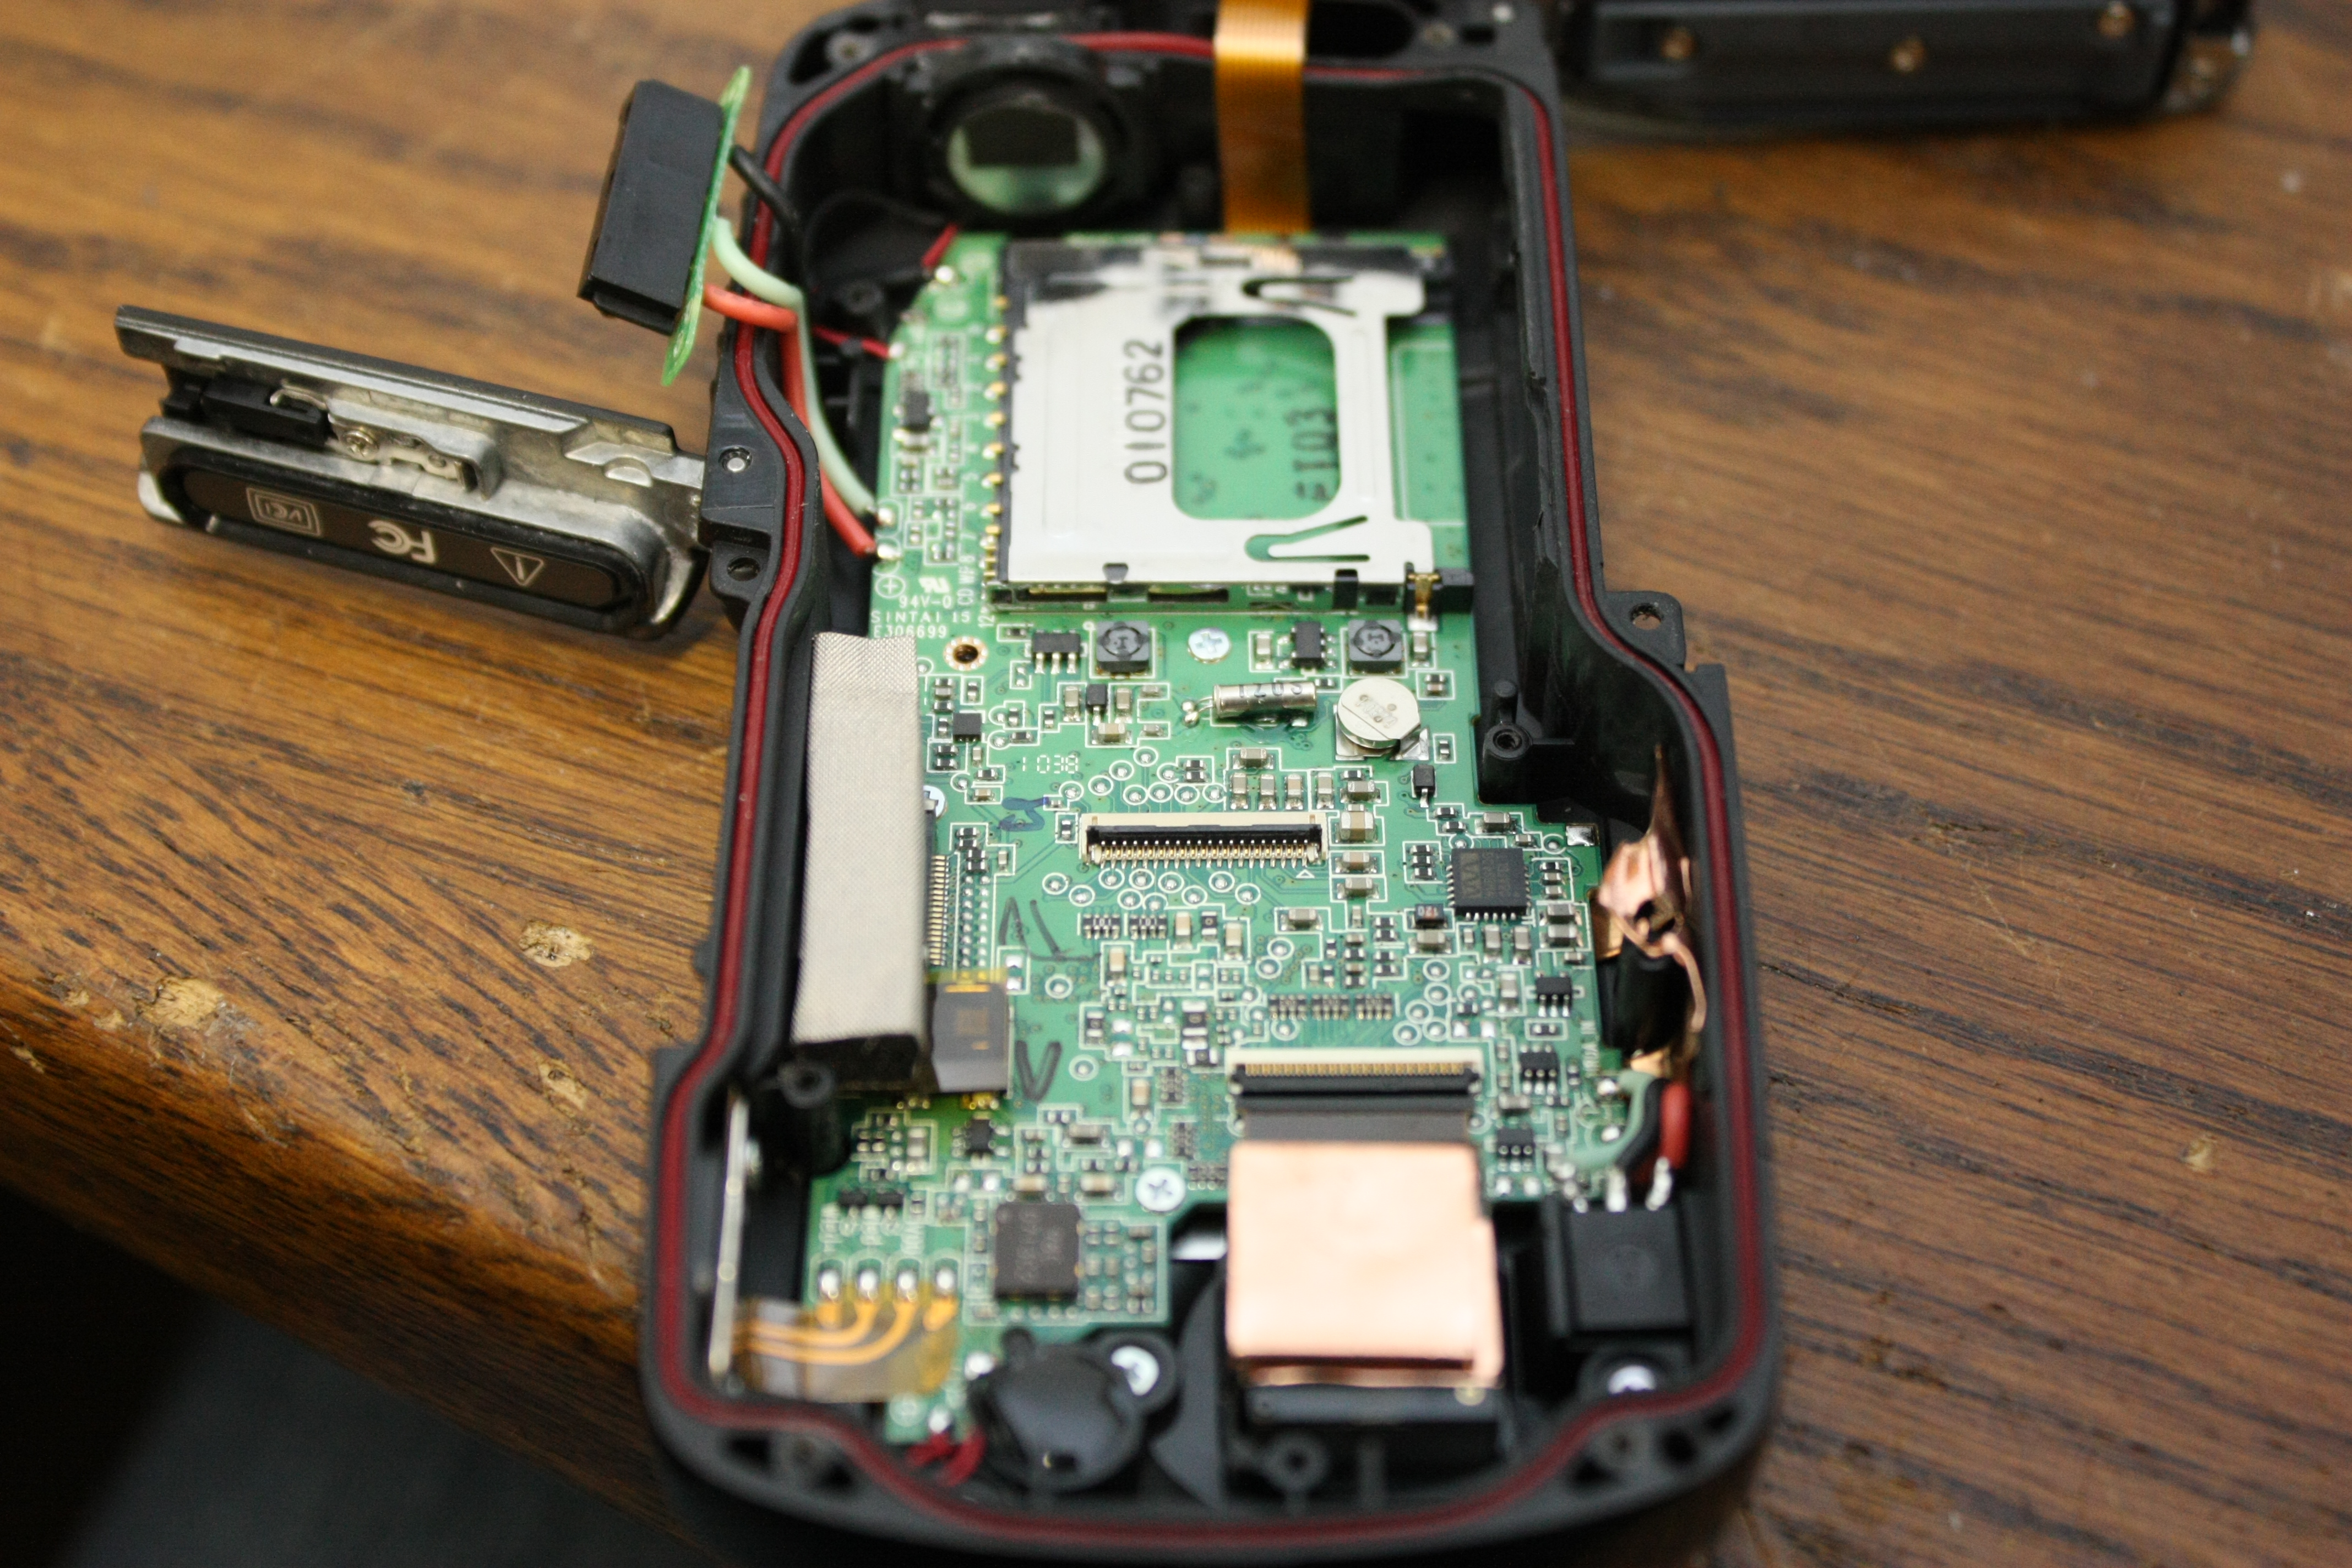
The back of the PCB has all the interesting stuff. The big chips: on the top left,
there's 128MB of RAM, underneath it 1GB of NAND flash (the internal memory) and next
to it all is the main Ambarella SoC. I couldn't find too much info on this chip,
but it seems to contain an ARM9-core plus some kind of image processing DSP.
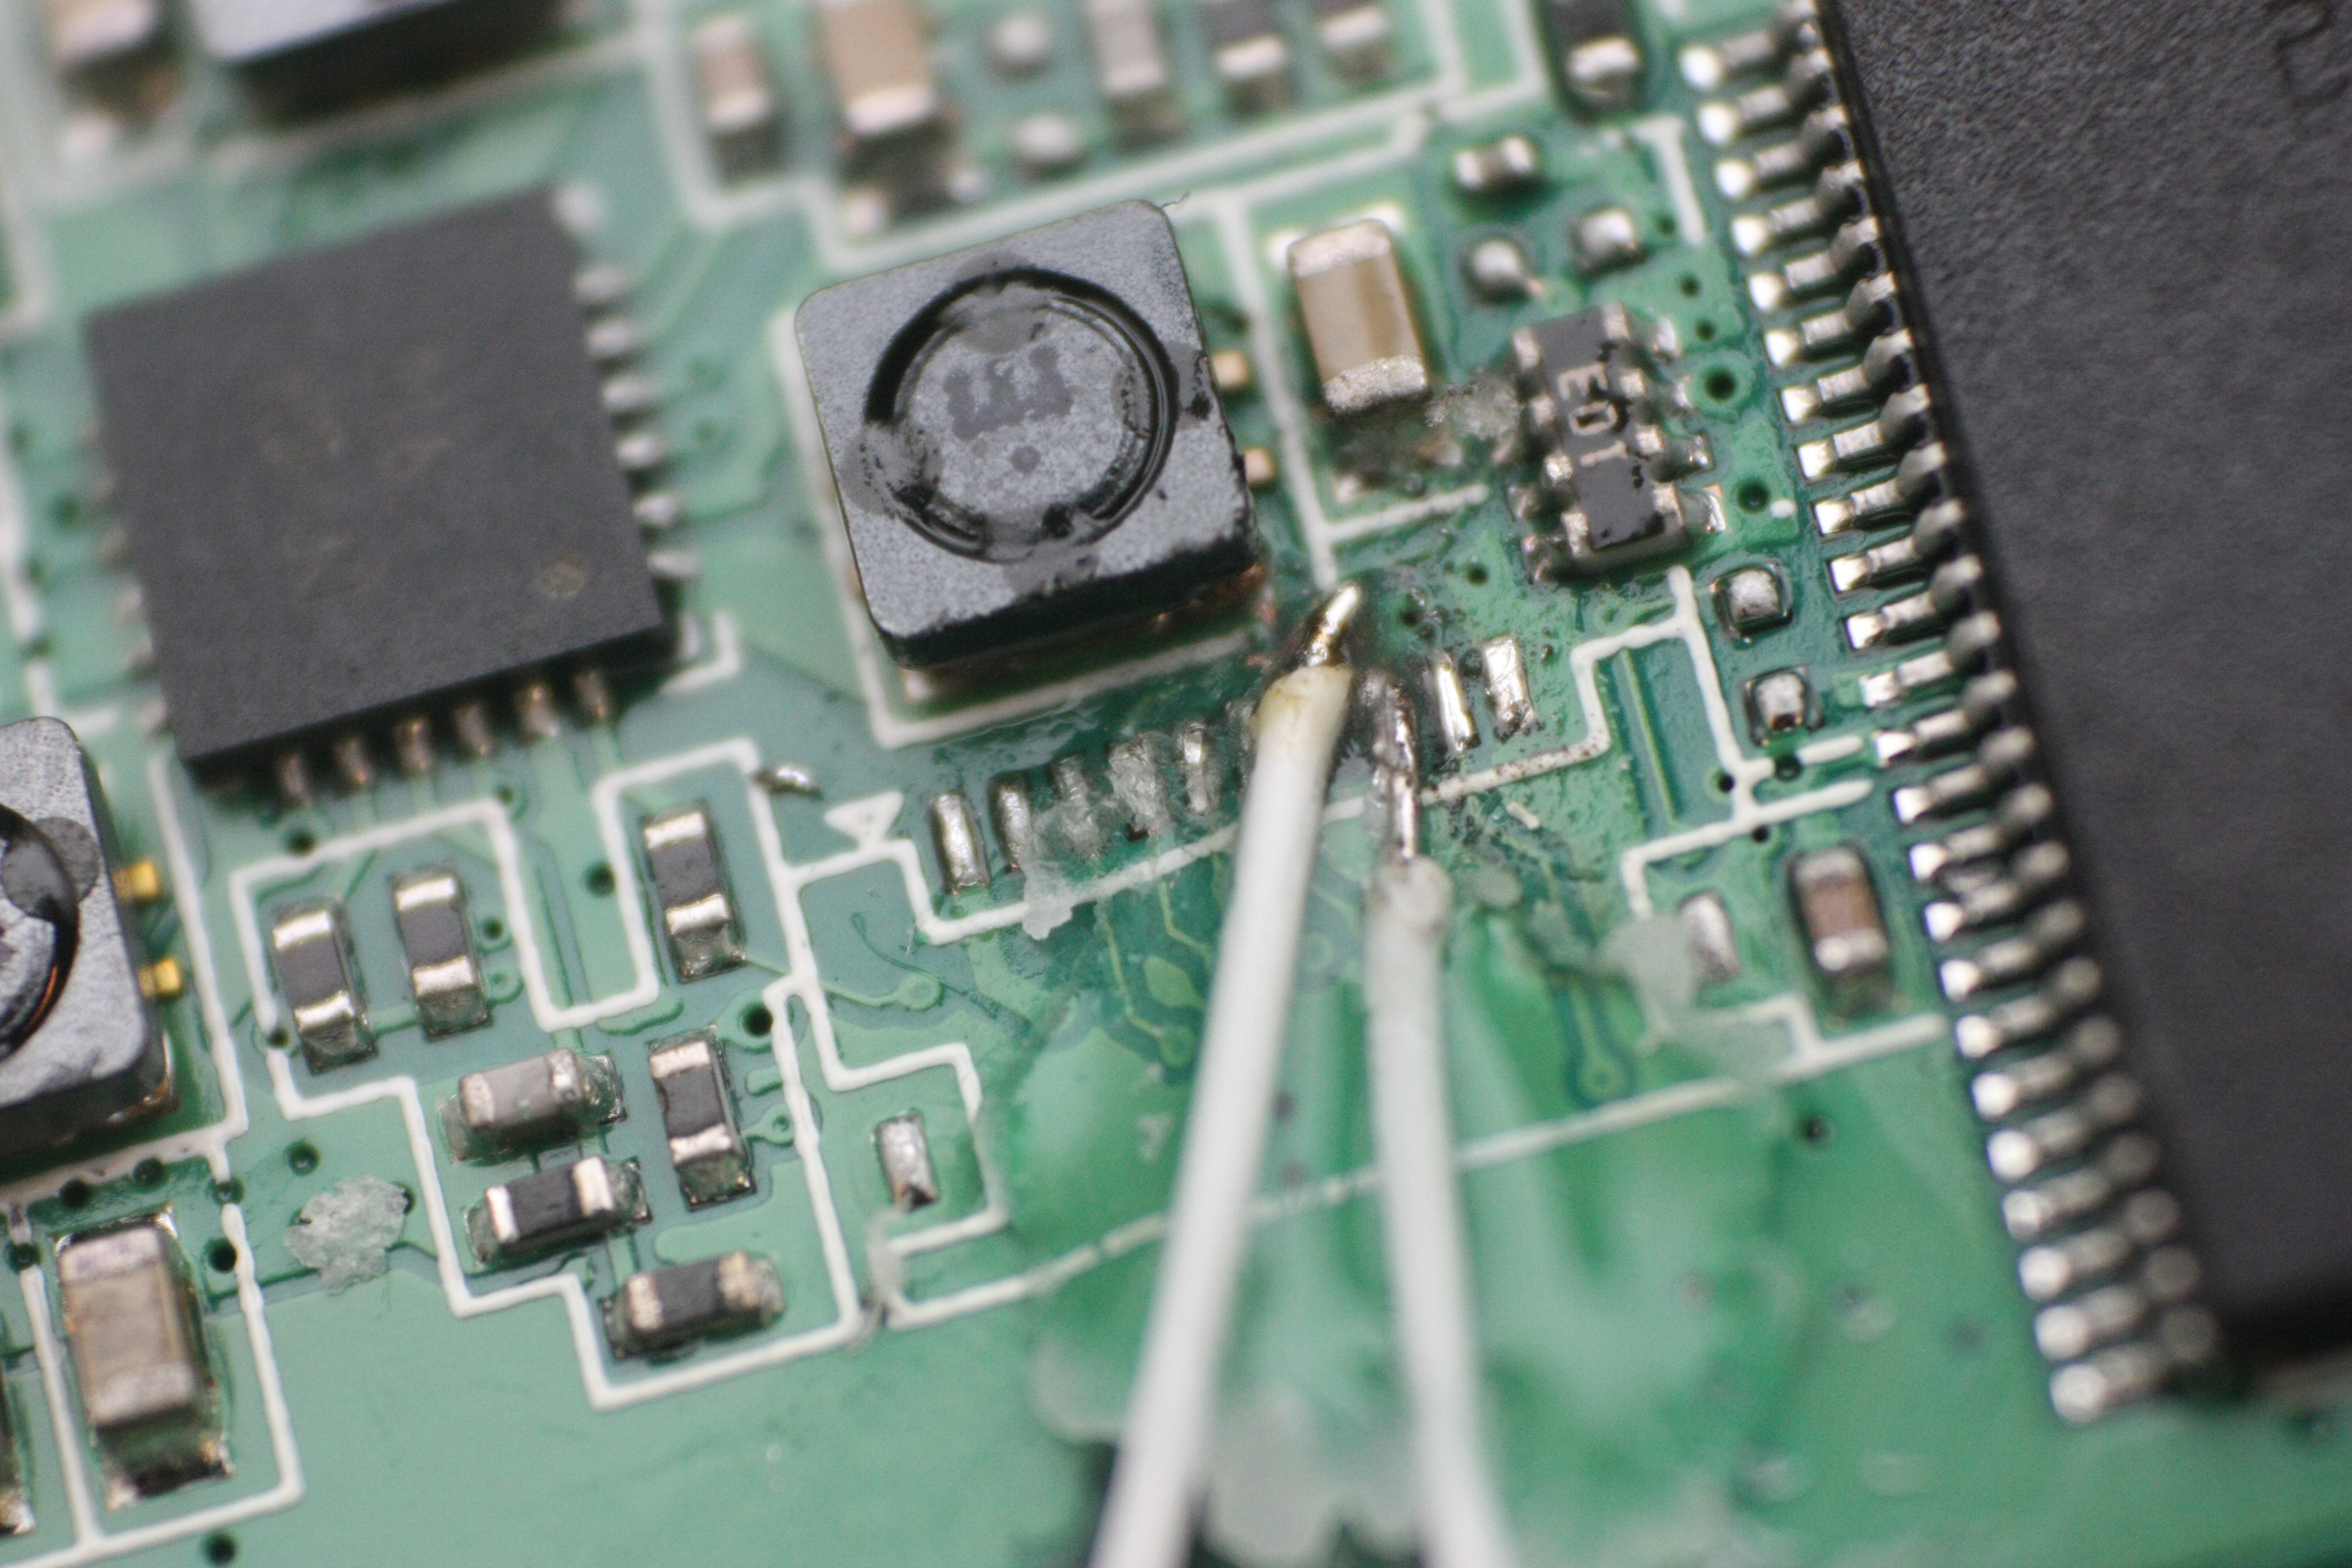
The backside of the PCB also contains pads for another flatcable connector. I decided that it probably carried debug info, and that it was a probable location for a serial port. After some poking around with a scope, a FT232 and two fine wires, I was proven right.
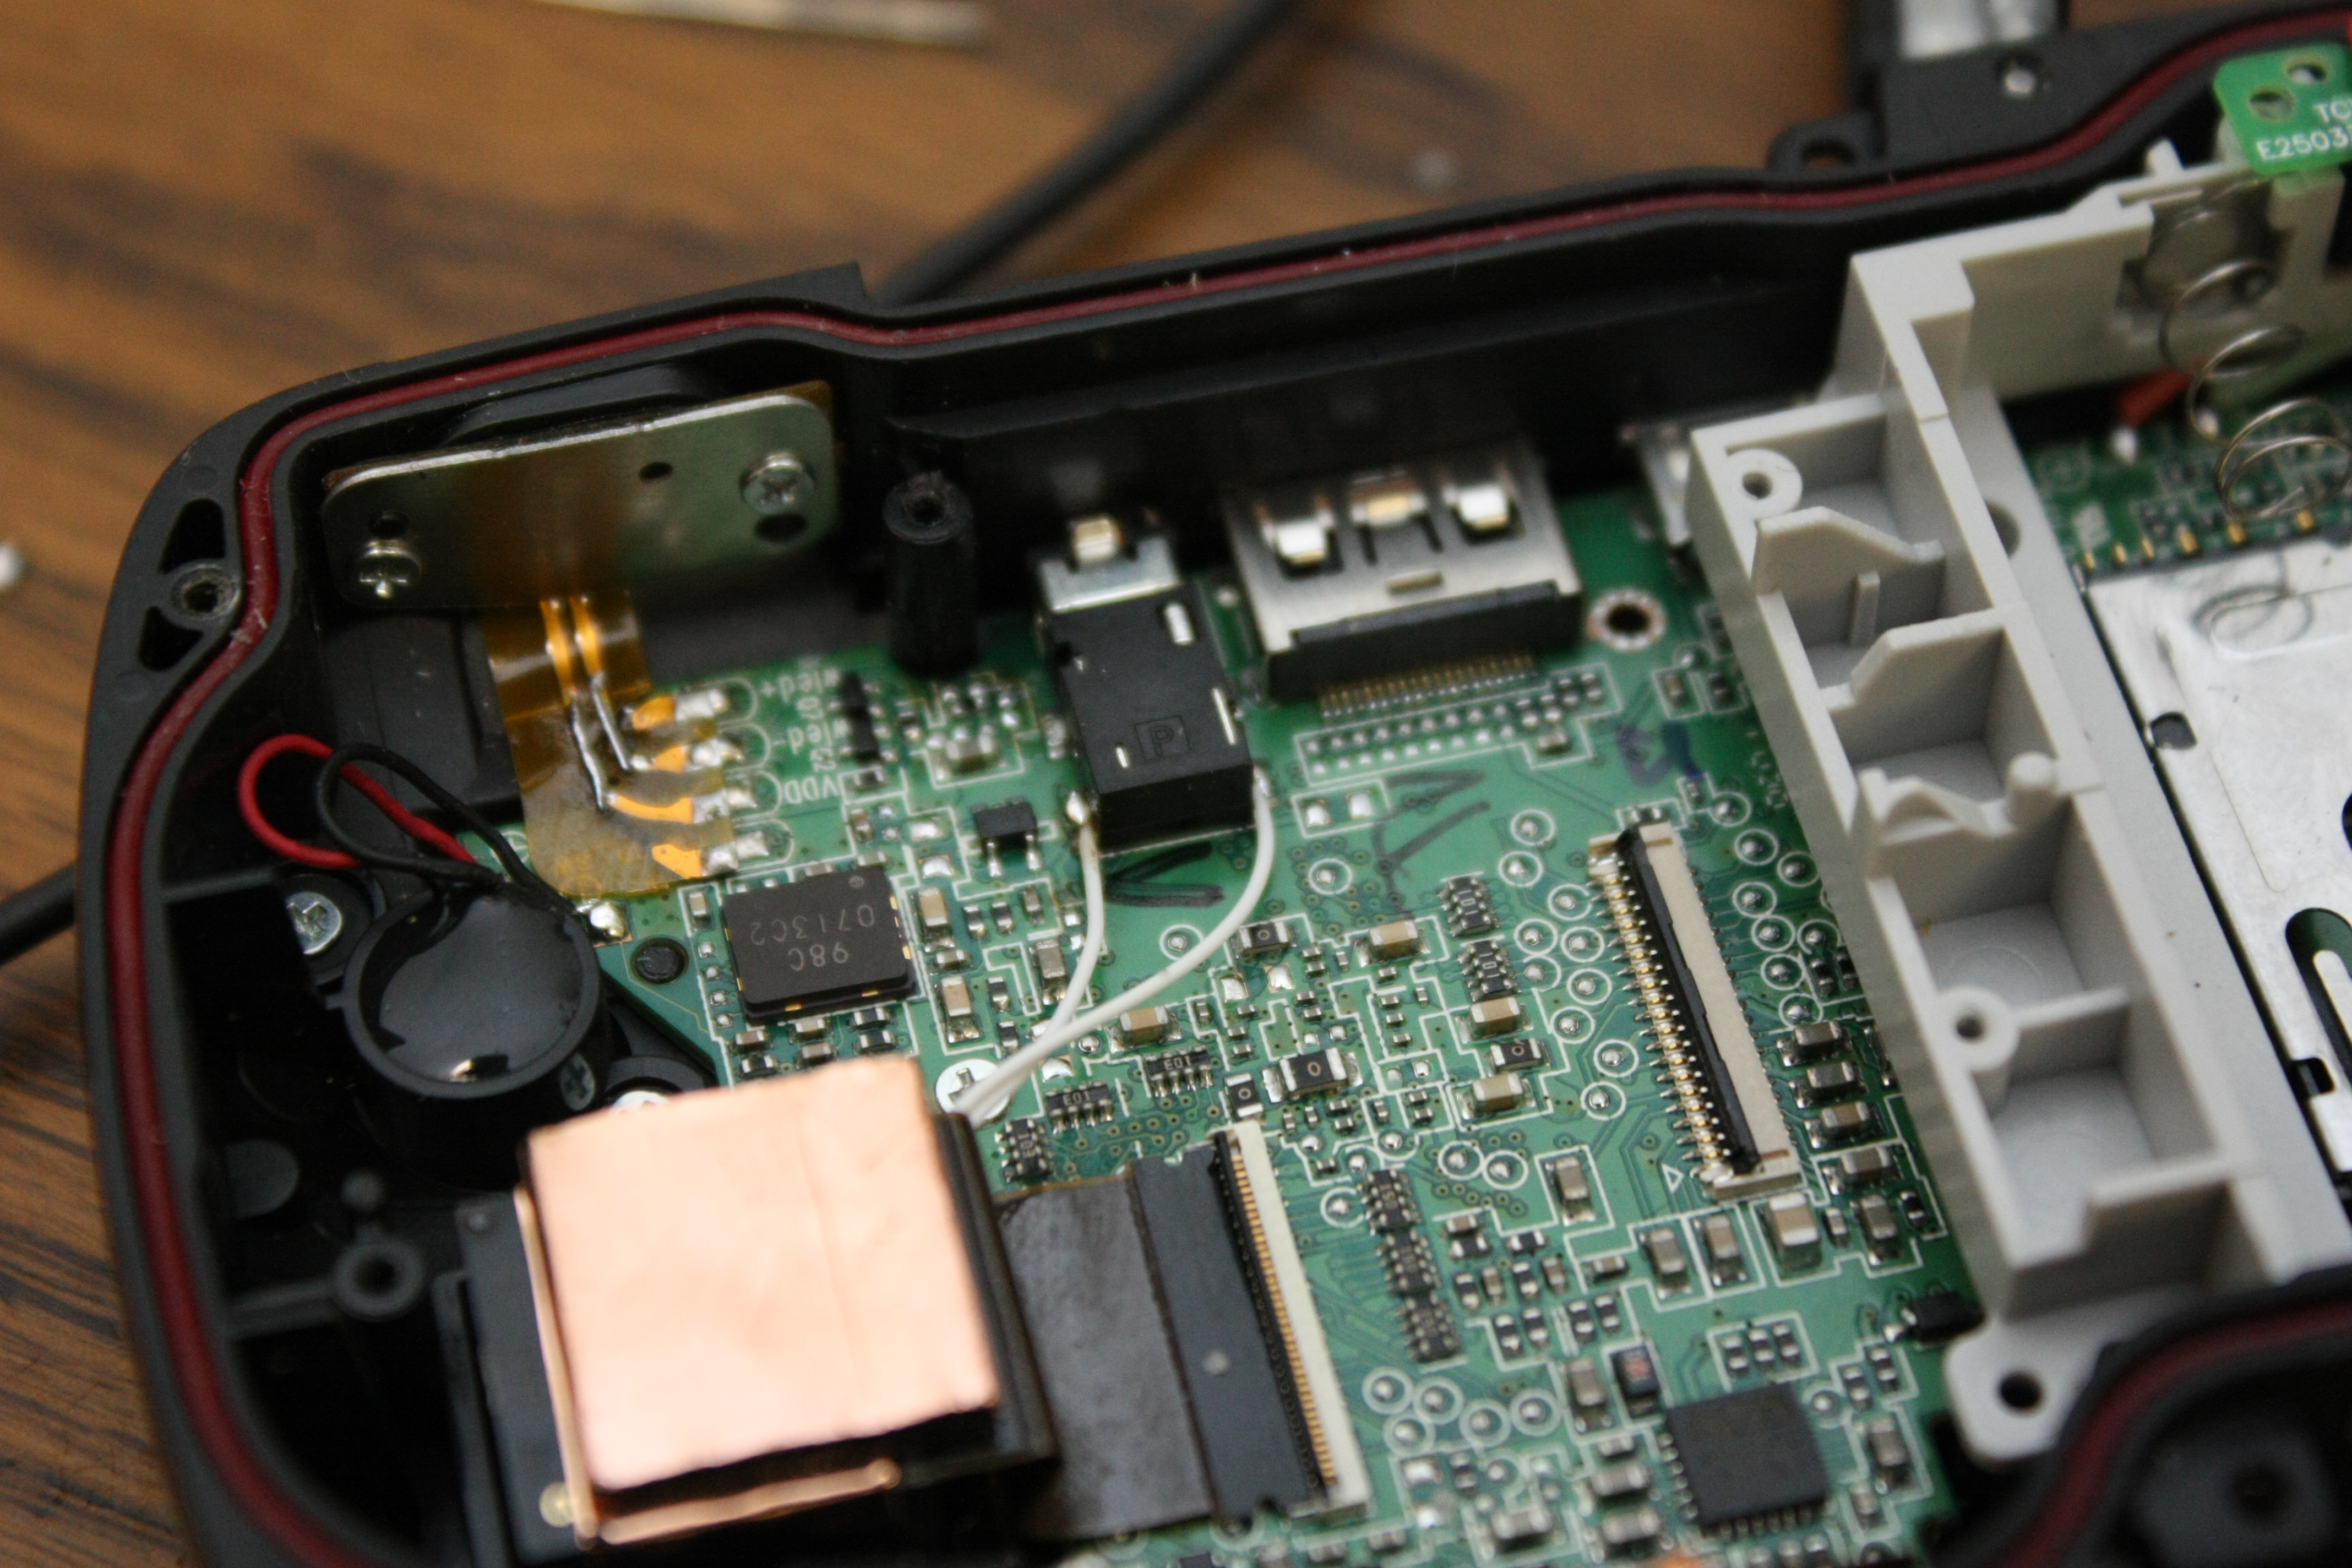
Having the serial port is cool, but I wanted to have access to it with the case closed too. Normally, I'd just drill a hole or something and put a nice connector into it, but in this case, that would compromise the water-proof-ness of the construction. After some thinking, I decided I could live without a composite-out-port on the device (even my grandma nowadays has a television with hdmi-in) so I re-used that as a serial port.