Mechanics
Ok, I had the schematics, PCBs, firmware and everything fixed up. How was I going to put it together?
First up: the heart of the machine, the Dockstars PCB. The biggest concern there was the GBit Ethernet connector: The original Macintosh SE didn't have an Ethernet connector itself, and I wasn't too happy with messing with the high-frequency lines GBit Ethernet consists of anyway. The MacSE/30 does have a single expansion slot, though, and it wasn't unheard off for a network card to go there.
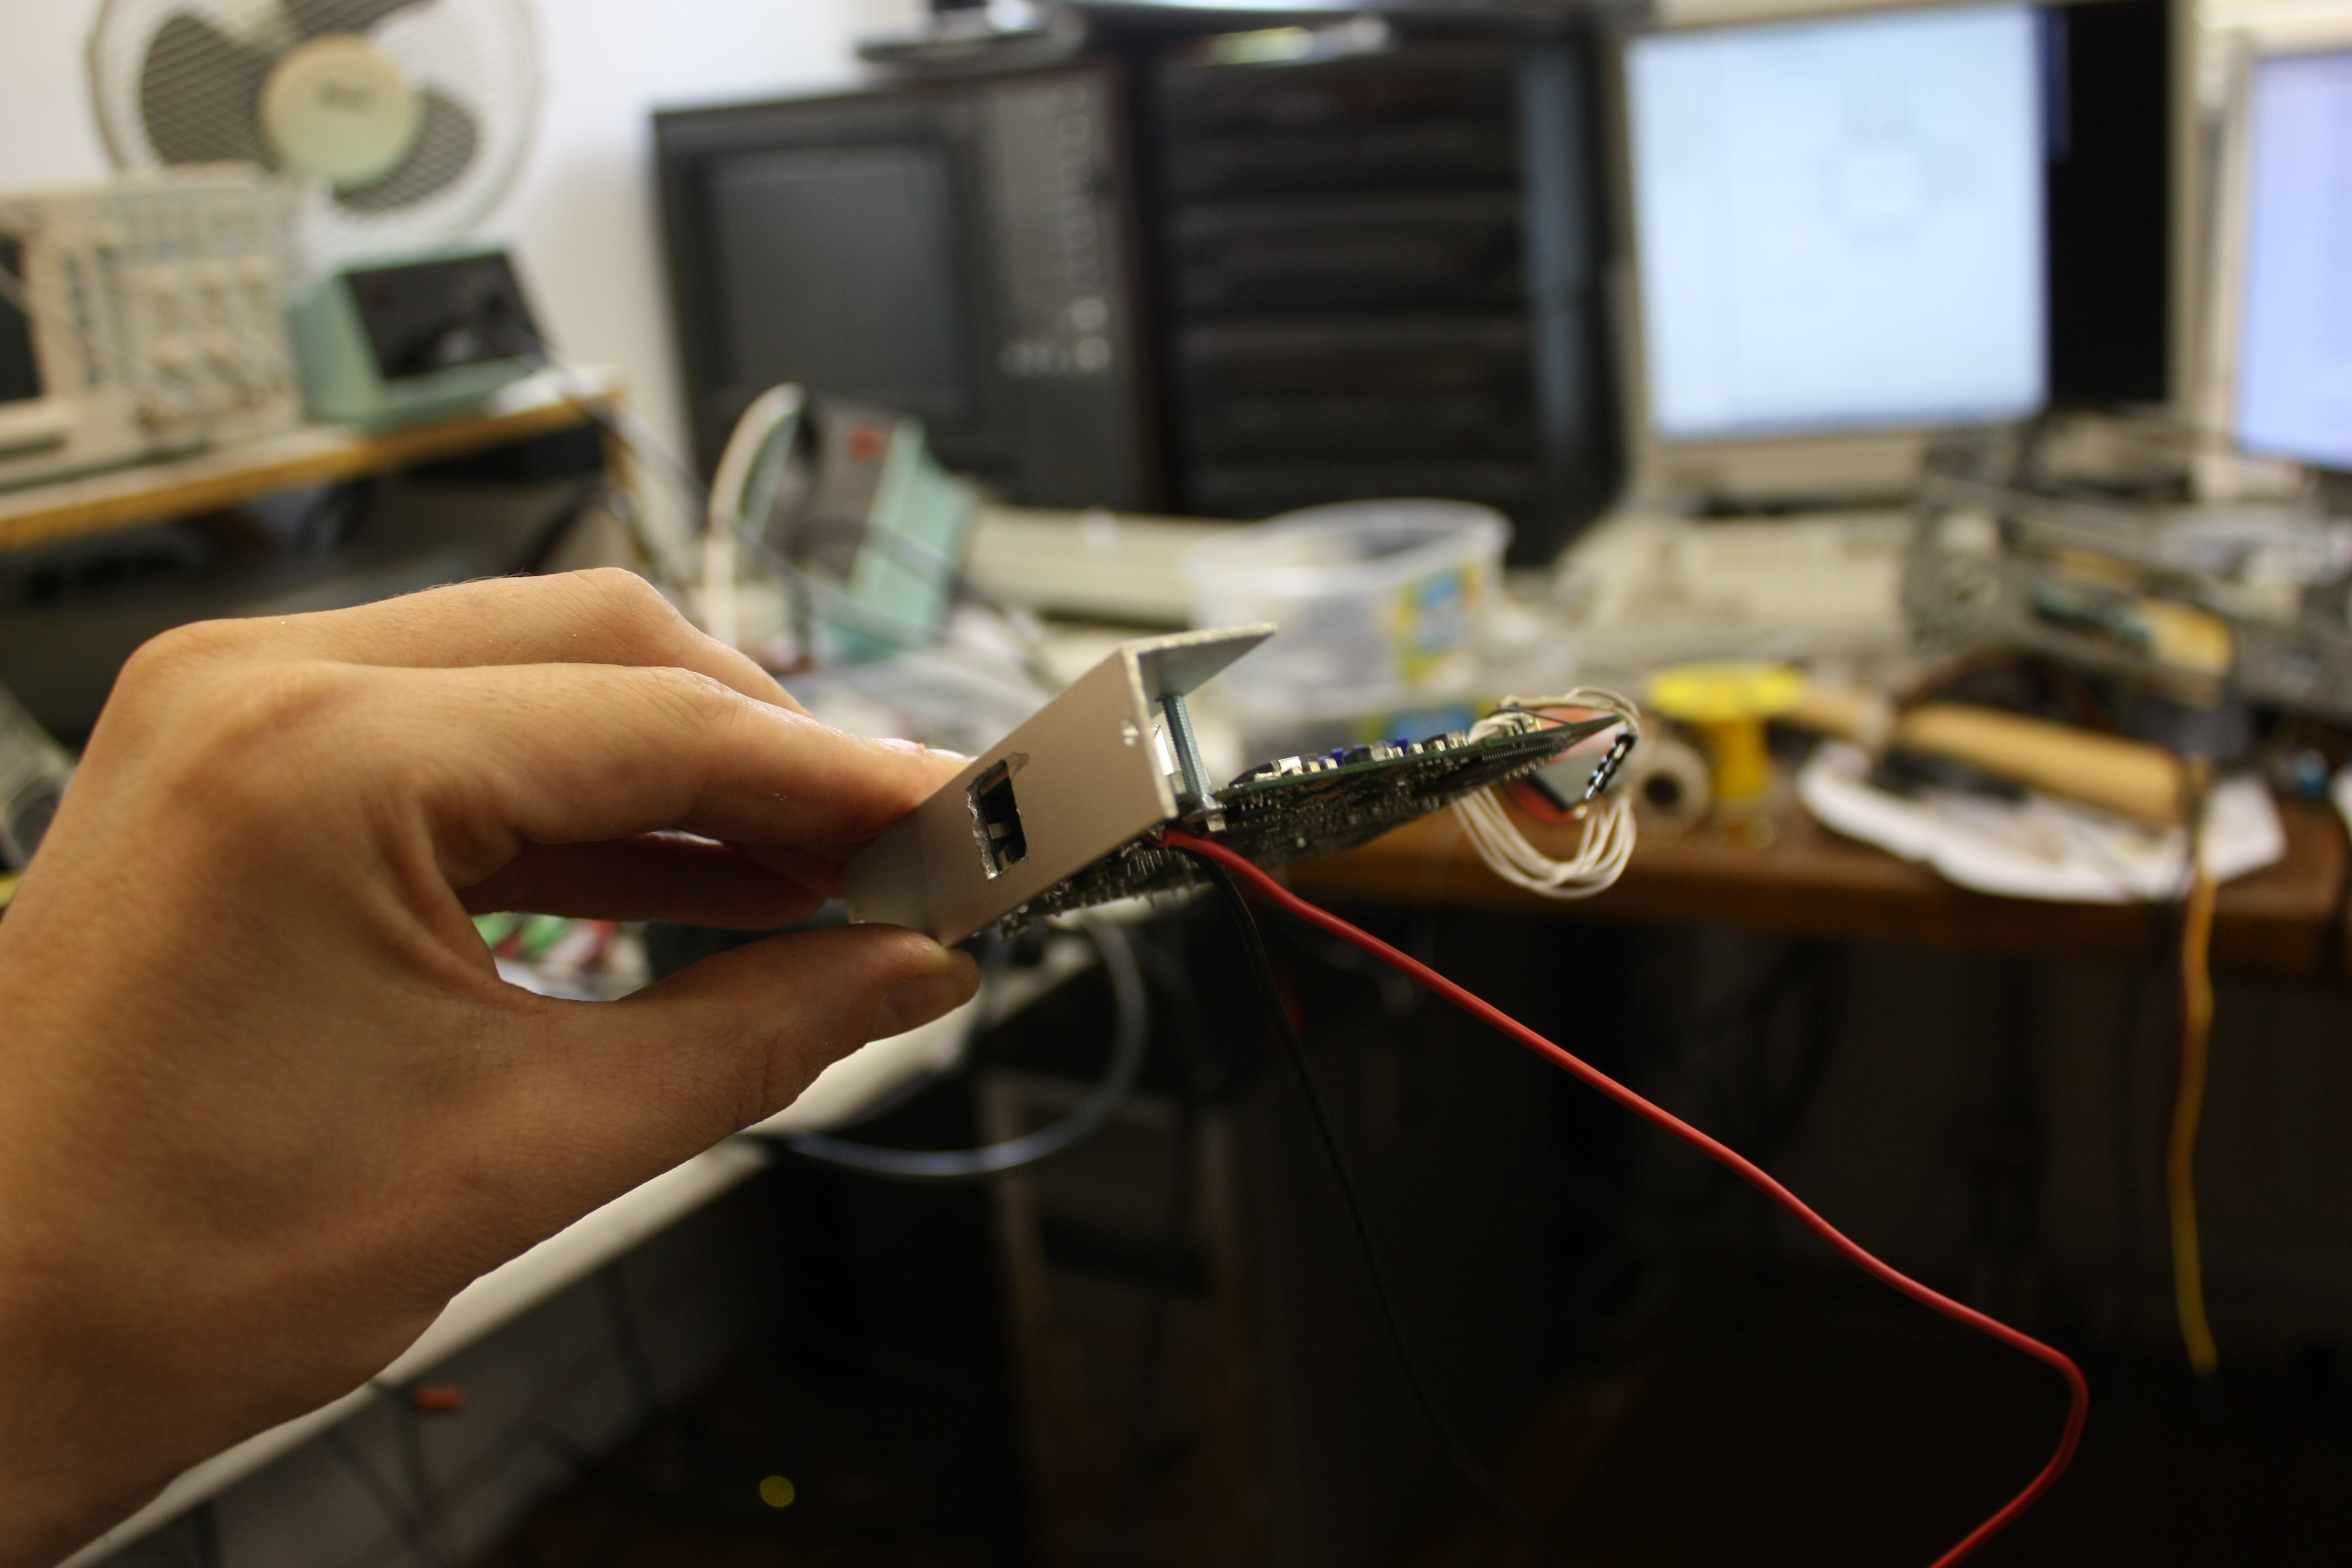
Here's the Dockstar, with a piece of aluminium mounted to it as a backplate. Looks
kinda convincing already.
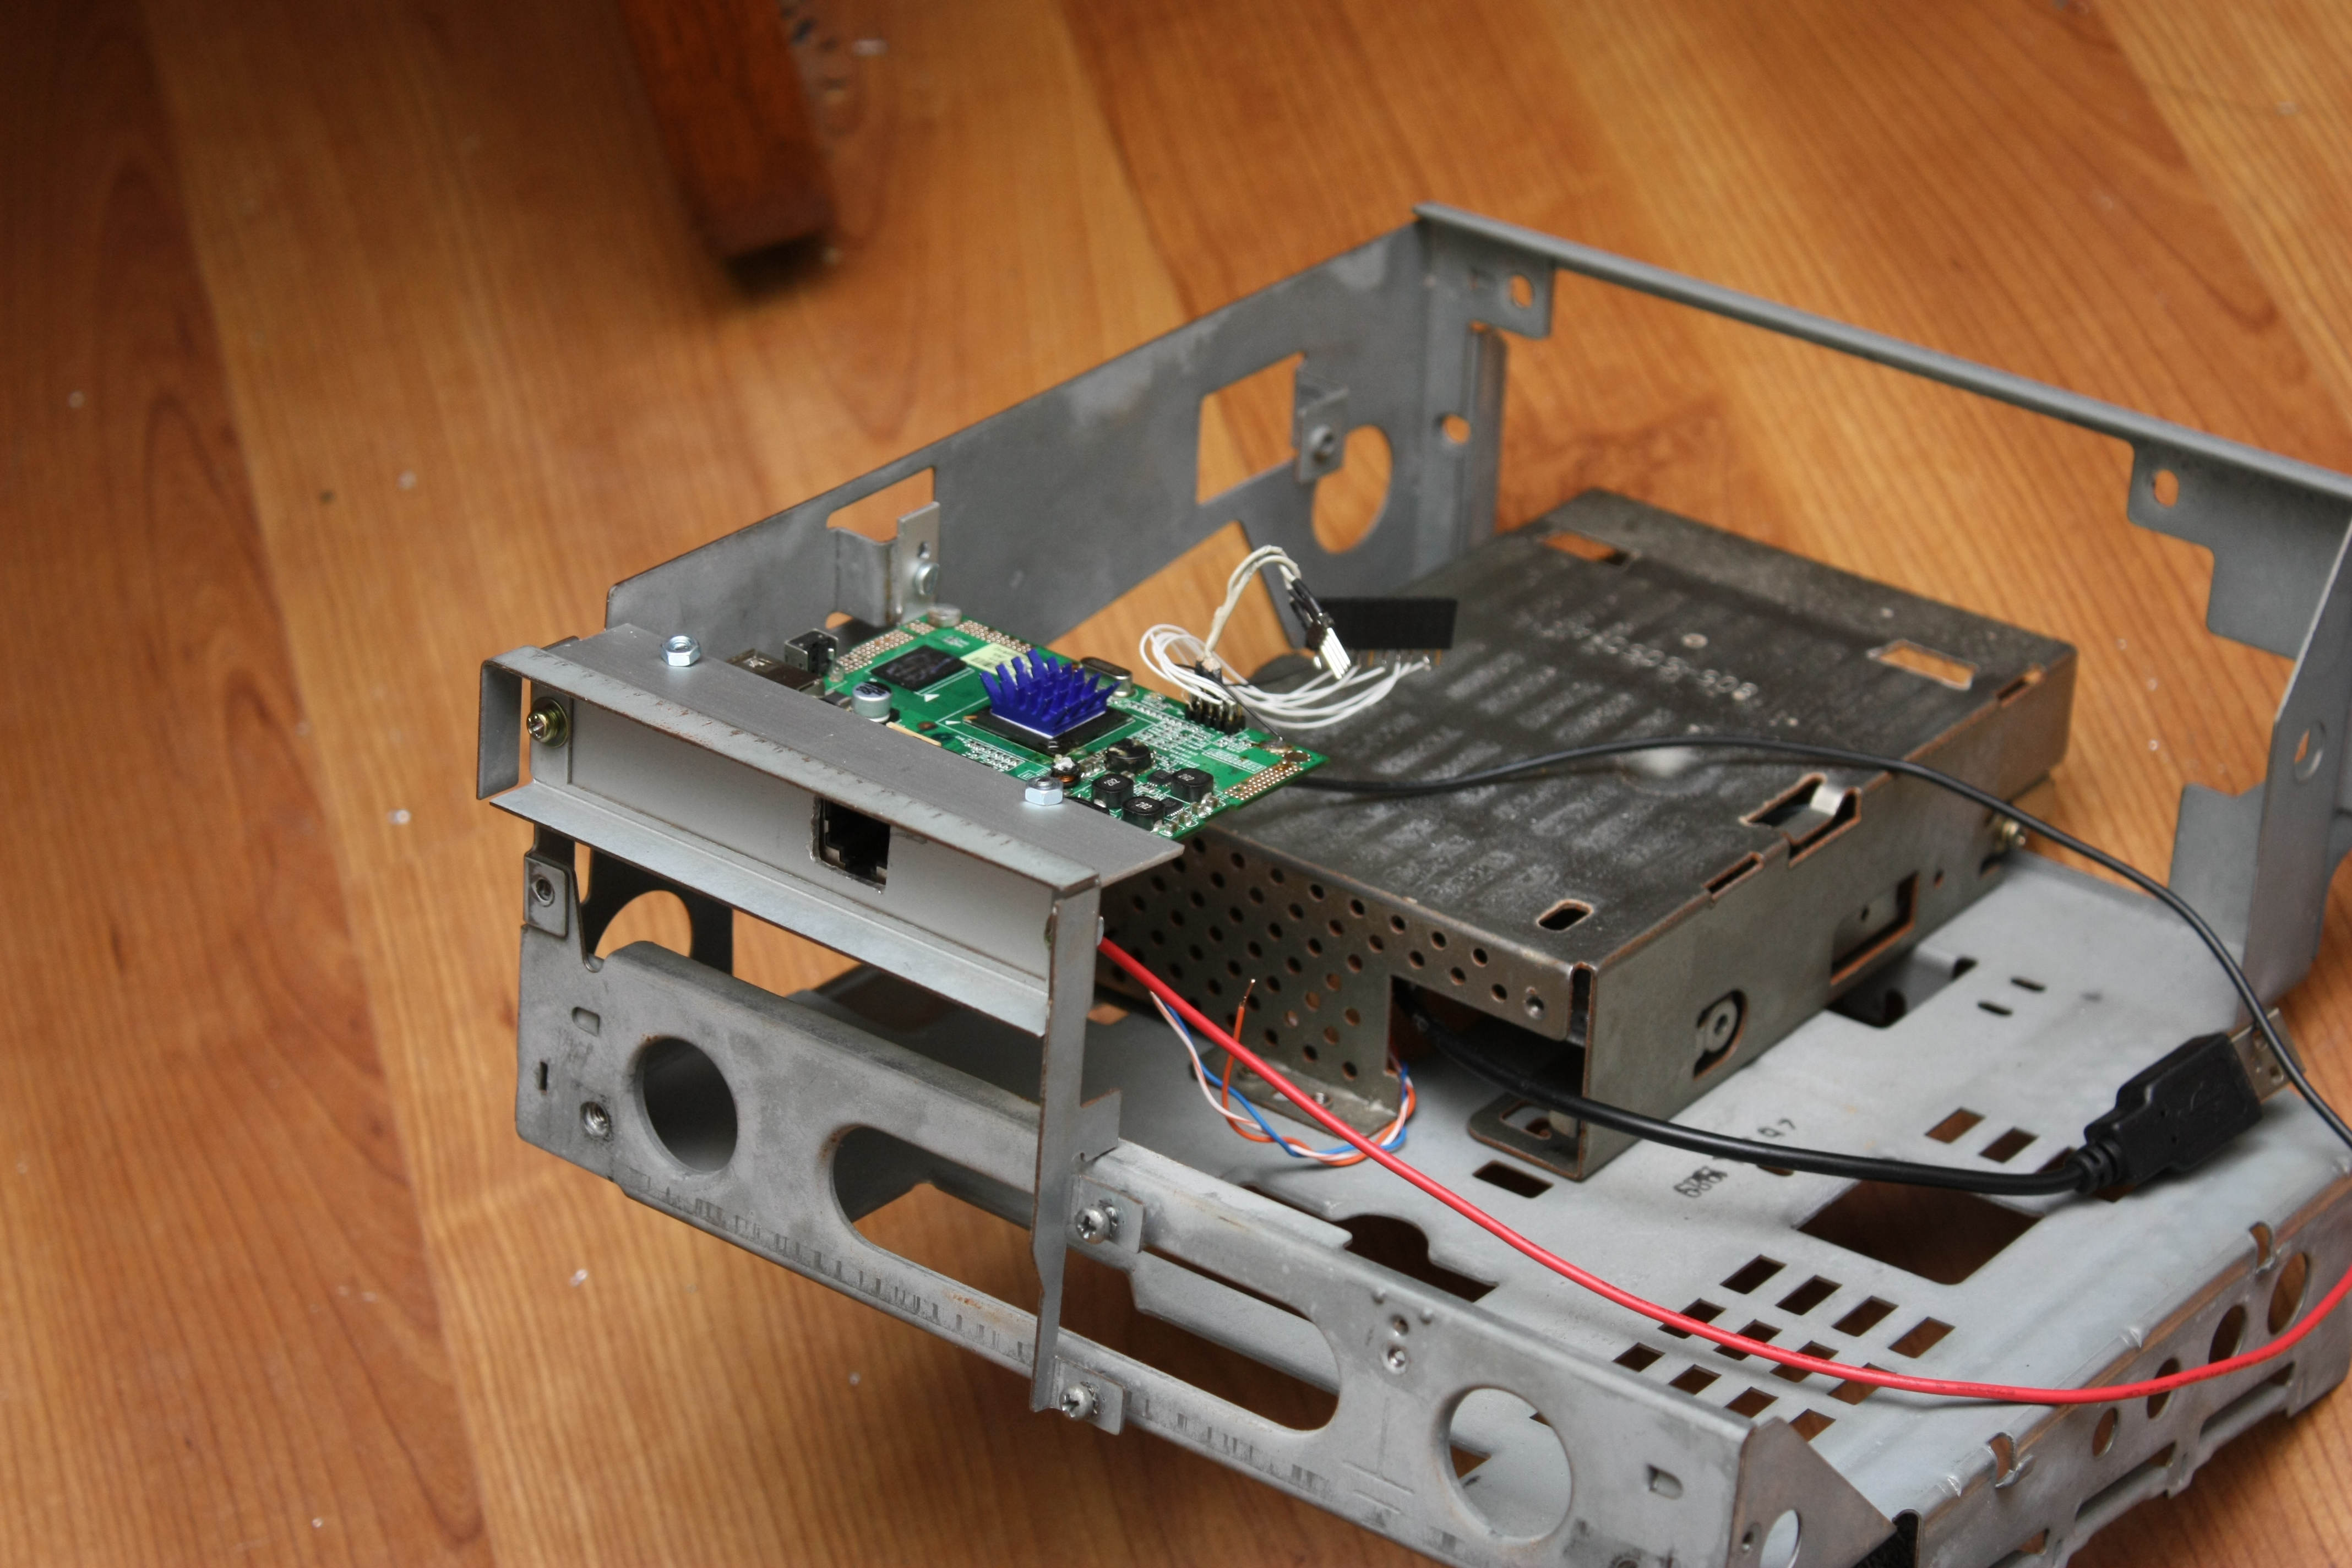
The Dockstar mounted in place of where normally the network card would go. It's a good
thing that the Dockstar is this small: any x86 mainboard probably wouldn't have fitted
here.
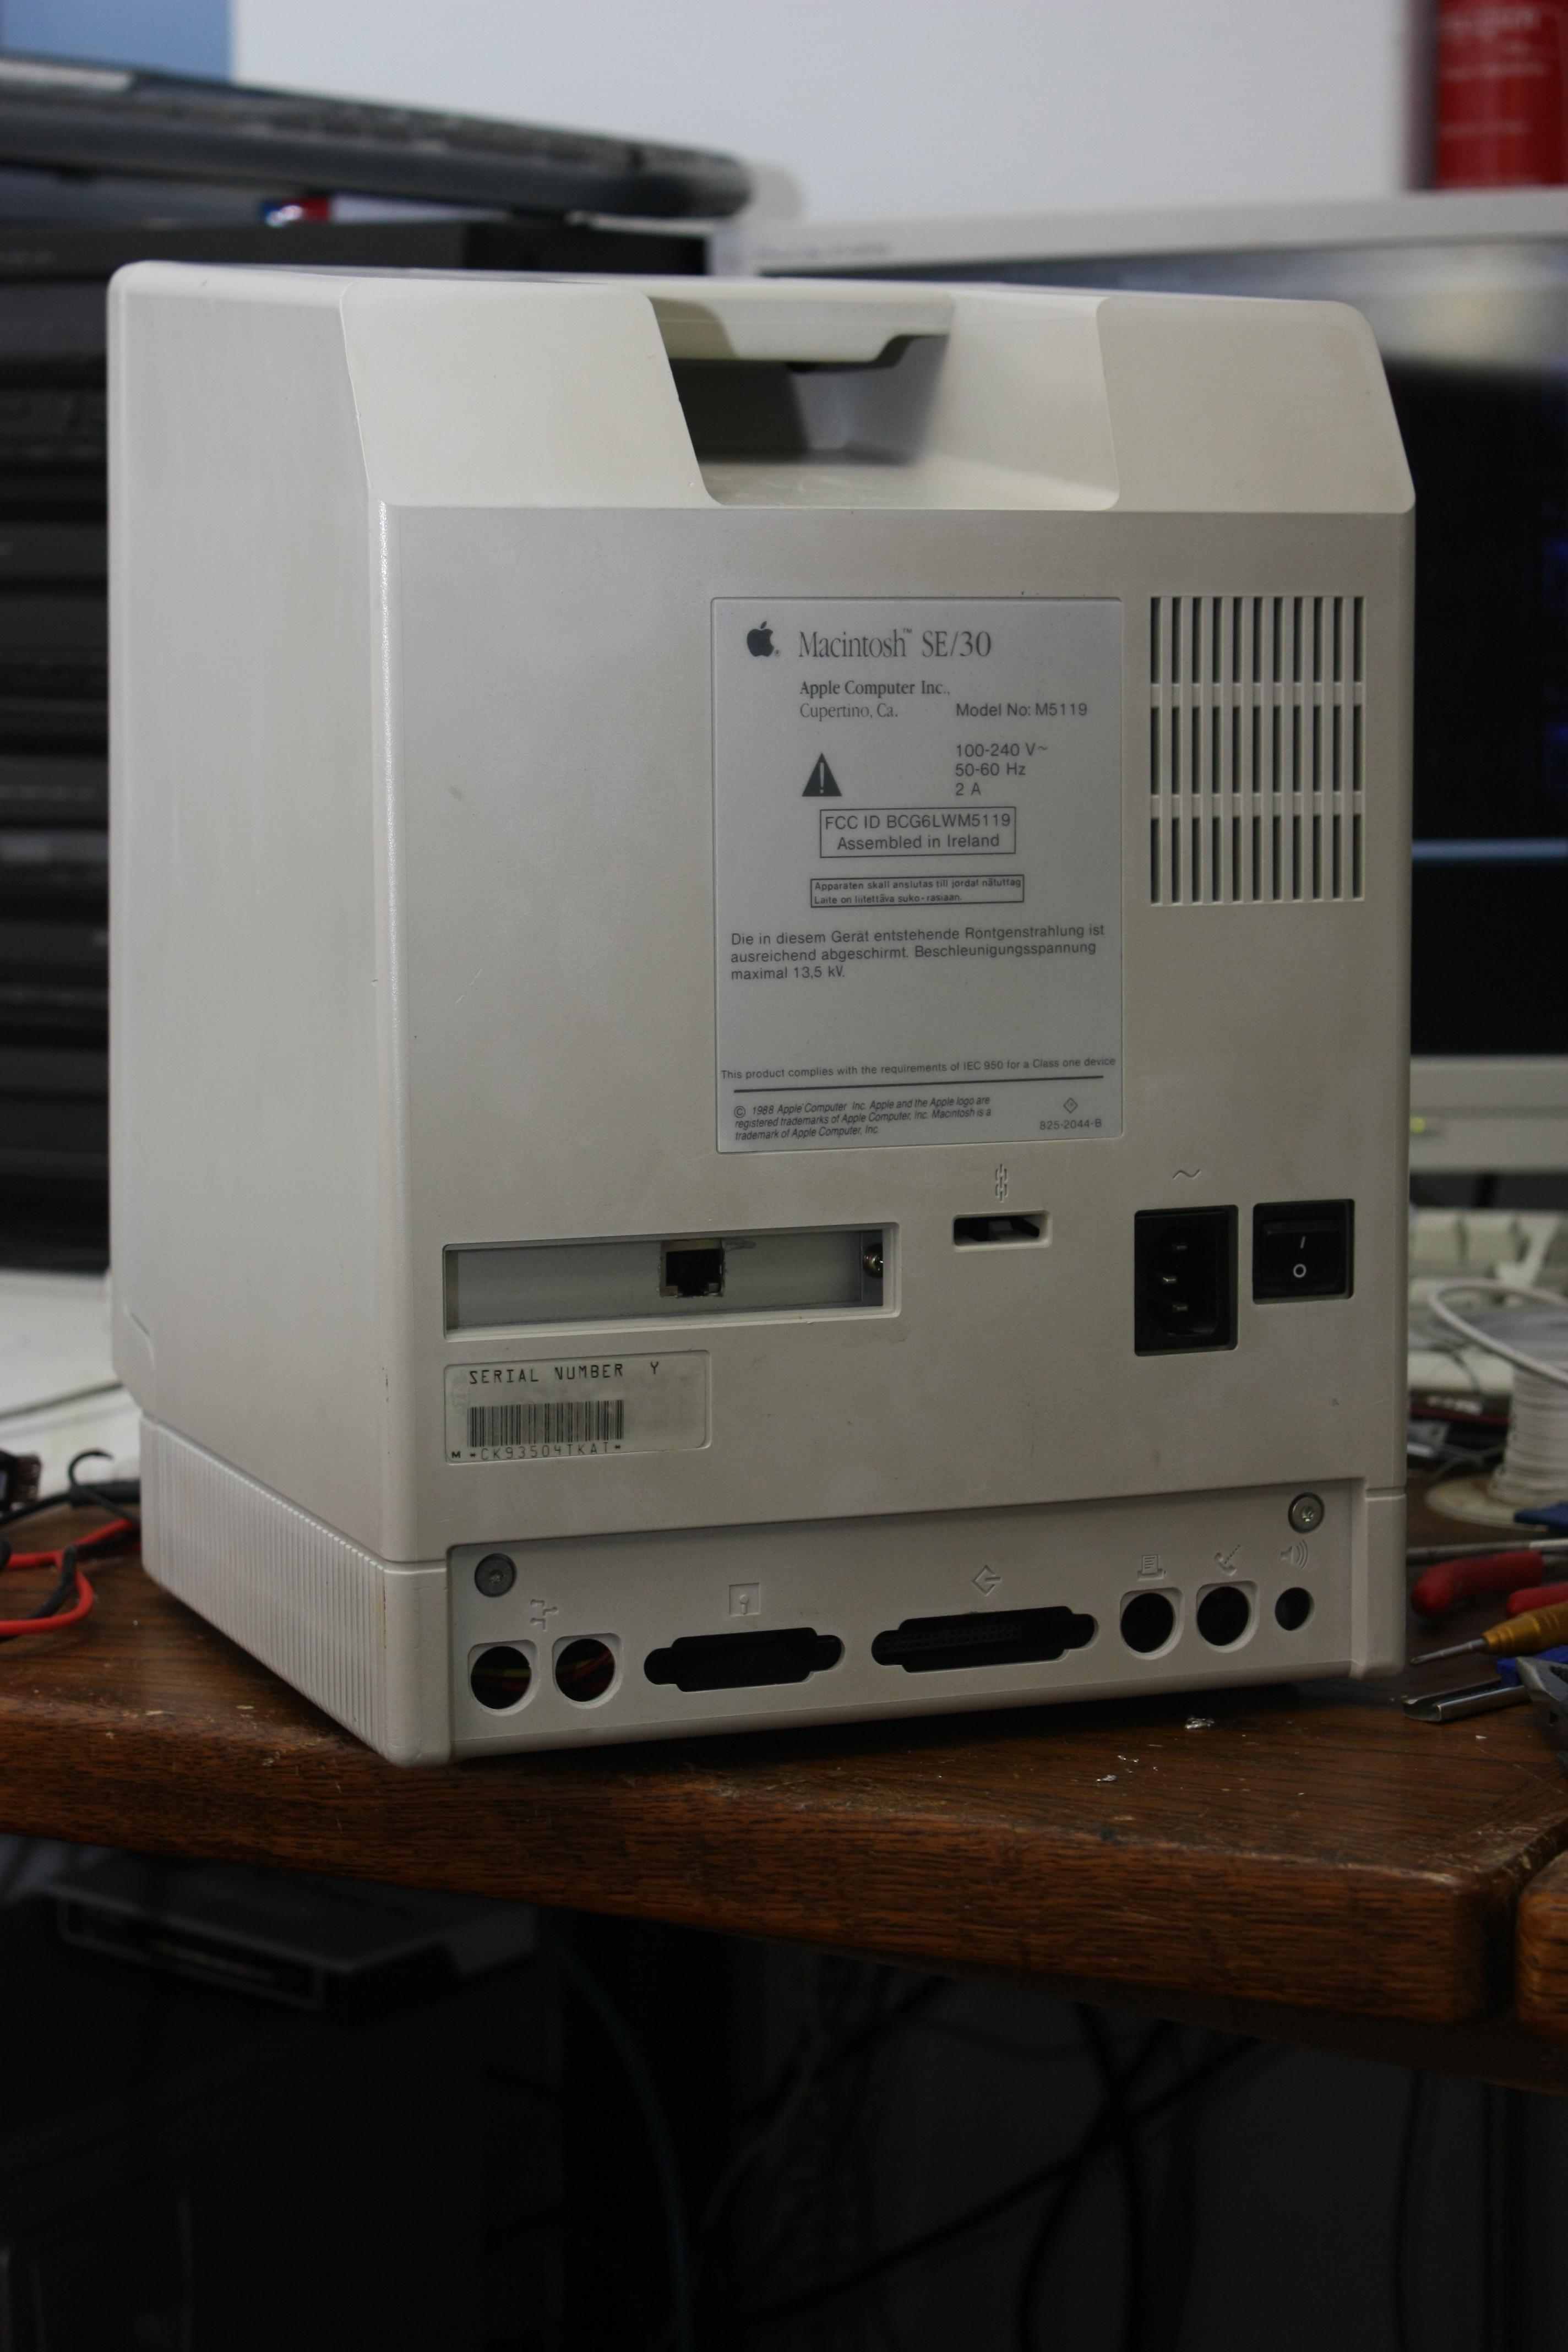
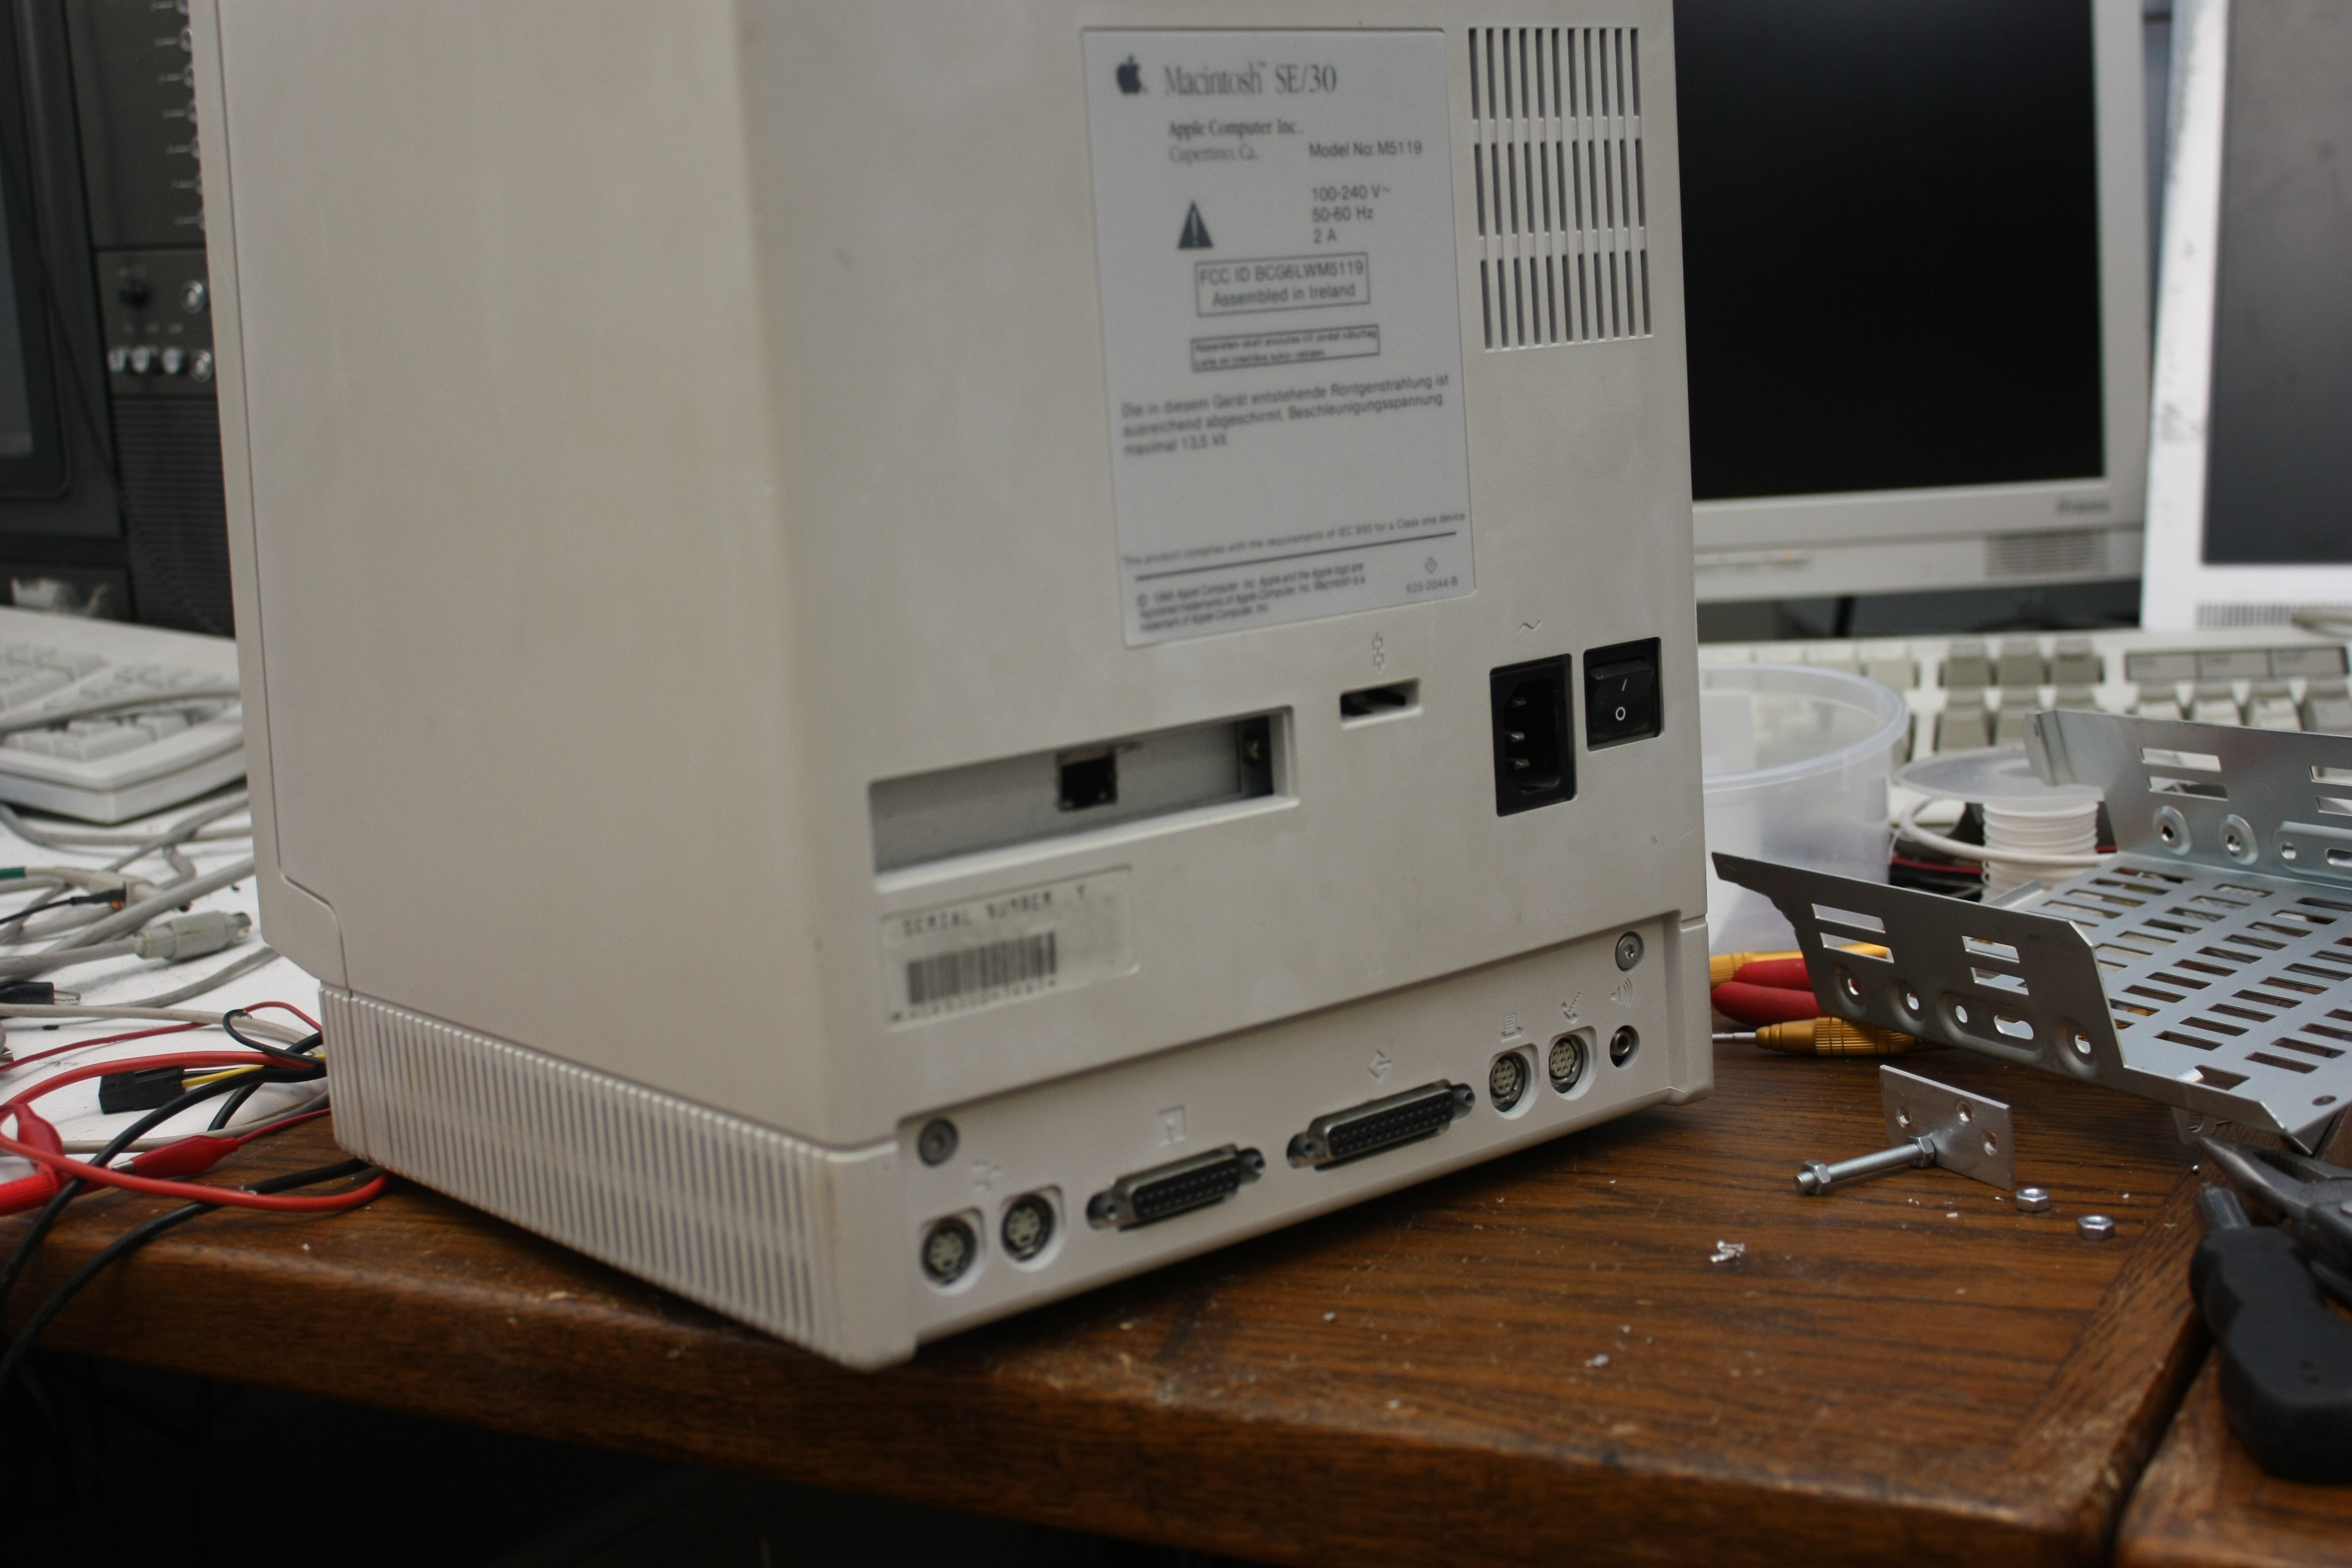
And this is what it looks like when the case is put together again. The only thing setting
this apart from an original network card is the fact that there's no AUI or BNC-connector.
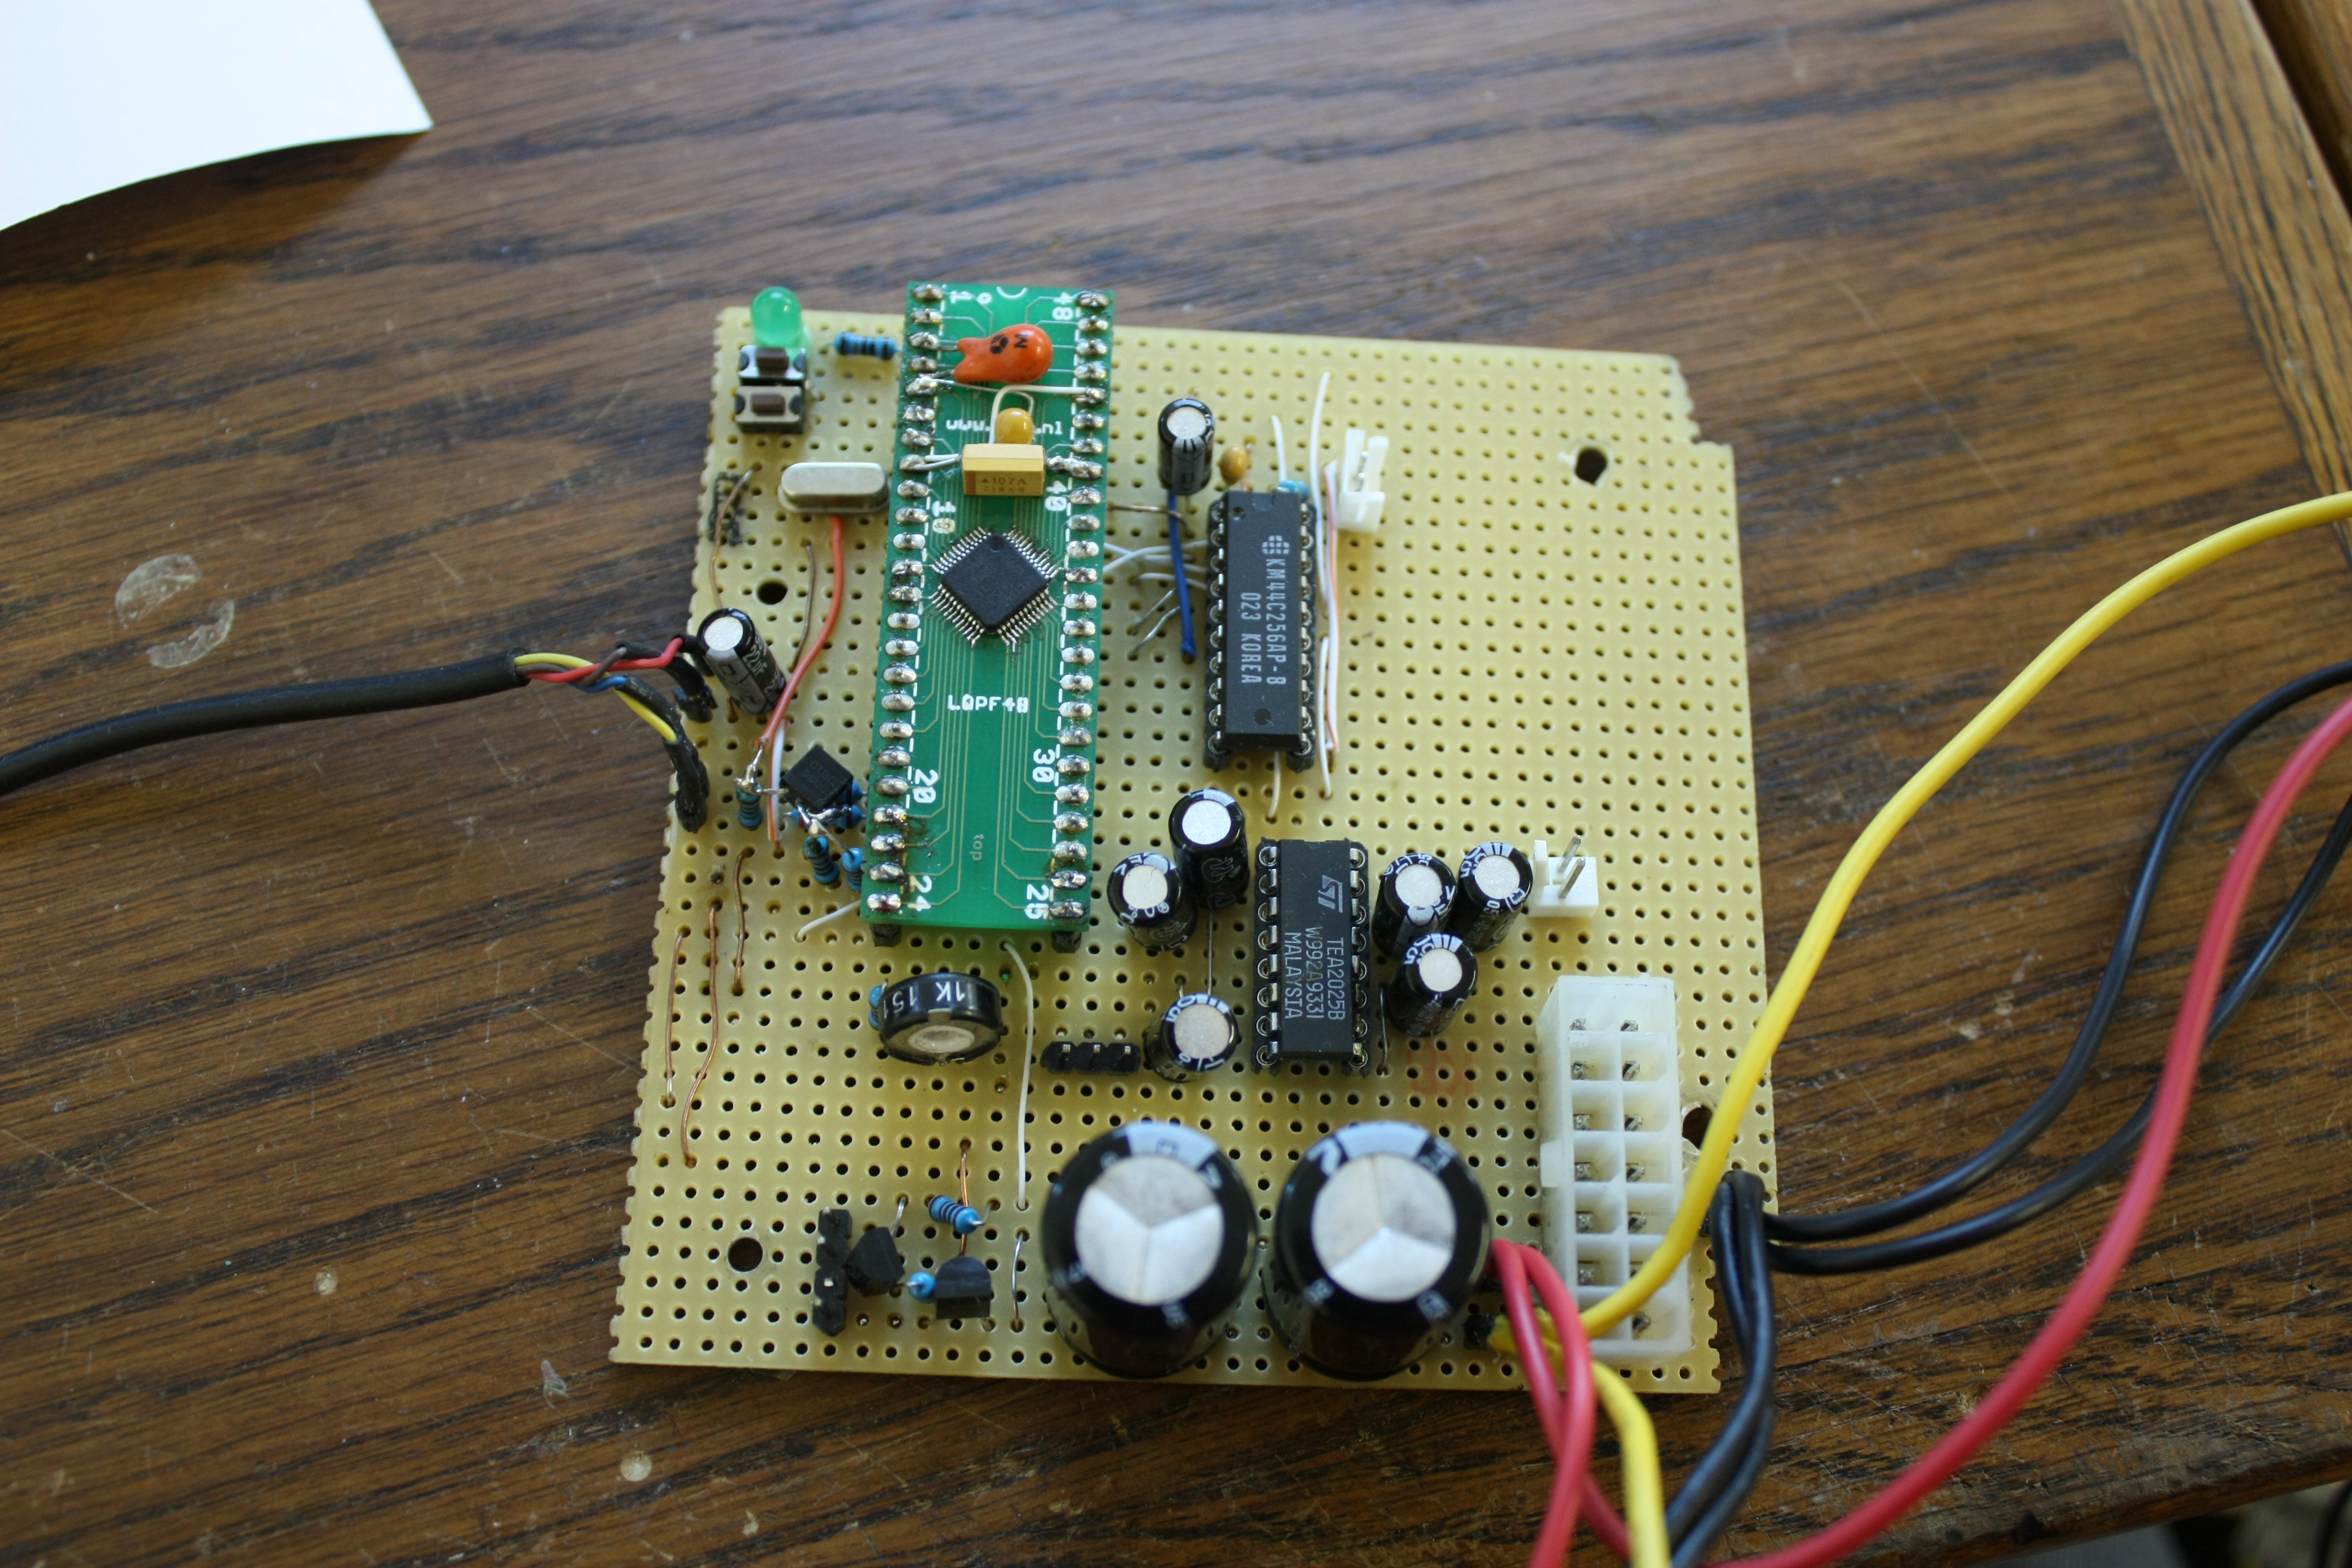
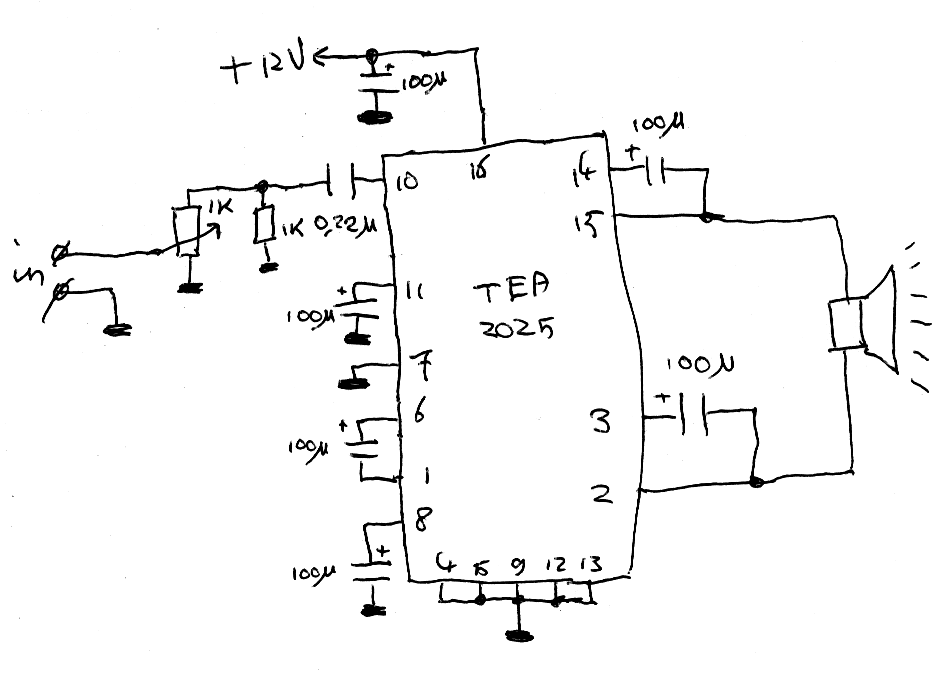
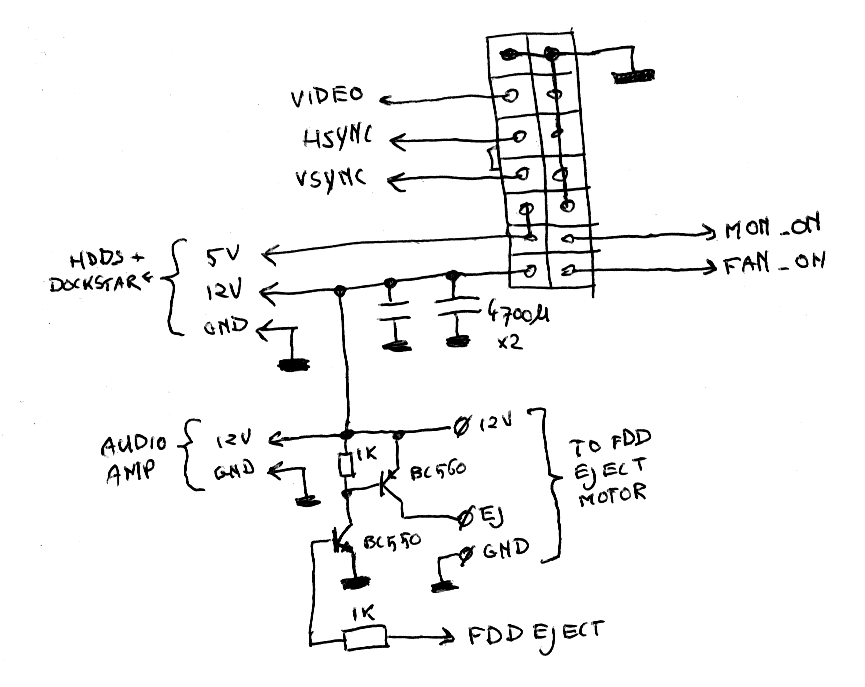
Next up: the GPU-pcb. Because I basically bolted everything I couldn't give its
own PCB onto this one, it got a bit big and heavily-populated. It contains the
GPU, the audio amplifier and
the interface to the PSU and display PCB. Because of its size
and because I could effectively bolt everything onto it, I decided that the best
place for the GPU PCB was on top of the FDD-casing.
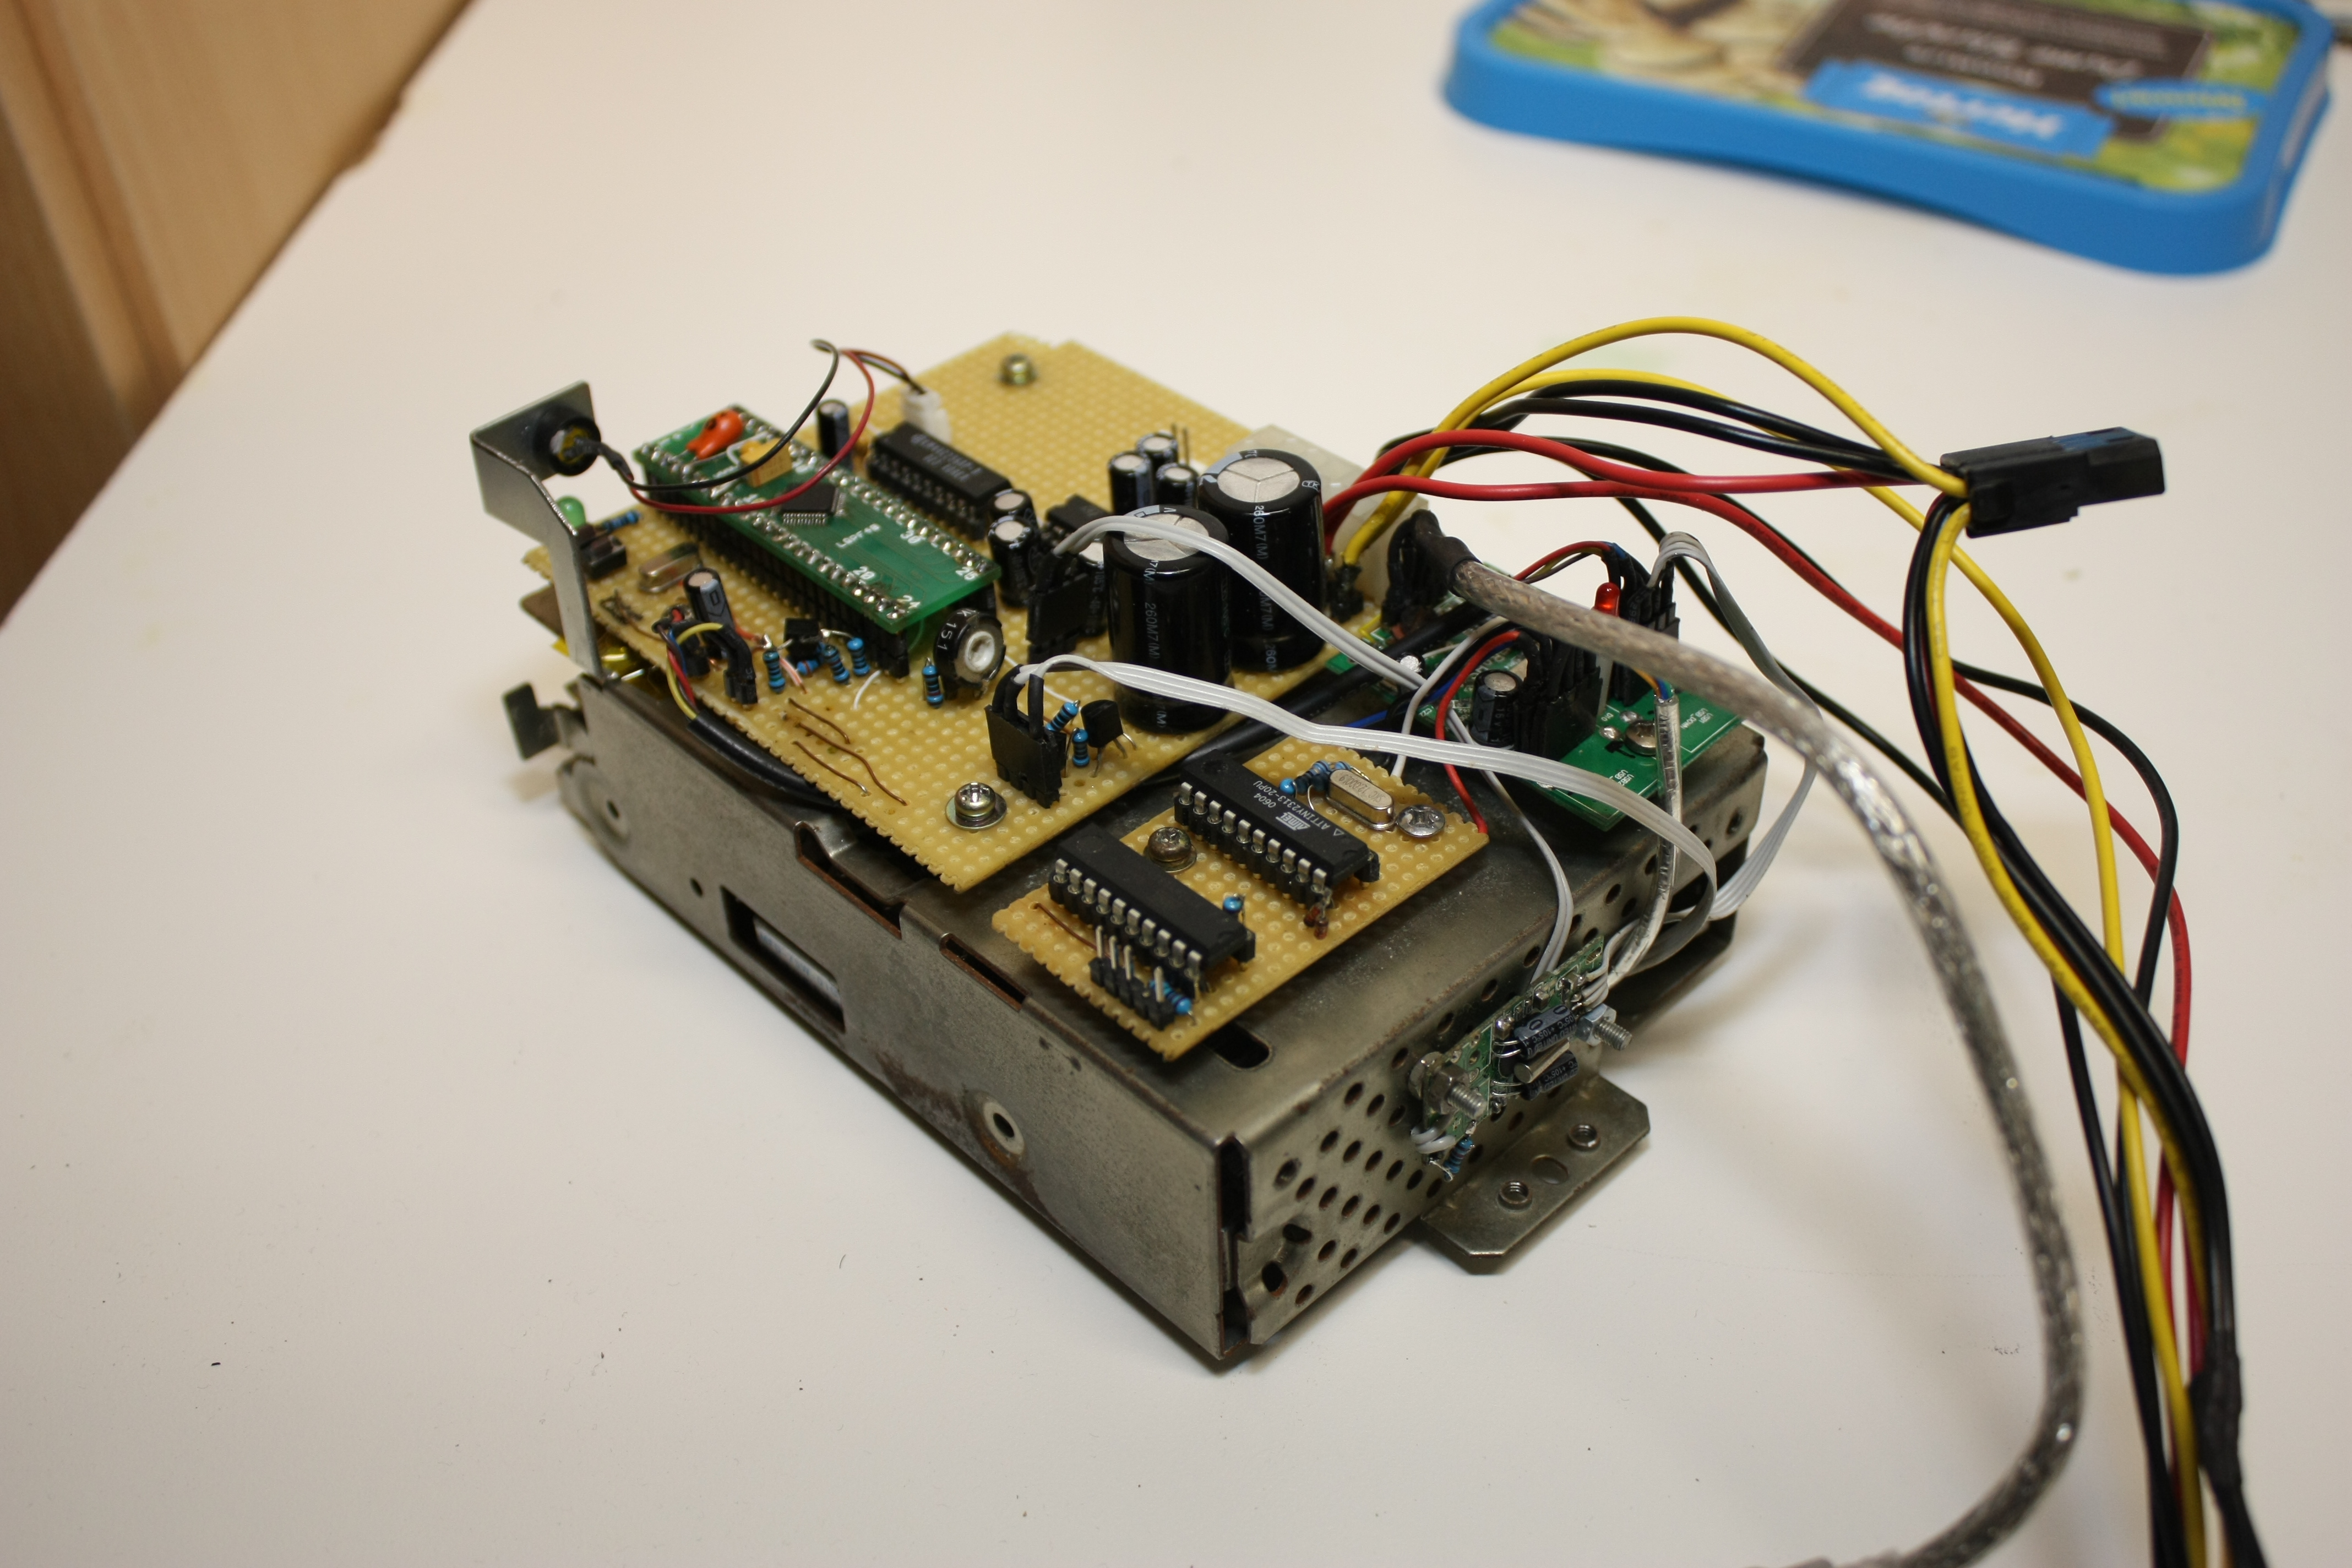
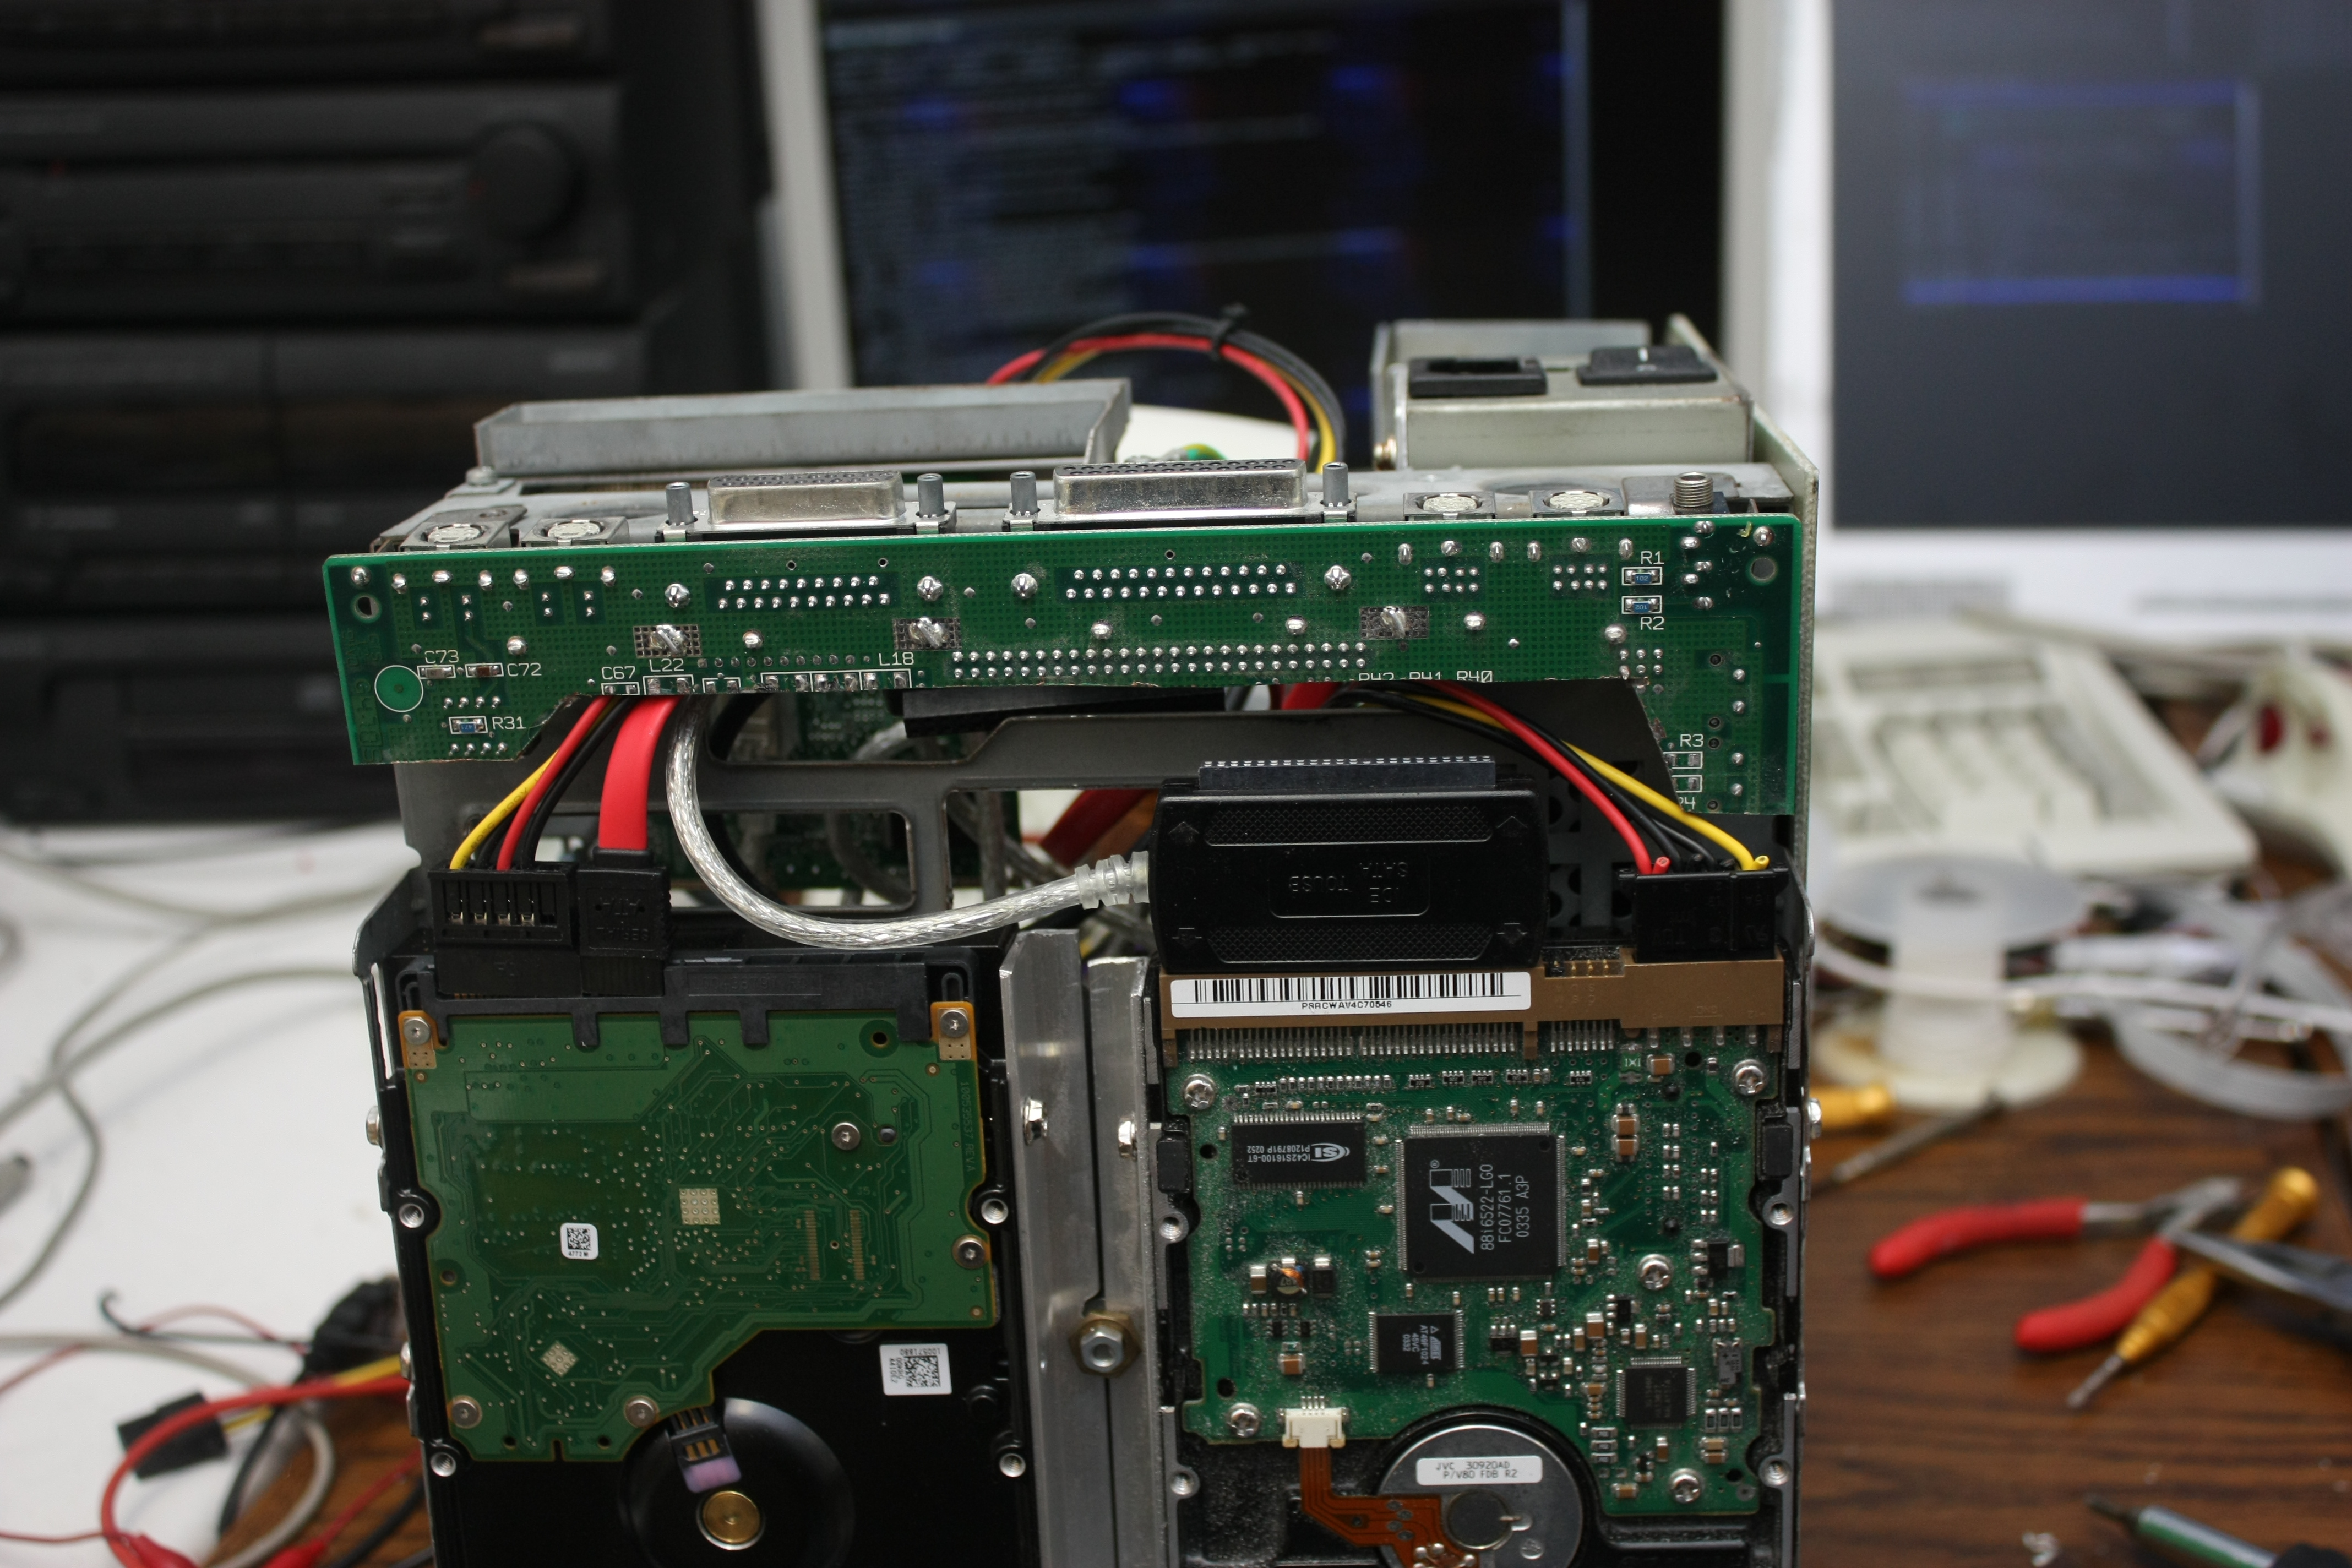
So, a fair amount of drilling and screwing later, the FDD-case got some extra hardware on
it's back. It shouldn't complain, though, because the bulk of the hardware is where the
40MB HD used to be. From back to front: the GPU (plus everything else it does) PCB,
with on the top left a small remain from the original HD case keeping the HD LED in place. To
the front, with the 2 DIP-chips, is the ADB-to-USB-converter. The green PCB next to
it is a cheap 4-port USB hub. On the back of the FDD chassis is the USB sound card, and
next to it is a hole where the USB-cable to the cardreader and the cable for the FDD
eject button comes out.

Next were the hard disks. I figured that the location where the mainboard used to
sit would be a nice place to put the two HDs: it's big enough to actually make them
fit and it has plenty of airflow, something the HDs need more than the rest of the
hardware does. The HDs are secured on one side by screws going through the mainboard
mounting plate. In the middle, the HDs are screwed to a L-shaped piece of aluminium
which is then secured to the chassis by a nut and bolt. This way, the HDs are removable
without needing to dismantle all of the machine.
Ok, the hardware was in place, but what about the connections to the outside? The Ethernet port looked just fine, but to make the rest of the connectors seem authentic, I really needed to have the original connectors. It would be a hassle to aquire these, and then I still had to position them correctly... unless...

This is one of the few times I have taken a rotary tool like this to a mainboard,
let alone the mainboard of something as retro and cool as the MacSE/30. Knowing
the mainboard was irrepairable didn't help, it still felt wrong somehow.
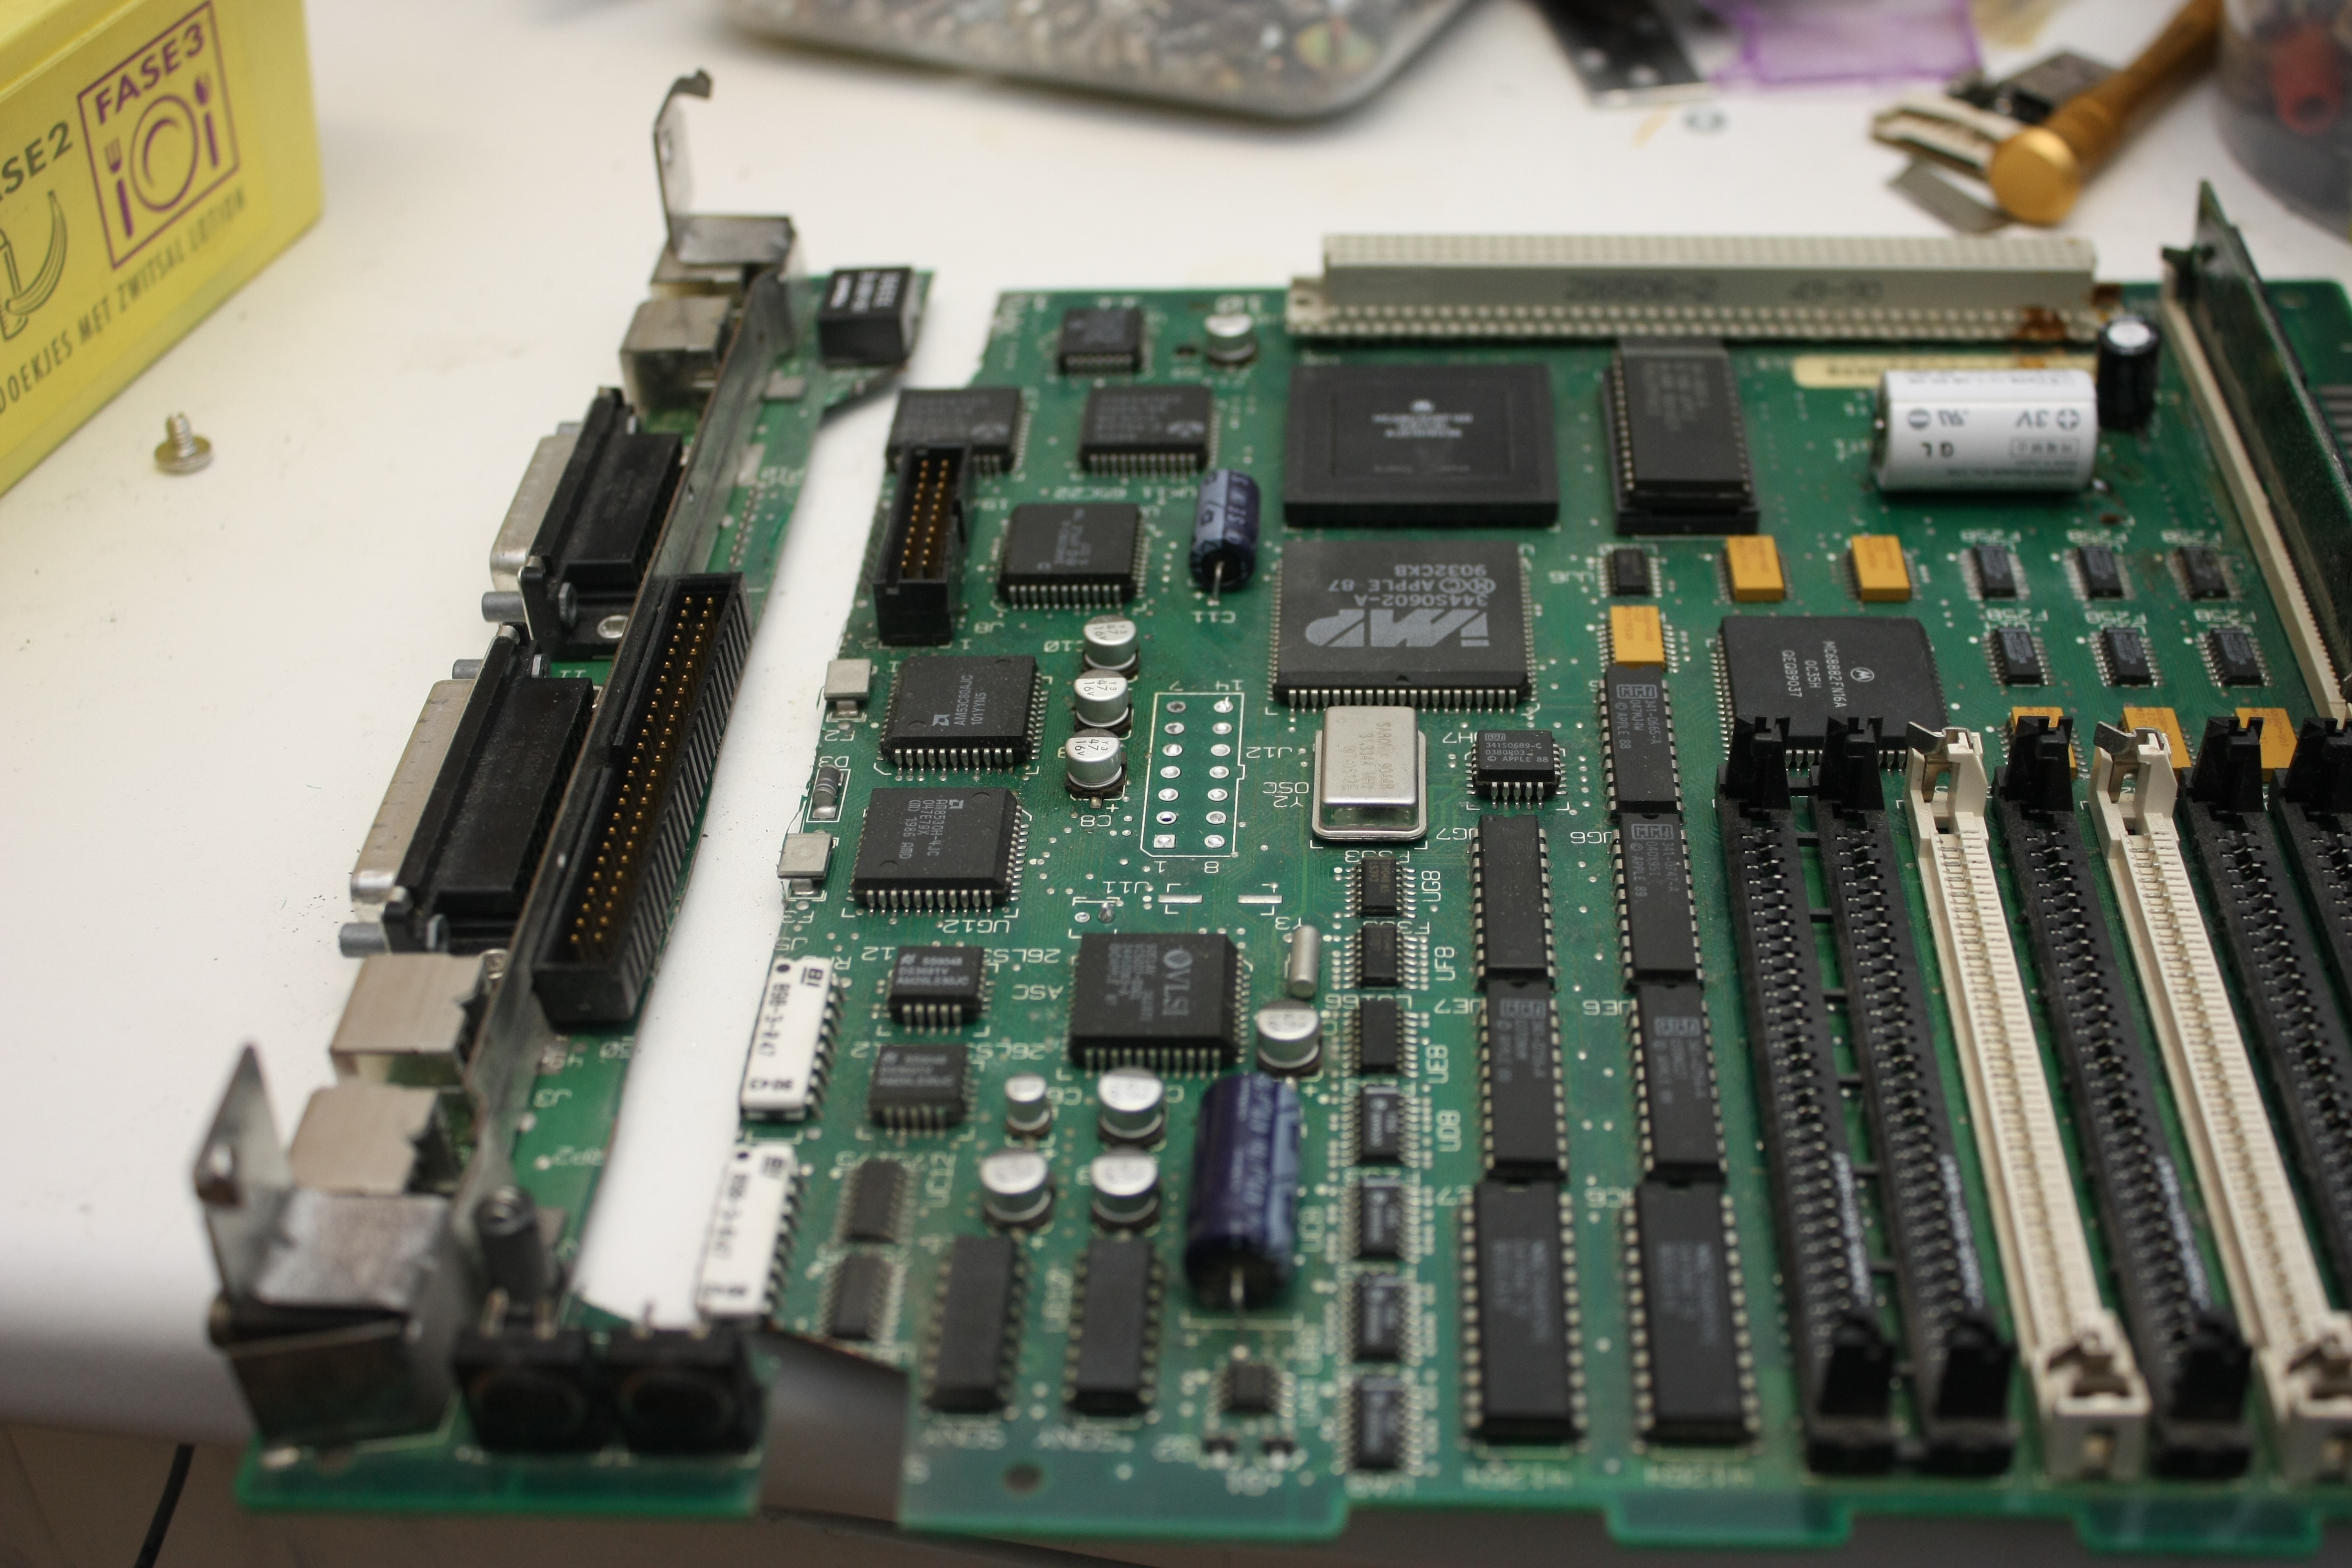
There it lies, connectors separated from the rest of its logic. Now cracks a noble
heart. Good-night, sweet prince. And flights of angels sing thee to thy rest.
Anthropomorphic feelings and quotes from a long-dead fiction writers aside, the end
result was quite good: the bit of PCB with the connectors on it still fit the case
and could be secured by a pair of bolts. The HDs still had enough clearance too.
All I had to do was connect the various cables to the PCB.
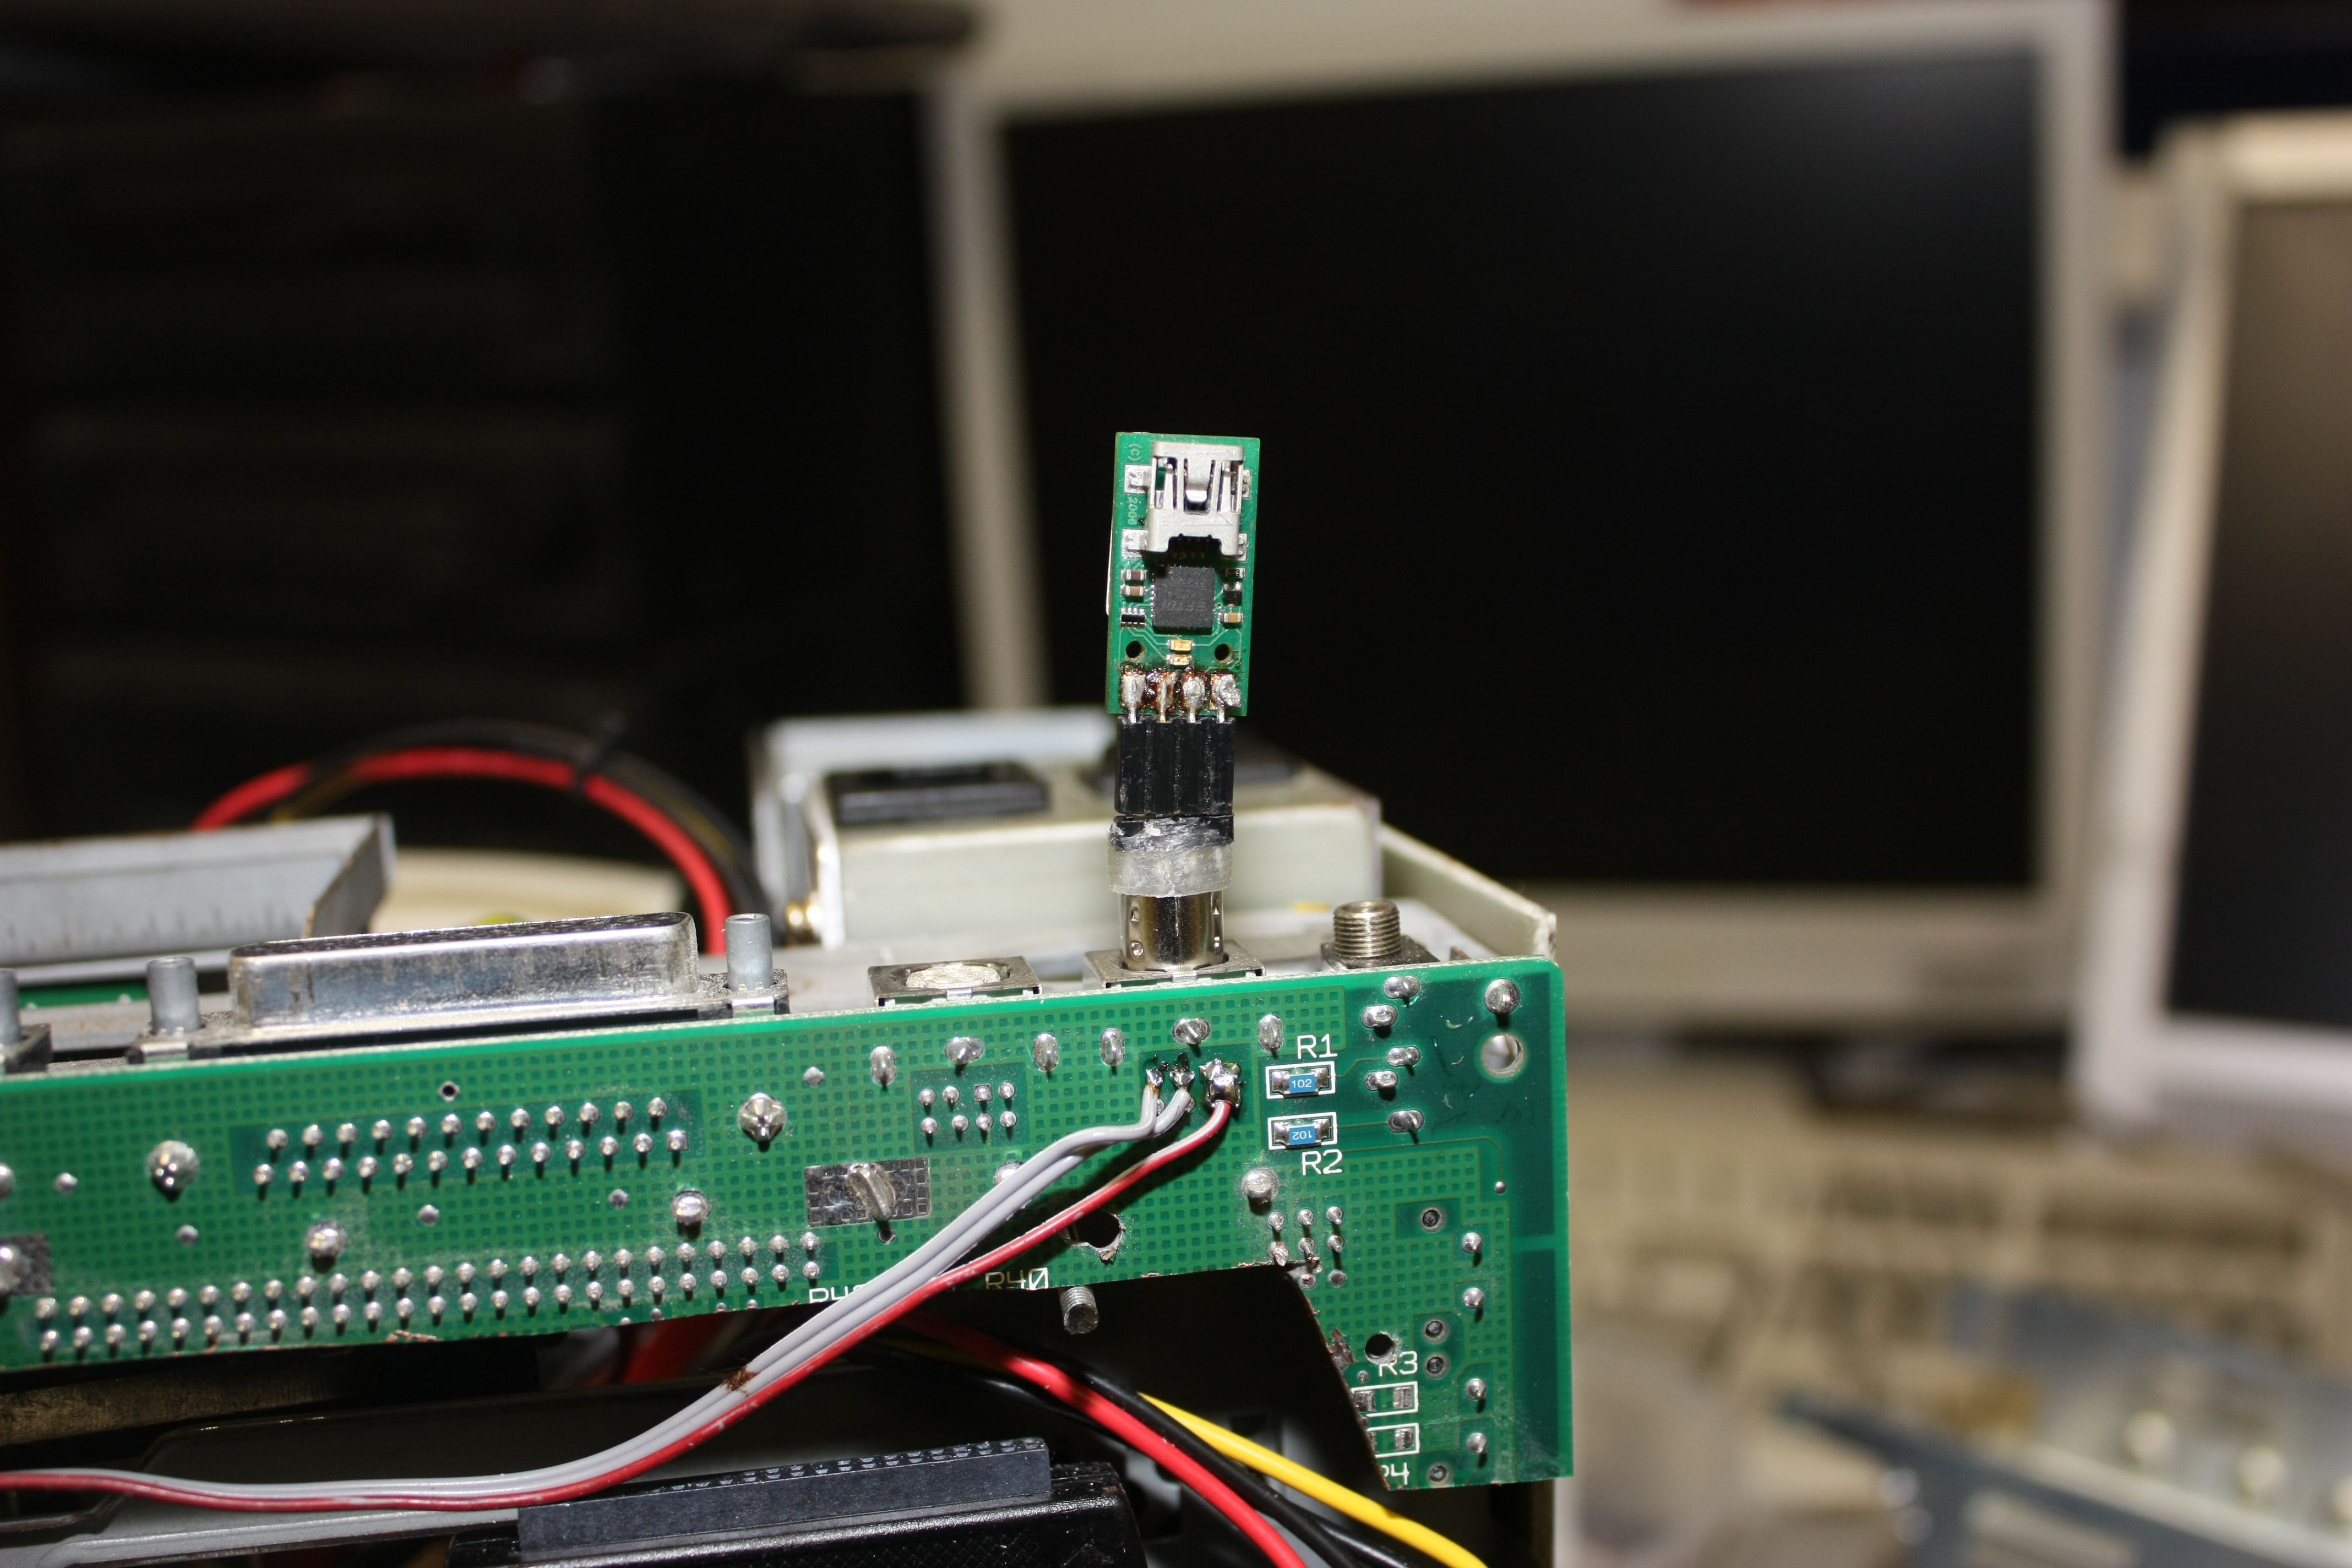
First up: the serial port. Because both the bootloader and the kernel spew their
messages out over the Dockstars serial port, it's handy to have it available on the
outside of the case, so I connected it to one of the two serial port connectors.
On the other side, there's a small adapter with a 4-pin header, on which I can
put a small PCB containing an FT232 serial-to-USB-converter.

Second in line: the ADB connector. I was careful to keep the inductors the connectors
were wired to in place: these keep the microcontroller from being blown up by
nasty stuff like ESD.
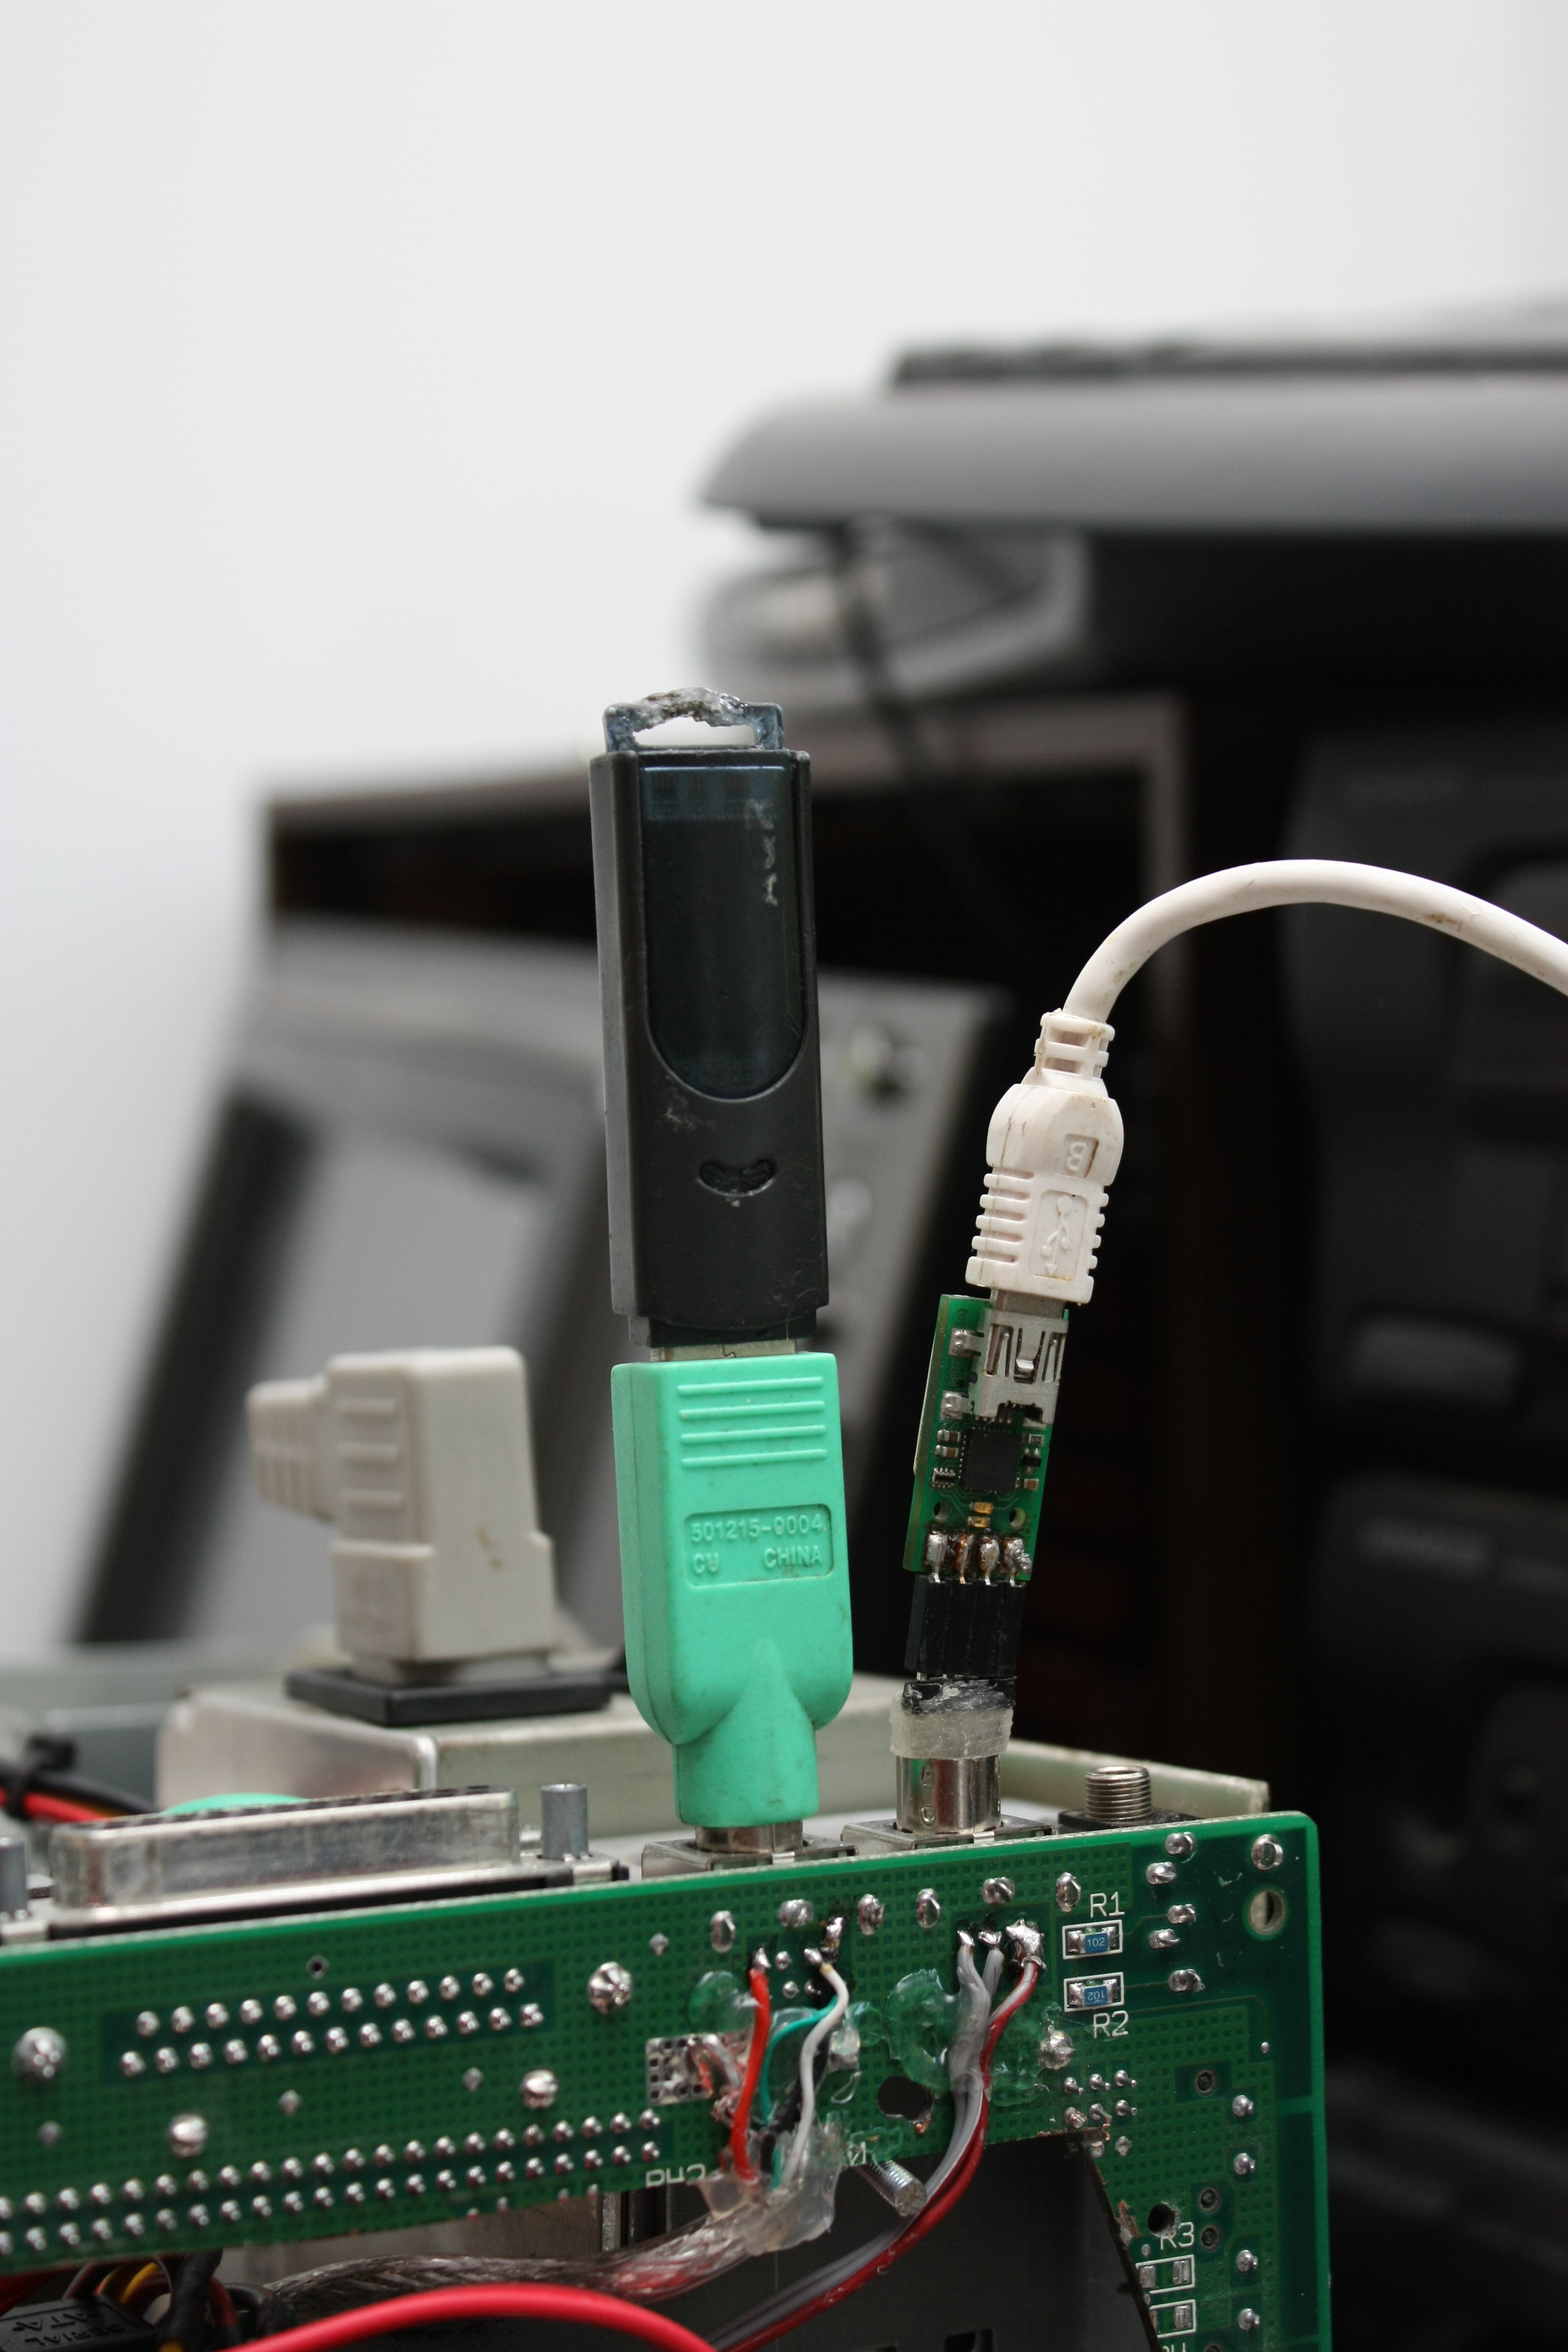
I still had some ports left, and one USB output on the Dockstar still didn't have
a corresponding device for it. I decided to mod the other serial port a bit so
it could accept PS/2-connectors, all to make the port into a system administrators
nightmare. Yes, that is a PS2-to-USB-conversion-thingy that usually only works on mice
and keyboards, and yes, it has an USB flash drive plugged into it. Works like a charm
too.
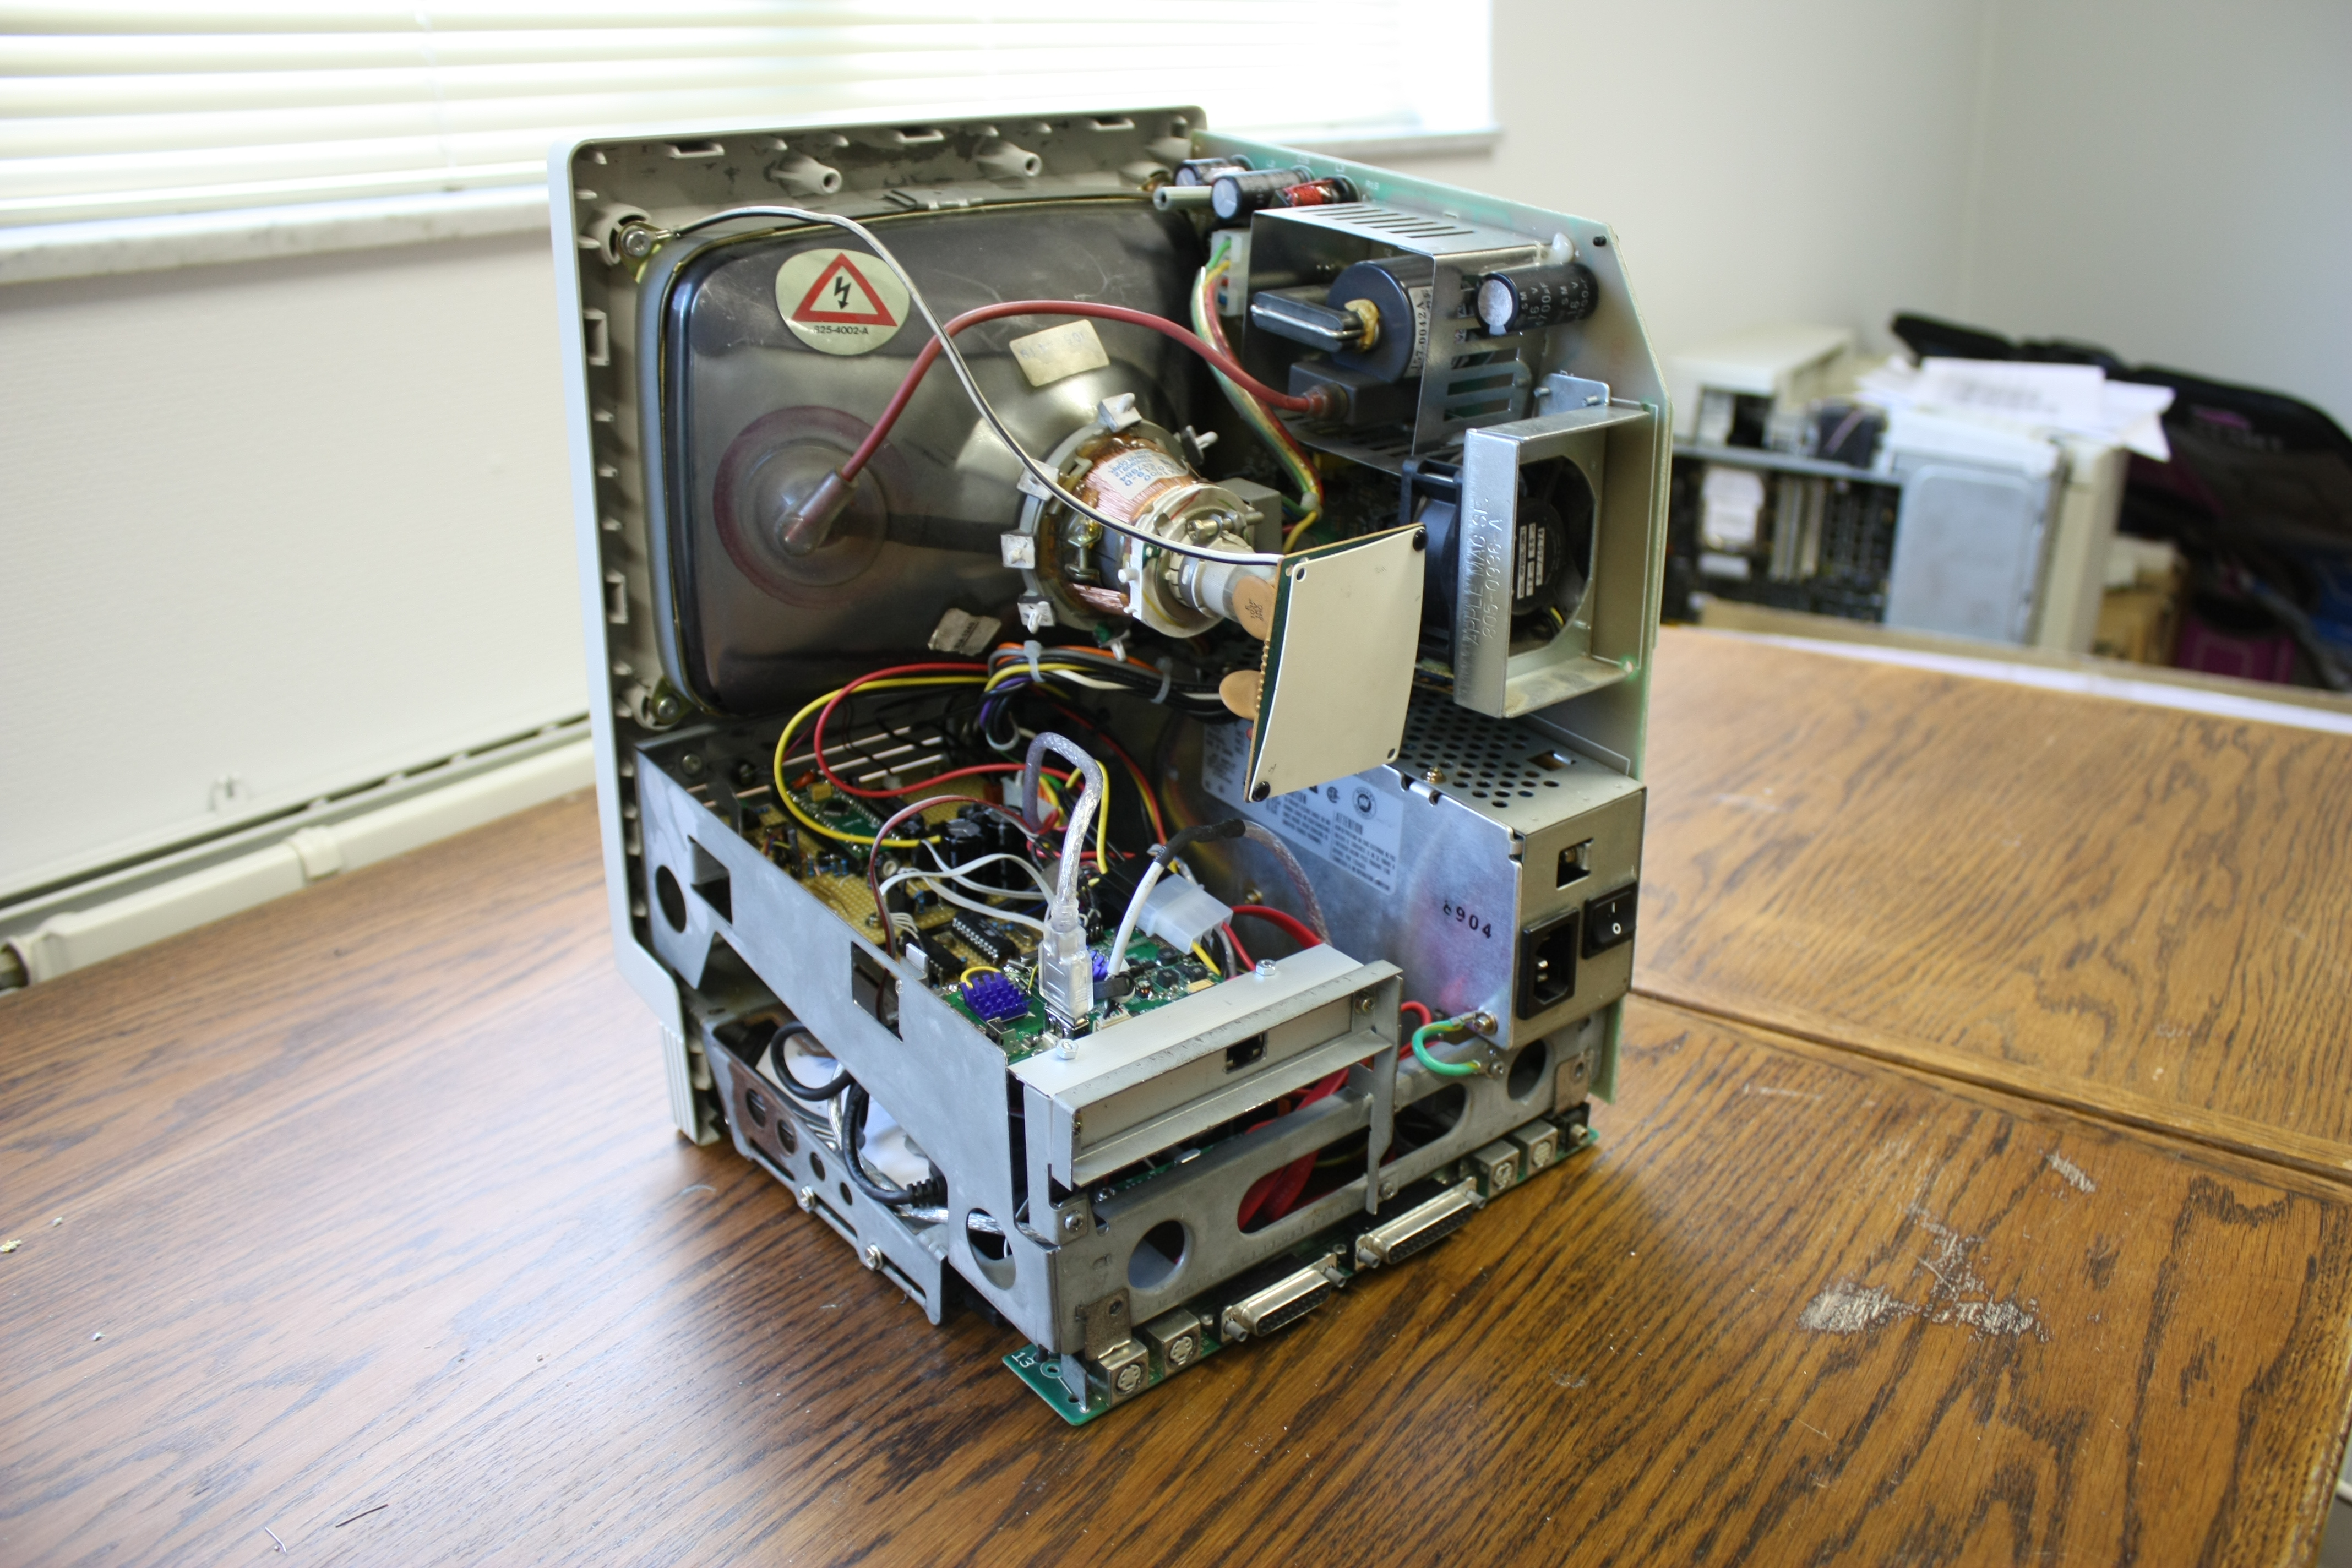
And this is all the hardware stuffed into the Macs case. it's a bit cramped in there,
but not enough to impede airflow or cause a dangerous situation.
With the case back on, you wouldn't say you were looking at a completely different
machine: it looks just like a Macintosh SE/30 with some kind of network adapter in the
expansion slot. Just the way I intended.