Introduction
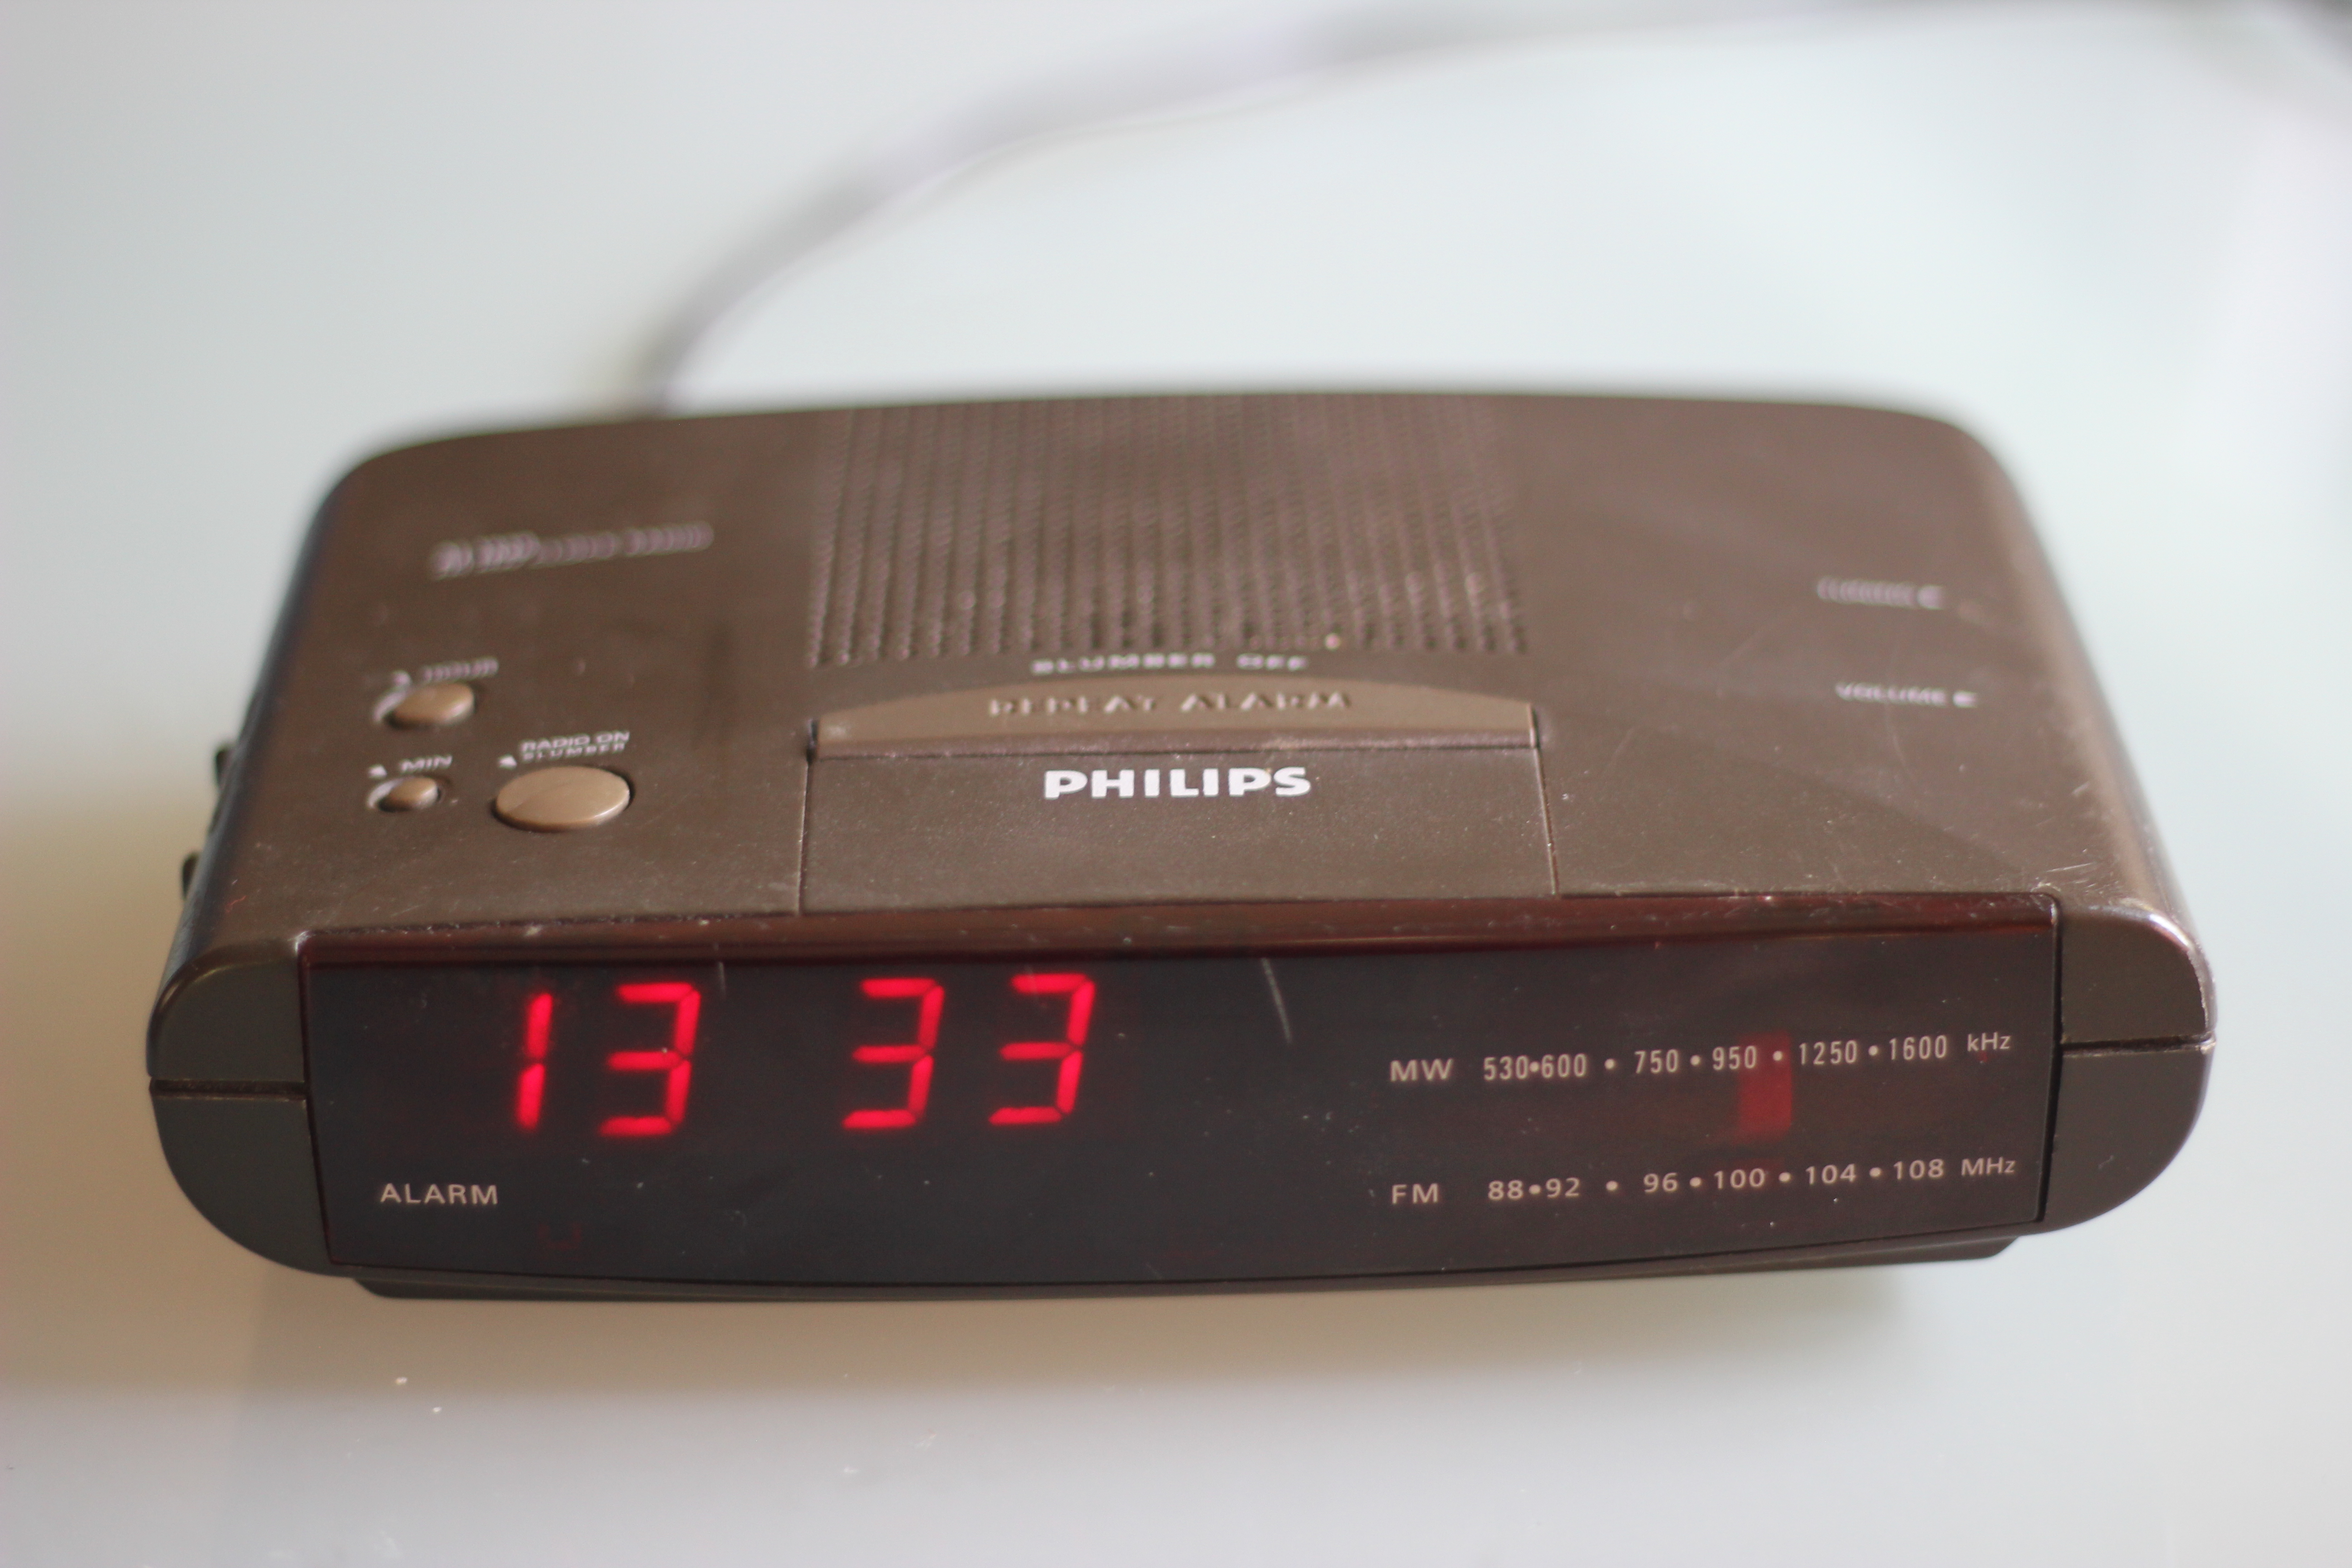
As with most people, I normally have a time I need to wake up at. For ages, I use a Philips AJ-3040 clock radio for this. It was new when I bought it, but that is almost 15 years ago, and it's showing its age: for example, it has just one alarm. I nowadays have to get up at different times, and setting and re-setting it every night is no fun. Finally, it only supports AM and FM radio, which in this digital age seems a bit limited. On the other hand, in the 15 years I have it, it has never failed me once.
Now ofcourse I could just use my phone as an alarm, or buy one of those webradio clock radio things. I do have some home automation nowadays, though, and it would be nice if the clock radio could hook into that. Also, I liked the form factor of my old clock radio, and I knew how to find the buttons by muscle memory. So, I thought, why not upgrade the old one? DIY is fun and this way, I can completely customize all the things it can do.
Ofcourse, first of all we need to see what we're working with here. There's just one way to do that: open
'er up! That only takes unscrewing four Torx screws, and with those out we're greeted by a magnificent display
of '90s cheap-arse consumer electronics: two Pertinax-type single-sided boards with through-hole components
on them and a small transformer to power it all. The radio is an analog beast with lots of inductors and
a fairly hefty variable capacitor for tuning.

To see if there's worth something salvaging, I looked up the chips. The clock radio chip is an LM8560B. This is a completely integrated clock/alarm chip which gets its timing base from the 50/60Hz mains frequency. It does have a battery backup for when the mains falls away, but that's an RC-oscillator... so if power's away too long, you'll quickly loose or gain a couple of minutes. It also has a weird multiplexing system for the LED display: it uses the two phases it gets off the transformer as a multiplexing signal. All in all: it's too weird and complicated to be of much use in a new and improved clock radio. I decided to ditch the entire PCB, including the LED-display. (But not before de-soldering the switches on the side: If I wanted the outside of the clock radio to stay the same, I'd need them.)
The radio PCB was built around a Sony CXA1019. This chip still worked pretty well: the sound out of the clock radio is as tinny as you can expect from such a small box, but loud enough. The CXA1019 is a versatile beast: it works from 2 to 7.5 volts and has an internal amplifier for the speaker. The amplifier input is separate from the radio output, so you can put a switch there to e.g. amplify the output of your hyper-modern cassette deck! I decided to keep the radio PCB, with a modification: by separating the amplifier input from the radio output, I could maybe splice some MP3 tunes into it and wake up with a Shoutcast radio channel. I also tried to reverse engineer the four wires connecting both PCBs: apart from the expected power and ground line, there was a radio enable line that when low turns off the radio and a wire to inject the signal for the buzzer mode directly into the speaker.
So, how to continue? After throwing out the clock board, I needed something that could replace that. I would also need a new display: while I could re-use the ancient 7-segment LED display, it would limit me pretty badly in what I could display. I also wanted to have WiFi to tie the clock radio into my home automation, and to play Shoutcast streams. With those pretty vague ideas in mind, it was time to get parts and build a prototype.
1 Next »