More building, result
Now I knew what the schematic would be, all I had to do was build it. I used some
prototyping PCB for the virtual keyboard interface:

As you might be able to see, I didn't have any 3.6V zeners, so I abused the forward voltage of
some standard 1N1418s to limit the voltage on the USB data lines to 3.3V. Not the
cleanest way ever, but it works.

I also needed to build the electronics into the buttons. I ended up soldering
the LEDs directly to the strands of Ethernet wire I partially stripped. The
resistor-button-diode-combo sits on top of the 'pole'. If anyone is going to replicate
this design, I'd advise to move at least the diode down the 'pole, to where the LEDs are;
it has happened once that someone whacked the button hard enough to shatter the glass
casing of the diode.
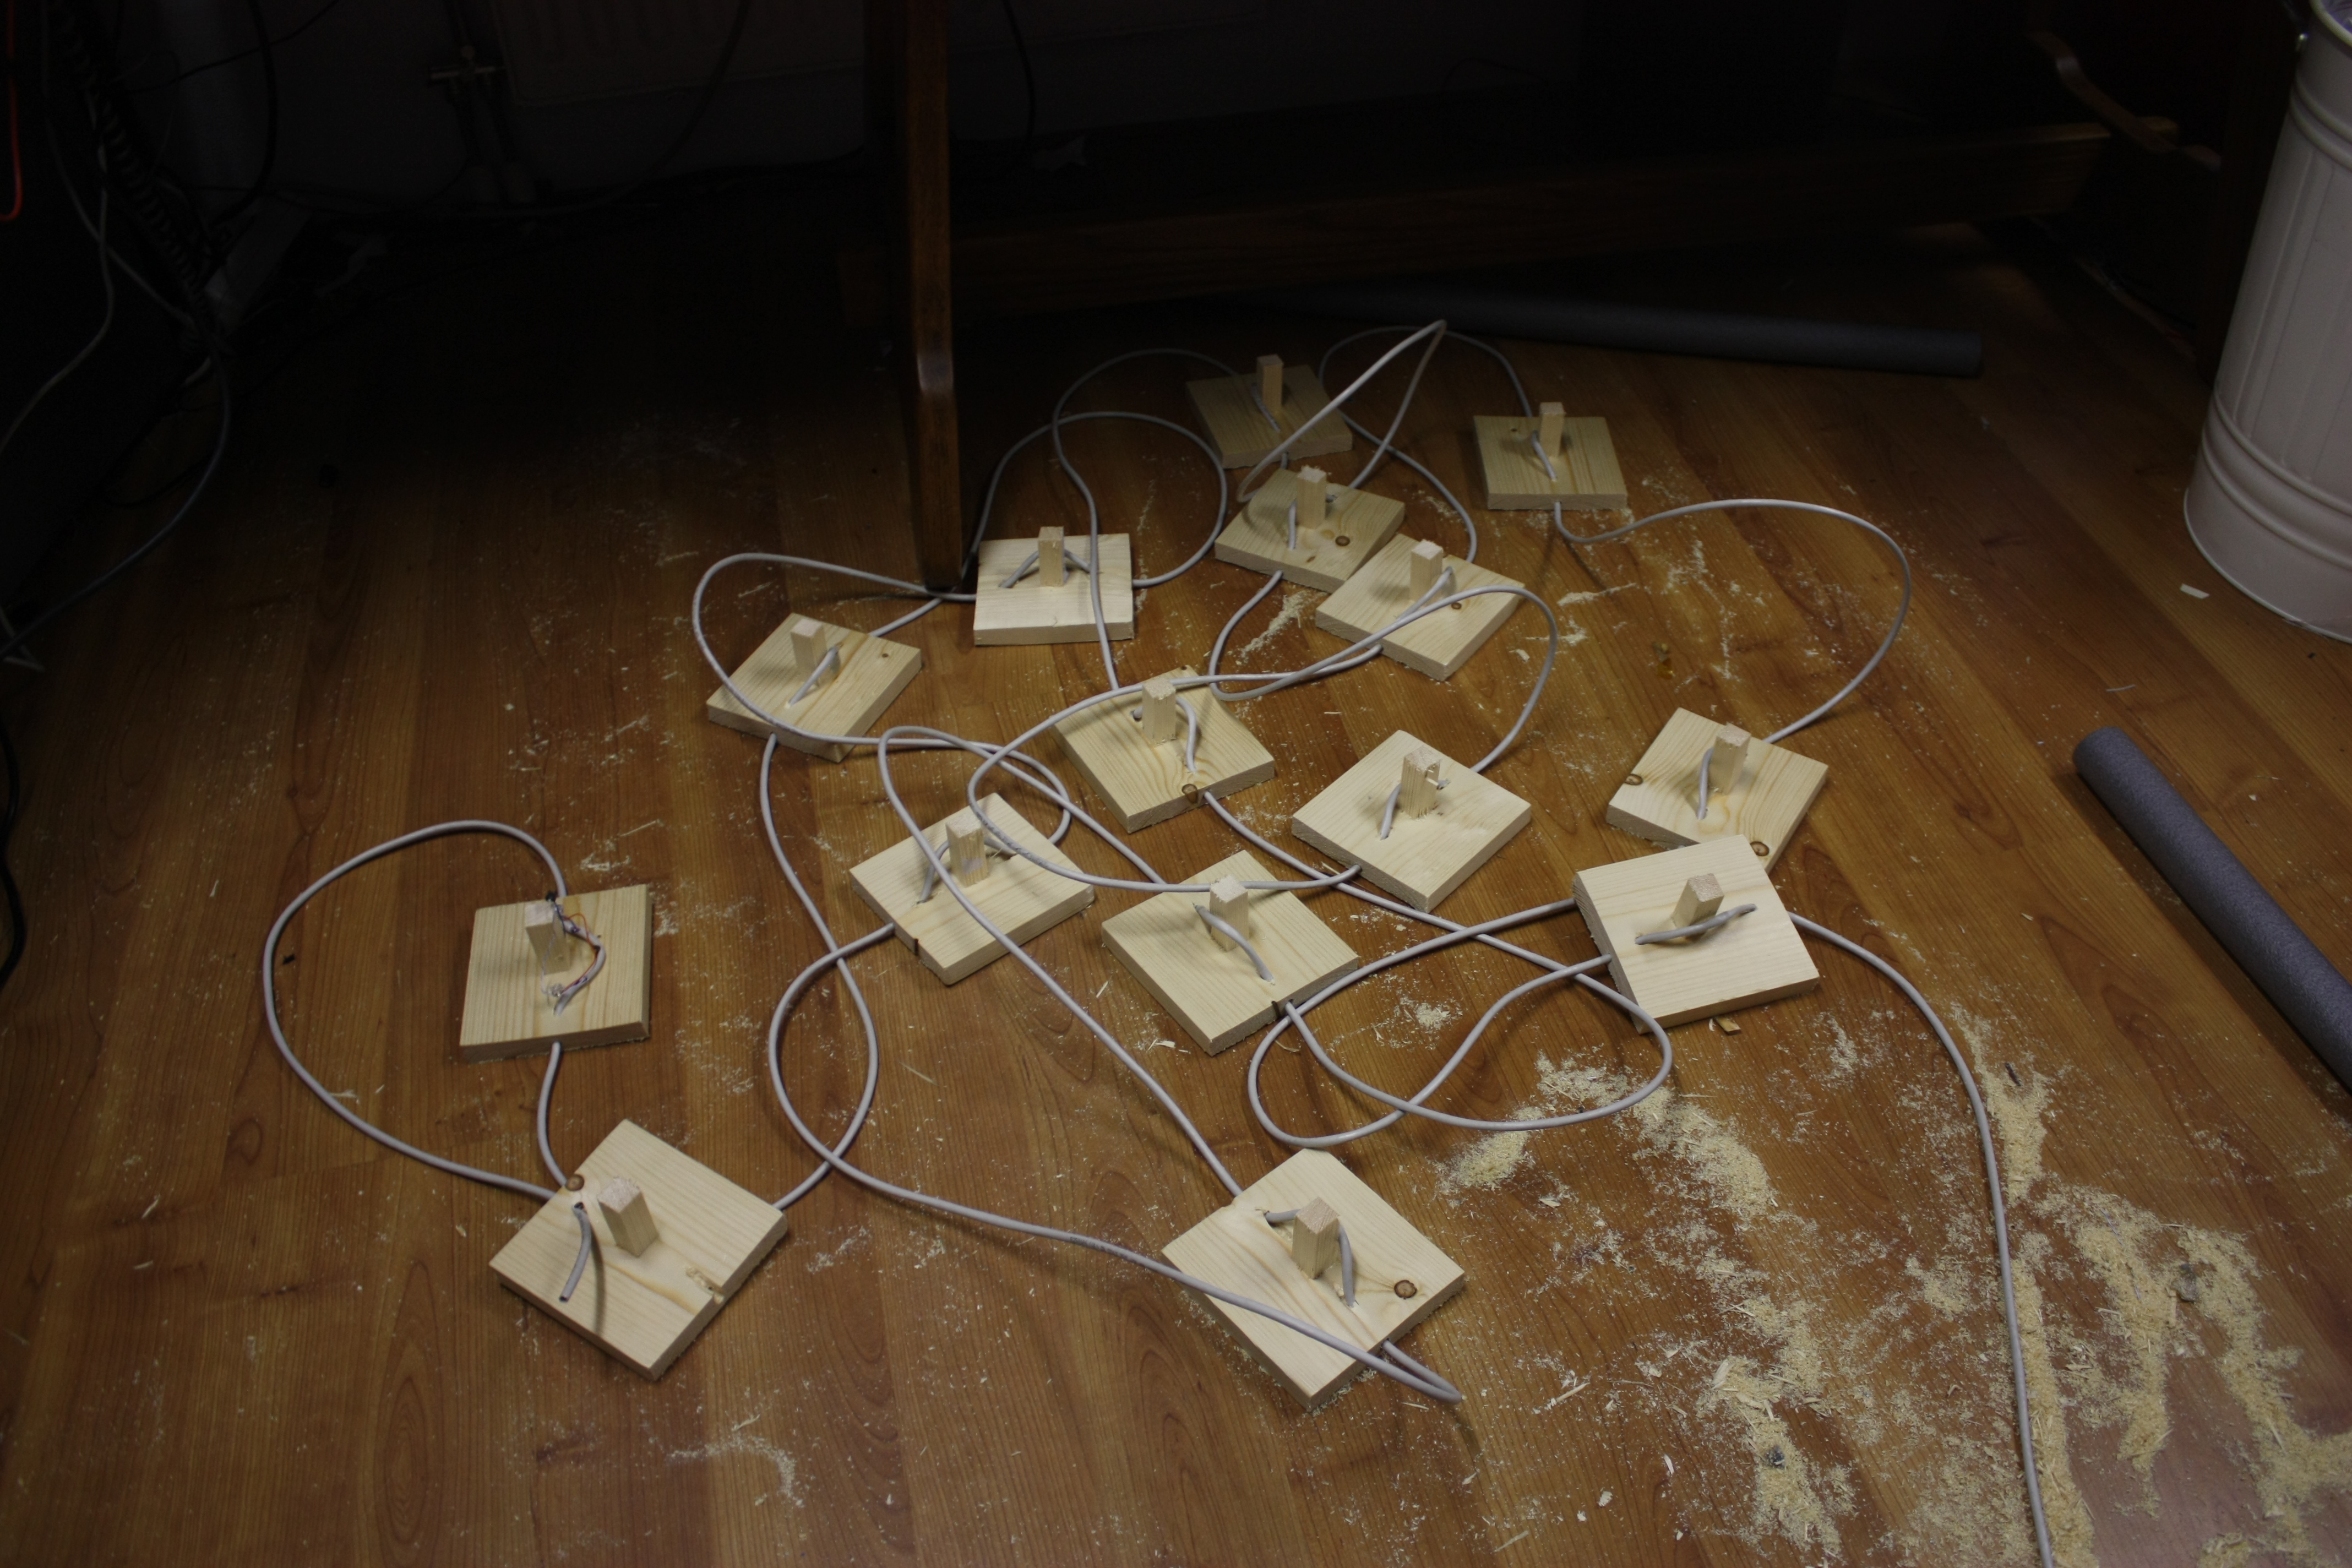
I also had to throw together 15 more of the buttons, making sure every button tapped
the right wires from the ethernet cable to take its right place in the matrix.

And the end result was quite satisfactory. As you can see, I only used the
yellow, orange and red bowls; red LEDs don't really shine nicely through the other
colors.
To interpret the keys the AVR sends out, I made a small shell script which ran on a PC connected to the buttons:
#!/bin/bash
folder="./sounds/"

sounds[1]="player1.wav"
sounds[2]="player2.wav"
sounds[3]="player3.wav"
sounds[4]="player4.wav"
sounds[5]="player5.wav"
sounds[6]="player6.wav"
sounds[7]="player7.wav"
sounds[8]="player8.wav"
sounds[9]="player9.wav"
sounds[10]="player10.wav"
sounds[11]="player11.wav"
sounds[12]="player12.wav"
sounds[13]="player13.wav"
sounds[14]="right.wav"
sounds[15]="wrong.wav"

while true; do
	echo "Waiting for input."
	read p;
	#Convert a-f to 10-15
	if echo "abcdef" | grep -q $p; then
		p=1`echo $p | tr abcdef 012345`
	fi
	#Play the sound.
	wav=${sounds[p]}
	mplayer "$folder/$wav" </dev/null
done
So, did it work? You betcha, the string of buttons was tested and even late at night, after some alcoholic refreshments were consumed, they still performed admirably.
As usual, the source code for this project is available under the GPLv3 and you can download it here.
« Prev 4
4 commentsHey... You should put the voltage limiting zeners (or whatever you use for that) between the resistors and the USB connector, not like your drawing between the AVR and resistors.
Thats a great idea! You could even make the Pc count points, display fancy GFX and more :-)
*Smashes button* WOOPWOOPWOOPWOOP
I am a little late to this but if you are using an ethernet wire anyways, you might put connectors on each button (harvested from old switches?) to plug in normal ethernet cables? The buttons could be detached for storage, the length of cable between the buttons changed if needed, buttons unplugged if fewer players are there.